 Pin it
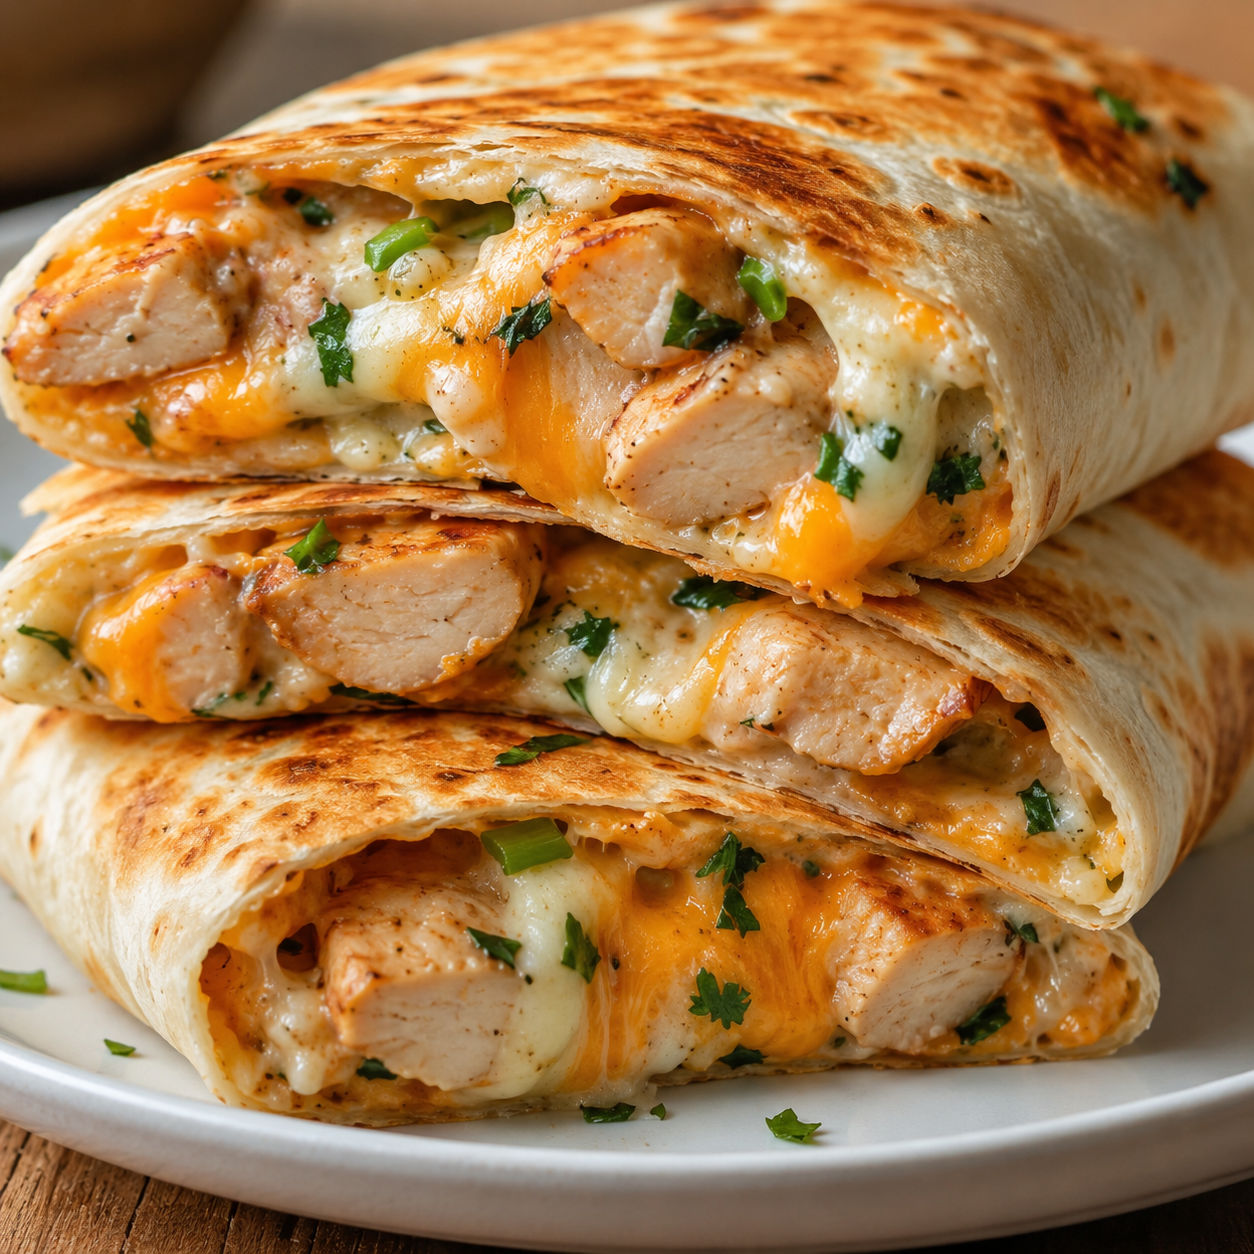
Easy Cheesy Chicken Garlic Wraps are the kind of dinner that makes a busy night feel handled. The chicken cooks fast in a hot skillet, the garlic sauce takes one bowl, and the tortillas turn crisp enough to crackle when you slice them.
I like these best with a mix of mozzarella and cheddar. Mozzarella gives you the pull, cheddar brings the sharper flavor, and the fresh garlic keeps the filling from tasting flat.
What Makes The Filling Work
The filling is simple, so each ingredient has a job. Use fresh garlic if you can, shred the cheese yourself, and choose tortillas large enough to fold without fighting you.
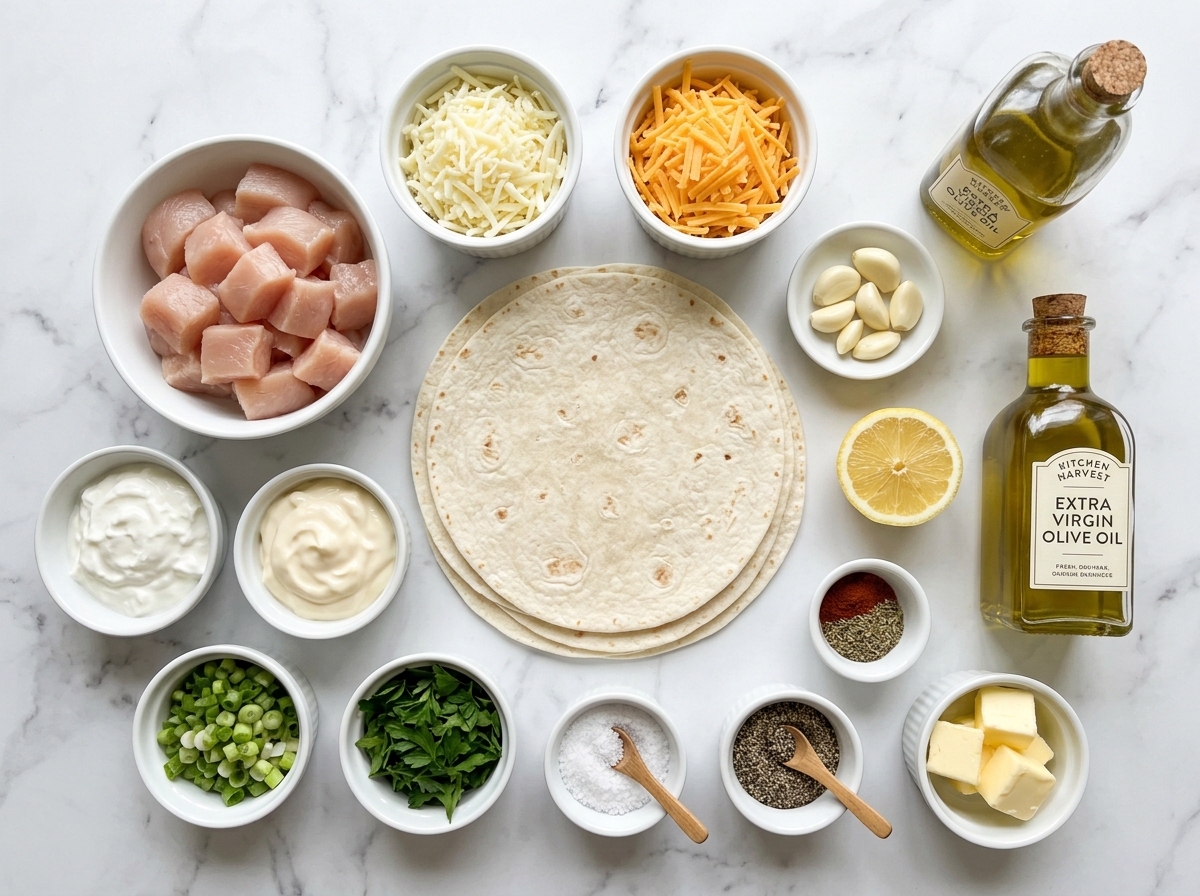
- Chicken breast. Cooks quickly and gives the wrap a lean, juicy center when cut into small pieces.
- Fresh garlic. Seasons both the chicken and the sauce with a warm, savory bite.
- Smoked paprika. Adds color and a gentle smoky flavor without making the wraps spicy.
- Greek yogurt and mayonnaise. Make a creamy garlic sauce that tastes rich but still has tang.
- Mozzarella. Melts into the soft, stretchy layer that holds the filling together.
- Cheddar. Brings sharper cheese flavor so the wrap does not taste bland.
- Flour tortillas. Toast up crisp on the outside while staying soft enough to roll.
- Green onions and parsley. Add freshness against the cheese and garlic.
Easy Cheesy Chicken Garlic Wraps Method
- Mix the sauce. Stir Greek yogurt, mayonnaise, lemon juice, and minced garlic until smooth. Let it sit while the chicken cooks so the garlic softens slightly.
- Season the chicken. Toss bite-size chicken pieces with garlic, paprika, salt, pepper, and Italian seasoning. Smaller pieces cook evenly and tuck into the wraps cleanly.
- Sear until just done. Cook the chicken in olive oil and a little butter over medium-high heat for 5-7 minutes. Stop when the pieces are golden and reach 165°F.
- Fill and fold. Spread sauce over warm tortillas, add chicken, both cheeses, green onion, and parsley. Fold the sides in first, then roll tightly from the bottom.
- Toast the wraps. Place each wrap seam-side down in a lightly buttered skillet. Cook 1-2 minutes per side until golden and crisp, and the cheese has melted.
Do Not Rush The Toasting
The skillet finish is what separates a good chicken wrap from a soft tortilla stuffed with filling. Start seam-side down so the wrap seals itself. Medium heat works better than high heat because the tortilla needs time to crisp while the cheese melts inside. If the outside browns before the cheese softens, lower the heat and cover the pan for 30 seconds.
For another crisp handheld dinner, try bacon ranch chicken wraps. The same seam-side-down trick keeps those wraps neat too.
The Sauce Keeps It Juicy
The sauce does two things. It adds garlic flavor, and it keeps the wrap from eating dry once the chicken and cheese are tucked inside. Greek yogurt gives it tang. Mayonnaise gives it body. If you only use one, the sauce can taste either too thin or too heavy.
A small squeeze of lemon matters here. It cuts through the cheese and wakes up the chicken. If you like creamy garlic dinners, creamy garlic chicken is a good next meal to keep in the same lane.
Swaps That Still Taste Right
Chicken thighs work well if you want a richer filling. Cook them a minute or two longer, since they usually have more moisture. Pepper jack can replace cheddar for heat, and Monterey Jack is good if you want a milder wrap for kids. A spoonful of chopped pickled jalapenos also works, but drain them first so the tortilla does not get soggy.
For a breadier garlic-cheese option, the cheesy chicken garlic bread sandwich has the same comfort-food flavor in a toasted sandwich style.
Chicken Safety And Doneness
Small chicken pieces cook fast, but do not guess by color alone. The safest check is an instant-read thermometer in the thickest piece. Chicken should reach 165°F, according to the FoodSafety.gov temperature chart. Pull the chicken as soon as it gets there so it stays tender.
Storage And Reheating
Store leftover toasted wraps in an airtight container in the fridge for up to 3 days. Reheat them in a dry skillet or air fryer until hot and crisp again. The microwave works in a pinch, but the tortilla will soften. For meal prep, keep the cooked chicken, sauce, and shredded cheese separate, then roll fresh wraps when you need them.
If you want a side with the same garlic-cheese mood, cheesy garlic bread is easy to serve alongside a bigger family dinner.

FAQs
- Can I use cooked rotisserie chicken?
Yes. Use about 3 cups of shredded rotisserie chicken and warm it in the skillet with the garlic, paprika, and a teaspoon of butter. Since it is already cooked, you only need to heat it through before building the wraps.
- What cheese melts best in chicken garlic wraps?
Mozzarella melts smoothly and gives the wrap a stretchy bite. Cheddar adds more flavor, so a blend of both works better than either one alone. Monterey Jack or pepper jack also work well.
- How do I keep the tortillas from tearing?
Warm the tortillas before filling them. Ten seconds in the microwave or a quick pass in a dry skillet makes them softer and easier to roll. Do not overfill the center or the sides will split.
- Can I make these wraps ahead?
You can make the chicken filling and garlic sauce up to 3 days ahead. Store them separately in the fridge, then assemble and toast the wraps right before eating. Fully toasted wraps are best fresh.
- Can these be made gluten-free?
Yes, use sturdy gluten-free tortillas and check that your mayonnaise and seasonings are gluten-free. Warm gluten-free tortillas carefully because they can crack more easily than flour tortillas.
- What should I serve with cheesy chicken garlic wraps?
They are filling on their own, but a crisp salad, roasted vegetables, or a cup of tomato soup all fit well. For a casual dinner, serve them with extra garlic sauce and pickles.
