 Pin it
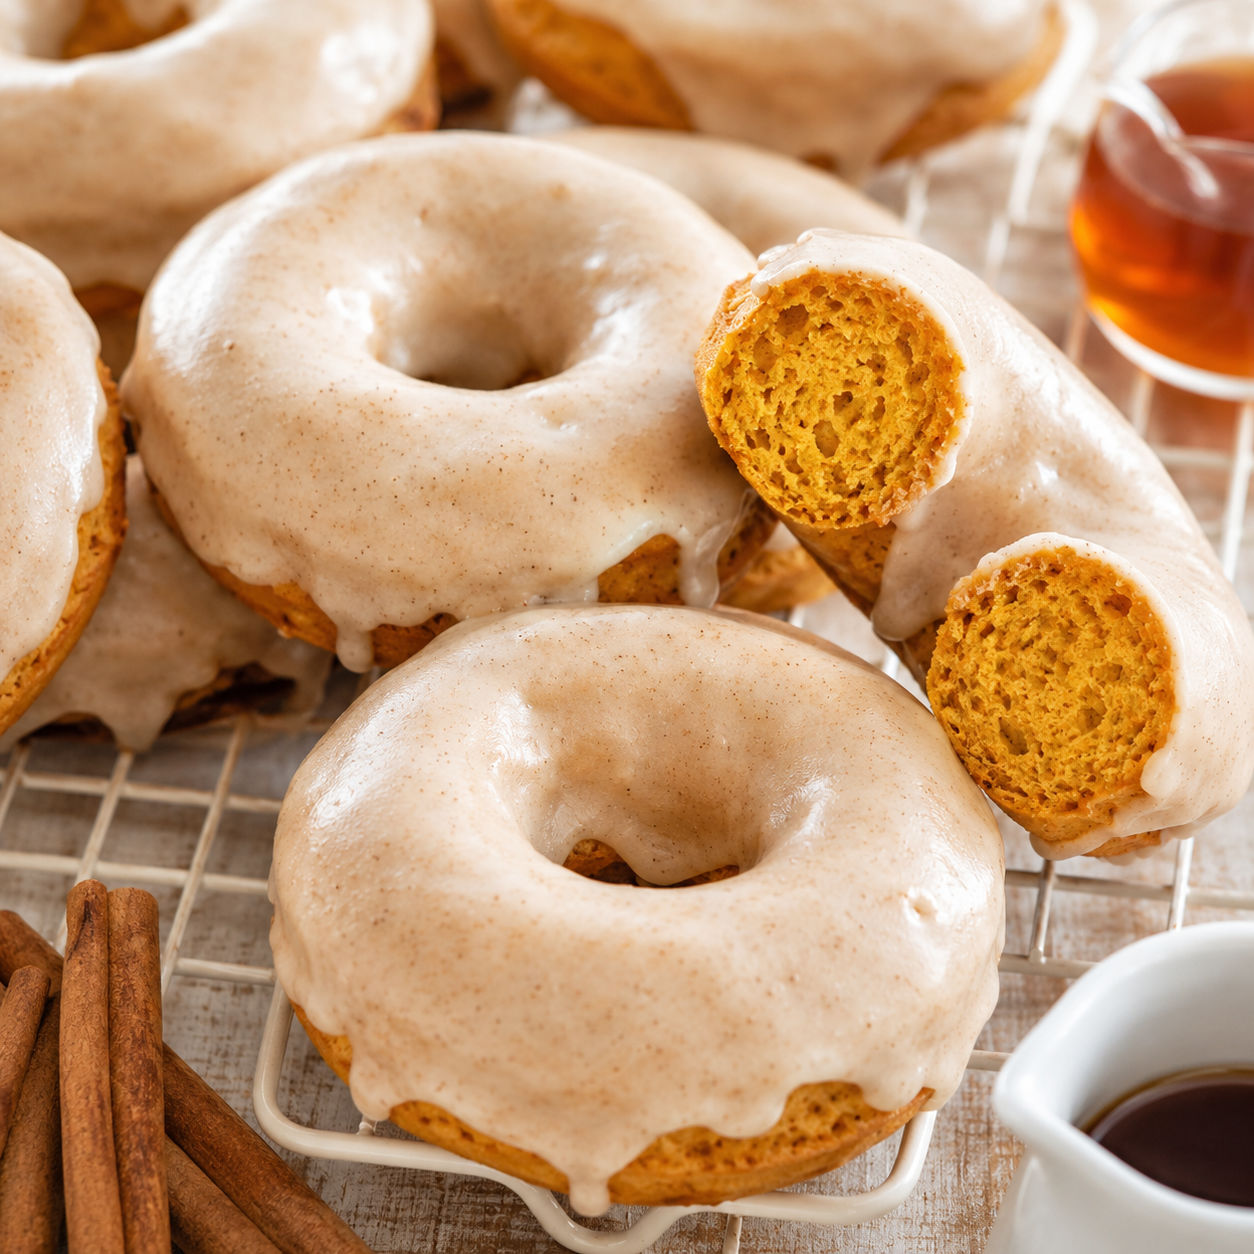
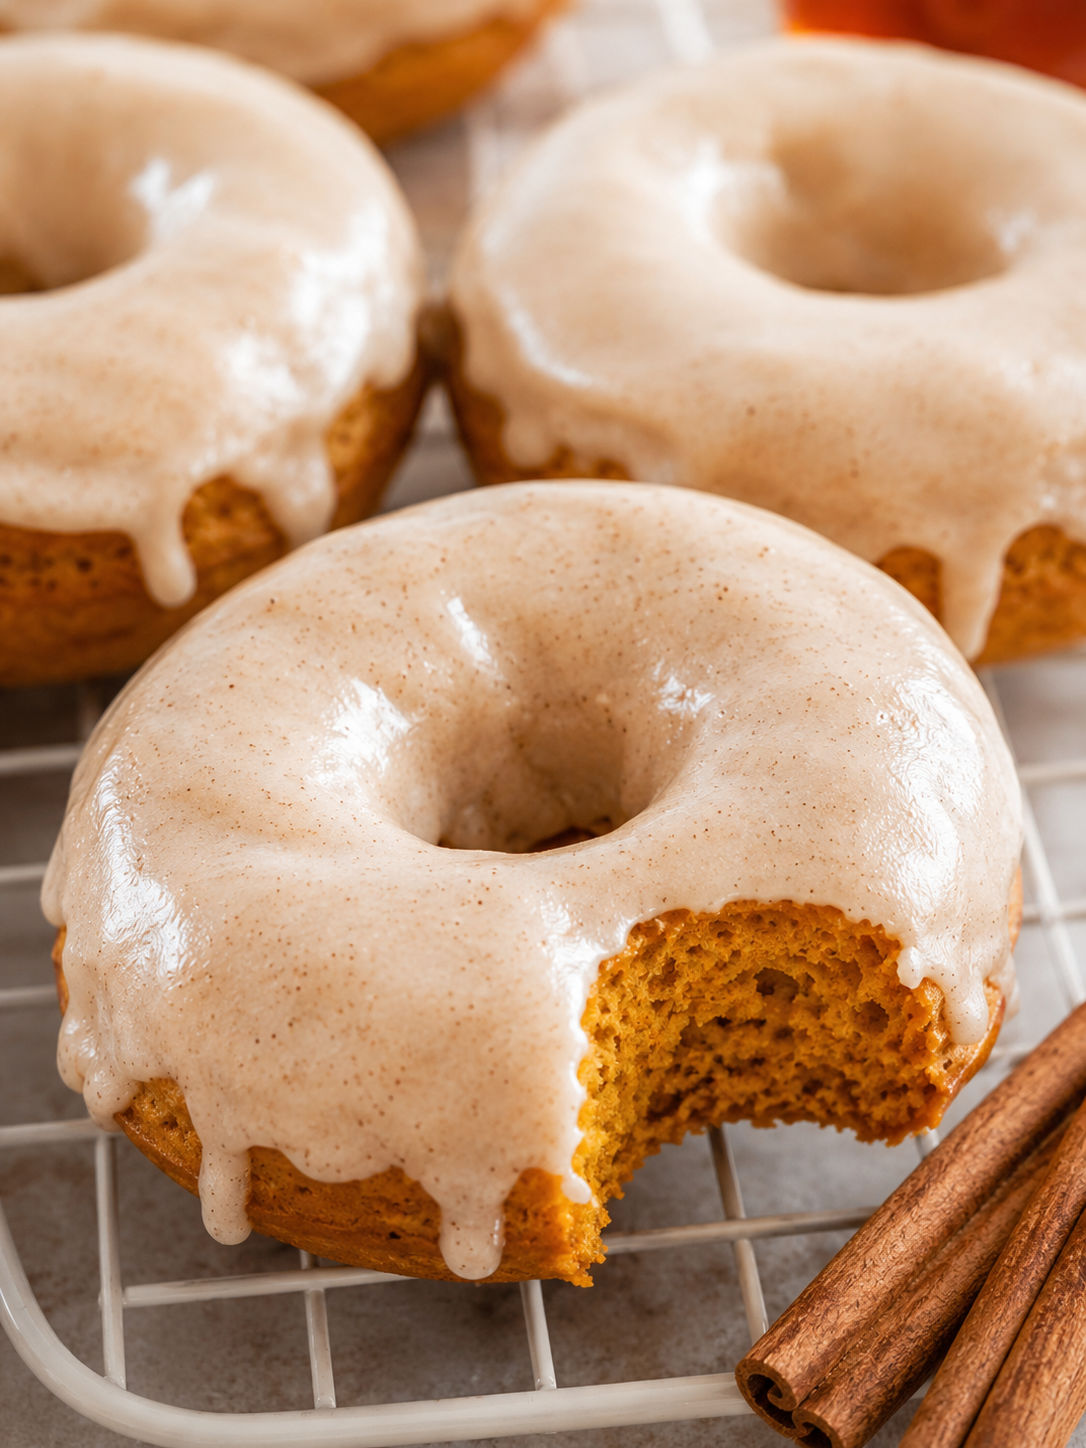
These donuts are the reason I keep a can of pumpkin puree in the pantry year round. They bake up soft and tender with a tight crumb that tastes like pumpkin bread in donut form, and the maple glaze on top sets into a thin sweet shell.
You do not need a fryer or any fancy equipment. A standard donut pan, one mixing bowl, and a whisk are enough. The batter comes together in about ten minutes, bakes in twelve, and the glaze hardens while you clean up.
The lineup that matters
Most of these ingredients are already in your kitchen. The quality that matters most here is the pumpkin puree and the maple syrup. Use plain pumpkin puree, not pumpkin pie filling, and reach for real maple syrup rather than pancake syrup for the glaze.
- All-purpose flour. The base of the batter. Spoon it into your cup and level it off so you do not end up with dense donuts.
- Pumpkin puree. Plain canned puree gives moisture and that classic orange color. Pie filling is too sweet and already spiced.
- Brown sugar. Adds a light molasses note that works beautifully with pumpkin and maple.
- Egg. Binds the batter and gives the donuts structure. Room temperature mixes in more evenly.
- Unsalted butter. Melted and slightly cooled, it adds richness without weighing the crumb down.
- Milk. Whole milk gives the softest crumb, but any milk you have works.
- Pumpkin pie spice and nutmeg. The warm spice blend that makes these taste like fall.
- Pure maple syrup. The key to a glaze that tastes like maple and not just sugar.
- Powdered sugar. Dissolves into a smooth glaze that sets in minutes.
Mix, pipe, and bake
- Whisk the dry ingredients. Stir the flour, baking powder, pumpkin pie spice, nutmeg, and salt together in a large bowl.
- Mix the wet ingredients. In a separate bowl whisk the pumpkin puree, brown sugar, egg, melted butter, milk, and vanilla until smooth and lump free.
- Combine gently. Pour the dry ingredients into the wet and stir just until the flour disappears. Overmixing develops gluten and leads to tough donuts.
- Fill the pan. Transfer the batter to a piping bag or zip-top bag with the corner snipped. Pipe it into a greased 6-count donut pan, filling each cavity about three quarters full.
- Bake until set. Bake at 350°F (175°C) for 10 to 12 minutes. The tops should spring back when lightly pressed and a toothpick should come out clean.
- Cool completely. Let the donuts rest in the pan for 5 minutes, then turn them out onto a wire rack. They must be fully cool before glazing or the glaze will slide right off.
- Dip in maple glaze. Stir powdered sugar, maple syrup, milk, and a pinch of salt until smooth. Dip the top of each donut into the glaze and return it to the rack to set for 10 to 15 minutes.
Why the crumb stays soft
The secret to a tender baked donut is treating the batter like muffin batter rather than cake batter. That means mixing the wet and dry ingredients separately, then folding them together until just combined. A few small streaks of flour are fine. If you stir until the batter is perfectly smooth, you have gone too far.
Another common culprit for dense donuts is packed flour. Scooping directly from the bag compacts the flour and you end up with too much. The spoon and level method, or better yet a kitchen scale, keeps the ratio right. For more on why this matters, see this guide from King Arthur Baking.
Glaze that sets just right
The glaze should be thick enough to coat the donut but thin enough to drip slowly down the sides. Start with one tablespoon of milk and add more a teaspoon at a time if needed. Pure maple syrup gives the glaze its flavor, but it also adds liquid, so go slowly with the milk.
If you want a thicker coating, let the first layer set for five minutes, then dip again. For a different twist, try the maple glaze on apple brownies with maple glaze or swap the pumpkin for applesauce in baked apple fritters.
Swaps that still work
No pumpkin pie spice? Use two teaspoons of cinnamon with a quarter teaspoon each of ginger and cloves. You can replace the brown sugar with coconut sugar for a deeper flavor, or use melted coconut oil instead of butter if you need a dairy-free version. The egg is harder to replace in this recipe, so I have not tested it without.
If you do not own a donut pan, a mini muffin tin works fine. Bake for 10 to 12 minutes and call them donut holes. You can also turn the batter into pumpkin baked oatmeal if you want a heartier breakfast option.
Storing and serving
These donuts are best the day they are made, but they keep in an airtight container at room temperature for one to two days. The glaze softens over time, so do not stack them directly on top of each other. Place a sheet of parchment between layers.
You can freeze the unglazed donuts for up to two months. Thaw them at room temperature and glaze them fresh. If you love donut recipes, try these chocolate glazed donuts next.

FAQs
- Can I use pumpkin pie filling instead of puree?
No. Pumpkin pie filling is already sweetened and spiced, which throws off the balance of the batter and makes the donuts too sweet. Use plain canned pumpkin puree with pumpkin listed as the only ingredient.
- What if I do not have a donut pan?
A mini muffin tin works well. Fill the cups three quarters full and bake for 10 to 12 minutes to make donut holes. A regular muffin pan also works with a bake time of 15 to 20 minutes.
- How do I store leftover donuts?
Keep them in an airtight container at room temperature for one to two days. Place parchment paper between layers so the glaze does not stick. They are best eaten the day they are made.
- Can I freeze these donuts?
Yes, but freeze them unglazed. Wrap each donut tightly and store in a freezer bag for up to two months. Thaw at room temperature and glaze them fresh for the best texture.
- Why did my donuts turn out dense?
The most common causes are overmixing the batter or using too much flour. Mix the wet and dry ingredients just until combined, and always spoon and level your flour rather than scooping directly from the bag.
- Can I make the glaze thicker?
Yes. Start with less milk and add it drop by drop until the glaze coats the back of a spoon. For an even thicker coating, let the first dip set for five minutes, then dip the donuts a second time.
