 Pin it
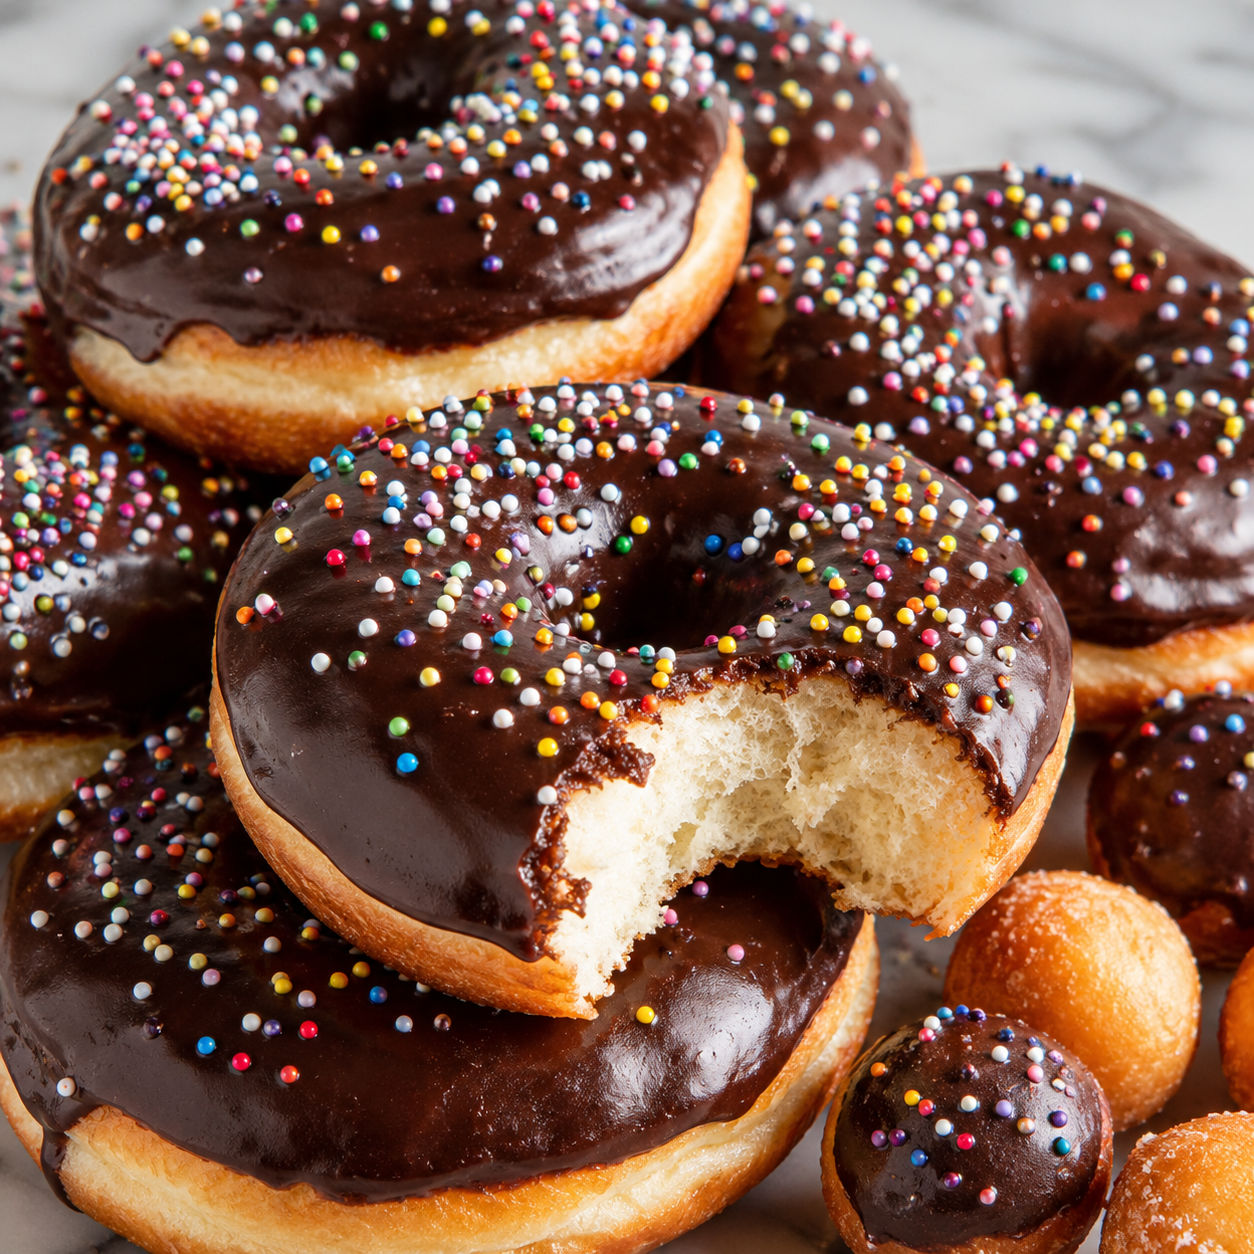
Delicious Chocolate Glazed Donuts are worth making from scratch when you want that warm bakery smell in your own kitchen. The dough is soft and buttery, the edges fry up golden, and the chocolate glaze gives each donut a smooth, glossy top.
The method is simple, but timing matters. Give the dough enough time to rise, keep the oil steady, and do not dip the donuts while they are blazing hot. That is how you get a tender donut instead of a greasy one.
The Doughnut Lineup
Good donuts start with a soft enriched dough and fresh oil. Use room-temperature eggs and butter that is melted but no longer hot, so the yeast stays active.
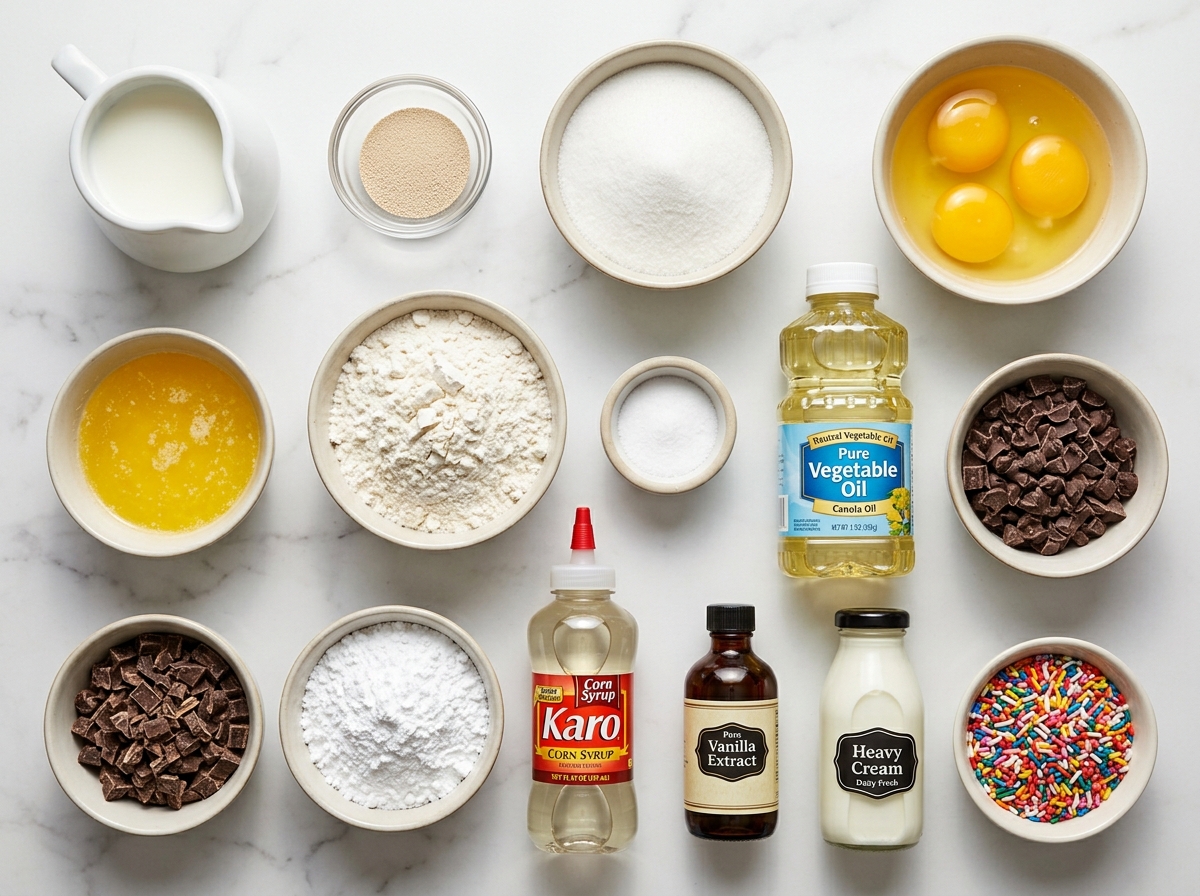
- Whole milk. Warms the dough and gives the crumb a softer bite.
- Yeast. Makes the donuts rise light and airy instead of dense.
- Sugar. Feeds the yeast and lightly sweetens the dough.
- Eggs. Add richness and help the donuts hold their shape.
- Butter. Gives the dough a tender, bakery-style flavor.
- All-purpose flour. Builds enough structure for rolling, cutting, and frying.
- Neutral oil. Fries cleanly without adding a heavy flavor.
- Semisweet chocolate. Makes the glaze taste deeper than cocoa alone.
- Powdered sugar. Helps the glaze set with a smooth finish.
- Corn syrup. Adds shine and keeps the glaze from turning grainy.
Fry Delicious Chocolate Glazed Donuts
- Wake the yeast. Stir warm milk, yeast, and a pinch of sugar together until foamy, about 5-10 minutes.
- Make the dough. Mix in the remaining sugar, eggs, butter, flour, and salt. Knead until the dough is smooth, elastic, and still a little tacky.
- Let it rise. Cover the dough and let it double in a warm spot, usually 1-1 1/2 hours.
- Cut the donuts. Roll to 1/2 inch thick, cut rounds and holes, then place them on parchment squares.
- Proof until puffy. Let the cut donuts rise until light and slightly jiggly, about 30-40 minutes.
- Fry in batches. Cook in 350 F oil for 60-75 seconds per side until golden, then drain on a rack.
- Dip in glaze. Whisk the warm chocolate glaze until smooth and dip the cooled donut tops. Add sprinkles before the glaze sets.
Proofing Makes Them Light
The second rise is where homemade donuts either get fluffy or stay heavy. After cutting, the dough should look swollen and soft around the edges. If you pick up a donut and it feels dense, give it more time. A properly proofed donut floats quickly in the oil and fries with a pale ring around the middle.
A slightly warm, draft-free spot helps. I like to place the trays in an off oven with a mug of hot water nearby. Do not turn the oven on while the donuts are inside. Too much heat melts the butter in the dough and weakens the shape. If you enjoy filled donuts too, the proofing cues are similar for Strawberry Cheesecake Filled Donuts.
Keep the Oil Steady
A thermometer is not optional for fried donuts. Oil that drops below 340 F soaks into the dough and leaves a greasy finish. Oil above 365 F browns the outside before the center cooks through. Aim for 350 F and adjust the burner between batches.
Fry two or three donuts at a time in a heavy pot. The parchment squares make transfer easier and help protect the shape. They loosen after a few seconds in the oil, then you can pull them out with tongs. If you like old-school fried sweets, the same steady-heat habit helps with a Cinnamon Glazed Apple Fritter.
A Shinier Chocolate Glaze
The glaze should be warm and fluid, but not hot enough to slide right off the donuts. Melt the chocolate gently, then whisk in butter, corn syrup, powdered sugar, milk, and vanilla until smooth. If it thickens while you work, microwave it for 5-8 seconds and stir again.
Flour can swing by weight when packed into a cup. For repeatable dough, measure with a scale when possible. The King Arthur Baking ingredient weight chart is a useful reference if you bake often. For a deeper chocolate dessert after donut day, try German Chocolate Paradise Cake.
Storing Without Soggy Glaze
These donuts are best the day they are fried, once the glaze has had 10-15 minutes to set. If you need to store them, keep them at room temperature in a loose covered container. A tight lid traps steam and turns the glaze sticky.
For make-ahead work, refrigerate the dough after kneading and finish the recipe the next morning. Let the cold dough soften before rolling so it does not spring back. Fried donuts do not reheat like bread. A few seconds in the microwave can soften one, but the glaze will melt. For a no-fry chocolate option, No-Bake Chocolate Eclair Cake keeps dessert simple.
Summary
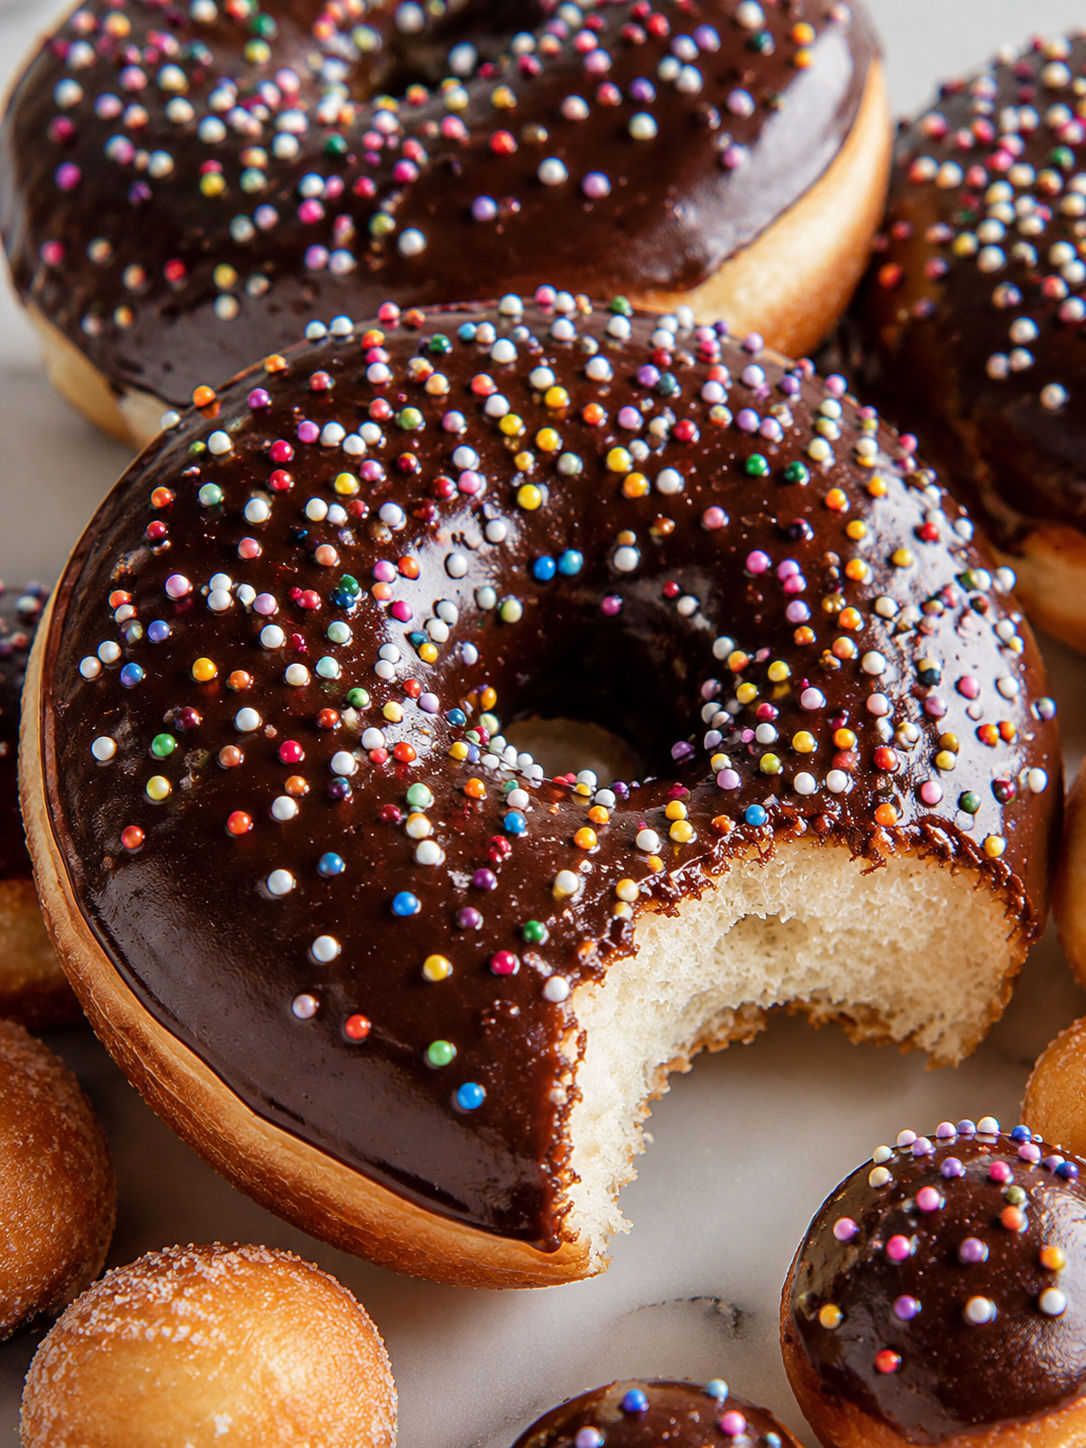
Homemade fried yeast donuts with a rich chocolate glaze, best eaten the day they are made.
FAQs
- Can I make chocolate glazed donuts without a stand mixer?
Yes. Mix the dough with a sturdy spoon until shaggy, then knead by hand for about 8-10 minutes. The dough should feel soft and slightly tacky, not dry or stiff.
- Can I bake these instead of frying?
This dough is built for frying, so baking will make it taste more like a soft roll than a donut. If you want baked donuts, use a cake-style donut pan recipe instead.
- Why did my donuts turn greasy?
The oil was likely too cool or the pan was crowded. Fry around 350 F and give each donut room so the temperature recovers quickly after each batch.
- Can I make the dough ahead?
Yes. After kneading, cover the dough and refrigerate it overnight. Let it sit at room temperature until slightly puffy before rolling, cutting, and proofing.
- How should I store chocolate glazed donuts?
Store them in a loose covered container at room temperature for one day. The glaze can soften in airtight containers, so avoid trapping too much steam.
- Can I use instant yeast instead of active dry yeast?
Yes. Use the same amount and mix it right into the flour if you like. I still warm the milk because a cozy dough rises faster and more evenly.
