 Pin it
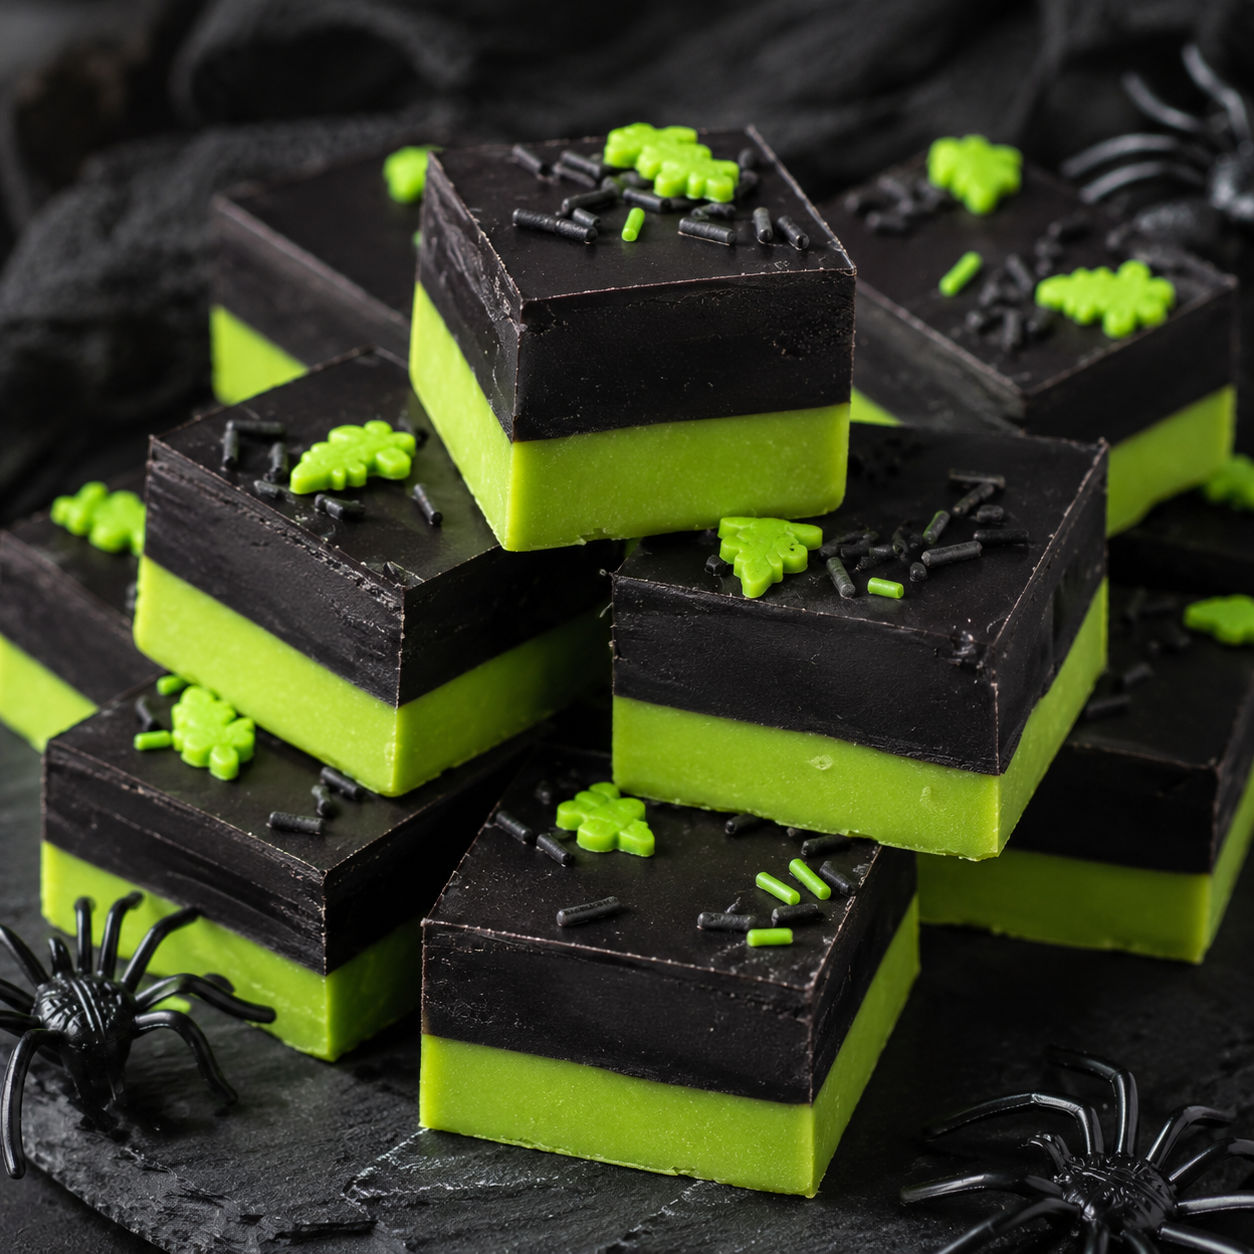
This is the treat I set out when I want the dessert table to look like it took far more effort than it actually did. The layers are dramatic, the flavor is sweet and tart like a candy apple, and the whole thing comes together with a microwave and a bowl.
White chocolate and sweetened condensed milk do the heavy lifting here. A few drops of green apple extract give it that unmistakable candy-apple tang, and the black and green layers make it feel right at home next to pumpkins and plastic spiders.
What you need for the layers
The ingredient list is short, but the quality matters more than you might think. Use real white chocolate chips with cocoa butter listed in the ingredients. The cheap stuff can seize or turn greasy when melted.
- White chocolate chips. The base of both layers. Real cocoa butter helps the fudge set firm and slice cleanly.
- Sweetened condensed milk. Provides the sweetness and the creamy, dense texture fudge needs.
- Unsalted butter. Adds silkiness and helps the layers slice without cracking.
- Green apple extract. The signature flavor. It reads candy-apple sweet and tart at the same time.
- Neon green and black gel food coloring. Gel gives vibrant color without adding liquid that could throw off the set.
- Fine sea salt. A pinch balances the sweetness so the apple flavor shines.
How to build the layers
- Prep the pan. Line an 8x8 inch square pan with parchment paper. Leave an overhang on two sides so you can lift the whole block out later.
- Melt the green base. Combine half the white chocolate chips, half the condensed milk, and 2 tablespoons of butter in a microwave-safe bowl. Heat in 30-second bursts, stirring between each, until smooth and thick. This usually takes about 1 to 1.5 minutes total.
- Color and flavor. Stir in 1/2 teaspoon of green apple extract, a pinch of salt, and enough neon green gel coloring to reach a bright, vivid green. Pour this into the prepared pan and spread to the edges.
- Melt the black layer. Repeat the melting process with the remaining chocolate, condensed milk, and butter. Stir in the remaining 1/2 teaspoon of extract, a pinch of salt, and black gel coloring until the mixture is deep black.
- Layer and chill. Pour the black fudge over the green layer. Smooth the top with an offset spatula. Refrigerate for at least 3 hours until completely firm.
- Slice and serve. Lift the fudge out using the parchment overhang. Cut into 1-inch squares with a sharp knife, wiping the blade clean between cuts.
Getting a smooth melt every time
White chocolate scorches faster than dark. That is why the short bursts matter. Stirring between intervals lets the residual heat finish the melting without overheating the cocoa butter. If you see the mixture starting to look stiff or oily, you have gone too far. Let it cool slightly and stir in an extra tablespoon of butter to bring it back. If you want a deeper dive on technique, Better Homes & Gardens has a solid guide to melting chocolate.
Decoration and serving ideas
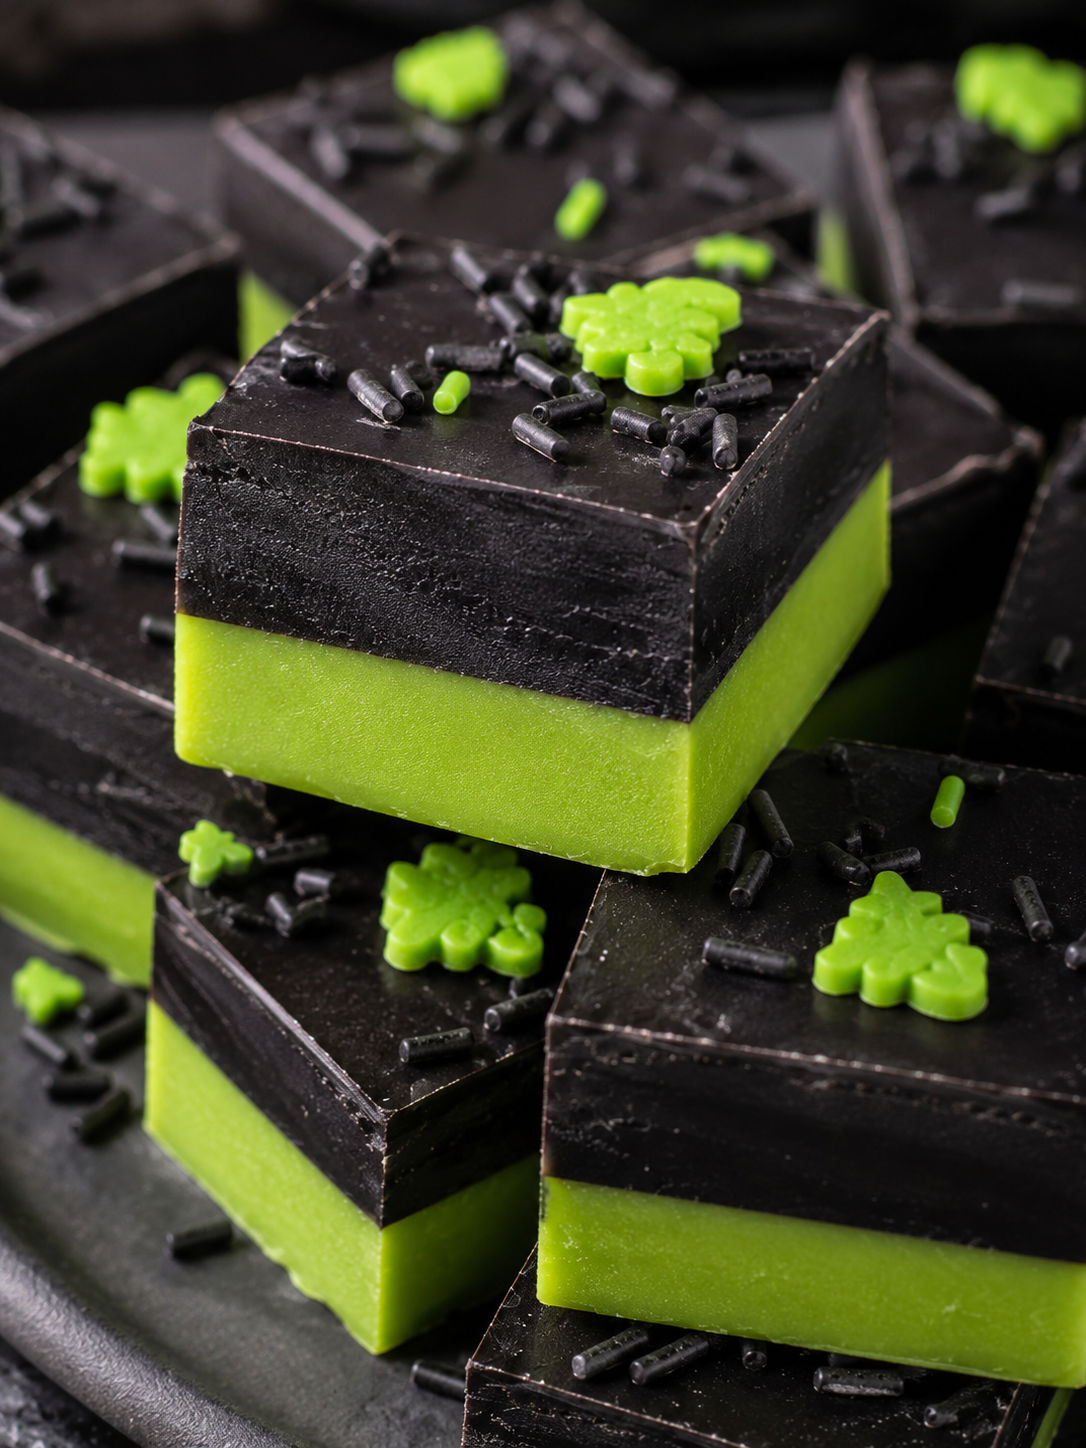
The color contrast is already enough to turn heads, but a few extras make it feel festive. Press Halloween sprinkles into the top of the black layer while it is still soft. Candy eyeballs, edible glitter, or a drizzle of green candy melts all work. I like to arrange the squares on a black platter with plastic spiders for a party table. If you are building a whole dessert spread, pair these with vampire fudge or candy corn fudge for a full Halloween board.
Storage and make-ahead plan
This fudge keeps well, which makes it ideal for party prep. Store it in an airtight container at room temperature for up to 5 days. You can also refrigerate it for up to 2 weeks, though the texture is smoothest if you let it sit out for 15 minutes before serving. Do not freeze it. The condensation from thawing can make the surface sticky and dull. For safe storage guidelines, refer to the FDA safe food handling basics.
Flavor swaps that work
If green apple is not your favorite, swap the extract for cherry or coconut and adjust the colors to match. You can also replace the black layer with dark chocolate chips for a less dramatic but richer flavor. For another apple-forward treat, try caramel apple fudge or cinnamon glazed apple fritters.
FAQs
- Can I make this on the stovetop instead of the microwave?
Yes. Combine the chocolate, condensed milk, and butter in a heavy saucepan over low heat. Stir constantly until smooth and thick, then remove from the heat immediately so the chocolate does not scorch.
- Why did my fudge turn out soft and sticky?
It usually needs more chill time. Let it sit in the refrigerator for at least 3 hours, preferably overnight. If it is still soft, your white chocolate may have had too little cocoa butter, which affects how firmly it sets.
- Can I use liquid food coloring instead of gel?
Gel is strongly recommended. Liquid coloring adds extra water to the mixture, which can keep the fudge from setting properly and may cause it to separate.
- How far in advance can I make poison apple fudge?
You can make it up to 5 days ahead. Store it in an airtight container at room temperature, or refrigerate it for up to 2 weeks. Let refrigerated fudge sit out for about 15 minutes before serving for the smoothest texture.
- Can I freeze this fudge for later?
Freezing is not recommended. The condensation that forms during thawing can make the surface sticky and dull, and the texture can turn grainy.
- What can I use if I do not have green apple extract?
Vanilla or coconut extract works well, though you will lose the candy-apple flavor. For another apple-forward option, try caramel apple fudge with a caramel drizzle instead.
