 Pin it
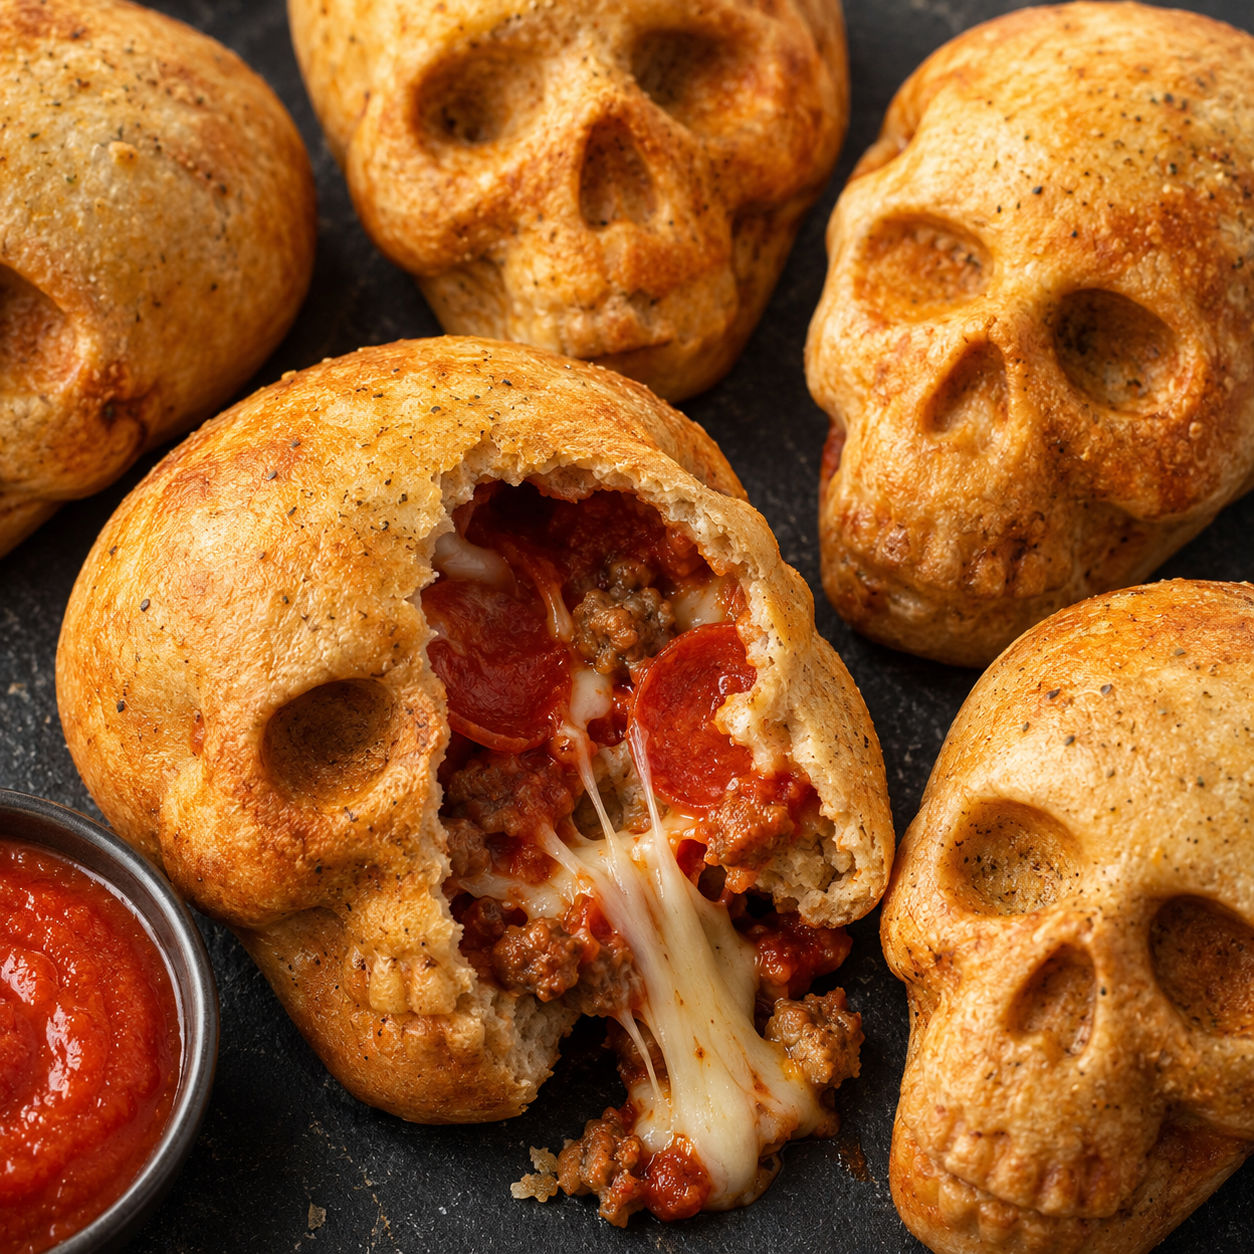
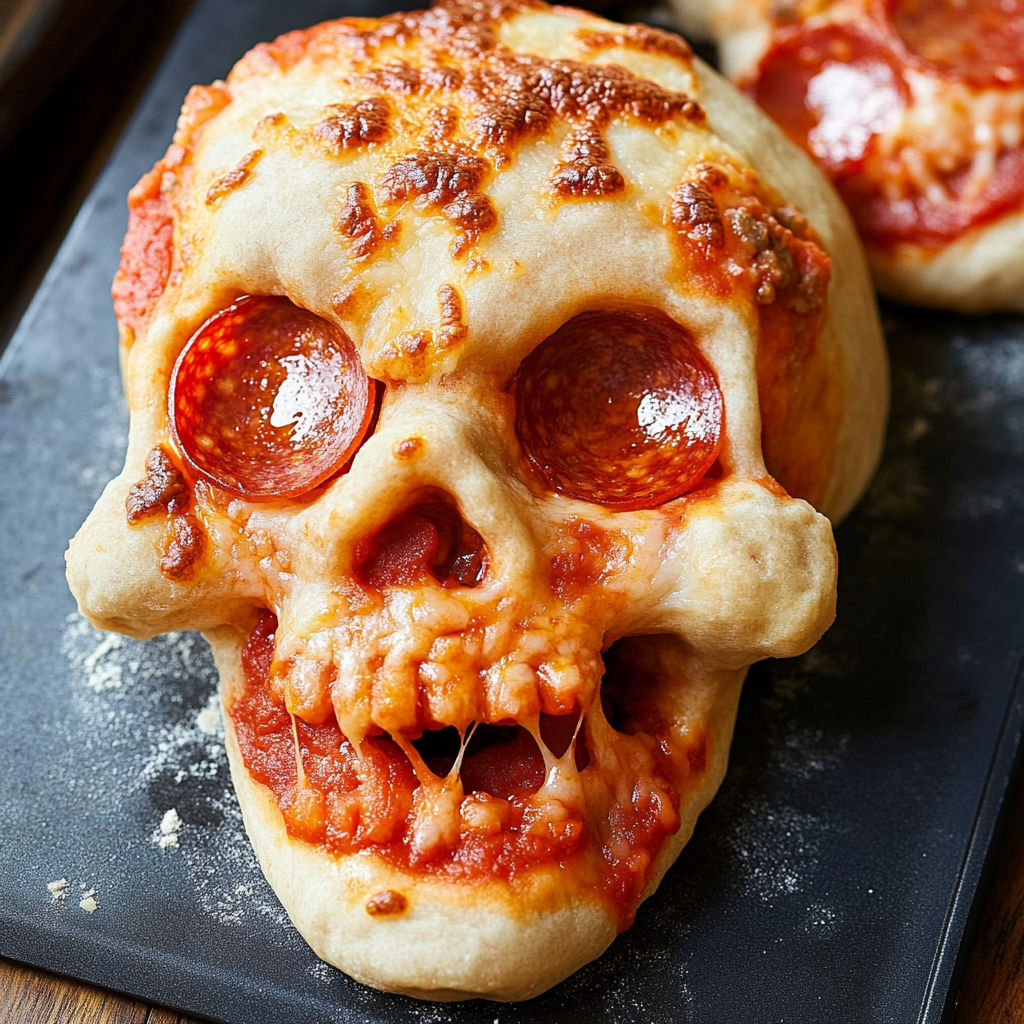
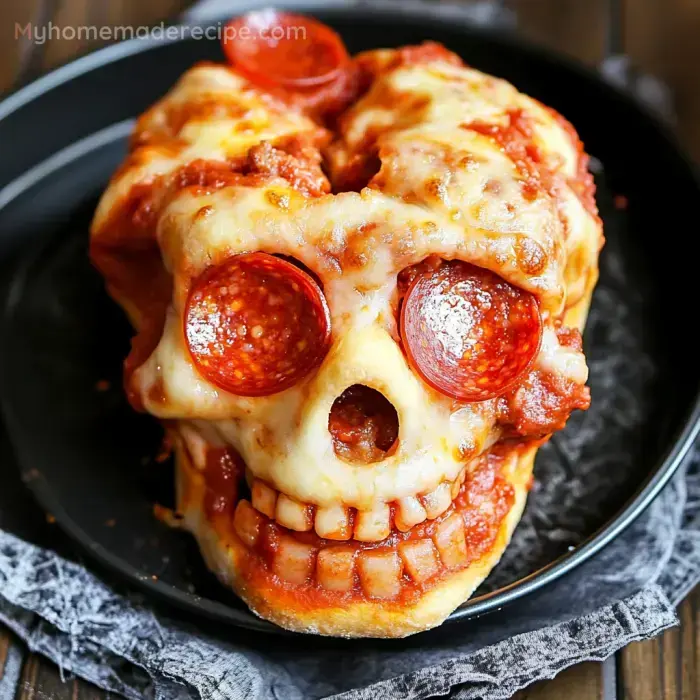
Halloween Pizza Skulls are the kind of dinner that makes the table go quiet for half a second before everyone grabs one. They look spooky, but they eat like a warm pepperoni pizza pocket with crisp edges and a cheesy pull inside.
The skull pan does the hard work. You line each cavity with pizza dough, tuck in sauce, mozzarella, pepperoni, and cooked sausage, then seal the dough over the top. The only real trick is not overfilling them.
I like these for Halloween night because they are handheld, filling, and easy to reheat between doorbell rings. Set out extra sauce for dipping and they disappear fast.
Inside These Spooky Pockets
Use a dough that stretches easily and a filling that is flavorful without being wet. Low-moisture mozzarella works best because it melts beautifully and does not flood the pan.
- Pizza dough. Forms the skull shell and bakes into a golden, chewy crust with crisp edges.
- Pizza sauce. Adds tomato flavor, but only a spoonful is needed so the pockets do not burst.
- Low-moisture mozzarella. Melts into the center and gives that stretchy first bite.
- Pepperoni. Brings salty, spicy pizza flavor in small pieces that fit neatly inside the mold.
- Cooked Italian sausage. Adds a savory, meaty filling without releasing too much moisture.
- Egg wash. Helps seal the dough and gives the backs of the skulls a deeper golden color.
- Olive oil or baking spray. Keeps every ridge of the skull face from sticking.
- Parmesan and Italian seasoning. Add a little extra flavor to the filling without making it heavy.
Shaping Halloween Pizza Skulls
- Prep the pan. Heat the oven to 375°F and grease every ridge of the skull cavities well, especially the eyes and teeth.
- Stretch the dough. Roll the dough on a lightly floured surface and cut it into 6 pieces large enough to line each cavity with overhang.
- Fill lightly. Press dough into each skull, then add mozzarella, sauce, pepperoni, sausage, Parmesan, and seasoning. Keep the filling below the rim.
- Seal the backs. Fold the dough over the filling, trim thick excess, and pinch the seams closed. Brush with egg wash.
- Bake until golden. Bake for 18-22 minutes until the dough is puffed and browned on the back. Larger deep pans may need a few extra minutes.
- Unmold and serve. Rest for 5 minutes, then carefully turn the pan over. Serve warm with extra pizza sauce for dipping.
Keep The Faces Clean
The best skull detail comes from good contact with the pan. Grease the cavities well, then press the dough gently into the eyes, nose, and jaw before adding the filling. Do not stretch it so thin that you can see the pan through it. Thin spots split once the cheese starts bubbling.
Overfilling is the usual mistake. A spoonful of sauce is enough for each skull because the cheese and meats already bring moisture. If you want more sauce, serve it warm on the side. These are the savory cousin to Halloween dessert pizza, but they need a tighter seal because the filling is enclosed.
The Best Filling Balance
Think of the filling as chopped pizza toppings, not a loose casserole. Small pepperoni pieces and crumbled cooked sausage fit into the curves without tearing the dough. Freshly shredded mozzarella melts well, but bagged low-moisture mozzarella is fine when you want a quicker party batch.
Watery add-ins need a little care. Mushrooms, onions, bell peppers, and spinach should be cooked first and patted dry. Raw vegetables steam inside the pocket and can leave the bottom soft. For a milder batch for kids, skip the sausage and use just cheese and pepperoni. For a fuller pizza night, these pair well with quick baked pizza wraps because both can share the same dipping sauce.
Make-Ahead Party Timing
You can shape the skulls a few hours ahead and keep the filled pan covered in the fridge. Bake them right before serving so the crust stays crisp. If the dough has chilled hard, add 2 or 3 extra minutes in the oven and check that the backs are browned.
Fully baked skulls also reheat well. Cool them completely, then store them airtight in the fridge for up to 3 days. The USDA recommends using refrigerated leftovers within 3 to 4 days, and their leftovers safety guide is a useful reference for party food. Reheat at 350°F until hot in the center.
Serving Them Halloween-Night
Serve Halloween Pizza Skulls on a dark platter with a bowl of warm marinara tucked in the middle. A little sauce dripping from one broken skull looks dramatic, but keep the rest intact until guests pick them up. They are filling enough for dinner, especially with a crunchy salad or carrot sticks on the side.
For a party table, make one pepperoni batch and one veggie batch so people can choose. Label the platter outside the food area if needed, but keep the food itself clean and simple. If your crowd loves pizza flavors, add chicken and pepperoni pizza melts to stretch the meal without much extra work.
Summary
These Halloween Pizza Skulls are crisp, cheesy, and easy to customize. Use a greased skull pan, seal the dough well, and serve with warm sauce for dipping.
FAQs
- What pan do I need for Halloween Pizza Skulls?
You need a skull-shaped cakelet pan or skull baking mold with deep cavities. A 6-cavity metal pan gives the sharpest face detail and browns the dough well.
- Can I make pizza skulls without a skull pan?
You can make stuffed pizza pockets on a sheet pan, but they will not have the skull shape. Cut dough into rectangles, fill lightly, seal with a fork, and bake until golden.
- Can I use homemade pizza dough?
Yes. Use about 13-16 ounces of soft, stretchy pizza dough for 6 skulls. Let refrigerated dough sit at room temperature for 20 minutes so it stretches without tearing.
- How do I stop the filling from leaking?
Use less sauce than you think and keep the filling in the deepest part of the cavity. Pinch the seams tightly, brush with egg wash, and place the seam side up in the pan while baking.
- Can these be made ahead for a party?
Yes. Bake them fully, cool them, and refrigerate for up to 3 days. Reheat in a 350°F oven until hot in the center and crisp around the edges.
- What fillings work besides pepperoni?
Cooked mushrooms, olives, peppers, ham, pineapple, and cooked ground beef all work. Avoid watery raw vegetables because they can make the dough soggy inside.
- What should I serve with pizza skulls?
Serve them with warm marinara for dipping and a simple salad or veggie tray. For a bigger Halloween spread, add mini Halloween pizzas or witch hat calzones.
