 Pin it
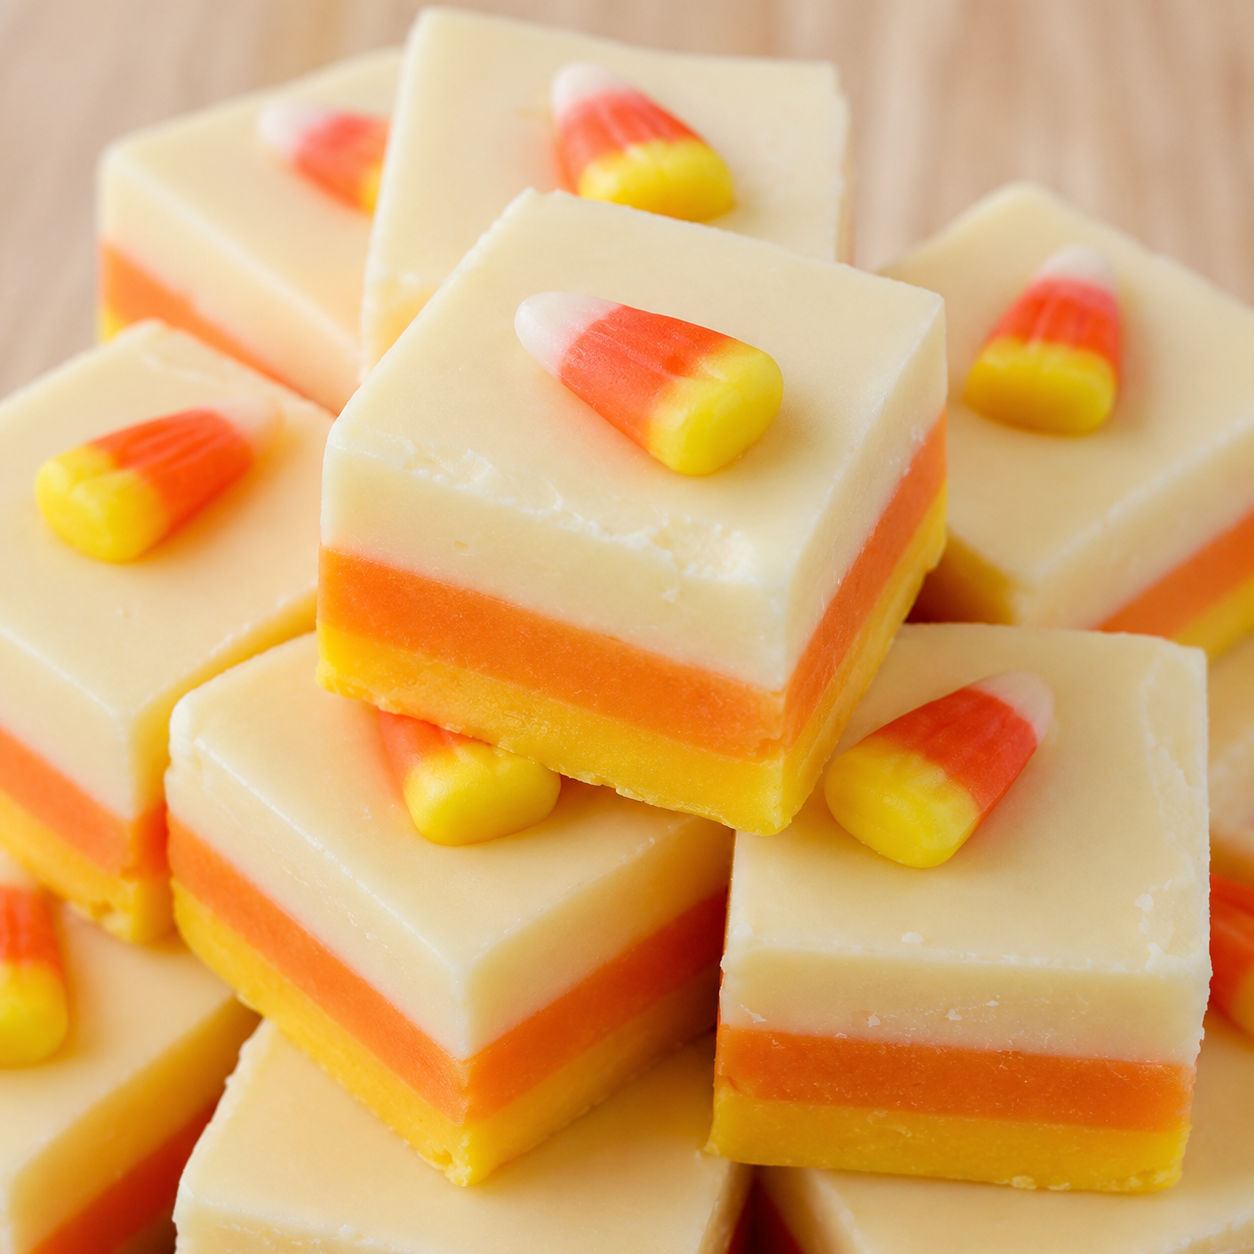
I make this candy corn fudge every October when the bags of tri-color candy hit the shelves. It is a simple no-bake project that looks far more impressive than the effort it takes, and it always disappears first from the Halloween treat table.
The trick is patience between layers. Each one needs a short chill in the fridge before you pour the next, so the colors stay sharp and do not bleed into each other. The result is a neat stack of creamy white chocolate fudge that looks just like the classic candy.
What goes into this fudge
You only need a handful of pantry staples for this fudge. Grab a good quality white chocolate and gel food coloring, which gives the brightest color without thinning the mixture.
- White chocolate chips. They melt smoothly and set into a creamy base. Use a brand you trust, since cheap chips can seize or turn grainy.
- Sweetened condensed milk. This adds sweetness and that signature dense, soft fudge texture. Do not swap it for evaporated milk.
- Butter. A small amount keeps the fudge tender and adds a mellow richness.
- Gel food coloring. Yellow and orange tint the layers. Gel is thicker than liquid dye, so it will not water down the fudge.
- Candy corn. Optional, but pressing one on top of each square makes the Halloween theme obvious.
Building the candy corn fudge
- Line the pan. Fit an 8-inch square pan with parchment paper, leaving an overhang on two sides so you can lift the fudge out later.
- Melt the base. Combine white chocolate chips, sweetened condensed milk, and butter in a microwave-safe bowl. Heat in 30-second bursts, stirring between each, until smooth and glossy.
- Divide and tint. Split the melted mixture into three portions. Tint one with yellow gel coloring and another with orange, leaving the third plain white.
- Layer and chill. Pour the yellow mixture into the pan and spread it flat. Chill for 10 to 15 minutes until firm. Repeat with the orange layer, then the white.
- Set and slice. Chill the finished fudge for at least 2 hours until completely solid. Lift it out, cut into squares, and top with a candy corn if you like.
Keep the layers sharp
The most common problem is colors bleeding because a layer was not cold enough before the next one went on. Ten minutes in the fridge is usually enough for each layer to form a skin, but if your kitchen is warm, give it fifteen. The surface should feel firm to the touch before you pour the next color.
Work quickly once you tint each bowl. White chocolate fudge starts to set as it cools, so have your colors ready before you melt anything. If a bowl stiffens before you pour it, a quick 10-second zap in the microwave will loosen it back up.
Gel versus liquid dye
Liquid food coloring can throw off the texture of fudge because it adds water. Gel coloring is concentrated, so a toothpick-sized dab is enough for a bold hue. I use orange and yellow, but if you only have red and yellow, mix a tiny bit of red into yellow to make orange.
Cutting clean squares
A sharp chef's knife is your best friend here. Run the blade under hot water, wipe it dry, then slice in one confident motion. The heat melts through the chocolate just enough to prevent cracks. Wipe the blade clean between cuts so colors do not smudge.
For a fun twist, cut the block into triangles instead of squares so each piece actually looks like a wedge of candy corn. This shape works especially well if you press a real candy corn into the point of each triangle.
Storage and make-ahead plans
Store the fudge in an airtight container at room temperature for up to three days, or refrigerate it for up to two weeks. It actually slices neater when cold, so I often chill it overnight before serving. When storing dairy-based sweets, follow basic food safety practices.
Flavor twists that work
If you want to change things up, stir a pinch of cinnamon or pumpkin pie spice into the orange layer. A few crushed salted pretzels folded into the yellow layer add crunch that balances the sweetness. You could also swap the candy corn topper for mini chocolate chips or orange sprinkles.
If you enjoy festive fudge, try our candy corn rice krispie treats for a crispy variation, or the caramel coffee fudge when you want something less sweet. During Easter we make Cadbury egg fudge with the same base method.
Summary
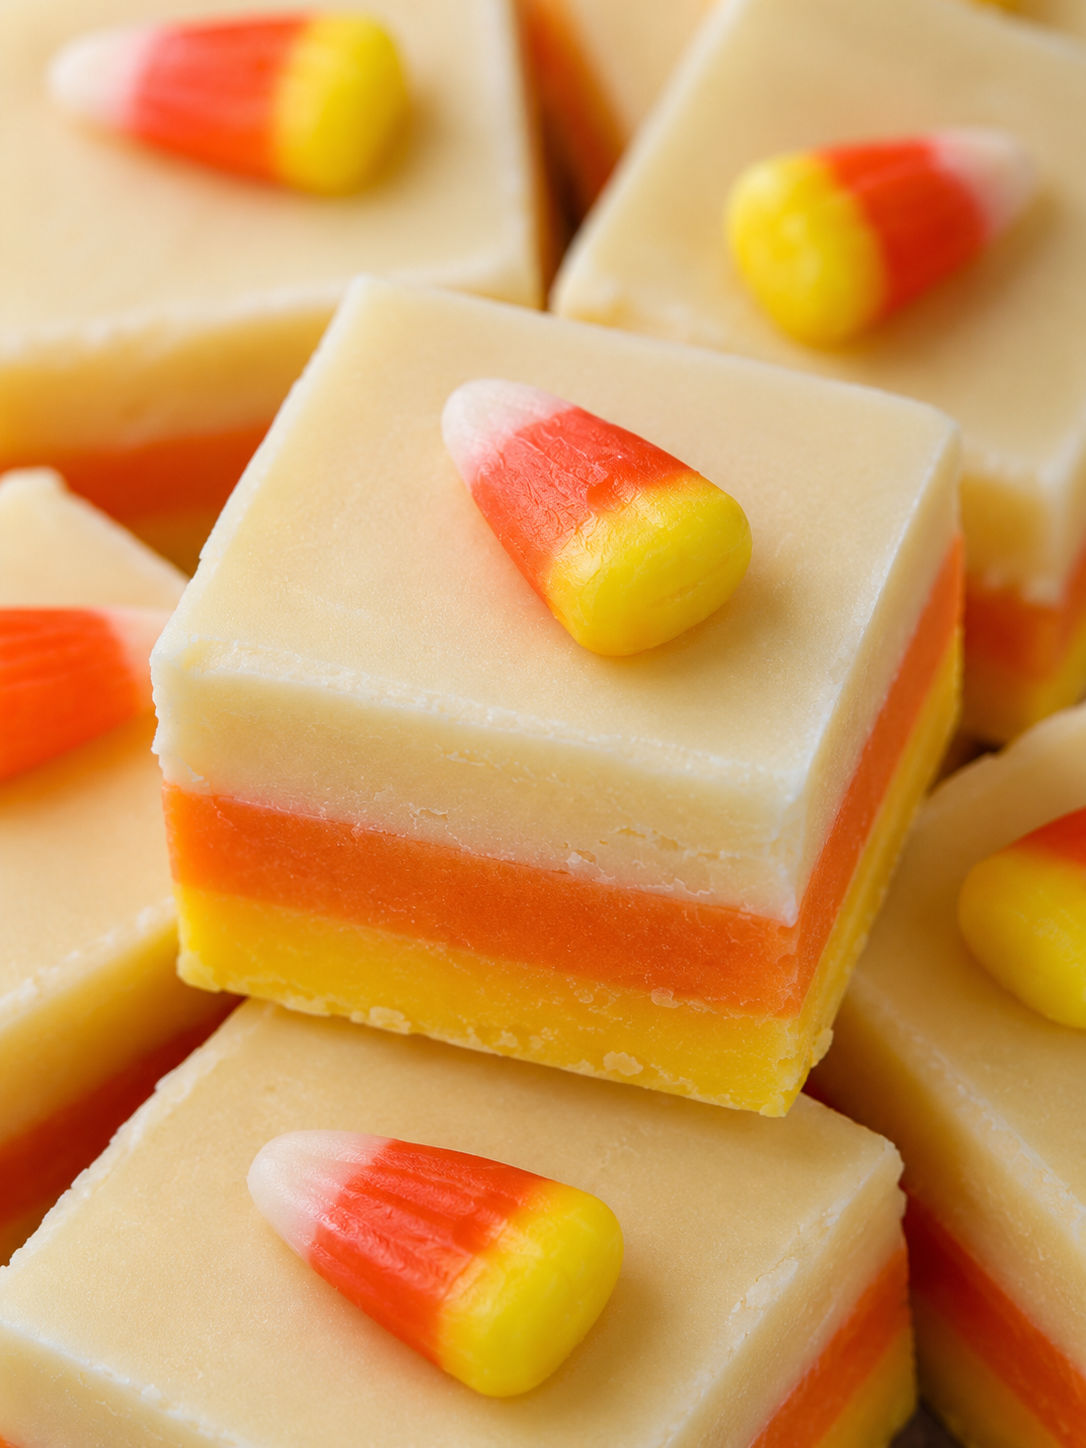
Candy Corn Fudge is a vibrant, easy-to-make layered dessert perfect for Halloween, featuring white, orange, and yellow fudge.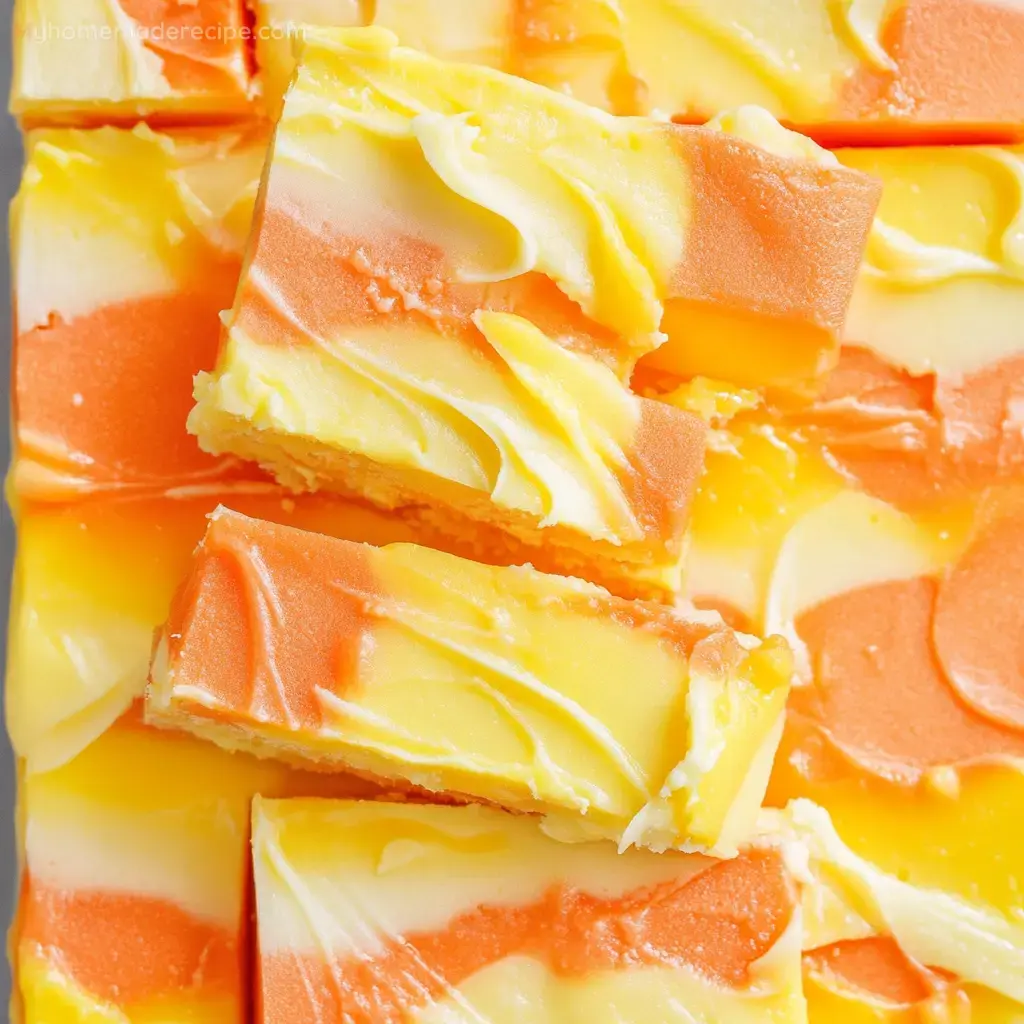
FAQs
- Can I use evaporated milk instead of sweetened condensed milk?
No. Evaporated milk is not sweetened and lacks the thick, syrupy consistency that gives fudge its dense texture. Sweetened condensed milk is essential here.
- Do I need a candy thermometer?
No. This is a no-bake fudge that relies on melted white chocolate and condensed milk. As long as you melt gently and do not overheat the chocolate, it will set firm in the fridge without any tempering or temperature checks.
- How do I keep the layers from mixing together?
Chill each layer until it feels firm to the touch, usually 10 to 15 minutes. If the surface is still soft, the warm mixture you pour on top will sink in and blur the line.
- Can I make this fudge ahead of time?
Yes. It keeps well in the refrigerator for up to two weeks, or you can freeze it for up to two months. In fact, chilling overnight makes it easier to slice neatly.
- What if I do not have gel food coloring?
You can use liquid coloring, but add it drop by drop because the extra liquid can thin the fudge. You can also mix red and yellow liquid dyes to create orange.
- Can I double the recipe?
Yes. Use a 9 by 13 inch pan instead of an 8-inch square, and expect slightly longer chill times between layers. The finished fudge will be about the same height.
- Why did my fudge turn grainy?
White chocolate can seize if it gets too hot or contacts water. Melt in short bursts, stir often, and make sure your bowl and utensils are completely dry.
