 Pin it
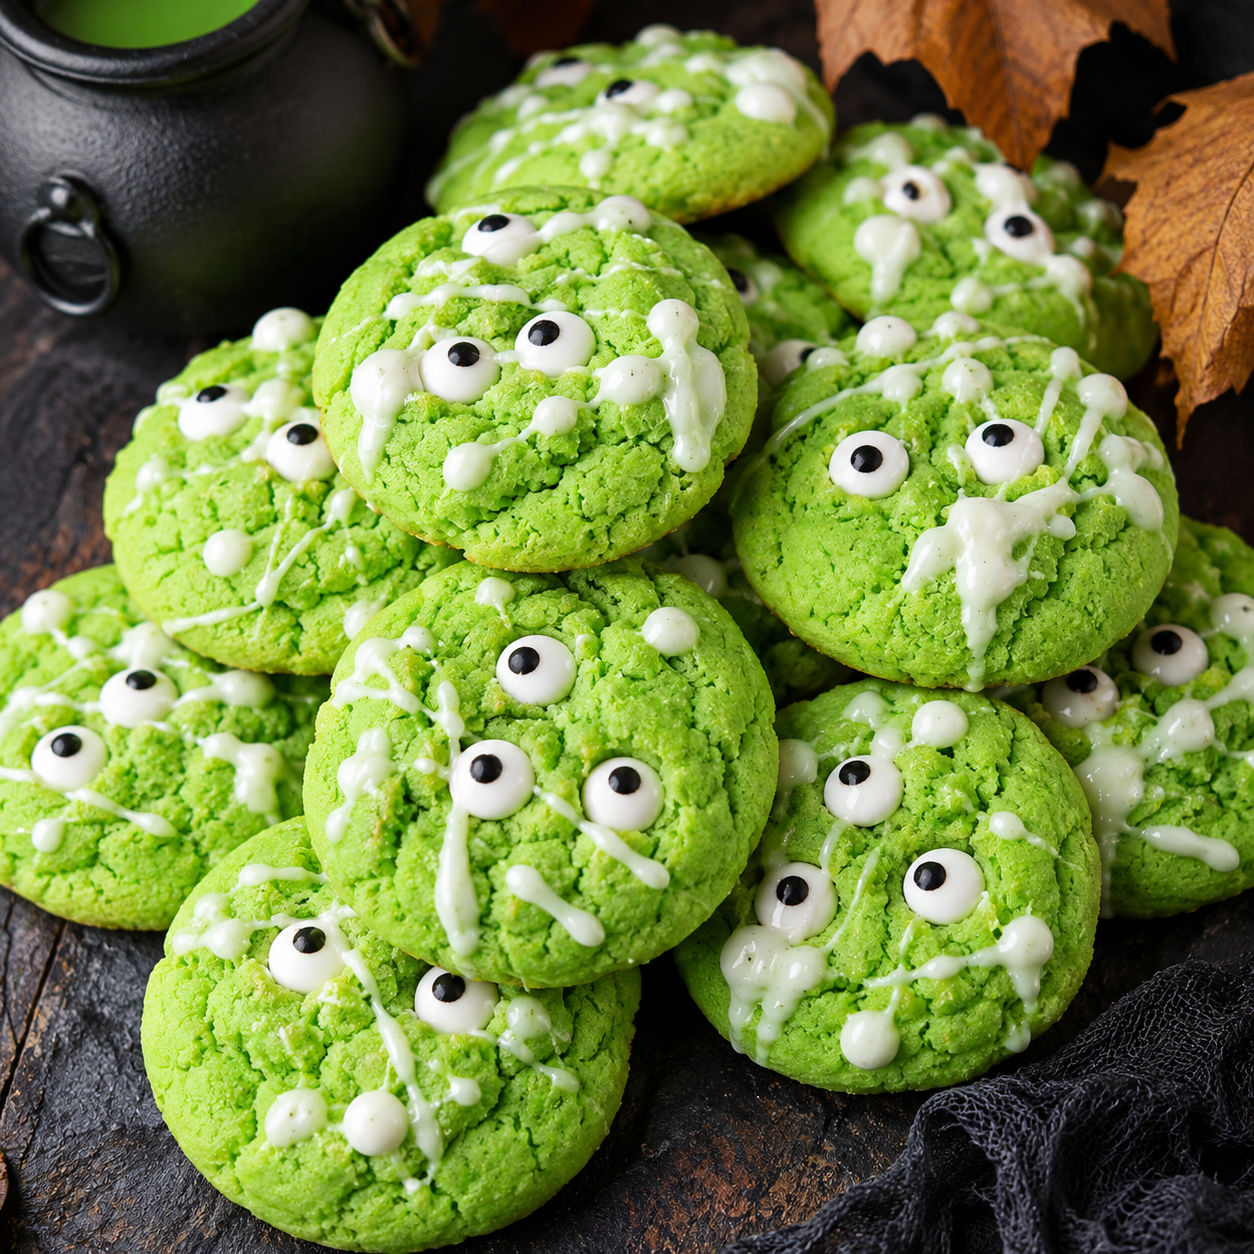
Every October I rewatch Hocus Pocus and want something green and silly to set on the coffee table while the Sanderson sisters run amok. These cookies are that treat. They are soft sugar cookies tinted a bright potion green and dotted with candy eyes that stare back at you while you eat them.
The dough comes together in one bowl. No chilling is required, which means you can go from mixing bowl to movie couch in about thirty minutes. Kids love pressing the eyes into the warm cookies, and adults love that they actually taste like real sugar cookies, not just a craft project.
What goes into the cauldron
This is a standard soft sugar cookie base with one theatrical twist. Good butter and real vanilla keep the flavor rich underneath all the green food coloring. Buy gel food coloring rather than the liquid kind from the supermarket. It delivers a deep lime green without throwing off the wet-to-dry ratio.
- All-purpose flour. The backbone of the dough. Spoon it into your cup and level it off so the cookies stay tender rather than dry.
- Unsalted butter. Softened butter creams up airy and light, which gives these cookies their soft center.
- Granulated sugar. Creates the crackly top and the crisp edge that contrasts with the chewy middle.
- Green gel food coloring. The secret to that life-potion look. Gel is concentrated, so start with a pea-sized dab and add more until the dough looks like witch's brew.
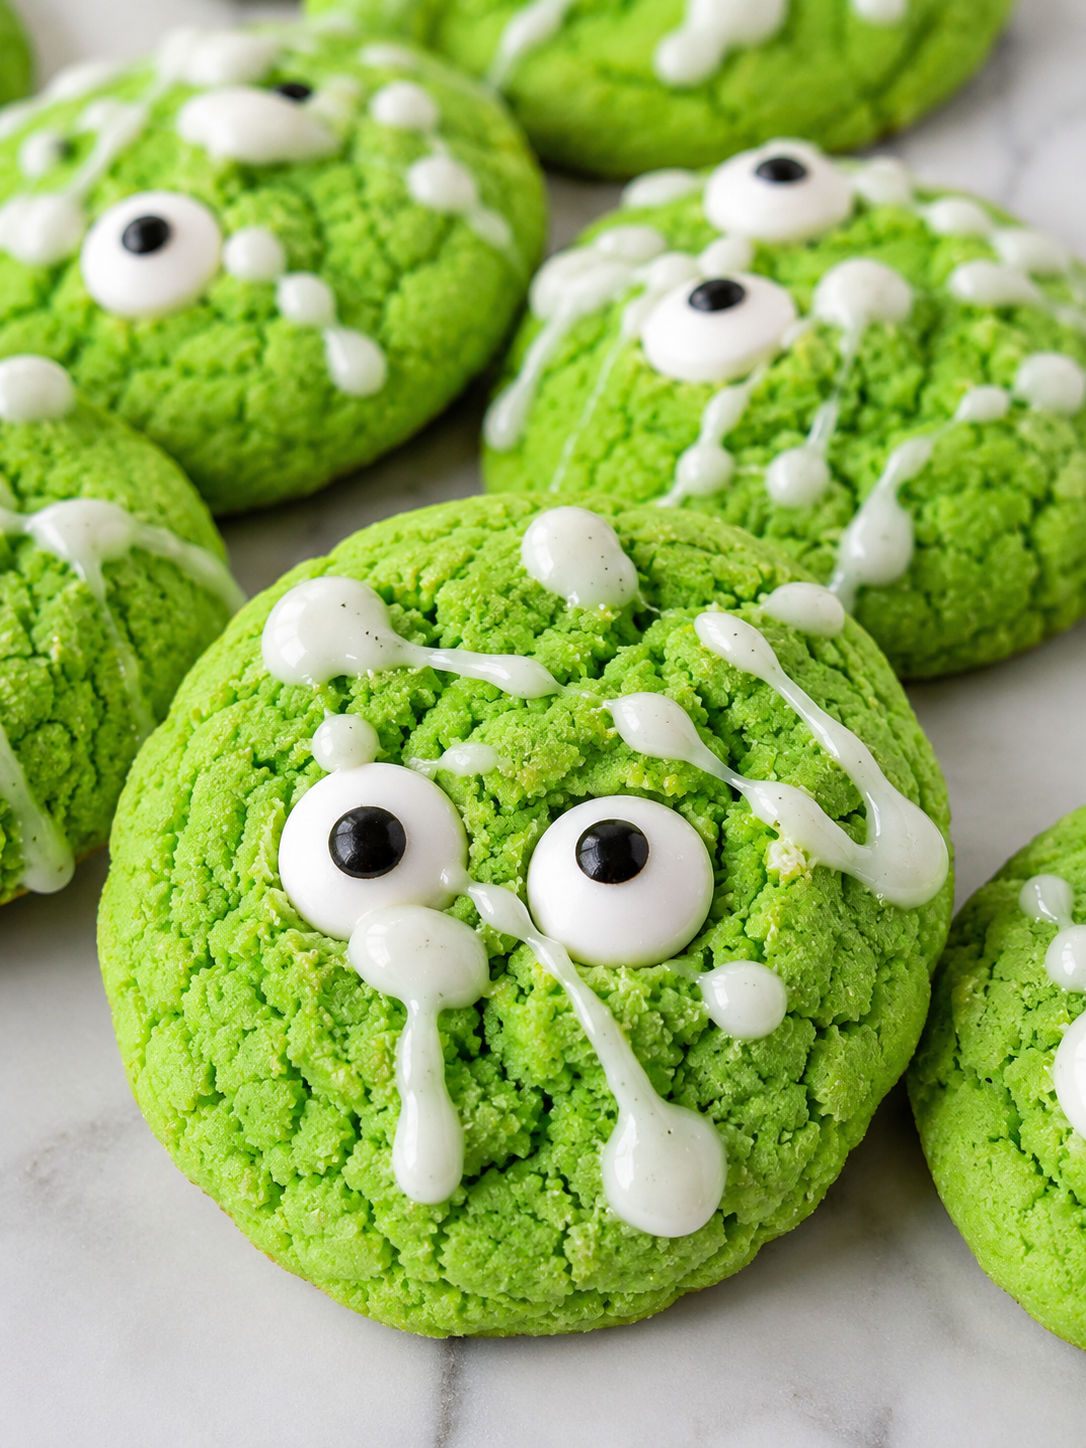
- Candy eyeballs. The spooky star of the show. Press them into the warm cookies so they stick without sliding off.
- White chocolate. Melted and drizzled on top to look like bubbling foam or slime. Completely optional but fun.
How to conjure them
- Preheat and prep. Set your oven to 350°F and line two baking sheets with parchment paper. This keeps the green dough from staining your pans.
- Mix the dry ingredients. Whisk the flour, baking powder, baking soda, and salt together in a medium bowl. Set it aside.
- Cream the butter and sugar. Beat them together until the mixture looks pale and fluffy, about two to three minutes. This step adds air so the cookies do not turn out dense.
- Add the wet ingredients. Beat in the egg, vanilla, and almond extract if you are using it. Then add the green gel coloring and mix until the dough is evenly vivid. Scrape the bowl once so no streaks of plain dough hide at the bottom.
- Form the dough balls. Use a one-tablespoon scoop or roll by hand into neat balls. Space them two inches apart on the prepared sheets. They will spread into neat rounds.
- Bake until just set. Bake for nine to eleven minutes. The tops should look dry and a little crackly, but the centers should still feel soft if you poke them gently. Do not overbake or the green color will dull.
- Add the eyes. As soon as the pan comes out of the oven, press two candy eyes into the top of each warm cookie. The residual heat softens the candy backing just enough to glue them in place.
- Cool and drizzle. Let the cookies rest on the pan for five minutes, then transfer to a wire rack. If you want the bubbly potion effect, drizzle melted white chocolate over the cooled cookies.
Keep the color bright
The enemy of a vivid green cookie is browning. Bake on the center rack and check them at the nine-minute mark. If your oven runs hot, the edges will tan and the lime green will turn olive. Pull them when the centers still look slightly underdone. They will finish cooking as they cool on the pan.
Make-ahead and storage
The dough keeps well wrapped tightly in the refrigerator for up to two days. Let it sit at room temperature for fifteen minutes before scooping so it is soft enough to roll. Baked cookies stay fresh in an airtight container at room temperature for three days. After that the candy eyes can start to get sticky from humidity.
Swaps and other spells
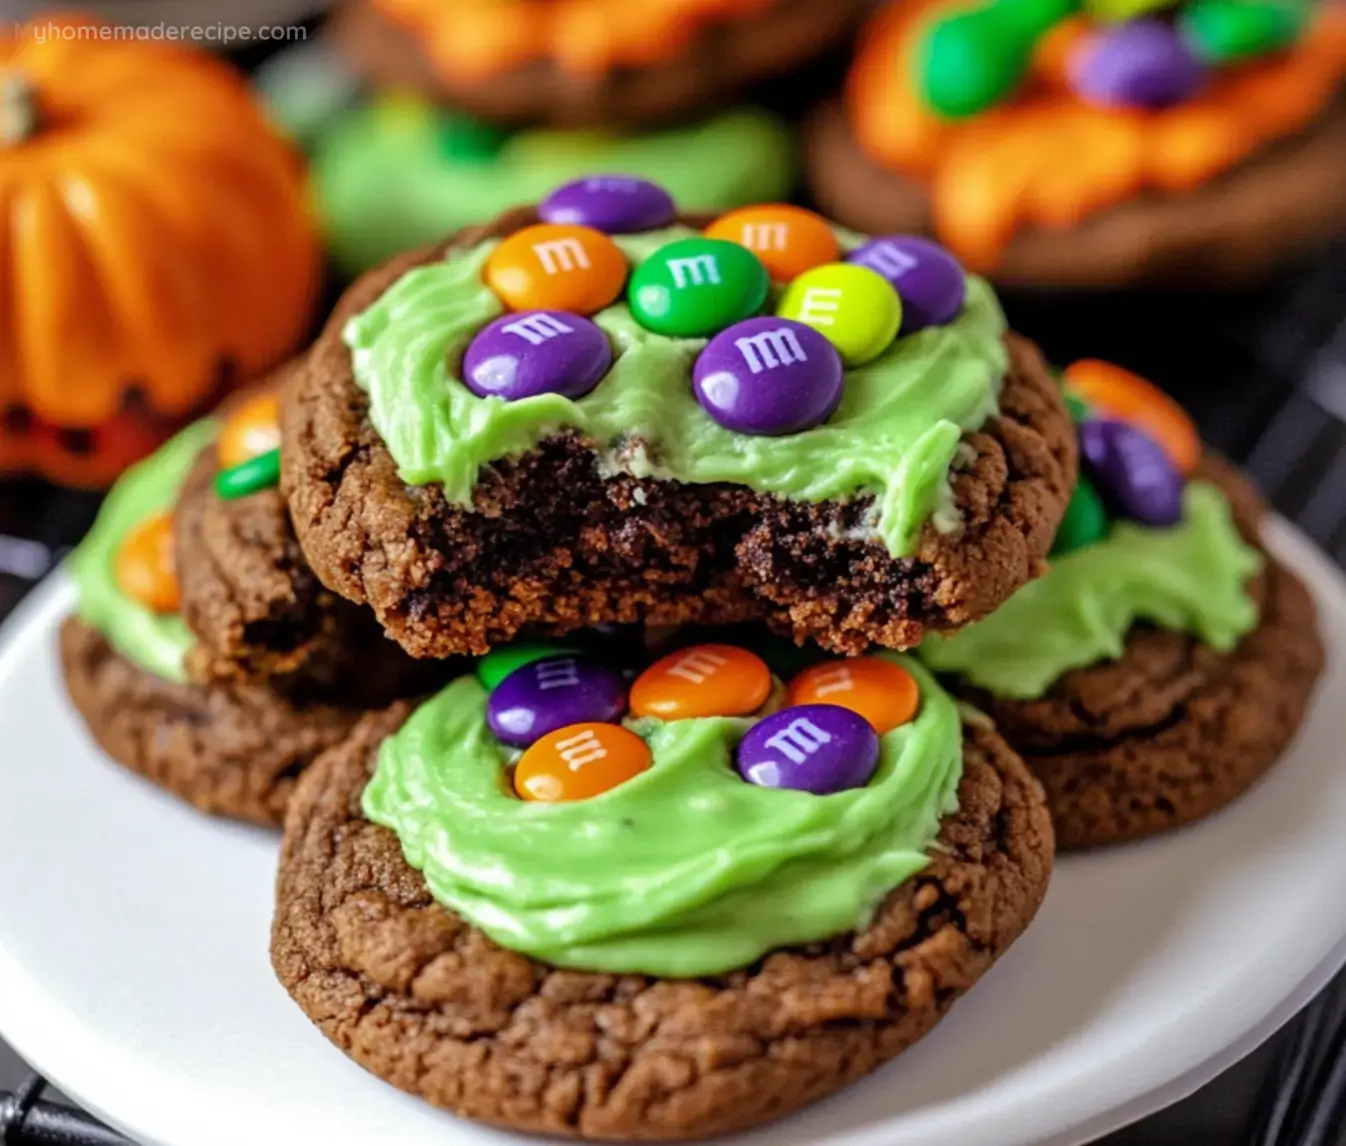
If you want a chocolate version, swap out half a cup of flour for black cocoa powder and call them black-flame-candle cookies. You can also roll the dough balls in orange and purple sanding sugar before baking for a more colorful Halloween plate. For another spooky cookie idea, try our double chocolate Halloween cookies. They pair well with these for a monster cookie platter.
If you are throwing a full Hocus Pocus movie night, serve these alongside our Hocus Pocus Halloween milkshake. The green theme carries through both treats. And if you want a non-Halloween version of this same soft dough, our soft Christmas sugar cookies use the same base with a holiday twist.
What to watch while they bake
These cookies are best eaten warm while you quote every line of Hocus Pocus. The recipe is simple enough that older kids can handle most of it themselves. Just supervise the oven and the hot pans. The U.S. FDA recommends keeping raw dough with egg refrigerated and baking until fully set. See their safe food handling guidelines for details.
FAQs
- Can I use liquid food coloring instead of gel?
You can, but the results will be softer in color and may make the dough sticky. Gel coloring is much more concentrated and will give you that bright potion green without extra liquid.
- Where can I buy candy eyes?
Most grocery stores stock them in the baking aisle near the sprinkles and cake decorating supplies. You can also find them at craft stores or online around Halloween.
- Can I make the dough ahead of time?
Yes. Wrap it tightly and refrigerate for up to two days. Let it soften at room temperature for about fifteen minutes before scooping so it rolls easily.
- Why did my cookies turn brown on the edges?
Your oven may run hot or the cookies baked too long. Pull them when the centers still look slightly puffy and underdone. They will firm up as they cool.
- Can I freeze the baked cookies?
Yes, but freeze them without the candy eyes and add the eyes after thawing. The eyes can get sticky and cloudy in the freezer. Freeze in a single layer for up to two months.
- Are these safe for classroom parties?
Generally yes, but check if any children have egg or wheat allergies. The cookies contain butter, flour, and egg. You can label the container with ingredients for safety.
- Do I have to add the white chocolate drizzle?
Not at all. The drizzle is just for looks. The cookies are delicious plain or with just the candy eyes. You could also use orange and purple sprinkles instead.
