 Pin it
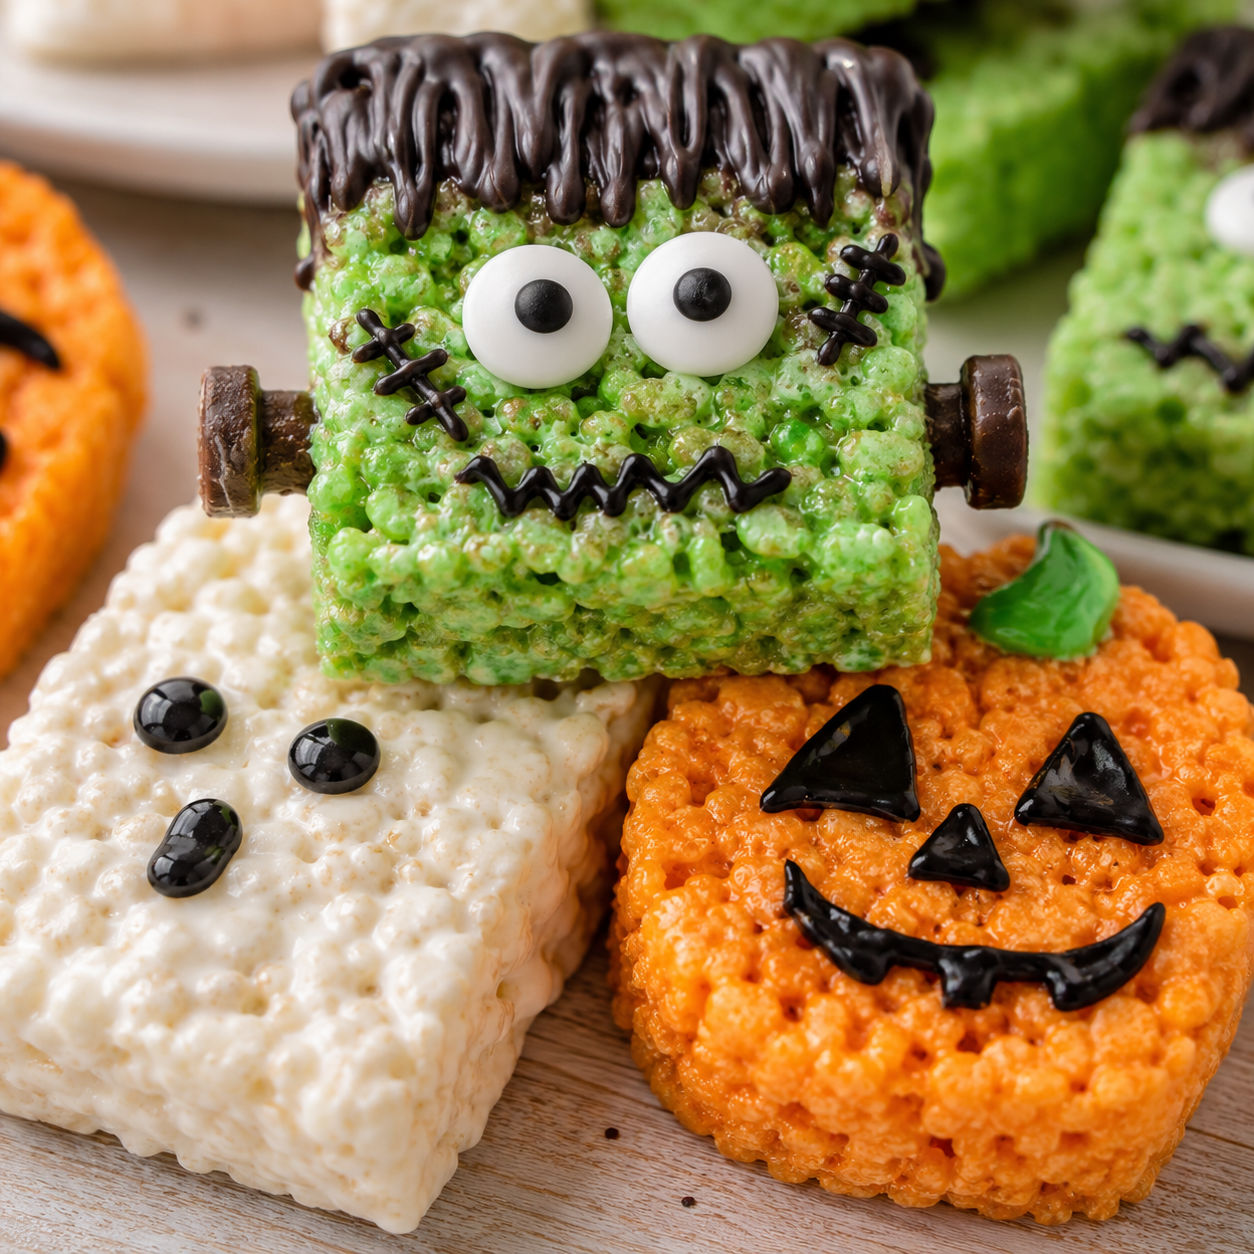
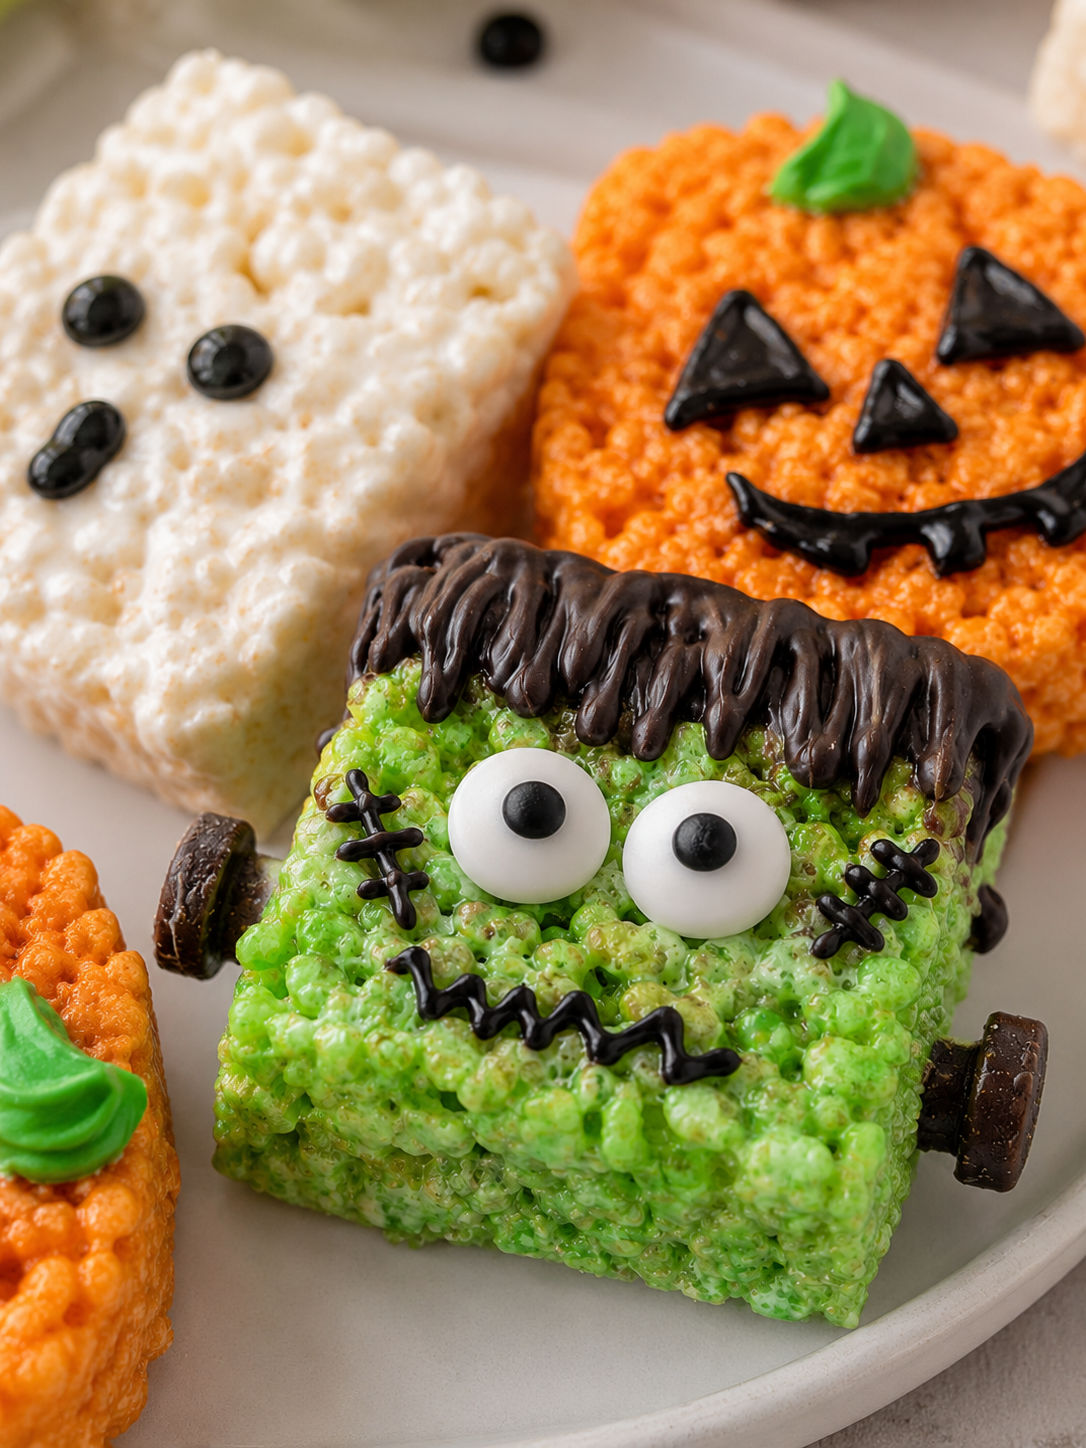
These are the treats I make when I want a Halloween activity that doubles as dessert. The base comes together in ten minutes, and the decorating is simple enough that kids can run with it. You end up with a tray of Frankensteins, ghosts, and pumpkins that look like you spent far longer than you did.
The secret is melting the marshmallows slowly and not packing the cereal down too hard. That keeps the bars soft and chewy for days. Once the base is cool, candy melts and candy eyes do the rest of the work.
What goes into the pan
The base is classic for a reason. Fresh marshmallows, real butter, and a splash of vanilla give you that soft, pull-apart texture everyone fights over. Stock up on candy melts in green, white, and orange, plus plenty of candy eyeballs.
- Unsalted butter. It carries the flavor and keeps the bars rich without oversalting the base.
- Mini marshmallows. Fresh ones melt evenly and create the stretchy glue that holds everything together.
- Crispy rice cereal. The classic crunch. Name-brand or store-brand both work as long as the cereal is fresh and crisp.
- Vanilla extract. A small splash deepens the sweetness so the bars taste homemade, not boxed.
- Candy melts. Green for Frankenstein, white for ghosts and mummies, orange for pumpkins. They set fast and taste mild.
- Candy eyeballs. The instant personality maker. Press them on while the candy coating is still wet.
- Mini chocolate chips and black icing. For mouths, hair, and stitched details that bring the characters to life.
How to build the monsters
- Melt the butter and marshmallows. Warm butter in a large pot over medium-low heat. Add marshmallows and stir constantly until just melted and smooth. Remove from heat immediately.
- Stir in vanilla and cereal. Add the vanilla and the crispy rice cereal. Fold gently until every piece is coated but not crushed.
- Press and cool. Transfer to a buttered 9x13-inch pan. Press lightly with buttered hands or a spatula. Let cool for at least 30 minutes.
- Cut into bars. Lift the slab out using parchment overhang. Cut into rectangles with a sharp knife. Wipe the blade clean between cuts.
- Melt candy colors. Microwave each color in a shallow bowl at 50 percent power in 30-second bursts, stirring between rounds, until pourable.
- Dip and decorate. Dip one end of each bar into the candy coating. Place on parchment. Add candy eyes, drizzle chocolate hair, or pipe black icing mouths before the coating sets.
The low heat rule
The biggest mistake people make is cranking the burner too high. Marshmallows scorch fast, and once they do, the whole batch turns stiff. Keep the flame at medium-low and stir the whole time. The mixture should soften slowly into a thick liquid without bubbling or browning.
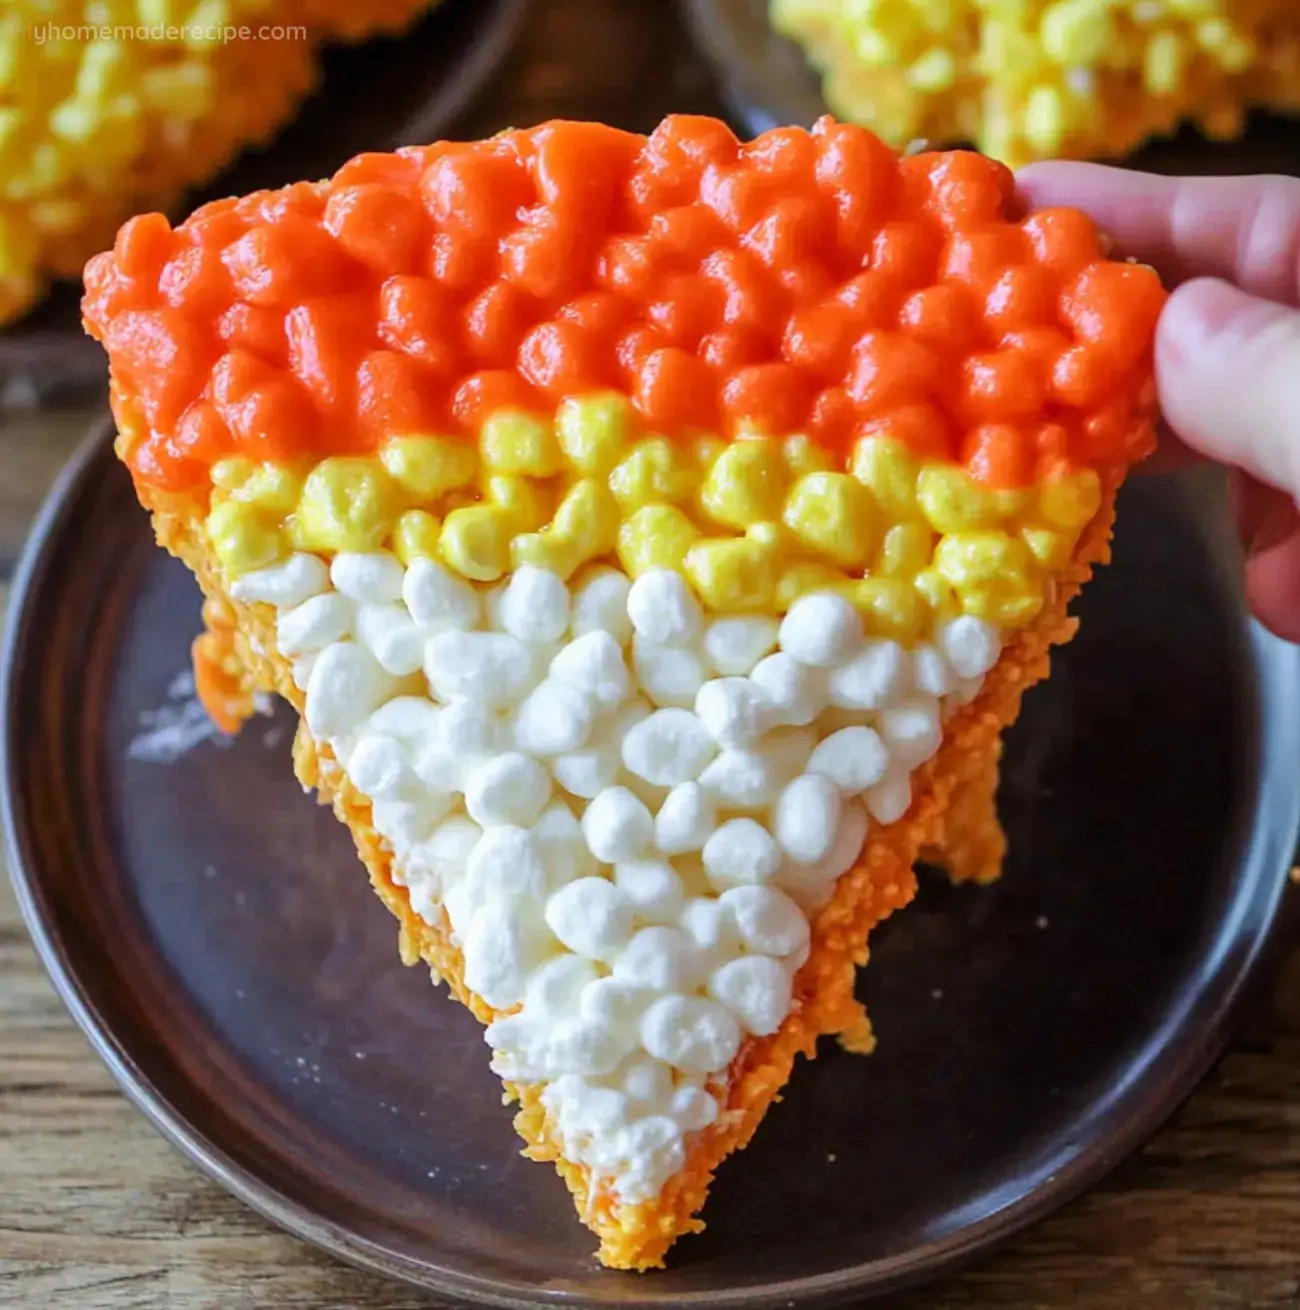
If you want a different flavor base, Candy Corn Rice Krispie Treats use the same gentle melt method with a seasonal twist.
Cutting and shaping tricks
A warm knife is your best friend here. Run the blade under hot water, dry it, then slice. The heat glides through the sticky marshmallow without dragging or tearing. For cleaner edges, lift the whole block out of the pan first using parchment paper as a sling. Cutting on a cutting board is far easier than fighting the corners of a baking dish.
If you want smaller bite-sized monsters, cut the slab in half and use smaller rectangles. Just dip one side instead of coating the whole bar to keep the ratio balanced.
Working with candy melts
Candy melts are forgiving, but they seize if overheated. The microwave at half power is safer than a double boiler for small batches. Stir between every 30-second burst. If the coating is too thick for dipping, stir in a teaspoon of coconut oil or vegetable shortening until it flows like heavy cream.
Work in small batches of two to three bars at a time so the coating stays fluid. Place dipped bars on parchment paper and let them set at room temperature. They harden in about ten minutes, faster if your kitchen is cool. If you enjoy candy melt projects, Grinch Rice Krispie Treats use the same technique with a holiday color scheme.
Storage and party timing
Store the finished treats in a single layer in an airtight container at room temperature for up to three days. If you must stack them, slip a sheet of parchment between layers so the decorations do not smudge. The bars stay softest the day they are made, but they are still good on day two and three.
You can prepare the plain Rice Krispie base the night before. Wrap the uncut slab tightly and leave it on the counter. Decorate the next morning so the candy coatings look fresh and glossy for the party. For another no-bake treat that travels well, S'mores Rice Krispies Treats are a great addition to the same tray.
FAQs
- Can I use store-bought Rice Krispie treats instead of making the base?
Yes. Buy the plain original bars, cut them to size if needed, and dip them directly into the melted candy. Homemade tastes softer and fresher, but store-bought saves time when you are in a rush.
- Why did my treats turn out hard and crunchy?
High heat or over-stirring destroys the tender texture. Melt marshmallows slowly over medium-low heat and press the cereal mixture into the pan gently. Packing it down firmly compacts the bars and makes them dense.
- How far ahead can I make these?
Make the plain base up to one day ahead and wrap it well. For the best appearance, decorate within a few hours of serving so the candy eyes and coatings stay bright and the bars remain soft.
- Can I use real chocolate instead of candy melts?
You can, but real chocolate needs to be tempered to set hard and shiny at room temperature. Candy melts are easier because they set without tempering. If you use chocolate chips, add a teaspoon of coconut oil to help them harden.
- How do I keep the candy coating smooth?
Melt at 50 percent power and stir often. If the coating is too thick, thin it with a tiny bit of coconut oil. Avoid getting water into the melts, because even a drop will make them seize and turn grainy.
- Are these treats gluten-free?
Crispy rice cereal often contains malt flavoring from barley, which is not gluten-free. Check the label carefully and choose a certified gluten-free crispy rice cereal if you need them to be safe for someone with celiac disease.
- Can I make these vegan?
Yes, with a few swaps. Use vegan butter, vegan marshmallows, and check that your candy melts and candy eyes are dairy-free. The texture will be slightly different but still delicious and fun to decorate.
