 Pin it
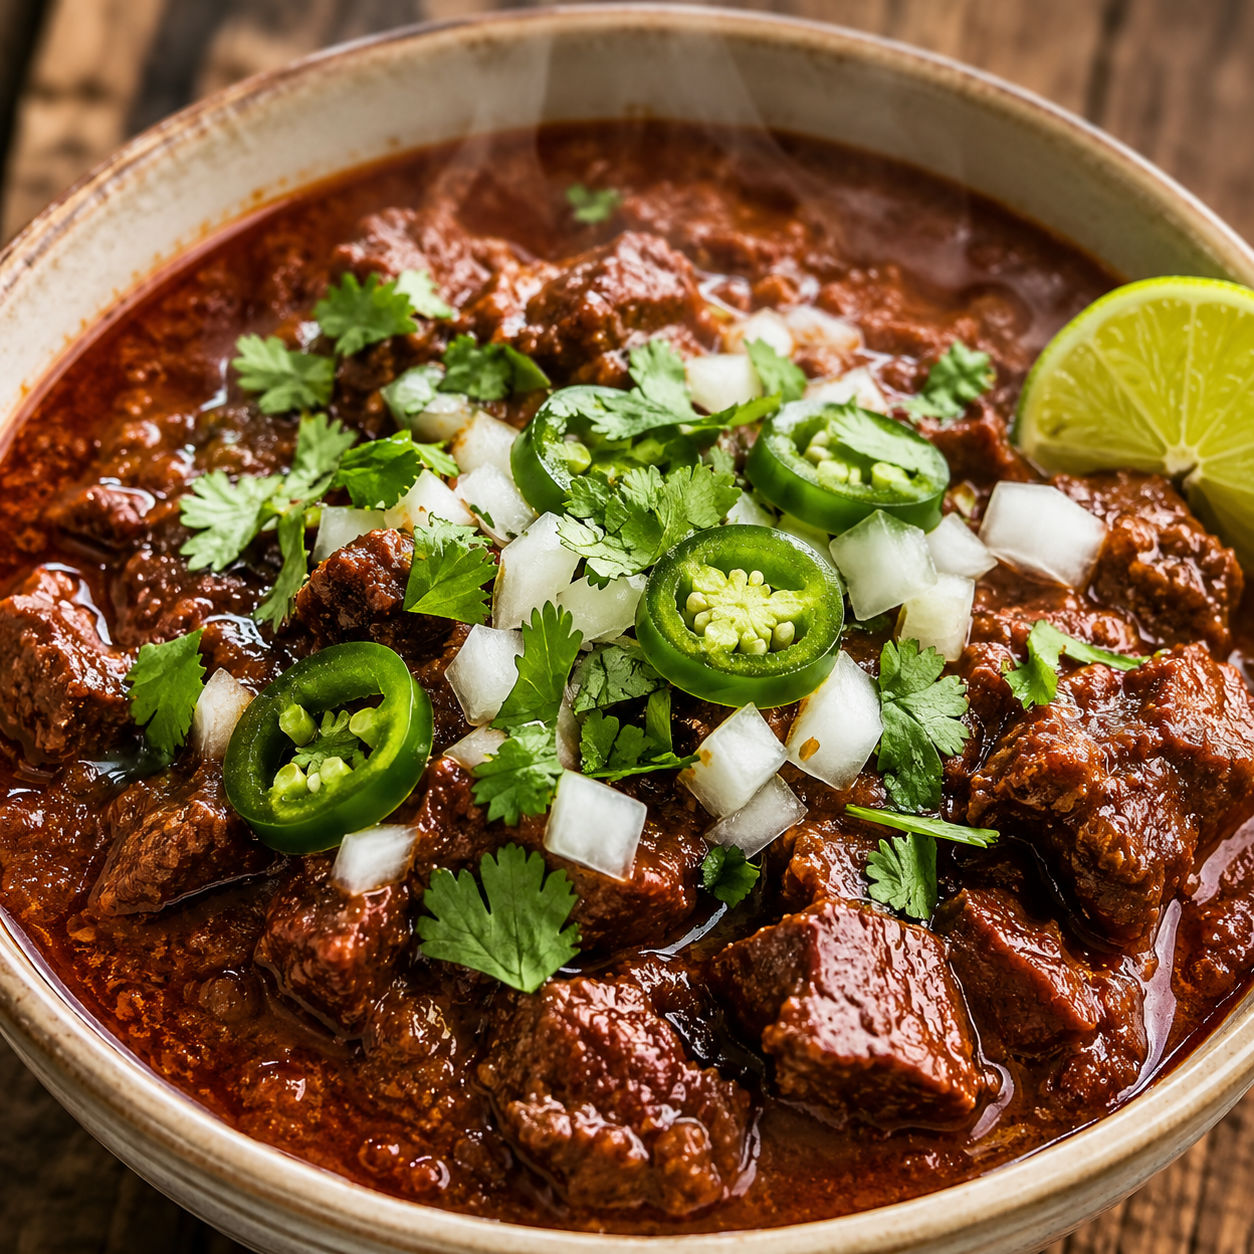
Texas Style Chili is not the thin ground beef bowl a lot of us grew up eating. This one is meatier, darker, and slower. The sauce comes from dried chiles that get toasted, soaked, and blended into a deep red gravy.
I make it when I want a pot that can sit low on the stove while the kitchen smells smoky and warm. There are no beans here. The beef does the heavy lifting, and the chile paste gives the chili its body.
Beef And Chiles First
The best pot starts with beef chuck that has enough marbling to soften during a long simmer. For the chiles, look for dried pods that bend a little instead of snapping like old paper.
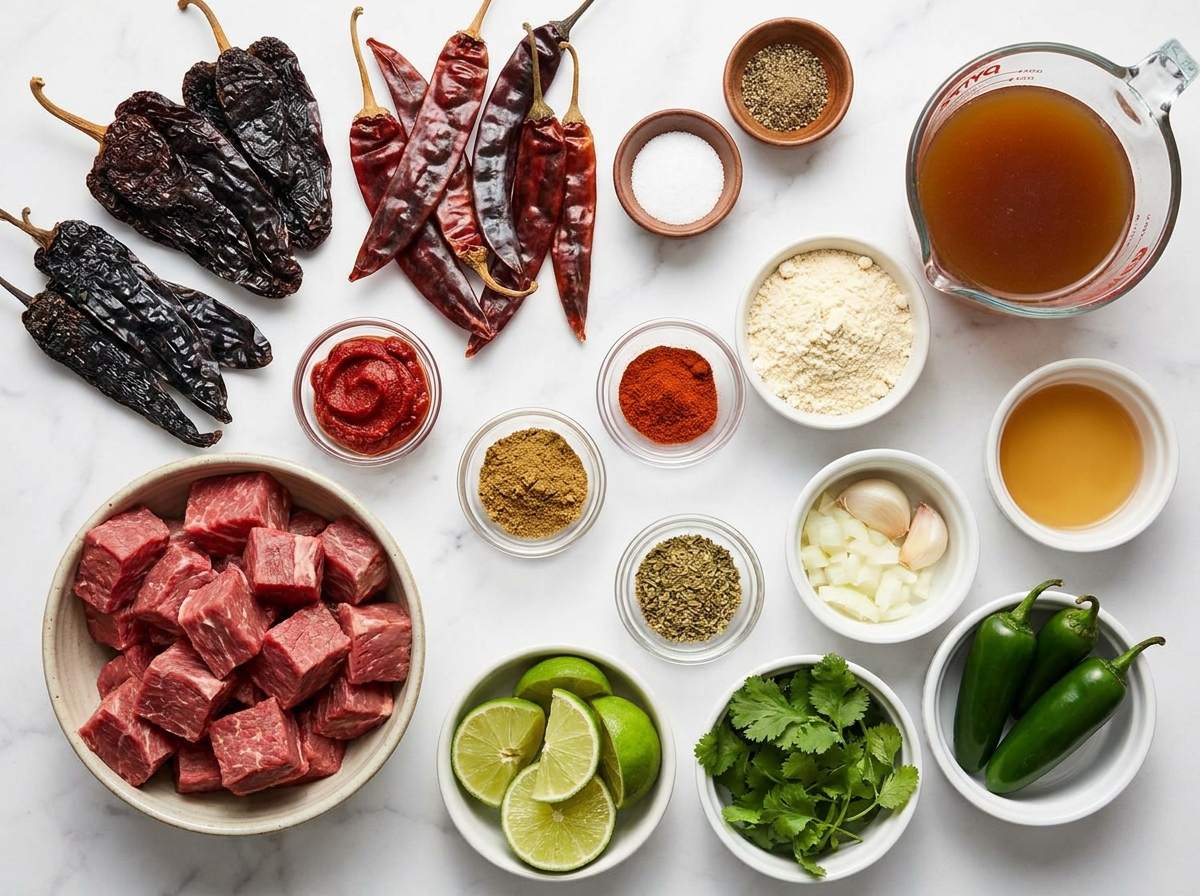
- Beef chuck. The main ingredient, cut into chunks so it turns tender without disappearing into the gravy.
- Dried ancho chiles. Add dark color, mild heat, and a raisin-like sweetness.
- Dried guajillo chiles. Bring red color and a clean chile flavor that keeps the sauce lively.
- Pasilla or New Mexico chiles. Round out the paste with mellow earthiness.
- Onion and garlic. Build a savory base after the beef has browned.
- Tomato paste. Adds body without turning the chili into tomato stew.
- Cumin and Mexican oregano. Give the pot its familiar warm chili aroma.
- Masa harina. Thickens the gravy at the end and adds a soft toasted corn note.
- Beef broth. Keeps the chili rich while the meat slowly braises.
Texas Style Chili Method
- Toast the chiles. Stem and seed the dried chiles, then toast them in a dry Dutch oven for a few seconds per side until fragrant. Do not let them blacken.
- Soak and blend. Cover the toasted chiles with hot broth and rest for 20 minutes. Blend them with some soaking liquid until very smooth.
- Brown the beef. Pat the chuck dry, season it, and sear it in batches. Give the pieces space so they brown instead of steam.
- Cook the base. Soften the onion in the same pot, then stir in garlic, tomato paste, cumin, oregano, paprika, and cayenne until the paste darkens.
- Simmer low. Return the beef to the pot with the chile puree, remaining broth, and bay leaf. Simmer gently until the beef is spoon-tender, about 2 1/2 to 3 hours.
- Finish the gravy. Stir masa harina with a little hot broth, add it back to the pot, and simmer 10 minutes. Finish with vinegar and adjust the salt.
Why No Beans Here
Texas chili has a stubborn identity. It is beef and chile gravy first. Beans can be good in other chili, but they pull this pot away from the old chili con carne style. The Chili Appreciation Society International is one place where that no-bean tradition still shows up strongly in cookoff culture.
If your family expects beans, serve them on the side and let people add their own. That keeps the main pot thick and beefy. For a softer, family-style bowl with a different feel, try the site's Hearty Chili another night. If you like regional chili styles, Skyline-Style Cincinnati Chili goes in a completely different direction with warm spices and a thinner sauce.
Browning Matters
The sear is where this chili gets its first deep flavor. Dry the beef with paper towels and brown it in batches. If the pot looks crowded, it is crowded. The beef should hiss when it lands, then sit still long enough to form a crust.
Those browned bits on the bottom are useful. When the onion goes in, it releases moisture and helps pull them up into the base. That is why I do not brown the meat in a separate skillet unless I have to. One heavy pot keeps the flavor where it belongs. Use medium-high heat for browning, then drop the heat before the garlic and spices go in. Burnt garlic or scorched chile powder can make the whole batch taste sharp.
Make The Paste Smooth
Dried chiles need a little care. Toast them only until they smell warm and fruity, then soak them until soft. If they darken too much in the pan, the paste can taste bitter. A blender gives the best texture. Let it run longer than you think, then scrape down the sides.
If your blender leaves skins behind, pour the paste through a fine strainer before it goes into the pot. It is one extra step, but the gravy feels cleaner. The USDA's food safety guidance is a helpful reference for handling beef safely while you prep and cook. Keep raw beef separate from ready-to-eat toppings, and wash the board before chopping garnishes.
Storage Gets Better
This chili is excellent on day one, but day two is usually better. The chile paste settles into the beef and the sauce thickens in the fridge. Cool the pot before storing, then refrigerate it in shallow containers for up to 4 days.
Reheat it slowly on the stove with a splash of broth or water. Stir often because the masa-thickened gravy can catch on the bottom if the heat is too high. It also freezes well for up to 3 months. Thaw overnight in the fridge, then warm it in a covered pot. If you want another freezer-friendly comfort dinner, Southern Comfort has a softer Southern-style profile.
Serve It Like Supper
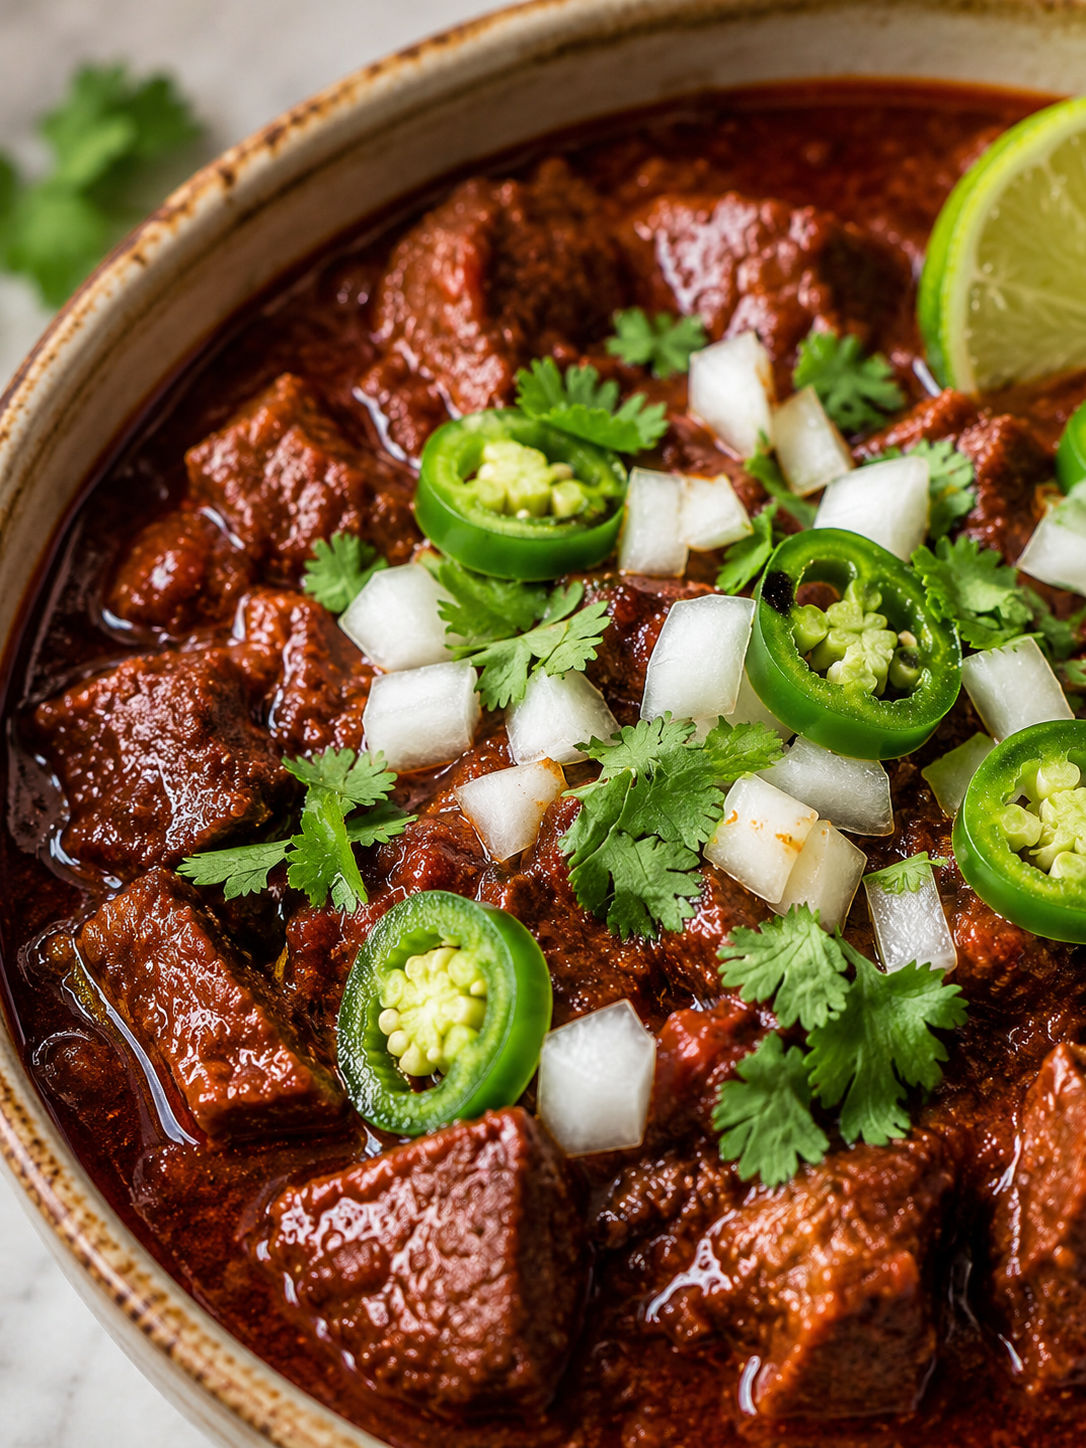
Texas chili does not need much on top. Chopped white onion, sliced jalapenos, cilantro, lime, and crushed corn chips are enough. Cheese and sour cream are fine if you like them, but they soften the chile flavor, so I add them lightly.
For a bigger plate, spoon the chili over baked potatoes or rice. It also makes a strong game-day bowl beside smoky appetizers like Meaty Texas Trash Dip. My favorite pairing is cornbread, especially something with chile in it like Hatch Chile Cheese Cornbread. The chili is rich, and the corn flavor gives each bite a little lift.
Summary
Serve this chili with onions, jalapenos, corn chips, or a wedge of cornbread. It tastes even better the next day.
FAQs
- Does Texas Style Chili have beans?
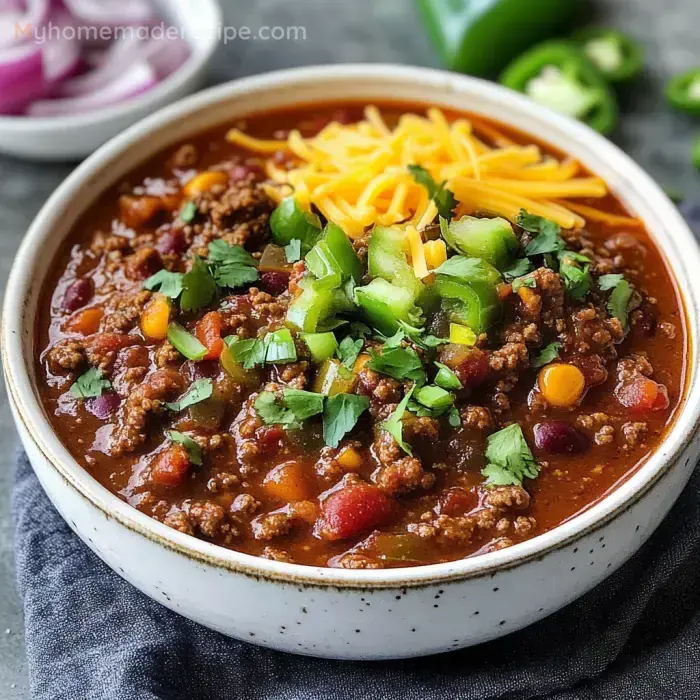
Traditional Texas Style Chili does not use beans. It is built around beef and chile gravy, which makes it thicker and more meat-forward than many other chili recipes.
- Can I use ground beef instead of chuck?
Yes, but the texture changes. Ground beef makes a faster chili, while chuck gives you tender chunks that feel closer to a true chili con carne. If using ground beef, simmer about 60-75 minutes instead of 3 hours.
- What dried chiles work best?
Ancho chiles give sweetness and dark fruit notes. Guajillo chiles bring brighter heat and color. Pasilla or New Mexico chiles round out the sauce without making it harsh.
- How spicy is this chili?
It is medium as written. Remove most chile seeds and skip the cayenne for a gentler pot. Add extra cayenne or a minced chipotle if you want a sharper finish.
- Can I make Texas chili ahead?
Yes. Chili is one of those dishes that improves after a night in the fridge. Cool it quickly, refrigerate it in a covered container, and reheat gently with a splash of broth.
- How do I thicken Texas chili?
Simmer it uncovered near the end so steam can escape. A small spoonful of masa harina also helps tighten the gravy and adds a soft corn flavor.
- What should I serve with it?
Go simple with chopped white onion, jalapenos, cilantro, lime, and corn chips. Cornbread is a natural side, especially if you like a little sweetness next to the chile heat.
