
 Pin it
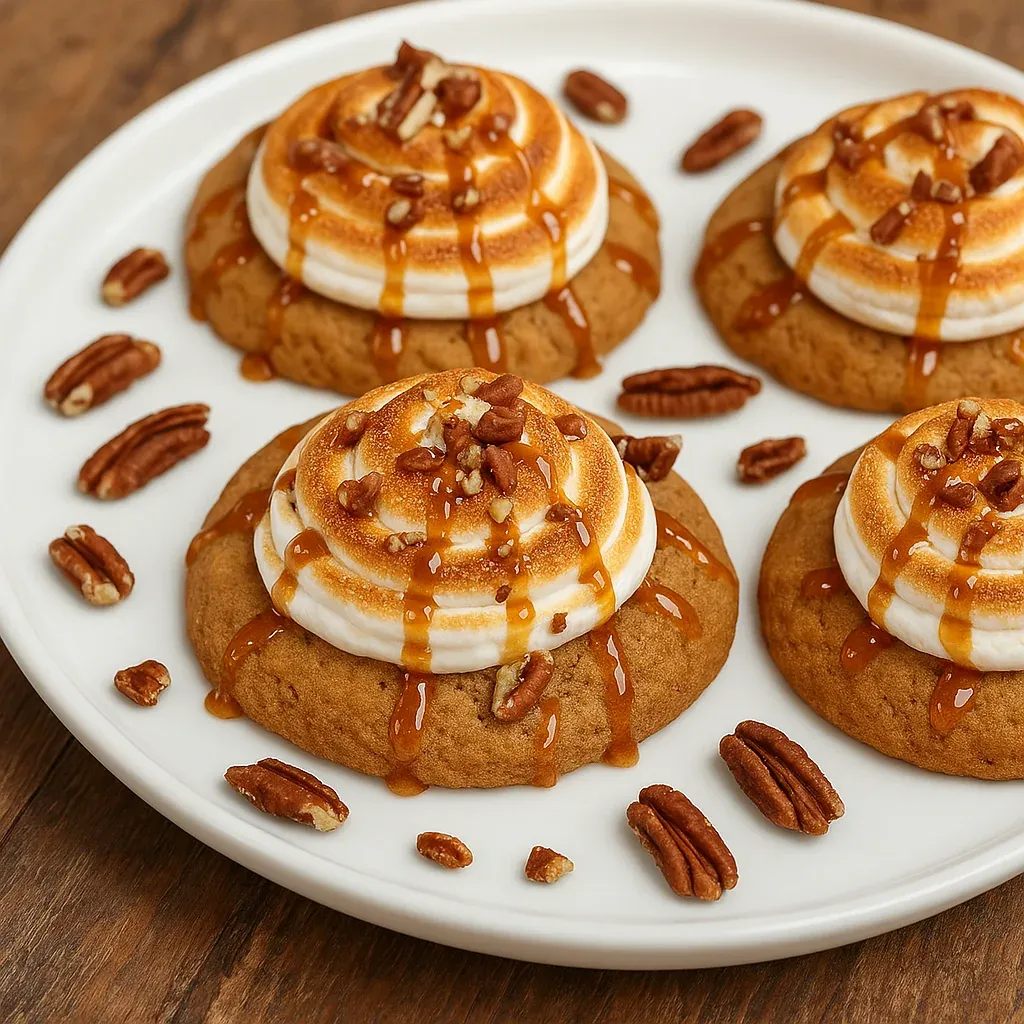
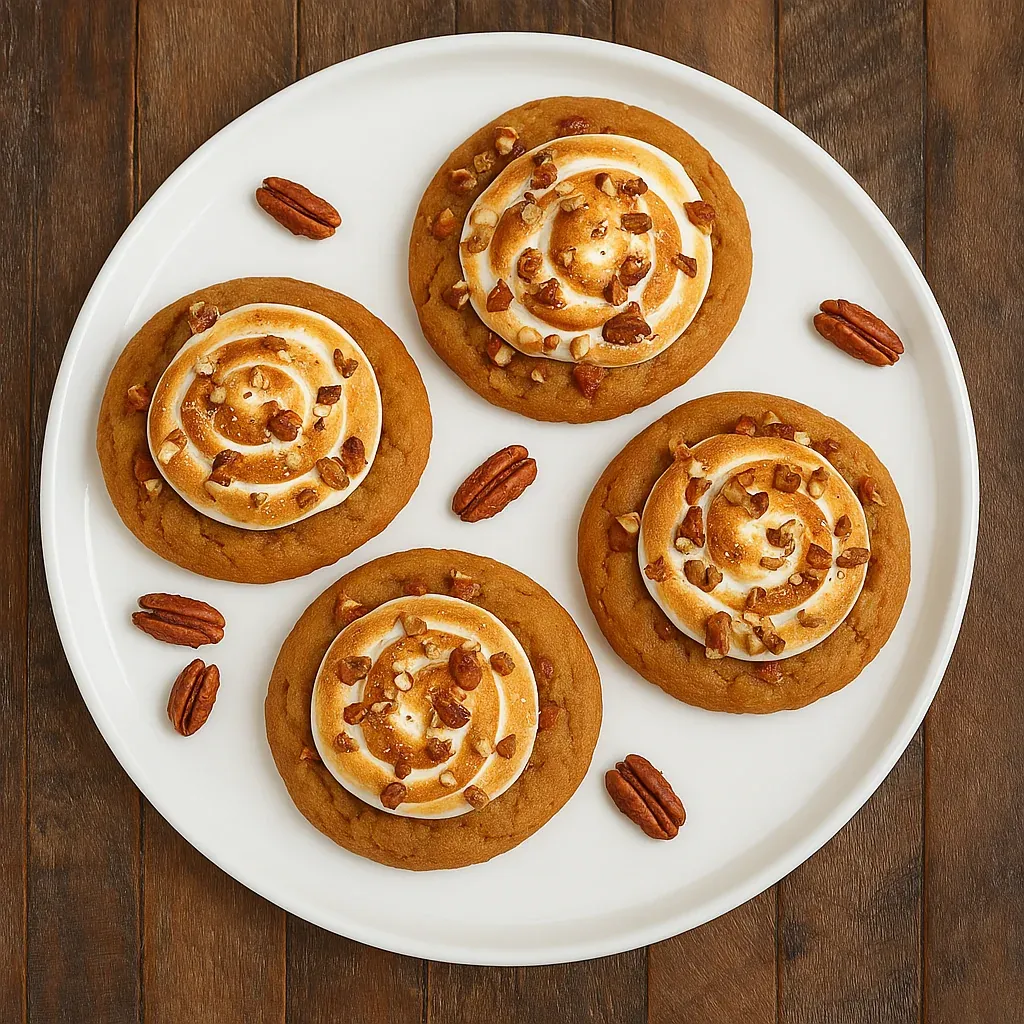
These delightful cookies transform humble sweet potatoes into something truly special. Each bite delivers the perfect balance of earthy sweetness from the potato base, warm spices, and a pillowy cloud of toasted marshmallow that brings back memories of campfires and comfort. The soft, tender cookie provides the ideal foundation for the light, airy meringue topping that gets that irresistible golden toasted finish. I created these when looking for something beyond the usual pumpkin spice treats, and they've become my signature fall dessert that friends request by name as soon as the weather turns cool.
The first time I brought these to a neighborhood potluck, I watched as people took tentative first bites, then immediately reached for seconds. My normally picky nephew, who claims to hate vegetables in all forms, devoured three before I told him they contained sweet potatoes. Now he requests them for every family gathering, proving that sometimes the most unexpected ingredients create the most beloved recipes.
Ingredients You'll Need
- Gluten-free flour blend – Forms the foundation of your cookies while keeping them accessible for those with gluten sensitivities. Look for a blend that includes xanthan gum for the best texture. If you don't need gluten-free options, regular all-purpose flour works perfectly as a 1:1 substitute. The neutral flavor allows the sweet potato to shine through.
- Cornstarch or arrowroot powder – Adds that melt-in-your-mouth tenderness that makes these cookies irresistible. Cornstarch creates a softer crumb by preventing some of the gluten formation (even in gluten-free flours), resulting in a more delicate texture. Arrowroot powder works similarly if you prefer that option.
- Baking soda and baking powder – This dynamic duo provides the perfect amount of lift and spread. The baking soda reacts with the acidic components in the sweet potato and brown sugar, while the baking powder ensures consistent rise throughout baking. Together, they create a cookie with ideal height and texture.
- Brown sugar or coconut sugar – Contributes rich, caramel-like flavor that complements the sweet potato beautifully. Brown sugar adds moisture and a deeper molasses note, while coconut sugar offers a slightly more complex flavor profile with lower glycemic impact. Either choice enhances the warm, cozy character of these cookies.
- Eggs (whole egg plus separate yolk and whites) – Serve different purposes throughout the recipe. The whole egg and extra yolk in the cookie dough provide richness and structure, while the reserved whites transform into the fluffy marshmallow topping. Using a fresh, room-temperature egg makes for easier mixing and better volume in your meringue.
- Cooked and mashed sweet potato – The star ingredient that gives these cookies their unique flavor and gorgeous natural color. Choose orange-fleshed sweet potatoes for their vibrant hue and sweeter profile. For the best texture, cook your sweet potato until very tender (I prefer baking for concentrated flavor), then mash until completely smooth – any lumps will affect the cookie texture.
- Ground cinnamon – Adds warm, aromatic notes that enhance the sweet potato's natural flavor. Freshly ground cinnamon makes a noticeable difference here – the flavor is more vibrant and complex than pre-ground. If you're feeling adventurous, a pinch of nutmeg or clove makes a wonderful addition to the spice profile.
- Butter – Creates tenderness and carries flavor throughout the cookie. Use unsalted butter at room temperature for the most consistent results. The butter should be soft enough to easily cream with the sugar but not so soft that it appears greasy or melted, which would affect the cookie's structure.
Step-by-Step Cooking Instructions
- Step 1:
- Prepare your baking sheets and oven – Preheat your oven to 350°F and line two baking sheets with parchment paper. The parchment prevents sticking and makes cleanup easier. Position your oven racks in the middle positions for the most even heat distribution. Taking these steps first ensures you're ready to go once your dough comes together.
- Step 2:
- Mix your dry ingredients thoroughly – In a medium bowl, whisk together the gluten-free flour, cornstarch, salt, baking soda, baking powder, and cinnamon until well combined. This important step distributes the leavening agents evenly throughout the flour, preventing any concentrated pockets that could cause uneven baking. The whisking also aerates the flour slightly, contributing to a lighter texture in the finished cookie.
- Step 3:
- Cream the butter and sugar properly – In a large mixing bowl, beat the room-temperature butter and brown sugar until light and fluffy, about 3-4 minutes. Don't rush this step – proper creaming incorporates air into the mixture, which is essential for the cookie's texture. The mixture should lighten in color and increase somewhat in volume. Scrape down the sides of the bowl at least once during this process to ensure everything is evenly mixed.
- Step 4:
- Add the wet ingredients gradually – Add the whole egg and egg yolk one at a time, beating well after each addition. Then mix in the vanilla extract and mashed sweet potato. The mixture may look slightly curdled at this point, but don't worry – that's normal and will smooth out once the dry ingredients are added. The gradual addition allows each ingredient to be fully incorporated before adding the next.
- Step 5:
- Incorporate the dry ingredients carefully – Add the flour mixture to the wet ingredients in three portions, mixing on low speed just until combined after each addition. Overmixing at this stage can develop the gluten (even in gluten-free flour) and result in tougher cookies. Stop mixing as soon as no dry flour is visible. The dough will be soft and somewhat sticky – this is exactly what you want for a tender cookie.
- Step 6:
- Portion and bake with precision – Using a cookie scoop or tablespoon, drop rounded portions of dough onto the prepared baking sheets, spacing them about 2 inches apart. The cookies will spread slightly during baking. For the most even baking, place only one sheet in the oven at a time, rotating halfway through the baking time. Bake for 10-12 minutes, or until the edges are set but the centers still look slightly underdone – they'll continue to cook on the hot baking sheet.
- Step 7:
- Cool completely before topping – Allow the cookies to cool on the baking sheet for 5 minutes before transferring to a wire rack to cool completely. This cooling period is crucial – if you try to add the meringue topping to warm cookies, it will melt and slide right off. Use this cooling time to prepare your meringue topping.
- Step 8:
- Create the perfect meringue topping – In a heatproof bowl set over a pot of barely simmering water (make sure the bottom of the bowl doesn't touch the water), whisk together the egg whites and sugar until the sugar dissolves and the mixture is warm to the touch, about 3-4 minutes. Remove from heat and beat with an electric mixer until stiff, glossy peaks form. This method, called a Swiss meringue, creates a stable marshmallow-like topping that won't weep or deflate quickly.
- Step 9:
- Apply the meringue artfully – Transfer the meringue to a piping bag fitted with a large round or star tip. Pipe a generous swirl or dollop onto each completely cooled cookie. If you don't have a piping bag, you can simply spoon the meringue on top and create swirls with the back of a spoon for a more rustic look. The visual appeal of these cookies comes from the contrast between the golden cookie and the billowy white topping.
- Step 10:
- Toast for the perfect finish – Use a kitchen torch to lightly toast the meringue until golden brown in spots. The toasting not only adds beautiful color but also creates that distinctive toasted marshmallow flavor that makes these cookies irresistible. If you don't have a kitchen torch, you can place the cookies under a broiler for 30-60 seconds, but watch them extremely carefully to prevent burning.
 Pin it
Fall Entertaining Star
These cookies have become my signature contribution to autumn gatherings. When arranged on a wooden serving board with small bowls of caramel sauce and chopped pecans on the side, they create an interactive dessert experience that guests love. Everyone enjoys customizing their cookie with different amounts of toppings, and the presentation always prompts conversation and recipe requests. They pair beautifully with spiced apple cider or a rich cup of coffee.
Make-Ahead Magic
The versatility of this recipe makes entertaining a breeze. The cookie base can be baked up to two days ahead and stored in an airtight container. The meringue is best made shortly before serving, but even fully assembled cookies hold up surprisingly well for several hours at room temperature. For a dinner party, I often bake the cookies in the morning, prepare the meringue and assemble just before guests arrive, then quickly torch them as dessert time approaches for that fresh-made impression.
Perfect Pairing Suggestions
These sweet potato cookies create delightful flavor combinations when paired thoughtfully. A scoop of cinnamon ice cream nestled between two cookies makes an elevated ice cream sandwich that's perfect for transitional seasons. For an adults-only treat, these cookies complement bourbon-based cocktails beautifully—the caramel notes in the bourbon echo the sweet potato and brown sugar flavors. During the holidays, they make a sophisticated addition to cookie platters, standing out among traditional offerings.
Seasonal Variations
While perfectly suited for fall, these cookies can be adapted for year-round enjoyment. In winter, adding a hint of orange zest to the dough brings brightness to counter dreary days. Spring calls for a lighter touch—replace the caramel drizzle with a thin lemon glaze for a refreshing twist. Summer celebrations might inspire tropical variations, with a sprinkle of toasted coconut atop the marshmallow instead of pecans. The basic recipe provides a versatile canvas for seasonal creativity.
Storage Solutions
These cookies maintain their best quality when stored properly. For the cookies alone (without meringue), an airtight container at room temperature keeps them soft for 3-4 days. Once topped with meringue, they're best enjoyed within 24 hours, though they'll stay structurally sound longer. The meringue will gradually lose its light texture and toasted flavor notes will diminish over time. If you need to prepare further in advance, freeze the plain cookies for up to a month, then thaw and top them fresh before serving.
My grandmother taught me the importance of patience with sweet potatoes after I once rushed through mashing them for her famous pie. "Sweet potatoes need gentle handling to reveal their true nature," she would say. Now whenever I make these cookies, I remember her words and take my time with each step of the process. The few extra minutes spent ensuring perfectly smooth sweet potato and properly whipped meringue transforms these cookies from good to unforgettable.
 Pin it
I discovered the magic of roasting versus boiling sweet potatoes completely by accident. One busy holiday season, I was multitasking and forgot about the sweet potatoes I'd put in the oven for another recipe. They roasted longer than intended, and the skins became very dark. When I peeled them, the flesh had this incredible concentrated flavor and natural sweetness that immediately elevated my cookies. What seemed like a mistake became my standard method, proving that sometimes the best techniques arise from happy accidents in the kitchen.
These Sweet Potato Cookies with Toasted Marshmallow have become more than just a dessert in my home – they're a tradition that signals the arrival of fall and brings together friends and family with something unexpected yet comforting. There's something magical about watching someone take that first bite, seeing their expression shift from curiosity to delight as they experience the combination of soft, spiced cookie and light-as-air toasted meringue. It's these moments of shared pleasure around something handcrafted that make the time in the kitchen so worthwhile.
Frequently Asked Questions
- → Can I use canned sweet potato instead of fresh?
- Yes, canned sweet potato or even canned pumpkin can work in this recipe. Just be sure to drain any excess liquid and blot with a paper towel if it seems too wet. The texture may be slightly different but the flavor will still be delicious.
- → Can I make these cookies without the meringue topping?
- Absolutely! The cookies themselves are delicious on their own. You could also top them with cream cheese frosting or a simple glaze made from powdered sugar and cinnamon for an easier alternative.
- → What if I don't have a pastry torch for the meringue?
- You can place the cookies with meringue under a broiler for 30-60 seconds, watching very carefully to avoid burning. Set the oven rack at least 6 inches from the heating element and keep the door open to monitor them closely.
- → How do I store these cookies?
- Store in a single layer in an airtight container at room temperature for 2-3 days. If you need to stack them, place parchment paper between layers to protect the meringue. For longer storage, keep in the refrigerator for up to 5 days.
- → Can I use regular flour instead of gluten-free flour?
- Yes, you can substitute the same amount of all-purpose flour for the gluten-free flour. The cornstarch helps make them tender, but you can omit it when using regular flour if you prefer.