
 Pin it
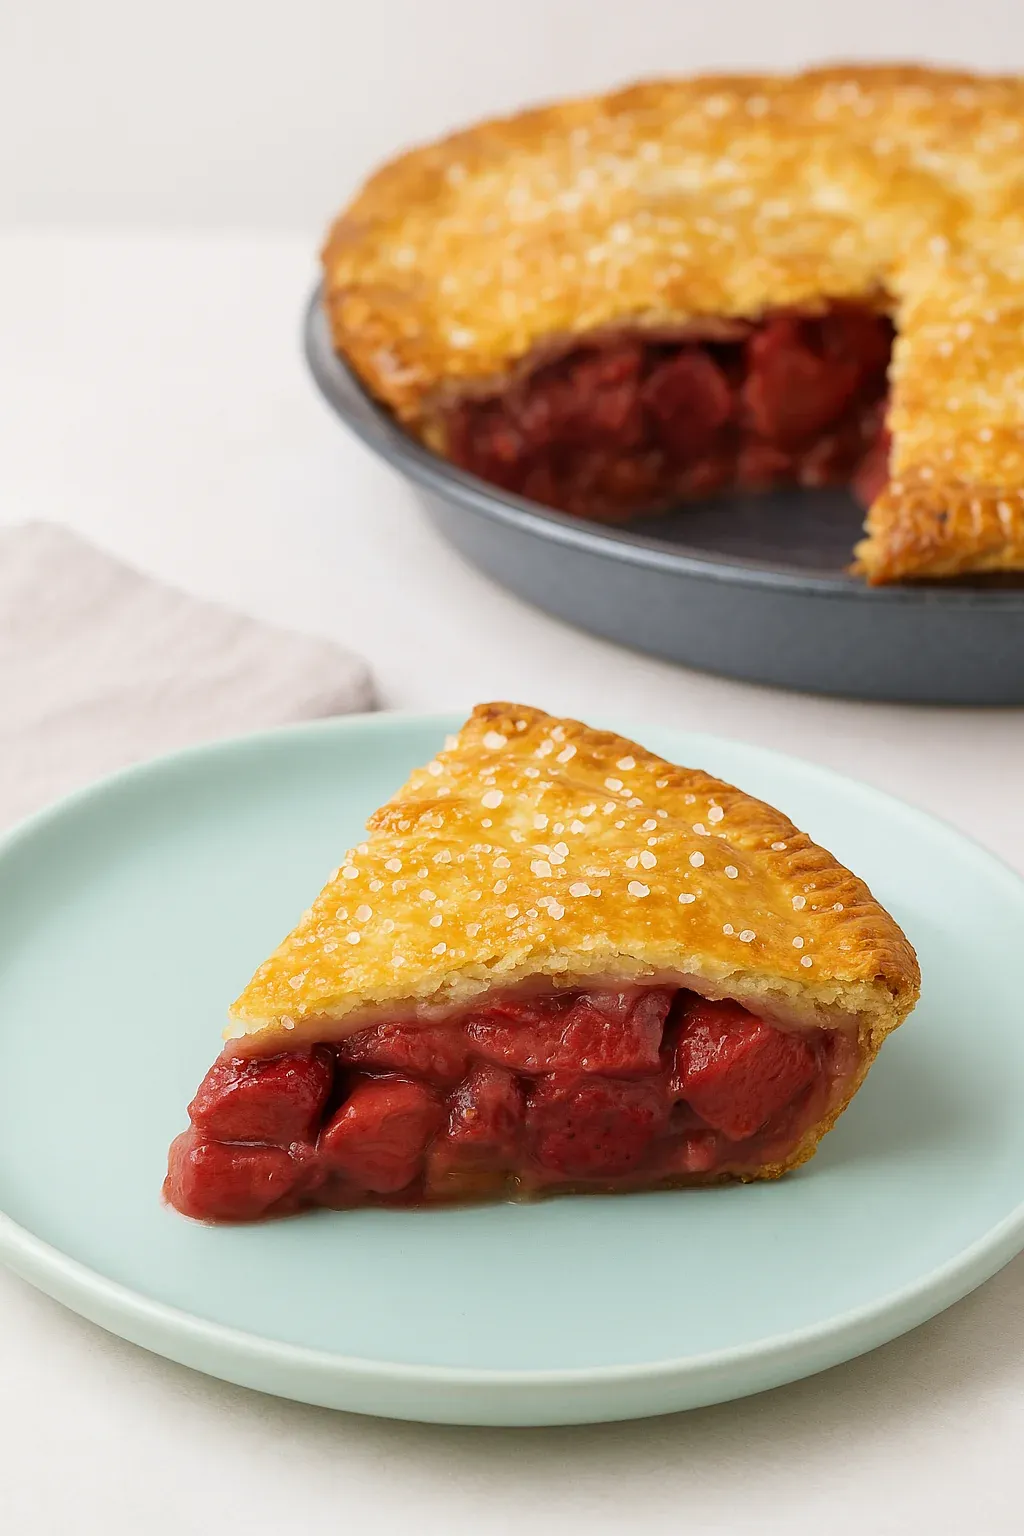
I first baked a strawberry rhubarb pie after inheriting my grandmother's recipe box, and this vibrant dessert has become my family's official signal that spring has arrived. The magic happens when sweet strawberries meet tart rhubarb, creating a perfectly balanced filling wrapped in flaky, golden crust.
My first attempt at this pie was for a neighborhood potluck, and I nearly kept it at home after tasting a small slice that had bubbled over. Three people asked for the recipe that night, and now it's requested every spring when rhubarb makes its brief appearance at our farmers market.
Essential Ingredients
- Fresh Rhubarb - Look for firm, crisp stalks with a bright color; avoid any that are limp or stringy for the best texture and flavor
- Strawberries - Sweet, ripe berries provide the perfect counterpoint to rhubarb's tartness; fresh is ideal but frozen will work in a pinch
- Sugar - Balances the natural tartness of the rhubarb while helping create that wonderful syrupy filling
- All-Purpose Flour - Acts as a thickening agent to turn the fruit juices into a luscious filling instead of a soggy mess
- Butter - Those small pieces dotted over the filling melt during baking, adding richness and helping prevent the juices from bubbling over
- Double Pie Crust - Whether homemade or store-bought, this provides the perfect flaky container for your fruit filling
I've found that adding a teaspoon of vanilla extract and a pinch of cinnamon to the filling enhances the strawberry flavor and adds wonderful depth without overpowering the star ingredients.
Step-by-Step Cooking Instructions
- Step 1:
- Prepare your oven carefully - Position a rack in the lower third of your oven and preheat to 400°F (200°C). Place a baking sheet on the rack to heat up as well – this will catch any potential drips and help cook the bottom crust evenly.
- Step 2:
- Combine dry ingredients properly - In a large mixing bowl, whisk together 1 cup of white sugar and ½ cup of all-purpose flour until well blended. This even distribution ensures no clumps of flour in your filling and helps the sugar coat all the fruit pieces.
- Step 3:
- Prepare fruit with precision - Clean and trim 1 pound of rhubarb stalks, removing any leaves (which are toxic) and tough ends. Slice into ¼-inch pieces, keeping them uniform for even cooking. Hull and quarter about 2 pints of fresh strawberries. Smaller pieces release more juice and cook more evenly than large chunks.
- Step 4:
- Create the filling mixture - Add the prepared fruit to the sugar-flour mixture and gently toss until every piece is coated. Let this stand for a full 30 minutes – this crucial step allows the sugar to draw out juices from the fruit and for the flour to begin absorbing those juices.
- Step 5:
- Roll out your pie crust - While the fruit macerates, roll out your bottom pie crust to about 12 inches in diameter and transfer it to a 9-inch pie plate. Gently press it into the corners without stretching the dough, and trim the edges to about ½-inch overhang.
- Step 6:
- Fill the pie shell properly - After 30 minutes, stir the fruit mixture once more and pour it into the prepared pie shell, including all the juices that have accumulated. The filling will look very wet – that's normal! Dot the surface with 2 tablespoons of butter cut into small pieces, distributing them evenly.
- Step 7:
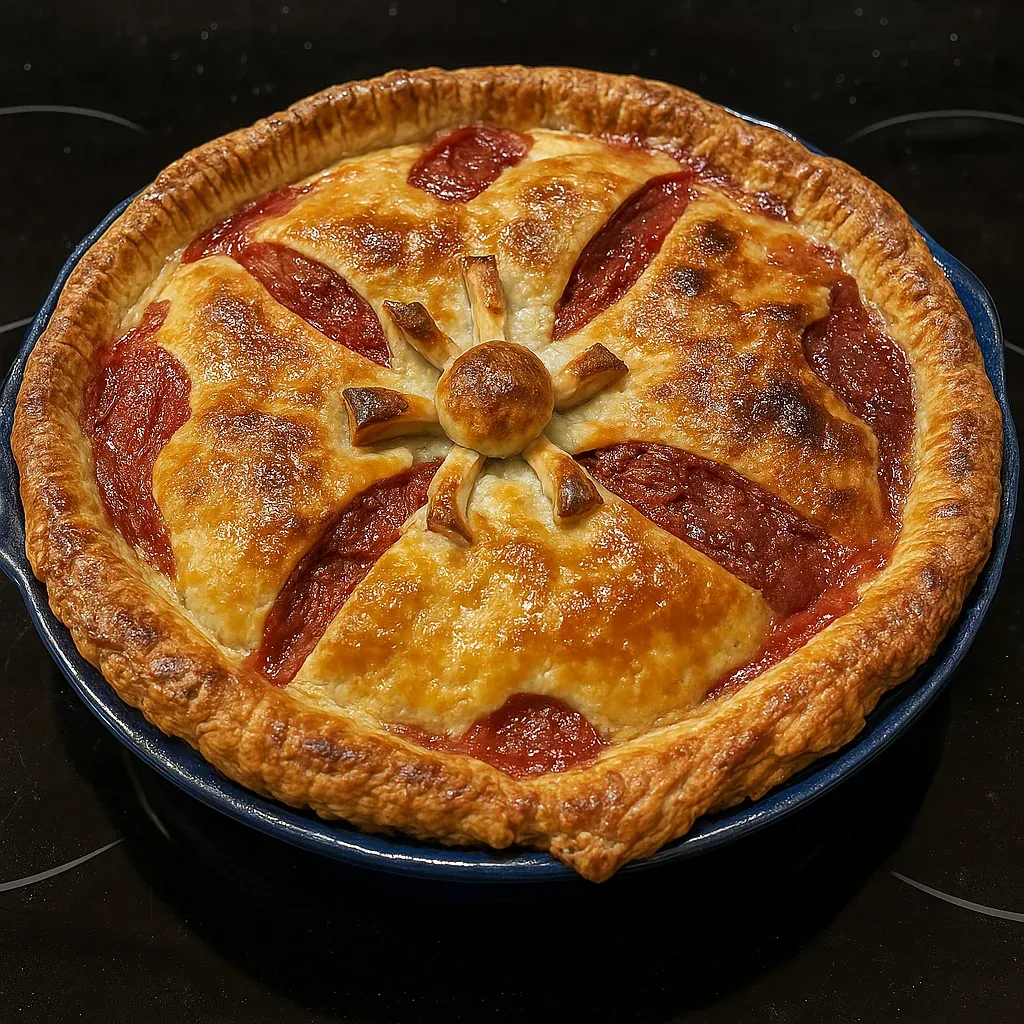
- Apply the top crust with care - Roll out the top crust and place it over the filling. Trim the edges if necessary, then fold the overhang of the bottom crust over the top crust edge and crimp together to seal. Make this seal tight to prevent juices from escaping during baking.
- Step 8:
- Finish the crust beautifully - Beat an egg yolk until smooth and brush it over the top crust – this creates a golden, shiny finish. Sprinkle 2 tablespoons of sugar evenly over the top for a beautiful sparkle and extra sweetness. Cut 5-6 slits in the top crust in a decorative pattern to allow steam to escape during baking.
- Step 9:
- Bake with attention - Place the pie on the preheated baking sheet in the oven and bake for 20 minutes at 400°F. Then reduce the temperature to 350°F and continue baking for another 25-30 minutes until the crust is golden brown and the filling is visibly bubbling through the slits.
- Step 10:
- Allow proper cooling time - Transfer the pie to a wire rack and let it cool completely for at least 3 hours before cutting. This resting period is essential – it allows the filling to set properly so you get clean slices instead of a runny mess.
The first time I made this pie, I skipped the 30-minute maceration step and ended up with a soupy filling. That extra half hour makes all the difference between a perfectly sliceable pie and fruit soup in a crust!
 Pin it
My grandfather grew rhubarb in his garden, and I remember watching my grandmother transform those intimidating red stalks into this incredible dessert. She always said the tartness of rhubarb "gives your taste buds something to think about" – and she was absolutely right.
Perfect Serving Suggestions
While this pie is delicious on its own, it reaches new heights when served slightly warm with a scoop of vanilla ice cream. The contrast between the warm pie and cold ice cream creates a sensory experience that's simply magical.
For a different twist, try serving it with a dollop of lightly sweetened whipped cream with a touch of ginger folded in. The subtle spice complements the fruit beautifully.
This pie makes a stunning centerpiece for spring gatherings, from Easter dinner to Mother's Day brunch. The vibrant ruby color never fails to draw compliments when it hits the table.
Storage Solutions and Make-Ahead Tips
The pie will keep at room temperature, lightly covered with foil, for up to 2 days. For longer storage, refrigerate for up to 5 days, though the crust will soften somewhat.
If you want to work ahead, prepare the entire pie up to the baking step, then freeze it solid. Wrap the frozen pie tightly in plastic wrap, then foil, and store for up to 2 months. When ready to bake, unwrap and bake straight from frozen, adding about 15-20 minutes to the baking time.
 Pin it
I've been making this strawberry rhubarb pie for over fifteen years now, tweaking the recipe each spring until it reached perfection. There's something deeply satisfying about working with these seasonal ingredients, watching as they transform from firm, tart stalks and berries into a bubbling, fragrant filling. The smell that fills my kitchen as it bakes instantly transports me back to my grandmother's farm, where my love of baking first took root. This isn't just a dessert – it's a celebration of spring and family traditions wrapped in a flaky crust.
Frequently Asked Questions
- → Can I use frozen rhubarb and strawberries for this pie?
- Yes, you can use frozen fruit, but thaw and drain them first to remove excess moisture. Pat them dry with paper towels before mixing with the sugar and flour to avoid a soggy pie.
- → Why is my strawberry rhubarb pie filling too runny?
- A runny filling is usually caused by not letting the fruit stand with sugar and flour long enough, or not using enough thickener. Make sure to let the filling sit for the full 30 minutes, and if your fruit is particularly juicy, you can increase the flour to ¾ cup.
- → Can I make this pie with a lattice top instead of a full top crust?
- Absolutely! A lattice top works beautifully with this pie and allows you to see the colorful filling. Just cut the top crust into strips and weave them over the filling, then apply the egg wash and sprinkle with sugar as directed.
- → How do I know when my strawberry rhubarb pie is done baking?
- The pie is done when the crust is golden brown and the filling is visibly bubbling through the vents or lattice. If the edge of the crust browns too quickly, cover it with foil or a pie shield to prevent burning.
- → Can I make this pie ahead of time?
- Yes, you can prepare the pie a day in advance and refrigerate it unbaked. When ready to serve, bake as directed, adding 5-10 minutes to the baking time. You can also fully bake the pie, cool completely, and store at room temperature for 2 days or refrigerated for up to 5 days.