
 Pin it
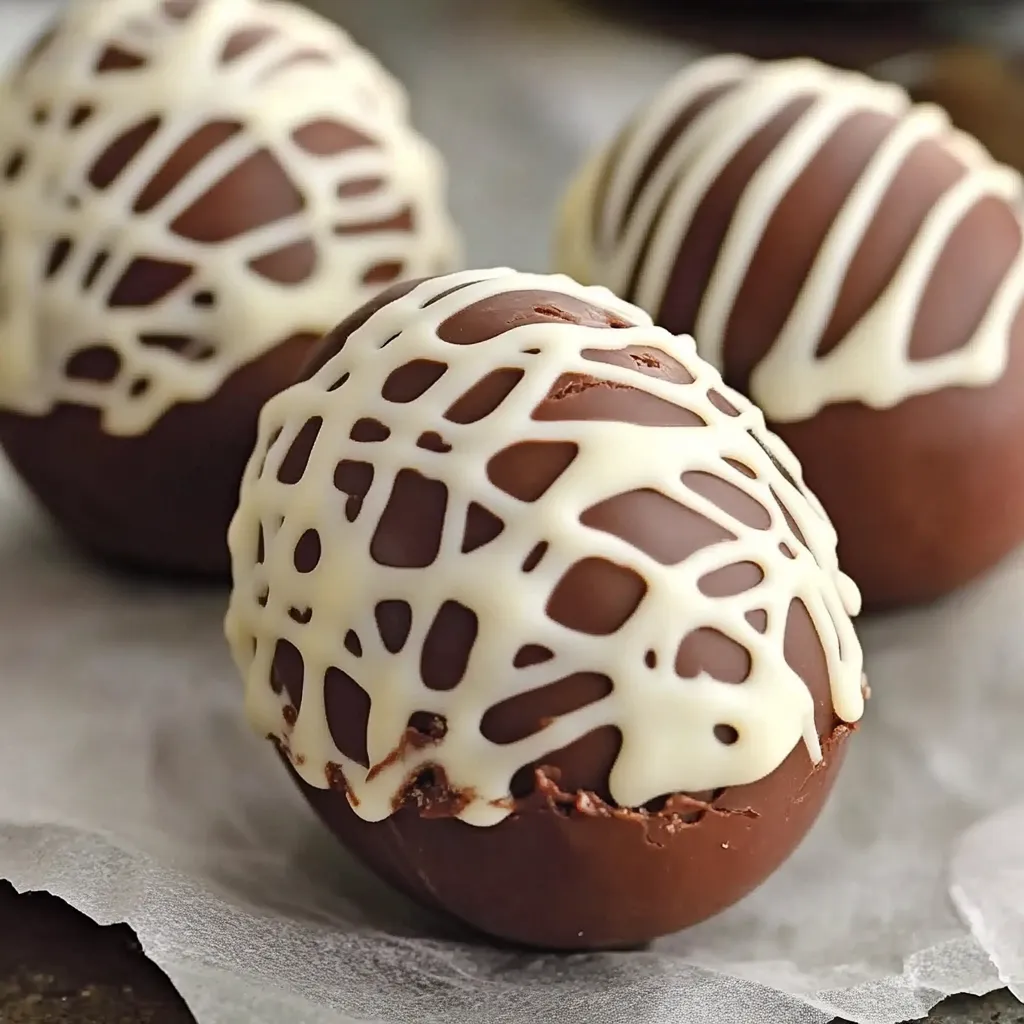
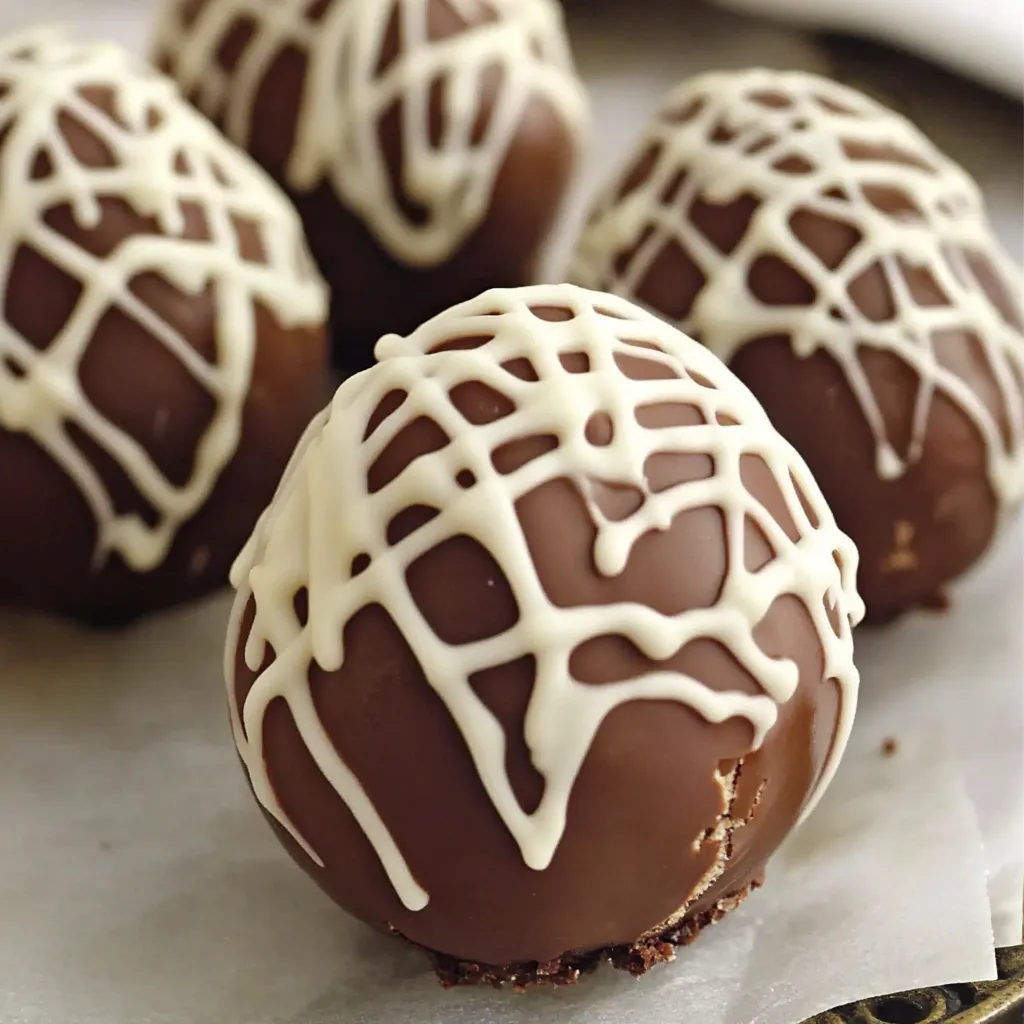
These homemade fudge-filled Easter eggs are a delightful treat that combines creamy chocolate fudge with a gorgeous chocolate coating. I've been making these for my family's Easter celebrations for years, and they're always the first dessert to disappear from the table.
I first created these as an alternative to store bought Easter candy when my children were young. Now they've become such a tradition that my grown kids still request them when they visit during spring.
Ingredients
- Milk chocolate chips: Divided between filling and coating to create that classic chocolate flavor while providing different textures
- Sweetened condensed milk: Creates that rich fudgy center that melts in your mouth
- Vanilla extract: Enhances the chocolate flavor and adds warmth to the overall taste
- White chocolate chips: For decorative drizzling and creating that classic Easter egg appearance
Step-by-Step Instructions
- Prepare the fudge mixture:
- Combine three cups milk chocolate chips with sweetened condensed milk and vanilla in a large microwave safe bowl. Stir everything together until well mixed. Microwave at half power for 1 minute then stir thoroughly. Continue heating in 30 second intervals stirring between each until completely smooth. The mixture should look glossy and have no lumps remaining.
- Form the egg shapes:
- Allow the fudge mixture to cool slightly for about 3 to 4 minutes until it's firm enough to handle but still pliable. Use a 1½ tablespoon scoop to portion the fudge onto a parchment lined baking sheet. With slightly damp hands gently shape each portion into an egg form pressing and smoothing the sides. Work quickly as the fudge will become more difficult to shape as it cools.
- Chill the fudge eggs:
- Place the shaped fudge eggs in the refrigerator until they're completely firm about 30 minutes. This step is crucial for successful dipping as soft fudge will fall apart in the warm chocolate. The eggs should feel cold and solid to the touch before proceeding.
- Prepare the chocolate coatings:
- Melt the remaining 1½ cups milk chocolate chips in one microwave safe bowl and the white chocolate chips in another. Heat each in 30 second intervals stirring between each until smooth. Be careful not to overheat the white chocolate as it burns more easily than milk chocolate. Both melted chocolates should be smooth and have a pourable consistency.
- Dip and coat the eggs:
- Working with one fudge egg at a time keep the others refrigerated drop it into either the melted milk or white chocolate. Use a fork to fully submerge it then lift it out letting excess chocolate drip back into the bowl. Gently tap the fork against the bowl edge to remove more excess. Slide the coated egg onto a fresh piece of parchment paper. The cold fudge will help the chocolate set quickly.
- Add decorative drizzles:
- Once the base coating has set up but before it's completely hardened drizzle the opposite chocolate over the eggs. If you coated an egg in milk chocolate drizzle it with white chocolate and vice versa. Use a small spoon or fork to create delicate lines across the eggs. Allow the chocolate to set completely at room temperature.
 Pin it
The sweetened condensed milk is truly the secret weapon in this recipe. It creates that incredibly smooth texture that makes these eggs irresistible. One year I tried to substitute with a different sweetener and the results were disastrous my family still teases me about those grainy chocolate lumps that barely resembled eggs.
Storage Success
These fudge filled eggs will keep beautifully at room temperature for up to a week when stored in an airtight container. Layer them between pieces of parchment paper to prevent sticking. I find they actually taste best when stored at room temperature rather than refrigerated as the fudge center maintains its creamy texture. If your house is particularly warm however you may prefer to store them in the refrigerator just allow them to come to room temperature before serving.
Flavor Variations
While the classic milk chocolate and white chocolate combination is perfect for Easter you can easily customize these treats. Try using dark chocolate chips instead of milk chocolate for a more sophisticated flavor profile. You can also add flavor extracts to the fudge center mint extract creates a refreshing chocolate mint egg while almond extract pairs beautifully with the chocolate. For a fun twist add a few drops of food coloring to the white chocolate to create pastel colored eggs that match your Easter decor.
Gifting Ideas
These homemade fudge eggs make wonderful gifts for teachers neighbors or family members. Place a few eggs in a cellophane bag tied with a pretty ribbon or arrange them in a small Easter basket with some tissue paper grass. I love creating little personalized tags explaining what they are. The handmade touch always means so much more than store bought candy and recipients are always impressed by the professional looking results.
 Pin it
These fudge-filled Easter eggs will become the highlight of your celebrations, cherished by kids and adults alike.
Frequently Asked Questions
- → How long do these chocolate fudge eggs stay fresh?
When stored in an airtight container at room temperature, these fudge-filled Easter eggs will stay fresh for up to one week. There's no need to refrigerate them after they've fully set.
- → Can I use dark chocolate instead of milk chocolate?
Yes, you can substitute dark chocolate chips for the milk chocolate chips for a less sweet, more intense chocolate flavor. The technique remains the same, though you might want to add an extra tablespoon of sweetened condensed milk since dark chocolate is less sweet.
- → What's the best way to shape the fudge into eggs?
After scooping the slightly cooled fudge, use your hands to gently roll it into a ball, then pinch one end slightly to create the classic egg shape. Working quickly while the fudge is still pliable but not too warm makes shaping easier.
- → How can I add color to these Easter eggs?
To add festive colors, consider using colored candy melts instead of white chocolate, or mix a small amount of oil-based food coloring into the white chocolate before dipping or drizzling. Avoid water-based food coloring as it can cause the chocolate to seize.
- → What tools work best for dipping the eggs in chocolate?
A fork works well for dipping, but a specialized chocolate dipping tool or spiral dipper gives even better results. After dipping, gently tap the tool against the bowl's edge to remove excess chocolate and create a smoother coating.
- → Can I make these eggs ahead of time?
Yes, these eggs can be made 1-2 weeks ahead of Easter. Make sure they're completely set, then store them in a single layer in an airtight container at cool room temperature. Avoid refrigeration as it can cause condensation that affects the chocolate's appearance.