
 Pin it
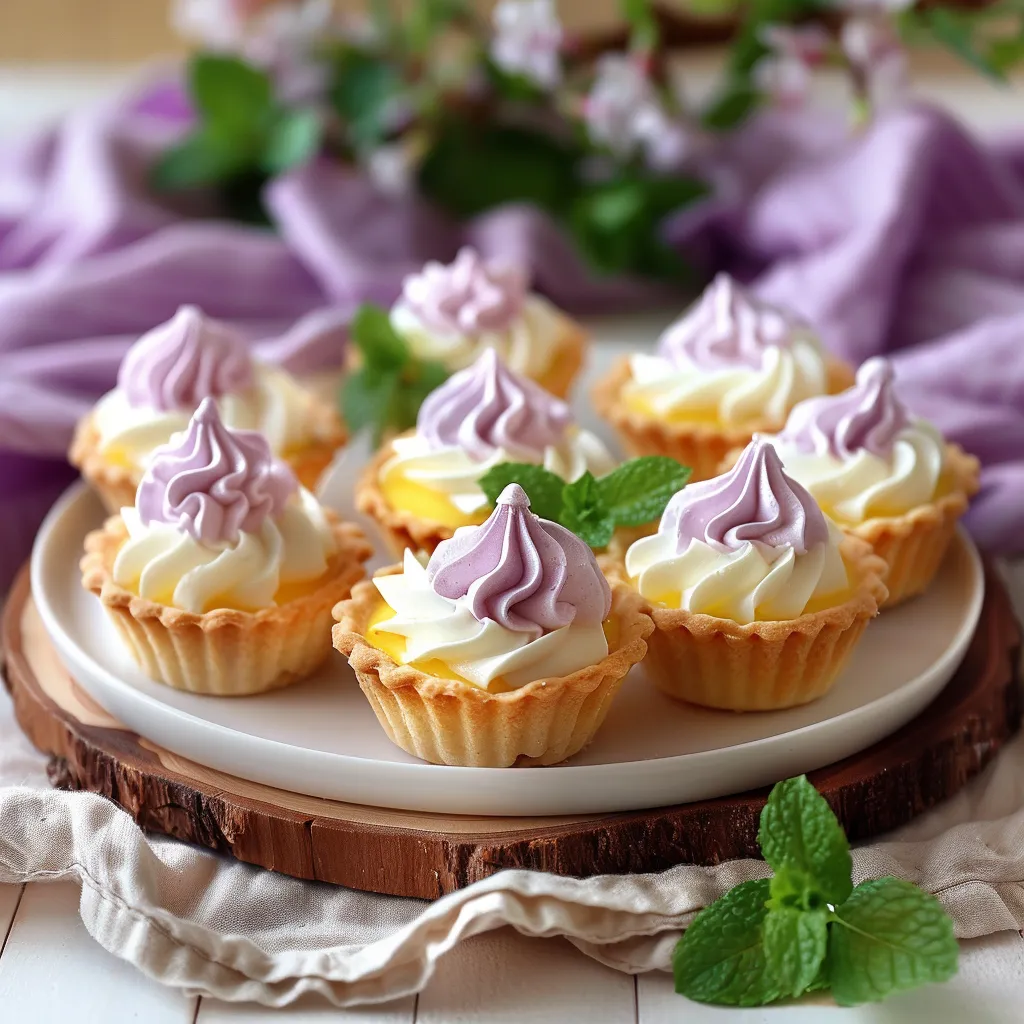
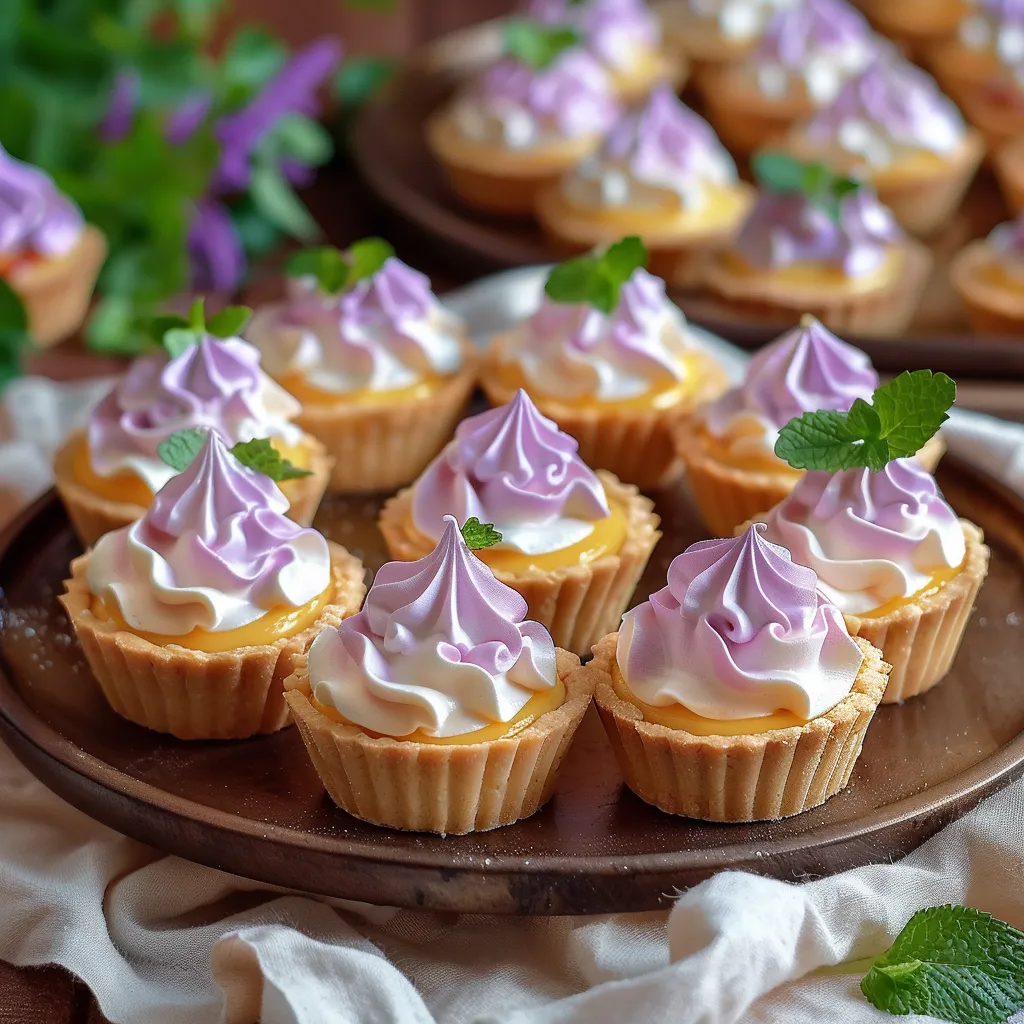
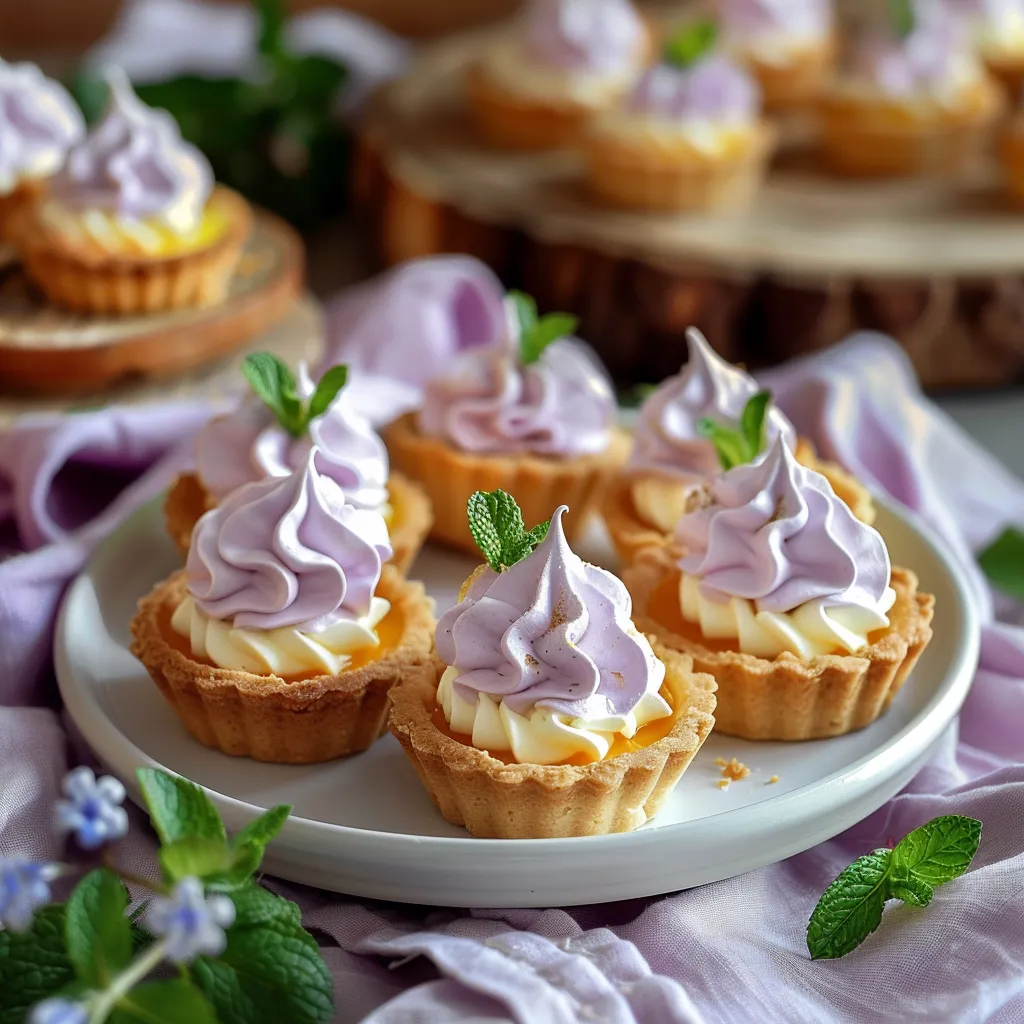
These delicate mini lemon tarts crowned with lilac meringue have become my signature dessert for spring gatherings. The bright citrus flavor balanced with the delicate sweetness of the meringue creates an elegant yet approachable dessert that never fails to impress guests.
I first created these when planning a garden tea party for my mother's birthday. The lilac meringue was inspired by the blooming lilac bushes in our garden, and now these little tarts have become our annual spring tradition.
Ingredients
- All purpose flour: Creates a tender, buttery crust that complements the filling without overpowering it
- Unsalted butter: Provides richness and flakiness to the crust look for European style butter with higher fat content for extra richness
- Powdered sugar: Yields a more delicate texture in the pastry than granulated sugar
- Fresh lemon juice: Essential for authentic flavor bottled juice lacks the brightness of fresh
- Lemon zest: Contains essential oils that intensify the citrus flavor use organic lemons if possible
- Egg whites: Form the foundation of the meringue room temperature eggs whip more effectively
- Lilac food coloring: Transforms an ordinary meringue into something magical a tiny drop goes a long way
Step-by-Step Instructions
- Prepare the Tart Shell:
- Combine dry ingredients first to ensure even distribution. Cut cold butter into small cubes and work quickly to maintain cold temperature which creates flaky layers. The mixture should resemble coarse sand before adding the egg yolk. Add just enough cold water for the dough to come together but avoid overworking which develops gluten and toughens the crust.
- Chill and Bake:
- Refrigerating the shaped tart shells prevents shrinkage during baking. The chilled butter creates steam pockets when it hits the hot oven resulting in a flaky texture. Pricking the dough with a fork prevents air bubbles from forming. Bake until the edges turn golden brown approximately 15 minutes depending on your oven.
- Create Lemon Filling:
- Use a heavy bottomed saucepan to prevent scorching. Whisk continuously while cooking to avoid lumps and ensure silky smoothness. The filling is ready when it coats the back of a spoon and you can draw a line through it with your finger. Strain through a fine mesh sieve if you notice any lumps or bits of cooked egg.
- Whip Perfect Meringue:
- Start with a completely clean and dry bowl any trace of fat will prevent proper whipping. Begin at medium speed until foamy then increase to high. Add sugar gradually one tablespoon at a time this creates a stable meringue that won't weep. Test for stiff peaks when the meringue stands straight up with just a slight curl at the tip.
- Assembly and Finishing:
- Let lemon filling cool slightly before adding meringue to prevent melting. Pipe or spoon meringue making sure it touches the crust edges to prevent shrinking. Toast meringue quickly with a culinary torch or under the broiler for just a few seconds watching constantly to prevent burning.
 Pin it
The lilac coloring always reminds me of the spring afternoons I spent with my grandmother picking flowers in her garden. She taught me that desserts should be as beautiful as they are delicious, and these tarts have become my way of honoring that lesson.
Make-Ahead Options
The tart shells can be prepared and baked up to three days in advance. Store them in an airtight container at room temperature until ready to fill. The lemon filling can be made a day ahead and refrigerated with plastic wrap directly on the surface to prevent a skin from forming. I recommend adding the meringue the day of serving for the best texture and appearance. When I host dinner parties, I prep everything except the meringue the night before, which allows me to focus on other dishes while still serving a fresh, impressive dessert.
Variations to Try
These versatile tarts welcome creative adaptations. For a tropical twist, substitute lime juice and zest for the lemon and add a tablespoon of coconut cream to the filling. During summer months, I love topping the finished tarts with fresh berries like raspberries or blueberries which complement the citrus beautifully. For special occasions, add a splash of champagne to the lemon filling for subtle sophistication. The pastry shell can also be infused with culinary lavender or rose water to enhance the floral theme.
Perfecting the Meringue
The secret to a stunning meringue lies in the details. Always use a metal or glass bowl that is completely free of any grease or yolk contamination. Even a tiny speck of fat will prevent the egg whites from achieving maximum volume. Adding a pinch of cream of tartar or a few drops of lemon juice stabilizes the egg whites, creating a more reliable meringue. For the lilac color, gel food coloring works better than liquid as it won't thin the meringue. Apply the meringue while the filling is still slightly warm which helps create a bond between the layers and reduces weeping. The visual impact of these tarts comes from the contrast between the smooth yellow filling and the cloud-like purple meringue, so take your time with this final decorative touch.
 Pin it
These mini lemon tarts are a delightful way to celebrate the season and showcase your baking skills.
Frequently Asked Questions
- → How do I prevent the tart crust from shrinking?
Chill the tart dough before baking and avoid overworking it. Prick the base with a fork to reduce puffing during baking.
- → Can I make the lemon filling ahead of time?
Yes, the lemon curd can be made up to a day ahead and refrigerated. Fill the tart shells just before serving or chilling.
- → Do I need a kitchen torch for the meringue?
No, a broiler works too. Just watch closely to prevent burning while achieving a light golden top.
- → Can I skip the food coloring in the meringue?
Yes, the coloring is purely decorative. You’ll still have light, airy meringue with or without it.
- → What other garnishes work besides mint leaves?
Try edible flowers, fresh berries, or a sprinkle of powdered sugar for added beauty and flavor.