 Pin it
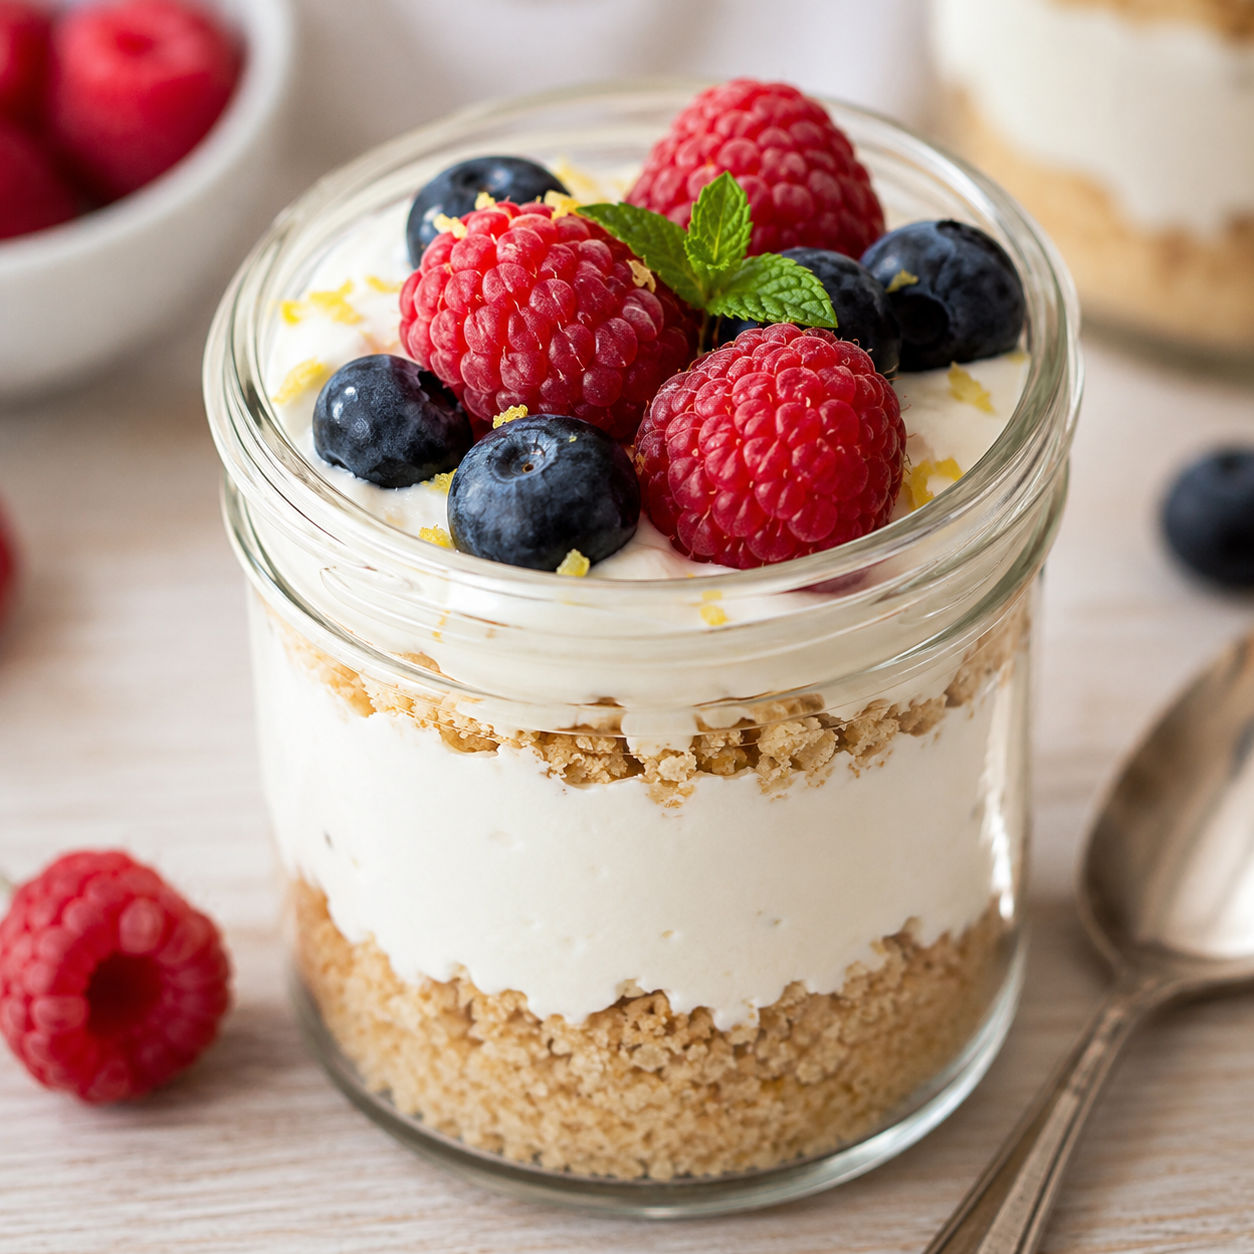
Healthy No-Bake Cheesecake Jars with Cottage Cheese are what I make when I want cheesecake flavor without turning on the oven. The filling tastes tangy and rich, but it is lighter than a classic cream cheese filling and has enough protein to feel satisfying.
The key is patience with the blender. Cottage cheese needs a full minute or two to lose its curds and turn smooth. Once that happens, the rest is simple layering, chilling, and spooning.
Healthy No-Bake Cheesecake Jars with Cottage Cheese
Choose small-curd cottage cheese if you can, since it blends faster and smoother. Thick Greek yogurt matters too, because thin yogurt makes the filling loose instead of spoonable.
- Cottage cheese. Blends into the creamy base and adds most of the protein.
- Greek yogurt. Gives the filling its cheesecake tang and helps lighten the texture.
- Maple syrup. Sweetens the filling without making it taste flat.
- Lemon juice and zest. Bring the bright flavor you expect from cheesecake.
- Vanilla extract. Rounds out the dairy tang and makes the jars smell like dessert.
- Graham cracker crumbs. Stand in for a crust and soften into a cake-like layer after chilling.
- Melted butter. Helps the crumbs taste toasted and hold together lightly.
- Fresh berries. Add color, juice, and a clean finish against the creamy filling.
Blend, Layer, Chill
- Make the crumbs. Stir graham crumbs with melted butter, cinnamon, and a pinch of salt until the mixture looks like damp sand.
- Smooth the cottage cheese. Blend the cottage cheese for 1-2 minutes, scraping the sides, until no curds remain.
- Flavor the filling. Add maple syrup, lemon juice, lemon zest, and vanilla, then blend again until glossy.
- Fold in yogurt. Transfer to a bowl and fold in the Greek yogurt gently so the filling stays thick.
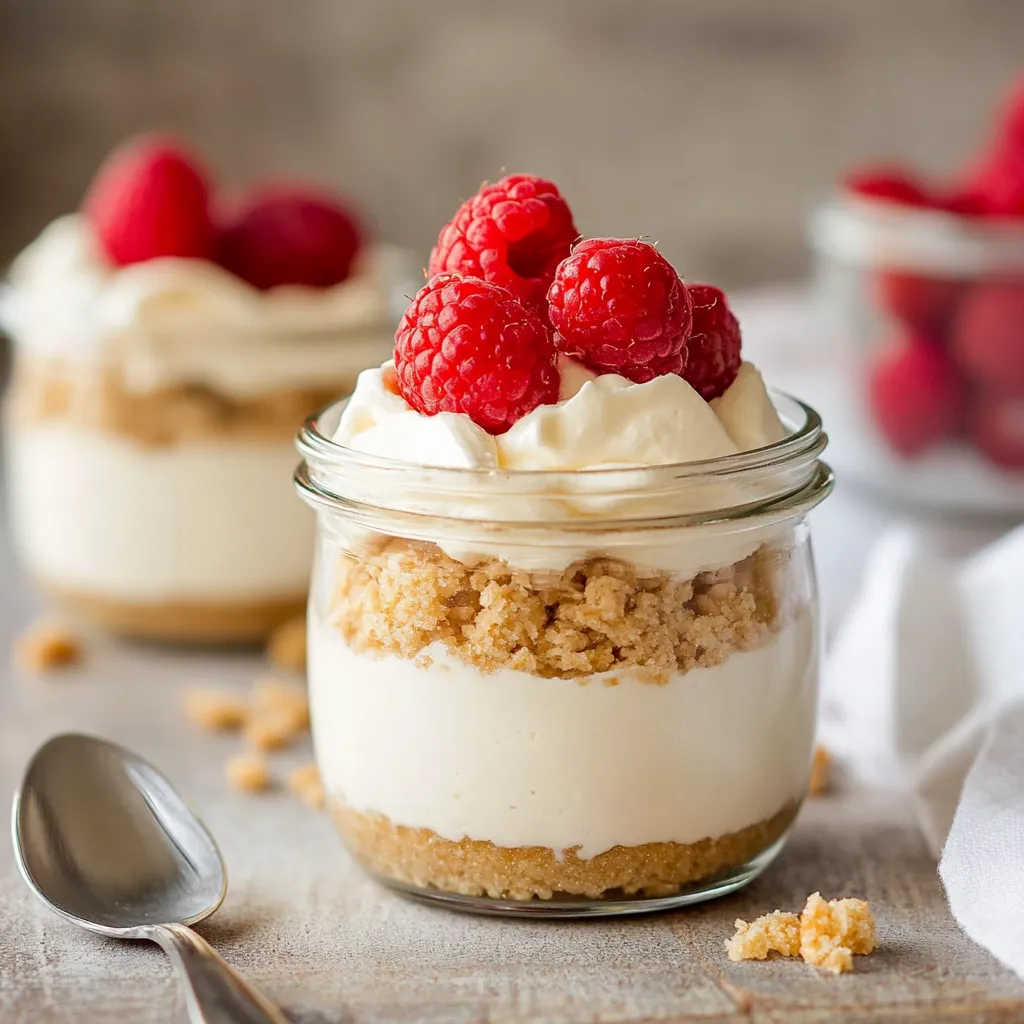
- Build the jars. Layer crumbs, filling, berries, and more filling in four jars, then finish with berries and a few crumbs.
- Chill before serving. Refrigerate for at least 30 minutes so the filling firms up and the layers settle.
Blend Until Truly Smooth
The difference between a good jar and a grainy jar is blending time. Cottage cheese looks smooth before it actually feels smooth, so let the machine run longer than you think. Stop once, scrape the corners, then blend again. A food processor works well, but a high-speed blender gives the silkiest finish.
If your filling tastes a little too dairy-forward, add another squeeze of lemon or a small splash of vanilla. That same trick helps in chilled cottage cheese desserts like Cottage Cheese Ice Cream Delight. For a savory way to use the rest of the tub, try Easy Cottage Cheese Egg Bake.
Keep The Layers Clean
Use wide-mouth jars or short glasses so you can spoon the layers in without smearing the sides. A small cookie scoop makes neat portions, but a regular spoon works if you move slowly. Start with crumbs, then add filling, berries, and another spoonful of filling. That keeps the fruit from bleeding straight into the crumb layer.
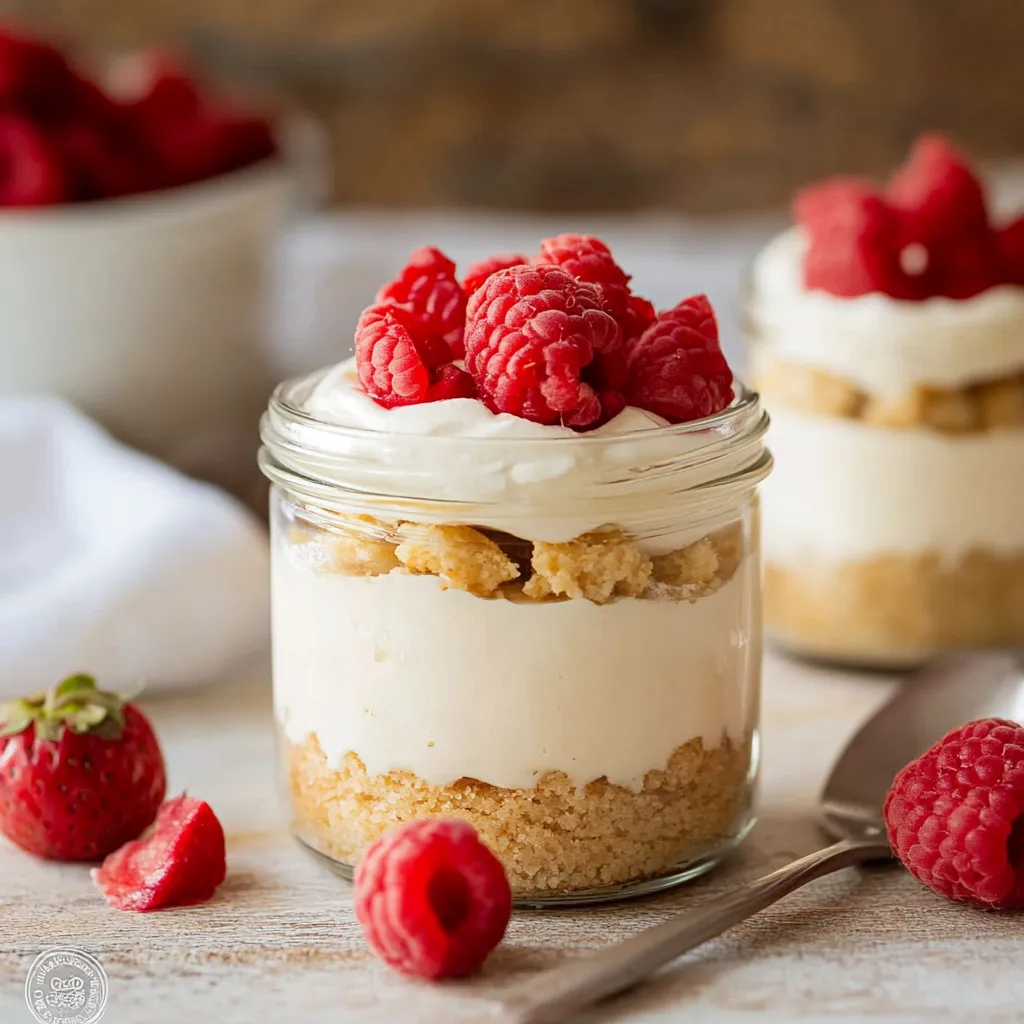
For a softer cheesecake texture, assemble the jars a few hours ahead. The crumbs soak up a little moisture and taste more like crust. If you want a crunchy contrast, hold back a few crumbs and sprinkle them on right before serving. The same jar method works well for classic No-Bake Cheesecake Jars.
Smart Swaps For Goals
Use nonfat Greek yogurt for a leaner jar, or use whole milk yogurt for a richer one. Honey can replace maple syrup, though it tastes a little stronger. For lower sugar, reduce the sweetener and choose ripe berries. For gluten-free jars, use gluten-free graham crackers or crushed oat cookies.
You can also trade berries for peaches, cherries, or lightly mashed raspberries. A spoonful of cocoa powder turns the filling chocolatey, but add a touch more maple syrup because cocoa tastes dry on its own. If no-bake snacks are your thing, Healthy No Bake Oatmeal Cookies make a good prep-ahead companion.
Chill Time And Storage
Thirty minutes is enough for a quick dessert, but 2 hours gives the filling a more cheesecake-like set. Store the jars covered in the refrigerator and keep them cold until serving. The USDA gives helpful guidance for cold storage and leftovers in its leftovers and food safety guide.
These jars are not great for freezing. The dairy can thaw grainy and the berries release too much water. If you want to prep farther ahead, blend the filling and store it separately, then assemble the jars the day you plan to eat them.
Serve Them Fresh
Serve the jars cold with a few fresh berries, lemon zest, and a small spoonful of crumbs on top. Mint is nice if you have it, but it is not required. For dessert, I like smaller jars because the filling is creamy and satisfying. For breakfast, use larger jars and add extra fruit.
These also work well after a simple brunch. Pair them with coffee, iced tea, or a platter of fruit. If you want another cottage cheese recipe that leans practical and protein-rich, make a batch of Protein Bagels with Cottage Cheese for the freezer.
Summary
These jars are creamy, lightly sweet, and easy to prep ahead. Keep the crumb layer separate if you want crunch, or assemble early for a softer cheesecake crust texture.
FAQs
- Can you taste the cottage cheese in these cheesecake jars?
Not much if you blend it long enough. The lemon, vanilla, maple syrup, and Greek yogurt push the flavor toward cheesecake, while the cottage cheese mainly adds body and protein.
- Can I make these jars without Greek yogurt?
Yes, but the filling will be less tangy and may be thicker. You can use more blended cottage cheese, or swap in skyr for a similar high-protein texture.
- How long do cottage cheese cheesecake jars last?
They keep well for up to 3 days in the refrigerator. The graham crumbs soften as they sit, so add a fresh sprinkle right before serving if you want crunch.
- Can I use frozen berries?
Yes. Thaw them first and drain off extra juice so the jars do not get watery. Frozen berries are best as a quick sauce or middle layer rather than a fresh-looking garnish.
- How do I make these gluten-free?
Use certified gluten-free graham-style crackers or crushed gluten-free oat cookies. The filling is naturally gluten-free, but always check labels on vanilla and packaged crumbs.
- Can I meal prep these for breakfast?
Yes. They are sweet enough for dessert but balanced enough for breakfast. For a less sweet jar, reduce the maple syrup by 1 tablespoon and add extra berries on top.
