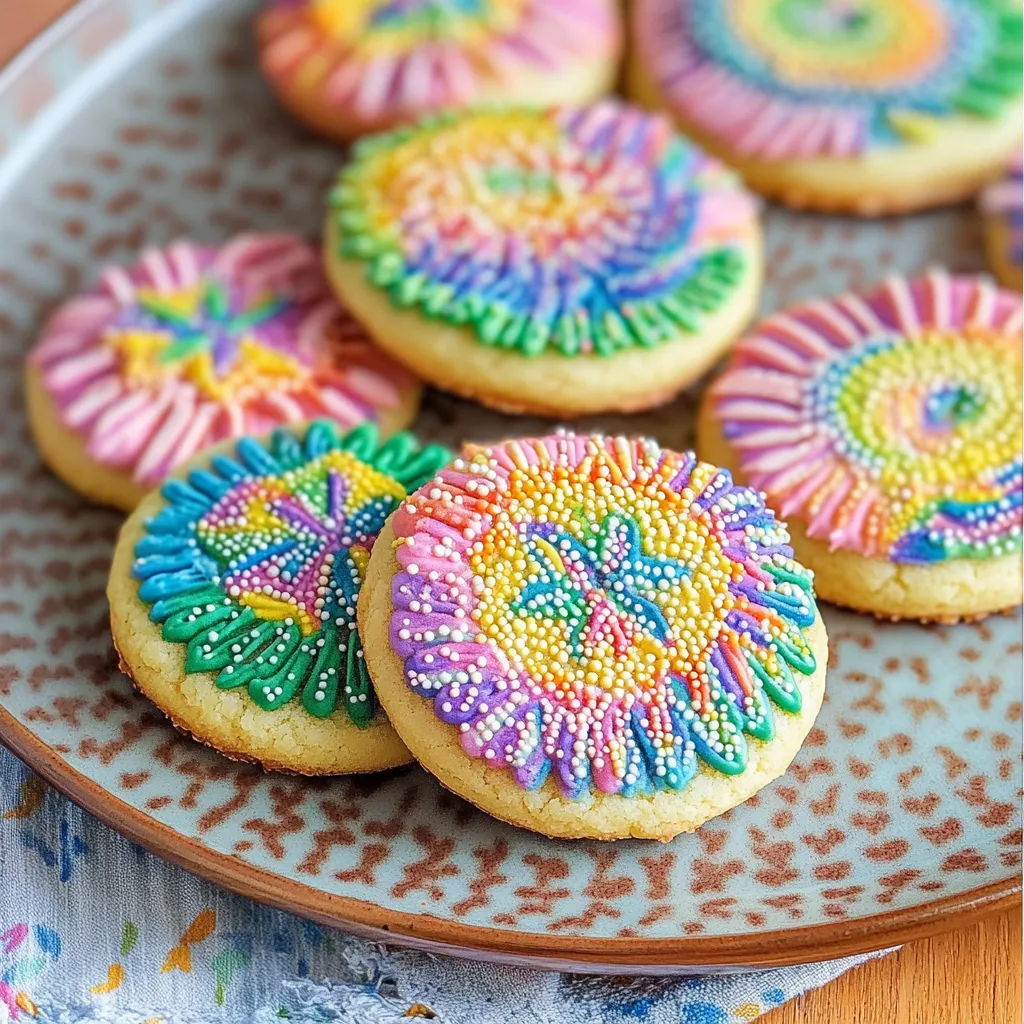
Hidden Rainbow Cookies

Featured in Sweet treats for any occasion.

Hidden Rainbow Cookies are a delightful treat that combines the comfort of a classic butter cookie with a colorful surprise inside. These cookies start with a rich, buttery vanilla dough that's divided and tinted with food coloring to create all the colors of the rainbow. The magic happens during assembly, where small portions of each colored dough are carefully arranged side by side and then wrapped in the uncolored dough. The exterior is partially coated with festive sprinkles before baking, adding extra texture and visual appeal. After chilling and baking, these cookies maintain their shape and reveal their secret rainbow when broken apart or bitten into. They're perfect for parties, holidays, or anytime you want to bring a smile with a sweet surprise. The contrast between the simple exterior and the vibrant interior makes these cookies both a delicious treat and a conversation starter.
A woman in an apron is preparing a meal in a sunny kitchen filled with fresh vegetables and herbs.
Updated on Sun, 16 Mar 2025 01:17:24 GMT
A plate of colorful cookies. pin it
A plate of colorful cookies. | myhomemaderecipe.com

Rainbow butter cookies combine the comforting familiarity of classic butter cookies with a delightful surprise of vibrant color hidden within. These cookies maintain the rich, tender texture that makes butter cookies so beloved while incorporating a playful element that brings joy to both children and adults alike. The contrast between the unassuming exterior and the burst of rainbow colors revealed with each bite creates a magical experience that transforms an ordinary cookie into something extraordinary.

The first time I presented these cookies at a gathering, the collective gasp when someone broke one open made all the extra steps worthwhile. What began as an experiment inspired by a rainbow bundt cake quickly became my signature bake. Even friends who initially reached for them simply because they looked pretty found themselves coming back for seconds because the flavor matched the visual appeal. The cookies became so popular that I now receive requests to bring them to nearly every gathering, with people specifically asking for 'those amazing rainbow cookies.'

Essential Ingredients

  • Unsalted butter: Provides a rich, tender texture.
  • Granulated sugar: Contributes sweetness and crisp edges.
  • Pure vanilla extract: Adds depth and warmth.
  • Large egg: Provides structure and moisture.
  • All-purpose flour: Ensures the right balance between tenderness and shape retention.
  • Salt: Enhances flavors and balances sweetness.
  • Milk: Adds necessary moisture for pliability.
  • Rainbow jimmie sprinkles: Creates an attractive exterior coating.
  • Gel food coloring: Produces vibrant colors without altering dough consistency.

Step-by-Step Instructions

Cream Butter and Sugar:
Beat butter, sugar, and vanilla on high speed for 3 minutes until light and fluffy.
Add Egg:
Mix in the egg until fully incorporated, scraping down the bowl as needed.
Mix in Dry Ingredients:
Add flour and salt, mixing on low speed until just combined.
Adjust Dough Consistency:
Stir in 2-3 tablespoons of milk until the dough is soft but not sticky.
Divide and Color:
Set aside a portion of uncolored dough and divide the rest into six equal portions, coloring each red, orange, yellow, green, blue, and purple.
Shape Rainbow Strips:
Roll each colored portion into thin ropes and arrange in a rainbow sequence.
Wrap in Uncolored Dough:
Flatten the uncolored dough and encase the rainbow strips completely.
Roll in Sprinkles:
Coat three-quarters of each cookie dough ball in rainbow jimmie sprinkles.
Chill Thoroughly:
Refrigerate for at least 2 hours to prevent excessive spreading.
Preheat Oven:
Set oven to 375°F (190°C) and position the rack in the center.
Bake:
Bake for 15 minutes, or until edges are lightly golden.
Cool:
Transfer to a wire rack to cool completely before serving.
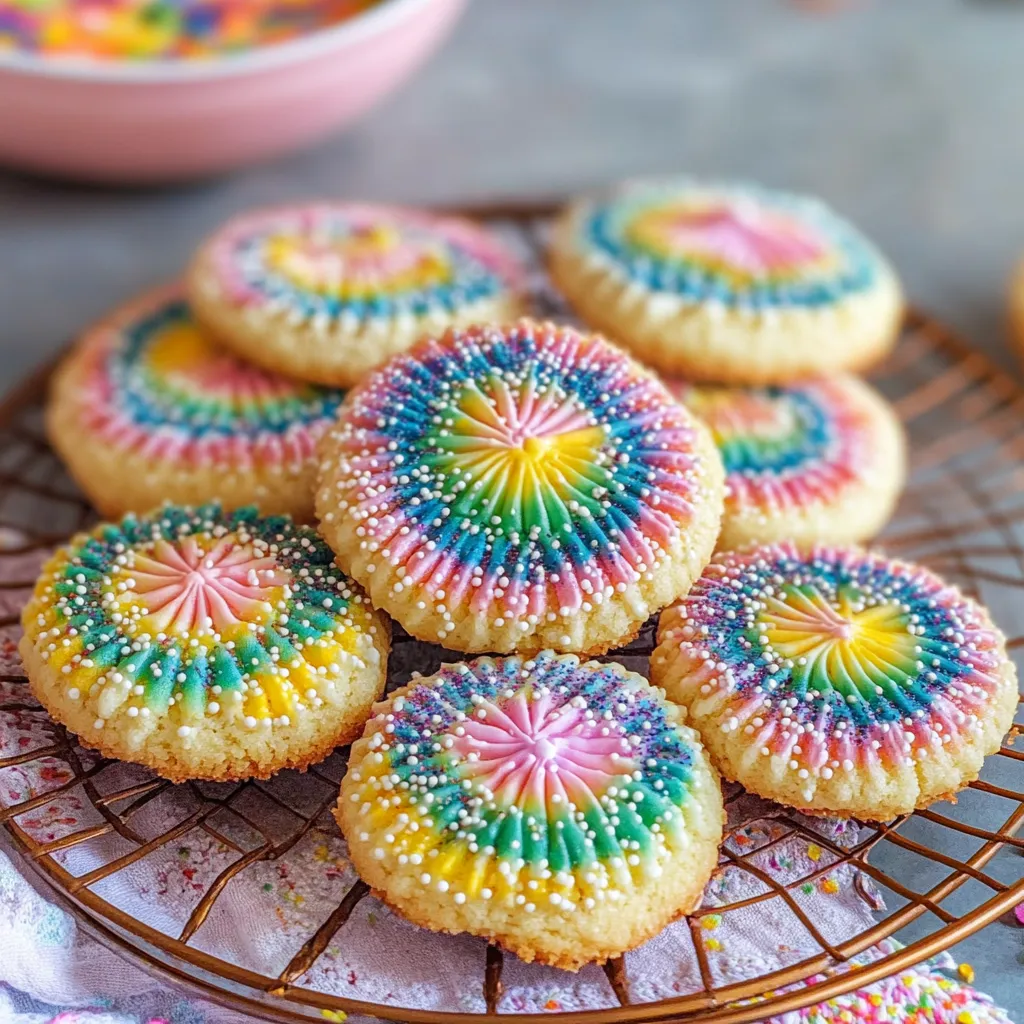
Rainbow cookies on a wire rack. pin it
Rainbow cookies on a wire rack. | myhomemaderecipe.com

Serving Suggestions

Pair these cookies with cold milk for a nostalgic treat.

Serve alongside classic cookies like chocolate chip for contrast.

Use different sprinkle colors to match holiday themes or celebrations.

Creative Variations

Create pastel rainbow versions by using softer gel colors.

Fill with buttercream to make sandwich cookies.

Swap rainbow colors for school or holiday themes.

Storage and Freezing

Store at room temperature in an airtight container for up to 5 days.

Freeze unbaked dough balls for up to 3 months; bake directly from frozen.

To restore softness, place a slice of bread in the container overnight.
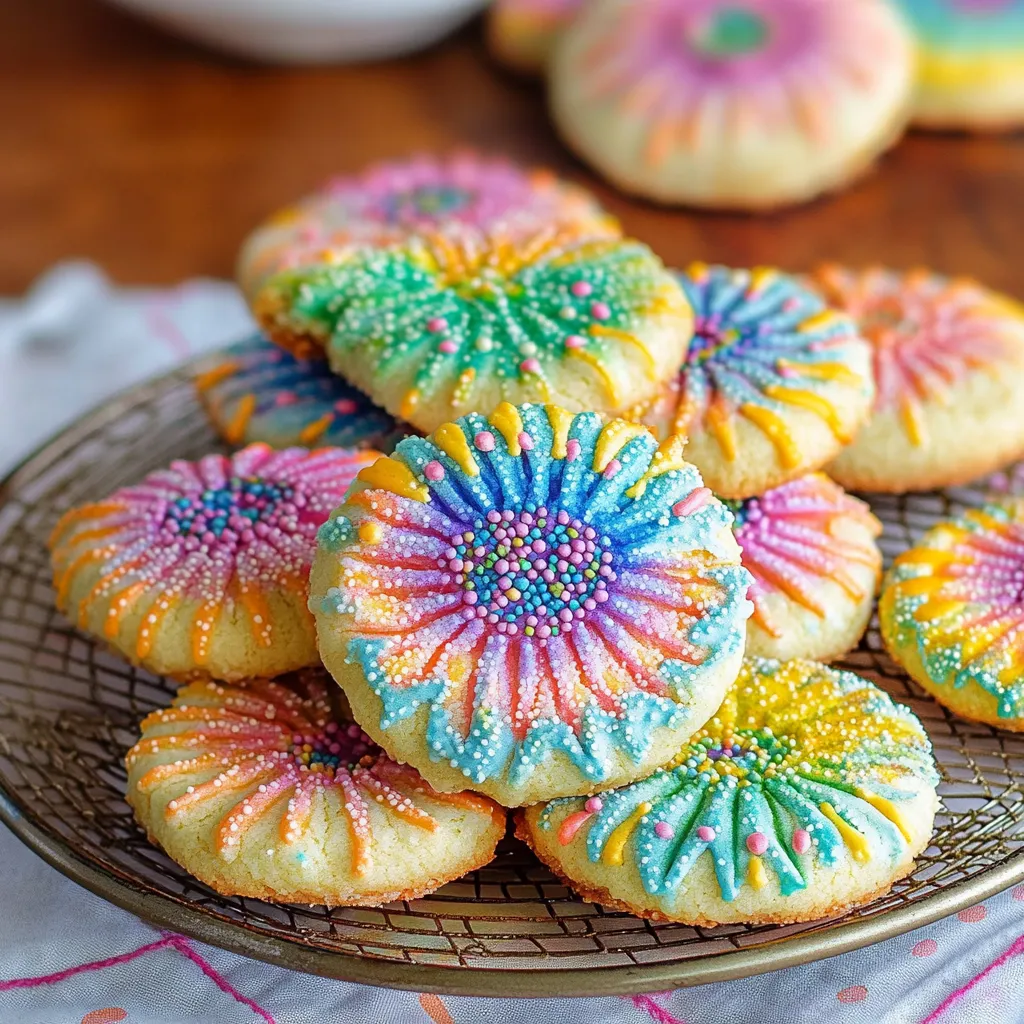
A plate of colorful cookies. pin it
A plate of colorful cookies. | myhomemaderecipe.com

These rainbow butter cookies have become a signature bake that never fails to elicit joy and surprise. While they require a bit more effort than standard drop cookies, the payoff in both visual impact and eating pleasure makes them worth every minute spent. I've found that these cookies create not just a delicious treat, but an experience, as people can't help but break them open to reveal the colorful surprise inside. They've become my go-to recipe whenever I want to brighten someone's day or add a special touch to a gathering. The combination of familiar buttery flavor with unexpected rainbow interior makes them appropriate for almost any occasion where a little extra magic is called for.

Frequently Asked Questions

→ Can I make the cookie dough ahead of time?
Yes, you can make the dough up to 3 days in advance and store it in the refrigerator, tightly wrapped in plastic. Let it sit at room temperature for 1-2 hours before coloring and forming the cookies.
→ What if I don't have all the food coloring colors needed?
You only need red, yellow, and blue food coloring to create all rainbow colors. Mix red and yellow for orange, yellow and blue for green, and red and blue for purple as noted in the recipe.
→ Why do the cookies need to be refrigerated before baking?
Refrigerating the cookies for 2 hours helps firm up the butter in the dough, which prevents them from spreading too much during baking and helps maintain the rainbow pattern inside.
→ Can I freeze these cookies?
Yes, you can freeze the shaped, unbaked cookies for up to 3 months. Bake directly from frozen, adding 2-3 minutes to the baking time. You can also freeze baked cookies for up to 2 months.
→ Do I need to use sprinkles on the outside?
While sprinkles add a fun touch, they're optional. You can leave the cookies plain, roll them in colored sugar, or even drizzle with white chocolate after baking for a different look.

Hidden Rainbow Cookies

These Hidden Rainbow Cookies feature a buttery vanilla exterior rolled in sprinkles that conceals a vibrant rainbow of colors inside for a fun surprise treat.

Prep Time
60 Minutes
Cook Time
15 Minutes
Total Time
75 Minutes
By: Zaho

Category: Desserts

Difficulty: Difficult

Cuisine: American

Yield: 24 Servings (About 24 cookies)

Dietary: Vegetarian

Ingredients

→ For the Cookie Dough

01 3 cups all-purpose flour (360g)
02 1 cup unsalted butter, room temperature (226g)
03 1 cup sugar (200g)
04 1 large egg, room temperature
05 1 tablespoon vanilla extract
06 1/2 teaspoon fine sea salt
07 2-3 tablespoons milk

→ For Decorating

08 Food coloring (red, yellow, and blue - to create all rainbow colors)
09 Sprinkles for coating

Instructions

Step 01

Let's start by getting your butter and sugar nice and fluffy! Drop that room temperature butter into a large bowl with the sugar and vanilla. If you've got a stand mixer, use the paddle attachment and beat on high for about 3 minutes. You're looking for that light, airy texture that's almost cloud-like. This step is super important - it's creating tiny air pockets that'll give your cookies that perfect texture!

Step 02

Now crack in your egg and mix on medium-low speed until everything's well combined. Make sure to scrape down the sides of the bowl with a rubber spatula - we want all that goodness mixed in evenly. The dough should start looking glossy and smooth at this point.

Step 03

Add all your flour and salt to the bowl. Start mixing on low speed so you don't end up wearing a flour cloud (been there, done that!). Once most of the flour is incorporated, you can bump it up to medium just until everything comes together. Be careful not to overmix here - that can make your cookies tough instead of tender.

Step 04

Pour in about 2-3 tablespoons of milk and mix on low speed until it's fully absorbed into the dough. This adds just the right amount of moisture to make your cookies perfectly soft. Your dough should now be smooth and pliable but not sticky - just right for creating our rainbow magic!

Step 05

Here comes the fun part! Use a 3 tablespoon ice cream scoop to portion out small amounts of dough for coloring. For each rainbow color, add a couple drops of food coloring and mix it in using your hands (food-safe gloves are great here!) or a small rubber spatula. Start with red, then make orange (red+yellow), yellow, green (yellow+blue), blue, and purple (blue+red). After coloring all your rainbow portions, you should have about 1/3 to 1/2 of the dough still uncolored - that's perfect because it'll be the outside of our cookies!

Step 06

Scoop about 2 tablespoons of the uncolored dough and flatten it between your palms into an oval about the length of your palm. Then take about 1 teaspoon of each colored dough, starting with red, and place them in a row along one edge of the flattened dough. Line up each color right against the previous one - red, orange, yellow, green, blue, and purple - until you reach the other edge. Now carefully fold and roll the uncolored dough up and around to completely cover your rainbow of colors. Give it a gentle roll between your palms to make a nice ball.

Step 07

Roll about 3/4 of each dough ball in sprinkles (leaving the bottom uncoated). Place them sprinkle-side up on your baking sheet, spacing them about 2 inches apart. Once all your cookies are formed and sprinkled, pop the whole baking sheet in the refrigerator for 2 hours. This chilling step is crucial - it helps the butter firm up so your cookies keep their shape and don't spread too much during baking.

Step 08

When you're ready to bake, preheat your oven to 375°F. Take your chilled cookies straight from the fridge to the oven and bake for about 15 minutes. You're looking for just a hint of golden brown around the bottom edges - don't overbake or you'll lose that soft, chewy center! Let them cool on the baking sheet for about 5 minutes, then transfer to a cooling rack to finish cooling completely.

Notes

  1. These fun cookies hide a colorful rainbow surprise inside that's revealed with every bite - perfect for parties, bake sales, or brightening someone's day!
  2. The key to vibrant colors is starting with a small amount of dough for each color and using gel food coloring rather than liquid if possible.
  3. Don't skip the chilling step! It's crucial for preventing the cookies from spreading too much and keeping your rainbow design intact.
  4. You can easily create all six rainbow colors (red, orange, yellow, green, blue, and purple) using just red, yellow, and blue food coloring by mixing them together.

Tools You'll Need

  • Stand mixer with paddle attachment (or hand mixer)
  • Large mixing bowl
  • Measuring cups and spoons
  • Rubber spatula
  • 3 tablespoon ice cream scoop
  • Food-safe gloves (optional but helpful)
  • Baking sheets
  • Cooling rack

Allergy Information

Please check ingredients for potential allergens and consult a health professional if in doubt.
  • Contains gluten (all-purpose flour)
  • Contains dairy (butter and milk)
  • Contains eggs
  • Sprinkles may contain artificial colors and flavors

Nutrition Facts (Per Serving)

It is important to consider this information as approximate and not to use it as definitive health advice.
  • Calories: 175
  • Total Fat: 8 g
  • Total Carbohydrate: 24 g
  • Protein: 2 g