 Pin it
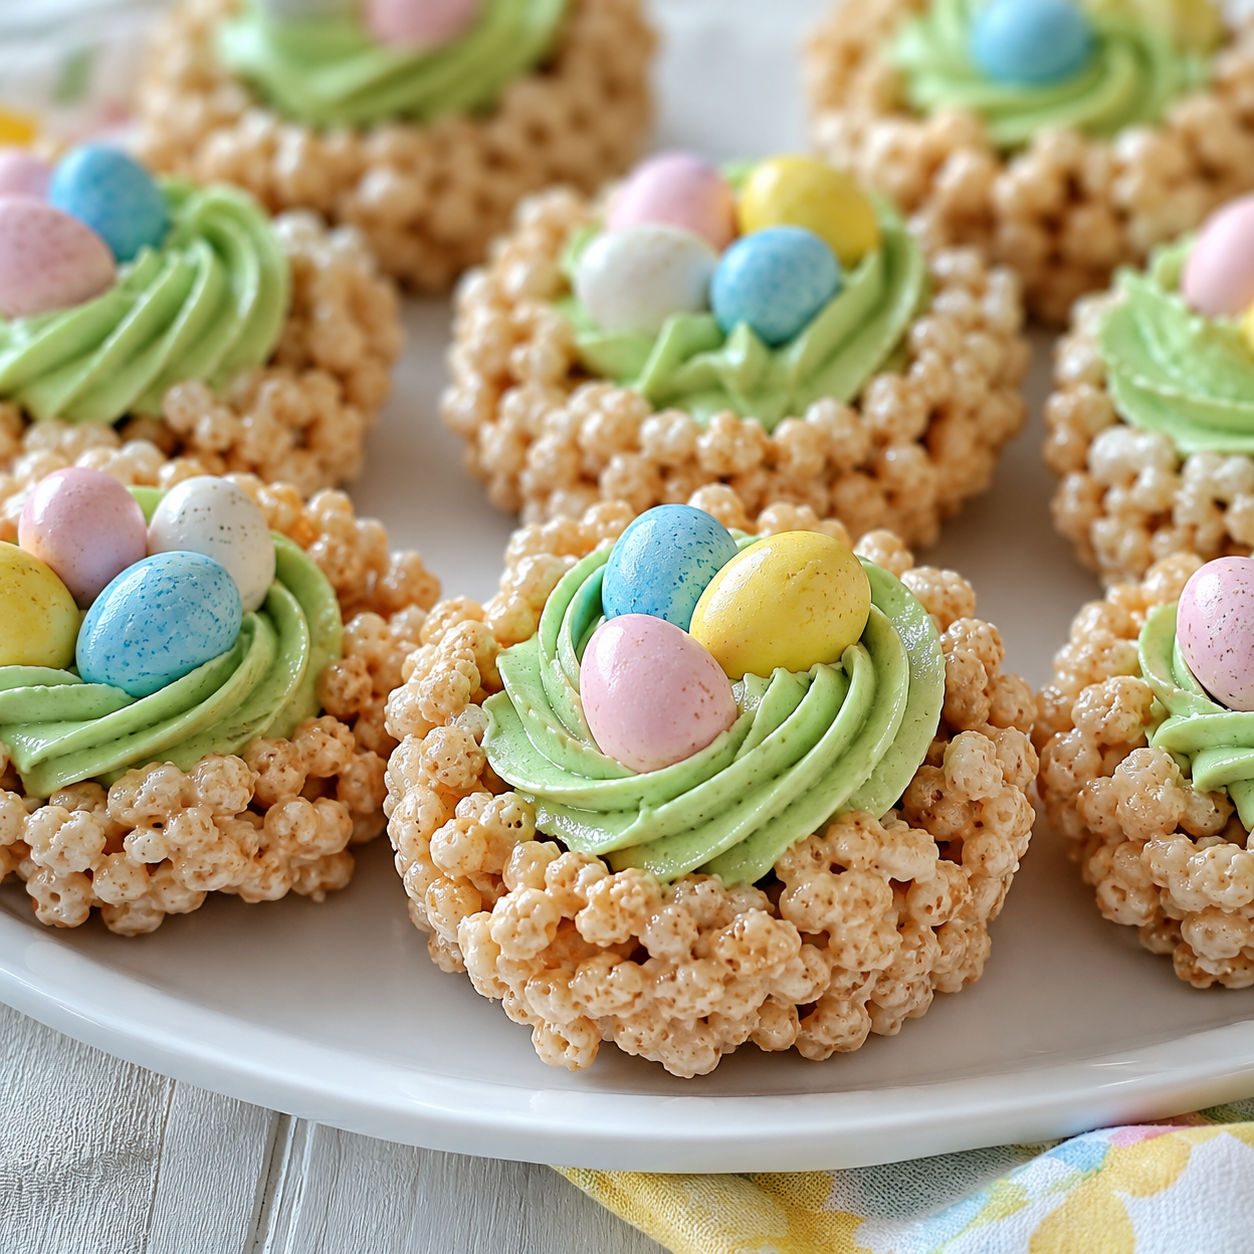
Easter Egg Krispies Nests with Frosting are the kind of treat that makes a dessert table feel cheerful without asking much from the cook. You melt, stir, press, pipe, and decorate. No oven needed.
The cereal cups stay crisp around the edges, the frosting gives them a soft sweet center, and the candy eggs make each one look finished. I like these best for Easter brunch because they can be made ahead and set out at room temperature.
Cereal, Frosting, Candy Eggs
Use fresh marshmallows and crisp cereal here. Stale marshmallows melt unevenly and can make the nests dry instead of chewy.
The frosting should be thick enough to hold ridges from a piping tip. A grass tip looks cute, but a star tip or even a zip-top bag with the corner snipped will still work.
- Crisp rice cereal. Gives the nests their crunch and light shape.
- Mini marshmallows. Melt into the sticky base that holds the cereal together.
- Unsalted butter. Adds flavor and keeps the mixture soft enough to shape.
- Vanilla extract. Rounds out the marshmallow flavor.
- Powdered sugar. Makes a smooth buttercream that pipes cleanly.
- Milk. Loosens the frosting a spoonful at a time.
- Green food coloring. Turns the frosting into a grassy nest filling.
- Candy eggs. Finish the Easter look and add a sweet chocolate bite.
Easter Egg Krispies Nests with Frosting
- Grease the pan. Coat a mini muffin pan well with butter or cooking spray. Grease a small spoon or shot glass too, since the cereal mixture gets sticky fast.
- Melt the marshmallows. Warm butter and marshmallows in a large pot over low heat until smooth. Stir often and pull the pot off the heat as soon as the mixture is melted.
- Fold in the cereal. Add the cereal and vanilla, then stir until every piece is lightly coated. Work quickly while the mixture is warm and flexible.
- Press the nests. Spoon the mixture into the muffin cups. Press the centers down to make a hollow, leaving enough cereal around the sides to hold its shape.
- Let them set. Rest the nests at room temperature until firm, about 20 minutes. Lift them out gently with a thin butter knife.
- Make the frosting. Beat softened butter until creamy, then add powdered sugar, milk, vanilla, and green coloring. Beat until fluffy and thick enough to pipe.
- Decorate the nests. Pipe frosting into each cooled nest and top with 2 or 3 candy eggs. Serve the same day for the crispest texture.
Shape While Warm
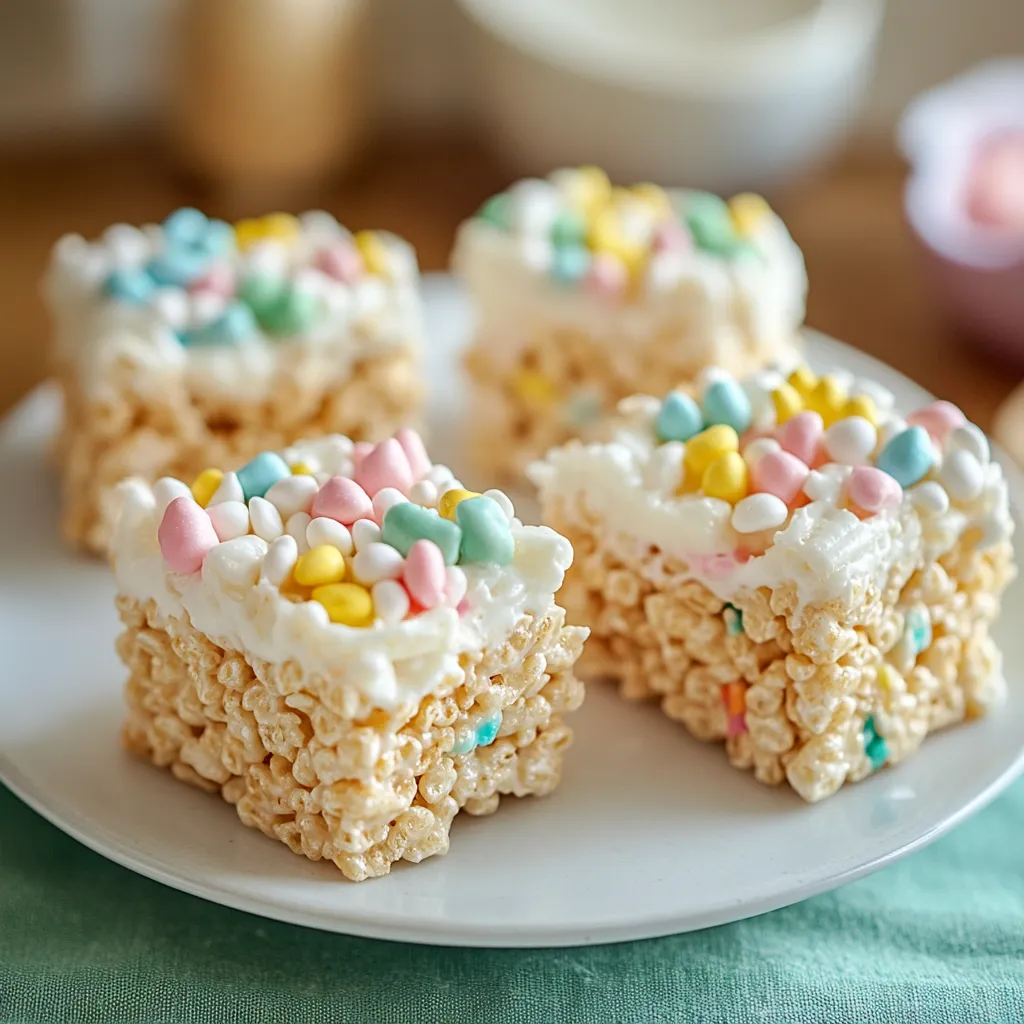
The cereal mixture gives you a short working window. Once the marshmallow cools, it turns firm and pulls apart instead of molding cleanly. Keep the pot near the muffin pan and scoop right away.
If you are making these with kids, let an adult handle the hot mixture first. After a minute or two, the cereal is warm enough to touch with greased hands. For another easy spring treat with the same holiday feel, try Easy Easter Rice Krispies Eggs.
Frosting That Pipes Cleanly
Buttercream for these nests should be thicker than cake frosting. Start with less milk, then add more only if the mixer struggles. If the frosting droops, beat in extra powdered sugar by the tablespoon.
Gel food coloring gives a brighter green without thinning the frosting. Liquid color works, but add it slowly. If you want to play with a different flavor, a small spoonful of strawberry frosting puree can tint a batch pink for a second color on the platter.
Candy And Color Swaps
Mini chocolate eggs are the classic choice because they sit neatly in the frosting. Jelly beans, pastel coated chocolates, or tiny malted eggs also work. Keep the candies small so each nest still looks balanced.
You can make half the frosting green and half pale yellow for a brighter Easter tray. For a chocolate version, fill the nests with cocoa frosting and use the styling from Chocolate Easter Egg Nest Cake as inspiration. The official Rice Krispies Easter treats guide is also useful if you want more shaping ideas.
Storage Without Soggy Centers
Store finished nests in a single layer in an airtight container at room temperature for up to two days. If you stack them, place parchment between layers and keep the candy eggs facing up.
The refrigerator makes the cereal hard and can dull the frosting texture. For the best make-ahead plan, shape the cereal cups first and add frosting shortly before serving. If your Easter dessert table needs one more no-bake option, Easy Easter Oreo Egg Truffles pair nicely with these nests.
Serving Them For Easter
Set the nests on a cake stand or tuck them into cupcake liners for easy grabbing. They are sweet, so I serve them with fresh berries or a platter of cut fruit.
For favors, wait until the frosting has set a little before wrapping. A loose cellophane bag keeps the shape better than tight plastic wrap. Add the candy eggs last if you are transporting them, since they can shift in warm rooms.
Summary
Shape warm marshmallow cereal mixture into nests, let them firm up, then fill with green frosting and candy eggs for an easy Easter dessert.

FAQs
- Can I use store-bought frosting?
Yes. Store-bought vanilla frosting works well when you need these done fast. Tint it green, loosen it with a teaspoon of milk if it feels stiff, and pipe it into the cooled nests.
- How do I keep the Krispies nests from sticking?
Grease the muffin pan, spatula, and your hands before you start shaping. A small glass wrapped in wax paper also works well for pressing the center without tearing the cereal mixture.
- Can I make these Easter nests ahead?
You can shape the cereal nests one day ahead and store them airtight at room temperature. Add the frosting and candy eggs the day you plan to serve them so the centers look fresh.
- What candy eggs work best?
Small chocolate candy eggs fit neatly in the frosting and give the best nest look. Jelly beans work too, but use only a few so the treats do not get too sweet.
- Can I make them gluten-free?
Yes, but check every package. Use a certified gluten-free crisp rice cereal and make sure the marshmallows, candy eggs, and food coloring are labeled gluten-free.
- Why are my nests falling apart?
The cereal may not have been fully coated, or the mixture cooled before you pressed it into shape. Stir quickly while the marshmallow is hot and press each nest firmly enough to hold together.
