
 Pin it
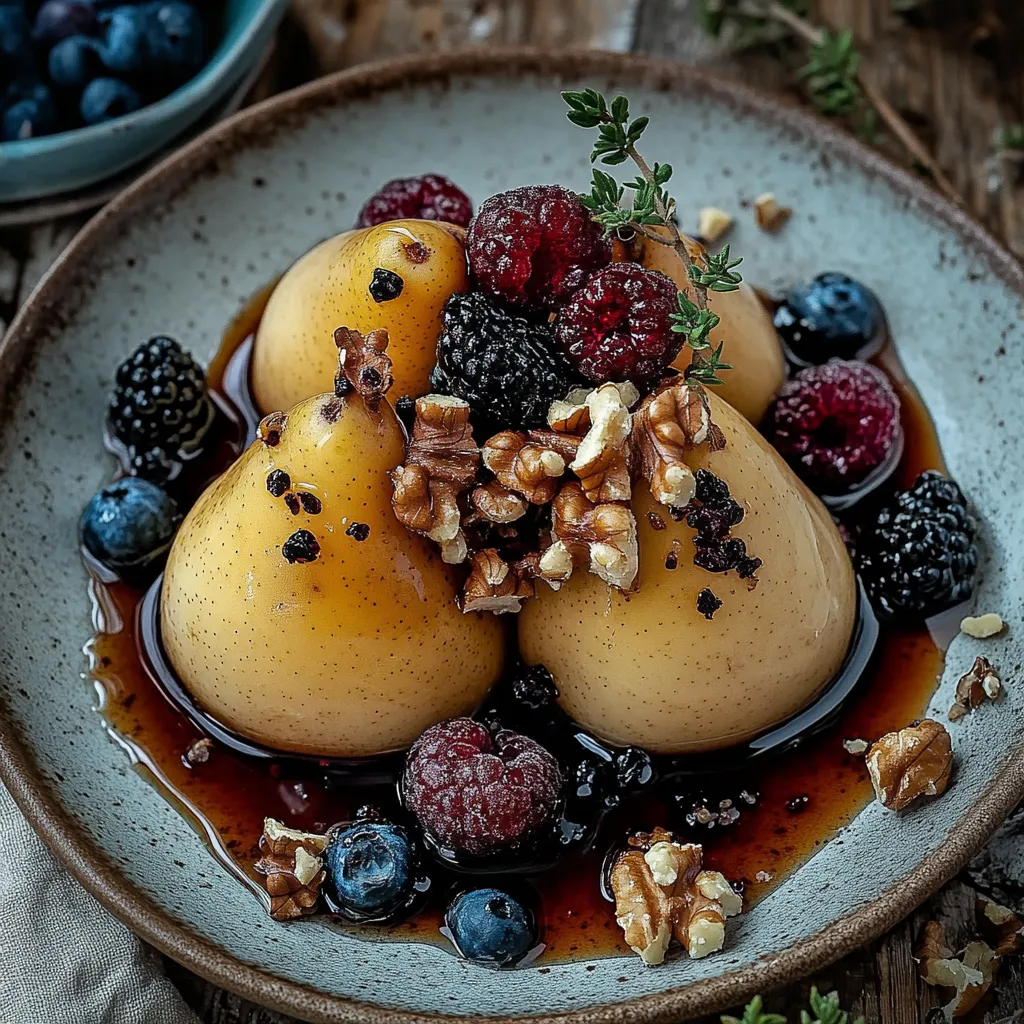
This magical baked pear dessert transforms simple ingredients into an elegant finale for any meal. The contrast of warm, tender pears against cool, tangy berries creates a sensory experience that feels indulgent yet remains surprisingly light and healthful.
I first created this dessert for an impromptu dinner party when I realized I had nothing prepared for the sweet course. The combination was such a hit that guests assumed I had planned it all along, and now it's my secret weapon for elegant entertaining without stress.
Ingredients
- Ripe pears: Choose firm but slightly yielding Bartlett, Anjou, or Bosc varieties for the best texture and flavor after baking.
- Butter: Creates a beautiful caramelized exterior on the pears while adding richness.
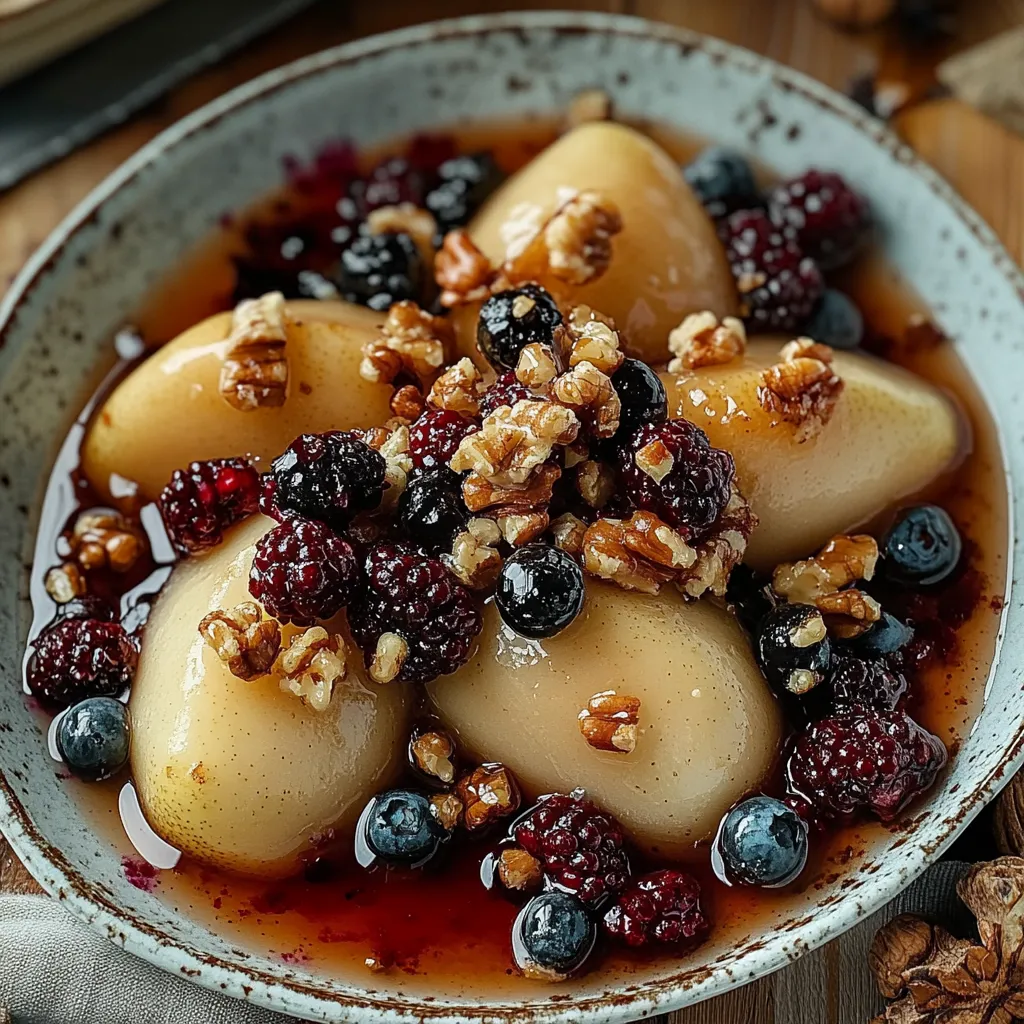
- Mixed fresh berries: Their tartness cuts through the sweetness and adds vibrant color contrast.
- Walnuts: Provide essential textural crunch and earthy notes that complement the sweetness perfectly.
- Blue cheese: The creamy tanginess creates an unexpected but delightful counterpoint to the fruit.
- Honey: Ties all elements together with natural sweetness that becomes slightly floral when warmed.
- Fresh thyme: Optional but highly recommended for its subtle aromatic quality that elevates the entire dessert.
Step-by-Step Instructions
- Preheat the Oven:
- Set your oven to 350°F. This moderate temperature allows the pears to cook through gently without becoming mushy. While waiting for the oven to reach temperature, line your baking sheet with parchment paper for easy cleanup.
- Prepare the Pears:
- Halve each pear lengthwise with a sharp knife, then carefully remove the core with a melon baller or small spoon. Place them cut-side up on your prepared baking sheet, creating a natural "bowl" for the toppings to nestle into later. Brush each pear half generously with melted butter, ensuring the cut surfaces are completely coated to encourage beautiful caramelization.
- Bake the Pears:
- Slide the pears into your preheated oven and bake for 15-20 minutes. You want them tender enough that a knife easily pierces the flesh but still firm enough to hold their shape when serving. The exact time depends on your pears ripeness. The butter will create a gorgeous golden surface that adds visual appeal and depth of flavor.
- Add the Toppings:
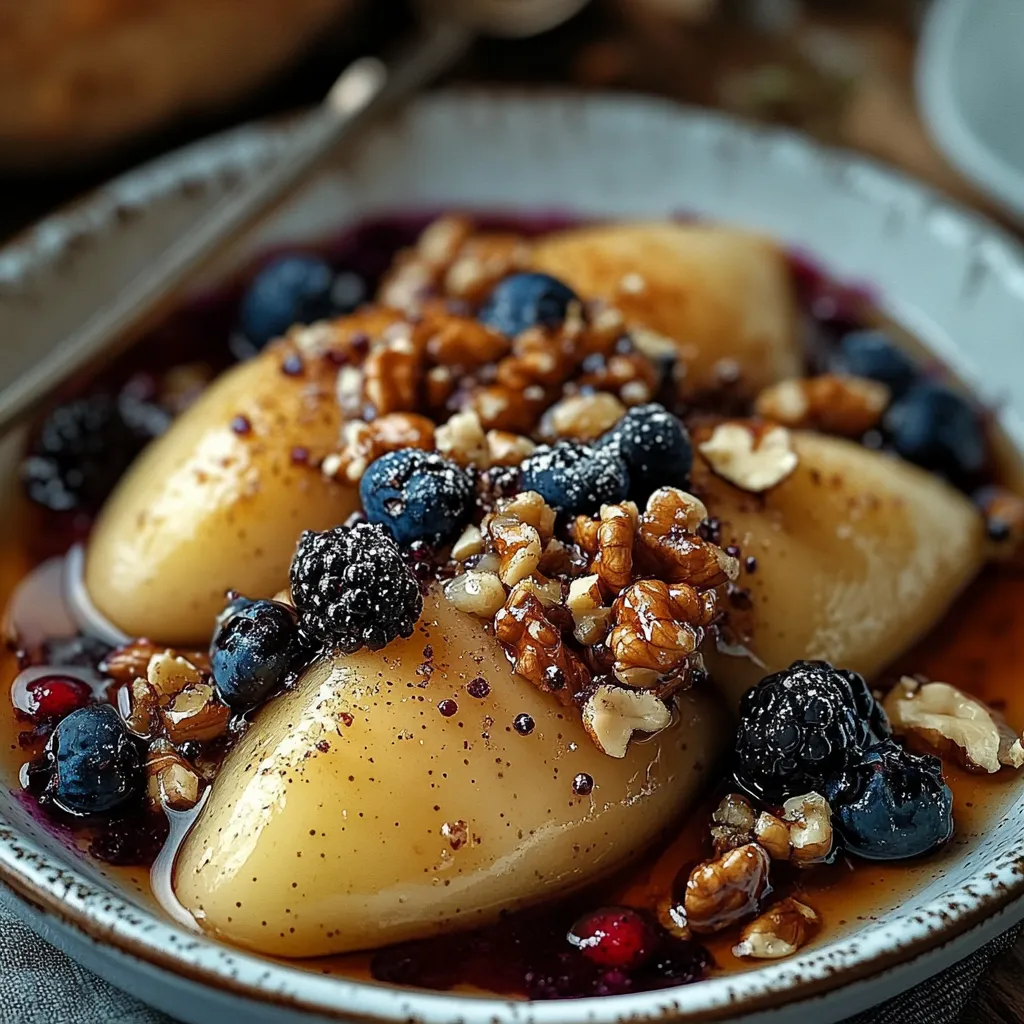
- Once removed from the oven, allow the pears to cool for about 5 minutes. The residual warmth makes them perfect for the next step. Distribute the berries evenly among the pear halves, letting some tumble onto the plate for visual interest. Then sprinkle the blue cheese crumbles, allowing them to slightly melt from the warmth of the pears. Follow with a generous scattering of walnuts and finish with a slow drizzle of honey that catches in the crevices of the fruit.
 Pin it
The blue cheese is truly the secret star of this recipe. I discovered this unlikely addition after a cheese board sat next to a fruit platter at a gathering, and a happy accident of flavors convinced me they were made for each other. My grandmother initially raised an eyebrow at the combination but became its biggest advocate after one taste.
Perfect Pear Selection
Ripeness matters tremendously in this recipe. Look for pears that yield slightly to gentle pressure near the stem. Too firm and they won't soften properly during baking. Too soft and they'll collapse. If your pears are underripe, place them in a paper bag with a banana for 1-2 days to speed ripening. Different varieties offer subtle flavor differences. Anjou pears hold their shape beautifully, while Bartletts provide more juice and sweetness.
Creative Variations
This recipe welcomes personalization based on your preferences or pantry. Replace blue cheese with goat cheese for a milder tangy note, or use brie for pure creaminess. Feta works wonderfully for those who prefer a saltier profile. The nuts can be swapped with pecans, almonds, or even pistachios for different flavor notes. For a boozier adult version, add a splash of bourbon or amaretto to the honey before drizzling.
Seasonal Adaptations
While this dessert shines during autumn and winter pear seasons, it transitions beautifully through the year. In summer, substitute peaches or nectarines for pears and reduce baking time by about 5 minutes. During spring, try it with apricots. The winter version benefits from a pinch of warming spices like cinnamon or cardamom sprinkled over the pears before baking. For holiday gatherings, add pomegranate seeds for festive color and juicy bursts.
Serving Suggestions
Serve these pears slightly warm rather than piping hot to allow the cheese to soften without completely melting. They make a stunning dessert course that pairs beautifully with dessert wines like Sauternes or a late harvest Riesling. For brunch, they work wonderfully alongside Greek yogurt drizzled with additional honey. Consider serving on warmed plates during cooler months to maintain their delightful temperature longer.
 Pin it
Frequently Asked Questions
- → Can I use a substitute for blue cheese?
Yes, you can substitute blue cheese with goat cheese, vegan cheese, or even cream cheese for a milder flavor while retaining the creamy texture.
- → What other nuts can I use instead of walnuts?
Almonds, pecans, or hazelnuts work well as alternatives to walnuts. For a nut-free option, consider sunflower or pumpkin seeds.
- → Can I prepare this dessert ahead of time?
You can bake the pears in advance, but add the toppings right before serving to maintain their freshness and texture.
- → What should I serve with baked pears?
These baked pears pair perfectly with Greek yogurt, vanilla ice cream, or a glass of sweet dessert wine.
- → Can I use frozen berries instead of fresh?
Yes, frozen berries can be used, but thaw them first and drain excess liquid to avoid soggy pears.
- → What is the ideal pear variety for baking?
Ripe but firm pears like Bosc or Anjou are ideal for baking as they hold their shape well and caramelize beautifully.