
 Pin it
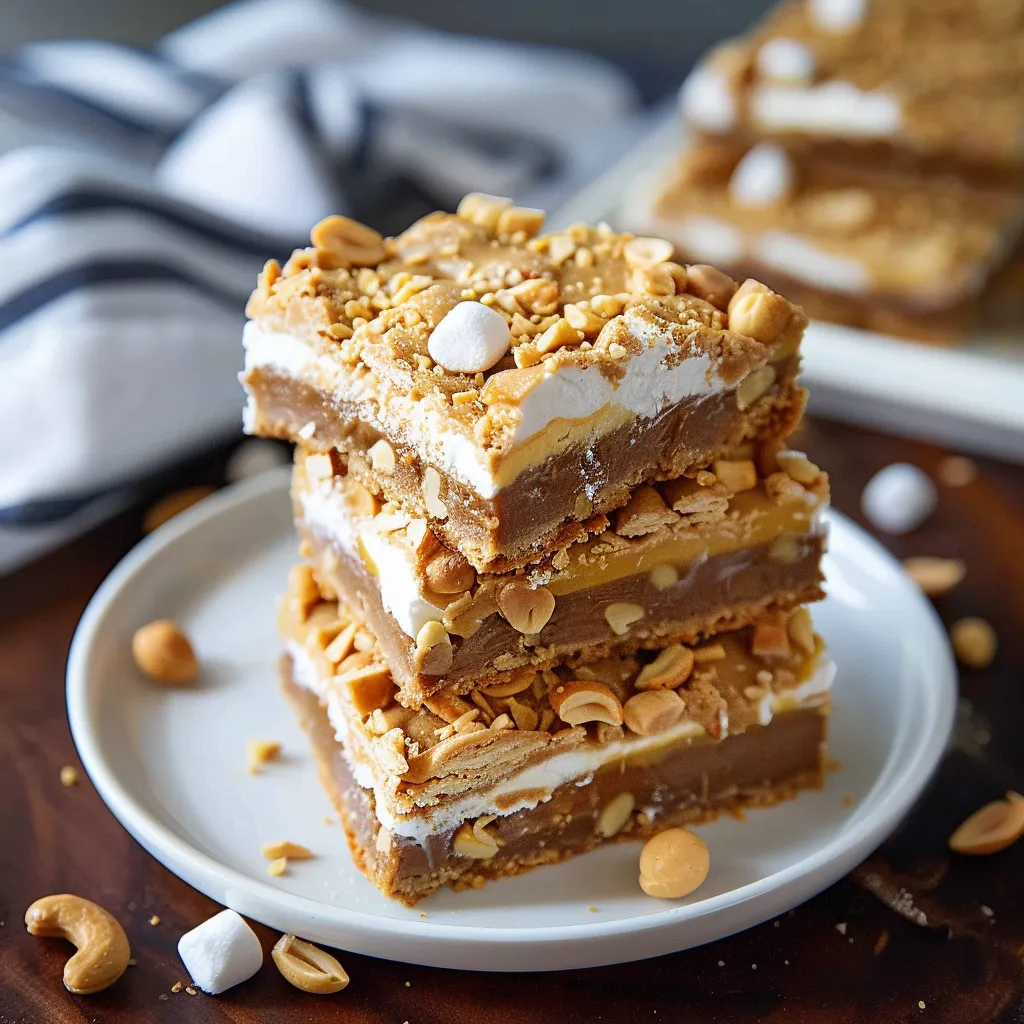
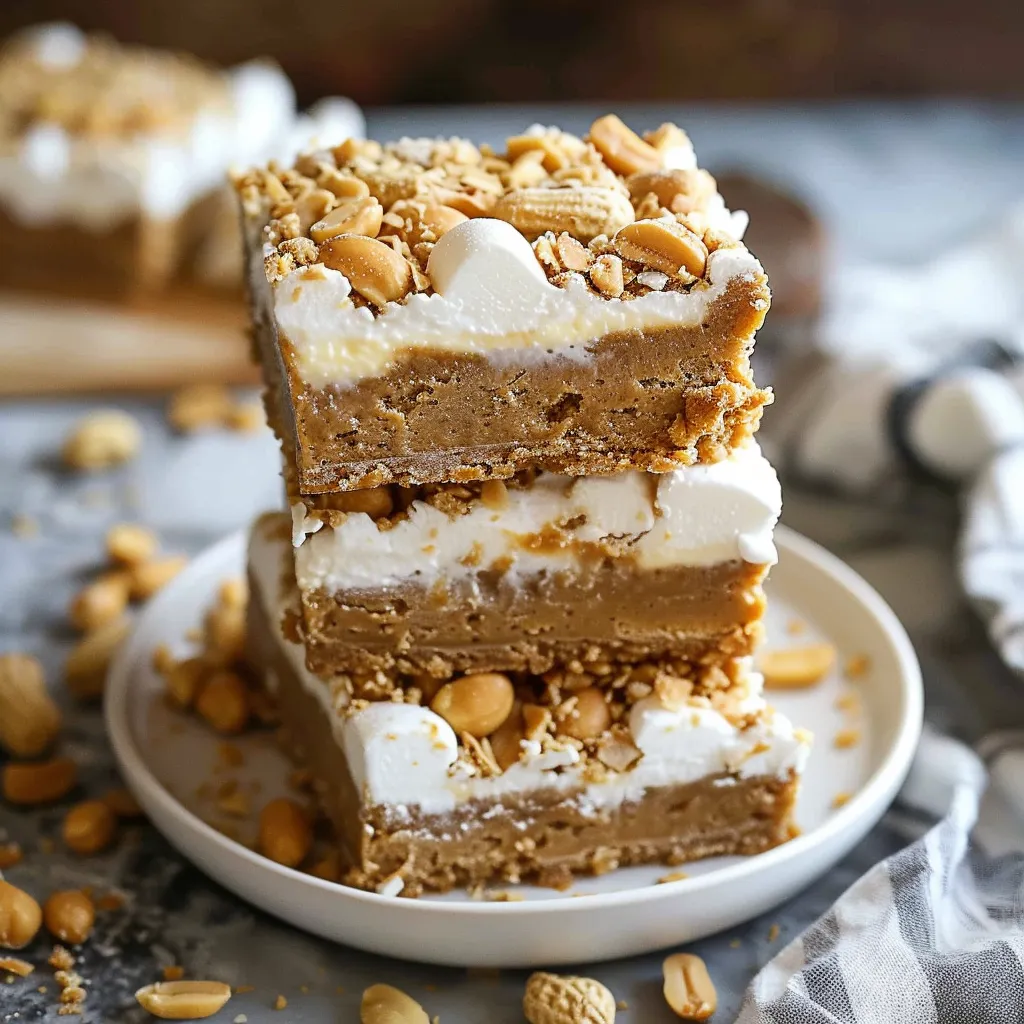
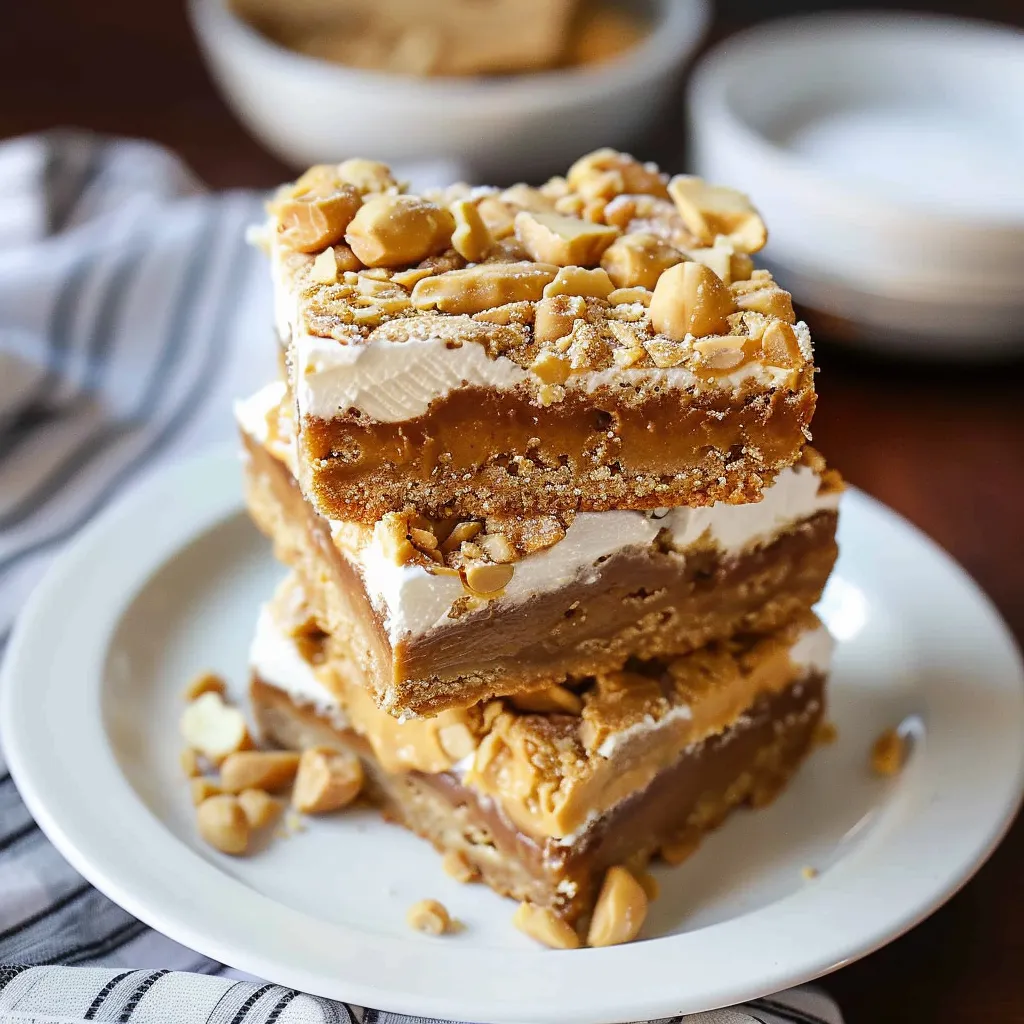
This nostalgic dessert transforms the classic peanut butter and marshmallow sandwich into a decadent bar that's perfect for potlucks, bake sales, or simply satisfying your sweet tooth. The soft peanut butter base paired with fluffy marshmallow frosting creates an irresistible combination that appeals to kids and adults alike.
I first made these bars for my nephew's birthday party, and they disappeared faster than any other dessert on the table. Now they're requested at every family gathering, especially during summer when we're all feeling nostalgic about childhood treats.
Ingredients
- Unsalted butter: Gives these bars their rich texture while letting the peanut butter flavor shine
- Brown sugar: Provides a deeper caramel undertone than using only white sugar
- Creamy peanut butter: Creates the signature flavor. Use a commercial brand like Jif or Skippy for best results
- Marshmallow fluff: Essential for authentic fluffernutter taste. Look for it in the baking aisle
- Powdered sugar: Helps create the perfect frosting consistency
- Chopped peanuts: Add a satisfying crunch to contrast the soft bars and creamy frosting
 Pin it
Step-by-Step Instructions
- Prepare your pan:
- Grease your 9x13 baking pan thoroughly, making sure to get into the corners. The right prep ensures your bars will release easily after baking and give you clean cuts when serving.
- Create the base mixture:
- Combine melted butter with both sugars until well incorporated. The mixture should look like wet sand before adding the eggs and vanilla. Take your time when mixing in the peanut butter, ensuring it's completely blended for consistent flavor throughout.
- Add dry ingredients:
- Gradually incorporate the flour and salt into your peanut butter mixture. Avoid overmixing at this stage as it can develop too much gluten and make your bars tough instead of tender. Stop mixing as soon as the last streaks of flour disappear.
- Bake to perfection:
- Spread the batter evenly in your prepared pan, taking care to push it into the corners. The baking time is crucial. Start checking at 25 minutes. The bars should be golden around the edges with a set center. Cool completely before frosting for best results.
- Create marshmallow frosting:
- Beat softened butter and marshmallow fluff until light and airy. This might take 2 to 3 minutes. Add powdered sugar gradually to prevent a sugar cloud in your kitchen. The finished frosting should hold soft peaks and spread easily.
- Finish and garnish:
- Spread frosting in an even layer over completely cooled bars. Sprinkle with chopped peanuts immediately so they adhere to the frosting. For cleaner cuts, refrigerate for 20 minutes before slicing.
The marshmallow fluff is truly the magical ingredient in this recipe. I discovered its transformative power while trying to recreate my grandmother's famous fluffernutter sandwiches she used to make every summer at the lake. The first time my children tried these bars, they insisted we start our own summer tradition with them.
Storage Tips
These fluffernutter bars can be stored in an airtight container at room temperature for up to 3 days. Place parchment paper between layers if you need to stack them to prevent the frosting from sticking. For longer storage, you can freeze the unfrosted bars for up to 3 months. Simply thaw at room temperature and add the marshmallow frosting before serving. The frosting itself doesn't freeze well, so always add it fresh.
Fluffernutter History
The fluffernutter sandwich has been an American lunchbox staple since the early 1900s, particularly in New England where Marshmallow Fluff was invented. In fact, Massachusetts has celebrated "National Fluffernutter Day" every October since 2006. These bars pay homage to that tradition by combining the same beloved flavors in a convenient hand-held dessert form. The combination of peanut butter and marshmallow creates a nostalgic flavor that transports many Americans back to their childhood.
Serving Suggestions
These bars make a wonderful after-school treat served with a cold glass of milk. For an elevated dessert experience, try warming a bar slightly and topping it with a scoop of vanilla ice cream. The contrast between the warm bar and cold ice cream creates a delightful sensory experience. These also make excellent additions to bake sales or potlucks, as they transport well and can be cut into smaller pieces to serve a crowd.
 Pin it
Frequently Asked Questions
- → Can I use crunchy peanut butter?
- Yes, but creamy peanut butter gives the bars a softer texture.
- → Do these bars need to be refrigerated?
- No, they can be stored at room temperature in an airtight container for up to 3 days.
- → Can I make them ahead of time?
- Yes, you can bake and frost them a day ahead for easy serving.
- → Can I freeze Fluffernutter Bars?
- Yes, freeze the bars without frosting, then thaw and frost before serving.
- → What’s the best way to cut these bars cleanly?
- Chill slightly and use a sharp knife wiped clean between cuts for neat slices.