
 Pin it
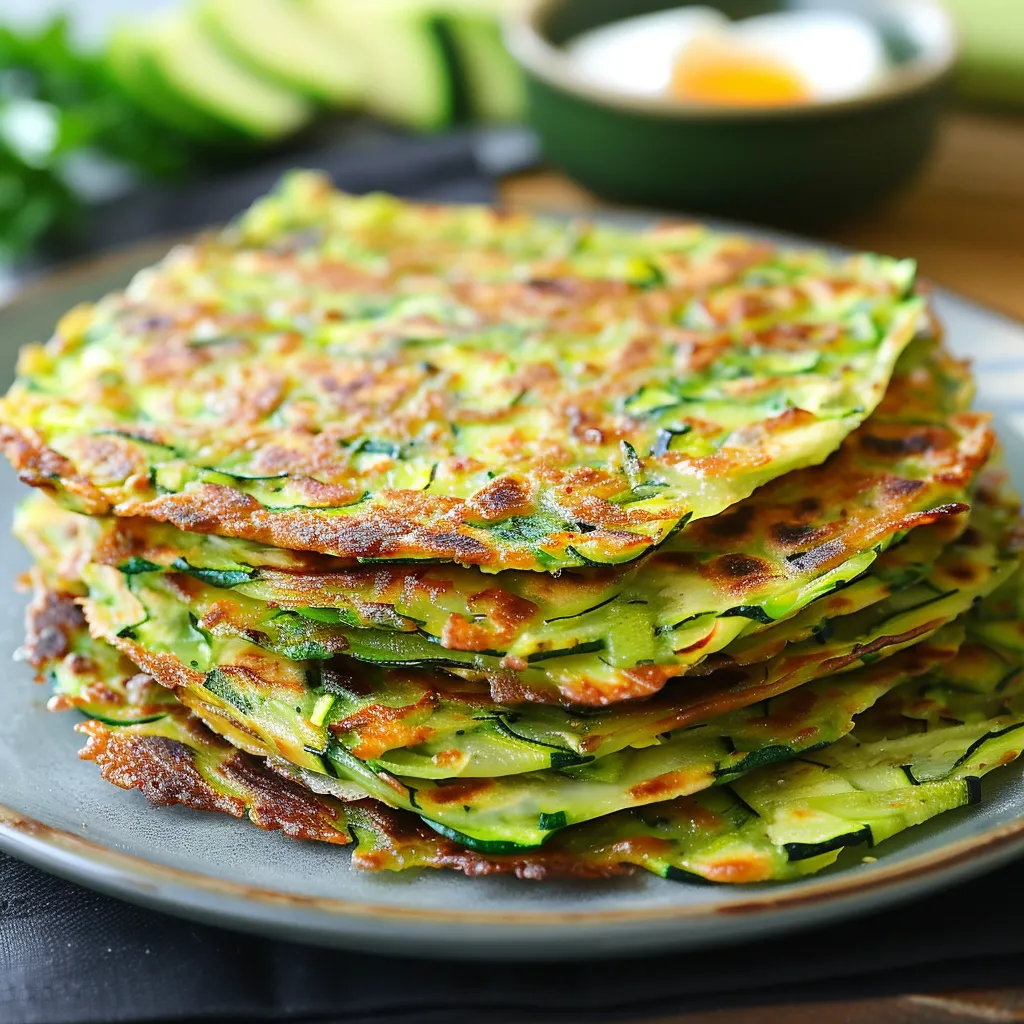
The moment you bite into these zucchini tortillas, you're met with a delightful cheesy crispness that gives way to a tender interior—the perfect vessel for your favorite fillings. This isn’t just another keto recipe; it’s a game-changer that transforms humble zucchini into flexible, sturdy tortillas that hold up beautifully against even the juiciest fillings. After years of experimenting with low-carb alternatives, these tortillas have become a staple in my kitchen, requested by family members who don’t even follow a keto lifestyle.
Last week, I made a double batch of these for a family taco night. My brother-in-law, who typically turns his nose up at anything 'diet,' was halfway through his second taco before realizing the tortilla wasn’t made from corn or flour. The look of surprise on his face was priceless when I revealed the main ingredient was zucchini from my garden!
Essential Ingredients and Selection Tips
- Zucchini: Look for firm, medium-sized zucchinis with glossy, unblemished skin. Avoid overly large ones as they tend to have more seeds and watery flesh.
- Mozzarella: Low-moisture is crucial; regular mozzarella contains too much water and won’t bind properly. Grate your own from a block for the best texture.
- Eggs: Use large, fresh eggs at room temperature for the best binding results.
 Pin it
Detailed Cooking Instructions
- Step 1: Prepare Your Zucchini
- Shred zucchini using a box grater or food processor. Sprinkle with salt and let sit for at least 10 minutes to draw out moisture.
- Step 2: Remove Excess Moisture
- After sitting, squeeze the zucchini firmly over the sink. Then, wring out additional moisture using a clean kitchen towel.
- Step 3: Combine Ingredients
- Mix the shredded zucchini with grated mozzarella and an egg. The mixture should hold together when squeezed.
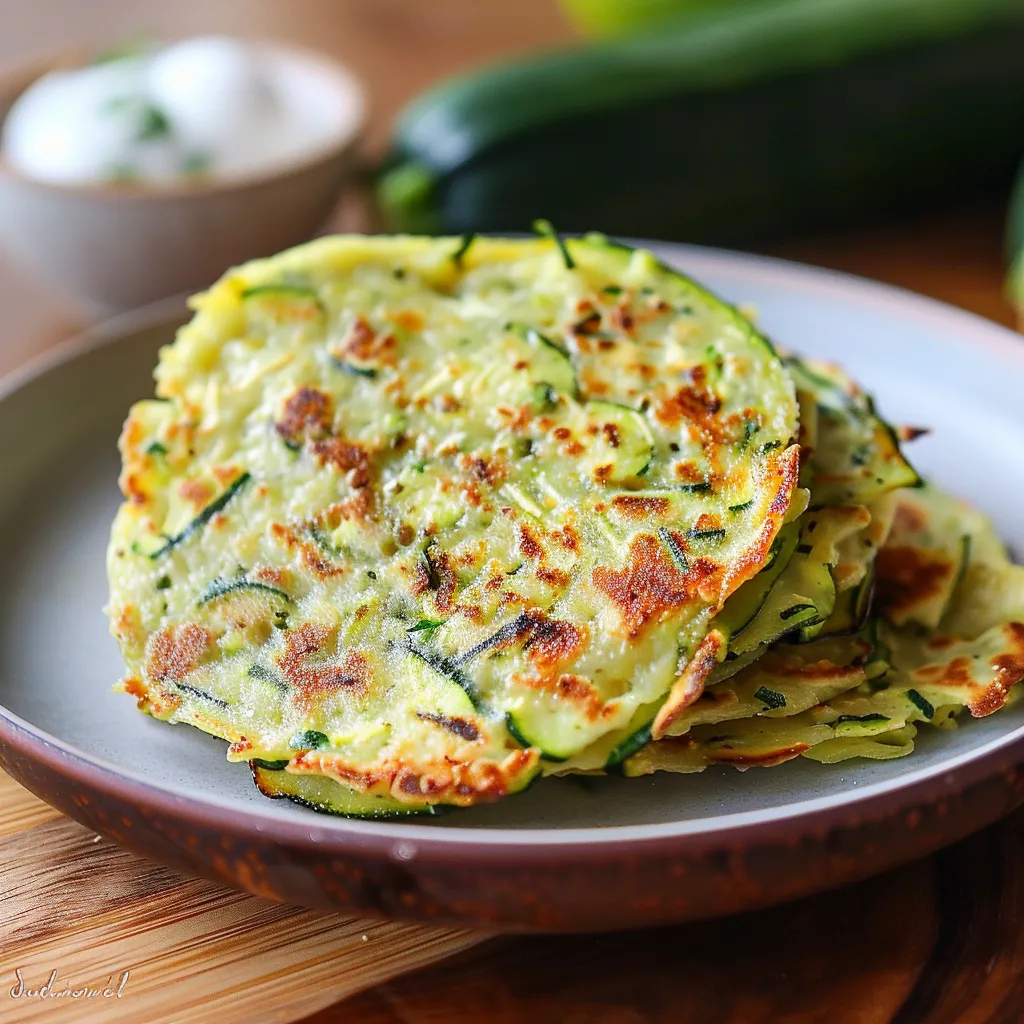
- Step 4: Form and Shape Tortillas
- Preheat the oven to 400°F and line a baking sheet with parchment. Scoop 1/4 cup portions onto the sheet and press into thin circles about 5 inches wide.
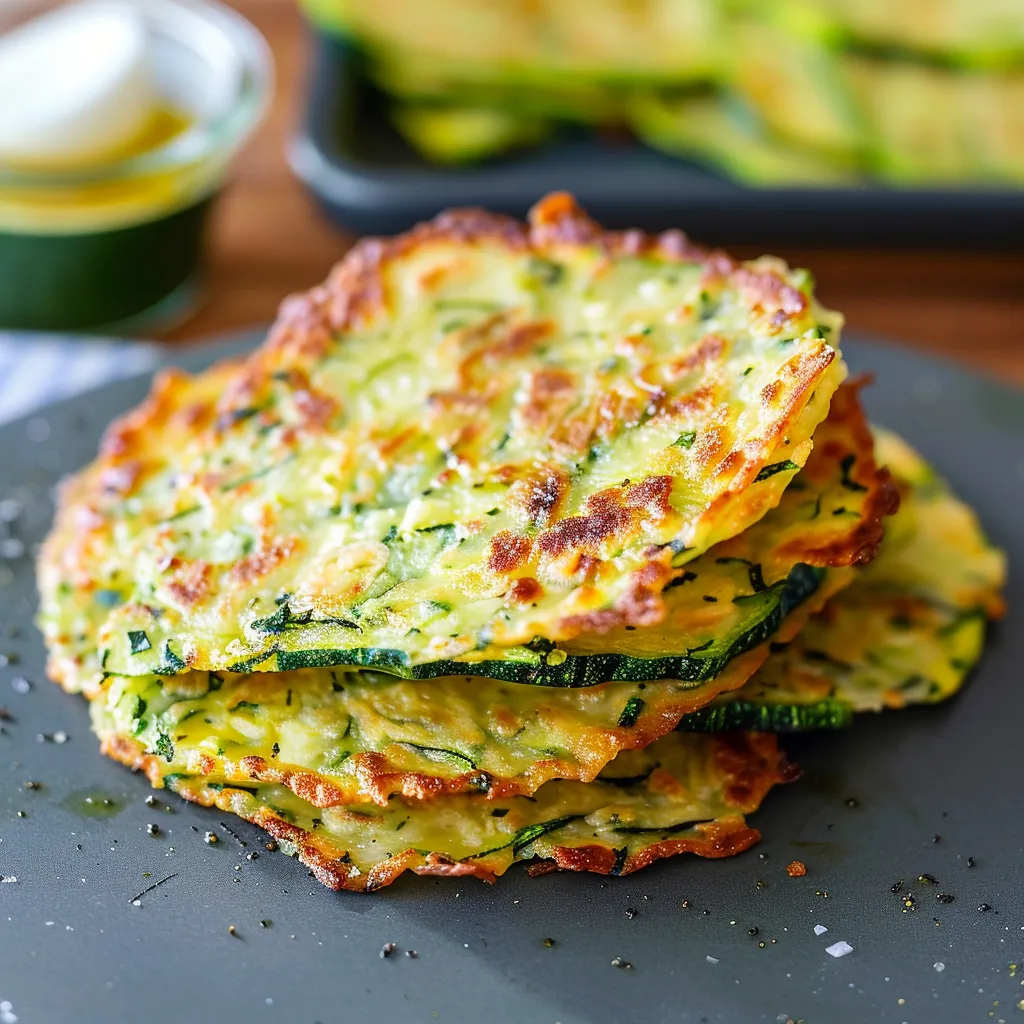
- Step 5: Bake to Perfection
- Bake for 18-20 minutes, until golden brown but still flexible.
- Step 6: Cool and Serve
- Let the tortillas cool for 5 minutes before transferring to a wire rack. Fill with your favorite ingredients and enjoy!
I learned the importance of proper zucchini draining the hard way when I first started making these. Rushing through that step left me with a soggy mess that stuck to the parchment and never firmed up. My husband still teases me about serving 'zucchini pancake soup' that night!
The Perfect Thickness
Finding the right thickness for these tortillas took several attempts to master. Too thin and they tear easily; too thick and they resemble flatbreads. The ideal thickness is about 1/4 inch—thin enough to be flexible but thick enough to hold fillings.
Temperature Matters
The oven temperature of 400°F is crucial. If your tortillas brown too quickly, reduce the temperature to 375°F and extend the baking time slightly. Using an oven thermometer helps ensure accuracy.
Storage Solutions
These tortillas store beautifully. Stack them with parchment paper between each and keep in an airtight container for up to 5 days. To reheat, warm in a dry skillet for about 30 seconds per side.
Flavorful Variations
For breakfast tortillas, add 1/2 teaspoon of dried herbs like thyme. For fish tacos, incorporate 1 teaspoon of lime zest. For beef fillings, add 1/4 teaspoon of ground cumin.
Garden-to-Table Connection
During peak zucchini season, I freeze extra tortillas with parchment paper between them. They thaw overnight in the fridge and reheat beautifully, extending my garden’s bounty into the colder months.
My journey with these tortillas began during a garden-abundant summer three years ago. After giving away bags of zucchini to neighbors and friends, I was still left with more than I could use in traditional recipes. These tortillas were born from necessity but have become a family favorite that everyone requests, regardless of the season. There’s something deeply satisfying about transforming a simple garden vegetable into something so versatile and delicious.
 Pin it
Frequently Asked Questions
- → How do I make sure my zucchini tortillas don't turn out soggy?
- The key to non-soggy tortillas is removing as much moisture as possible from the zucchini. After salting, squeeze thoroughly using a clean kitchen towel or several layers of paper towels until no more liquid comes out.
- → Can I freeze these zucchini tortillas?
- Yes, you can freeze them for up to 3 months. Place parchment paper between each tortilla before freezing to prevent sticking. Thaw in the refrigerator and reheat briefly in a dry skillet or microwave before using.
- → What can I use instead of mozzarella cheese?
- You can substitute other low-moisture, meltable cheeses like cheddar, provolone, or a Mexican cheese blend. Each will add a slightly different flavor, but the structure should remain similar.
- → Are these tortillas sturdy enough for heavy fillings?
- Yes, when properly prepared these tortillas are surprisingly sturdy. They hold up well to fillings like taco meat, eggs, and vegetables. For very wet fillings, consider patting the filling ingredients dry first.
- → How can I reheat these tortillas?
- For best results, reheat in a dry skillet over medium heat for 30 seconds per side. You can also microwave them for 10-15 seconds, but they may not be as crisp. Avoid using oil when reheating as it may make them soggy.