 Pin it
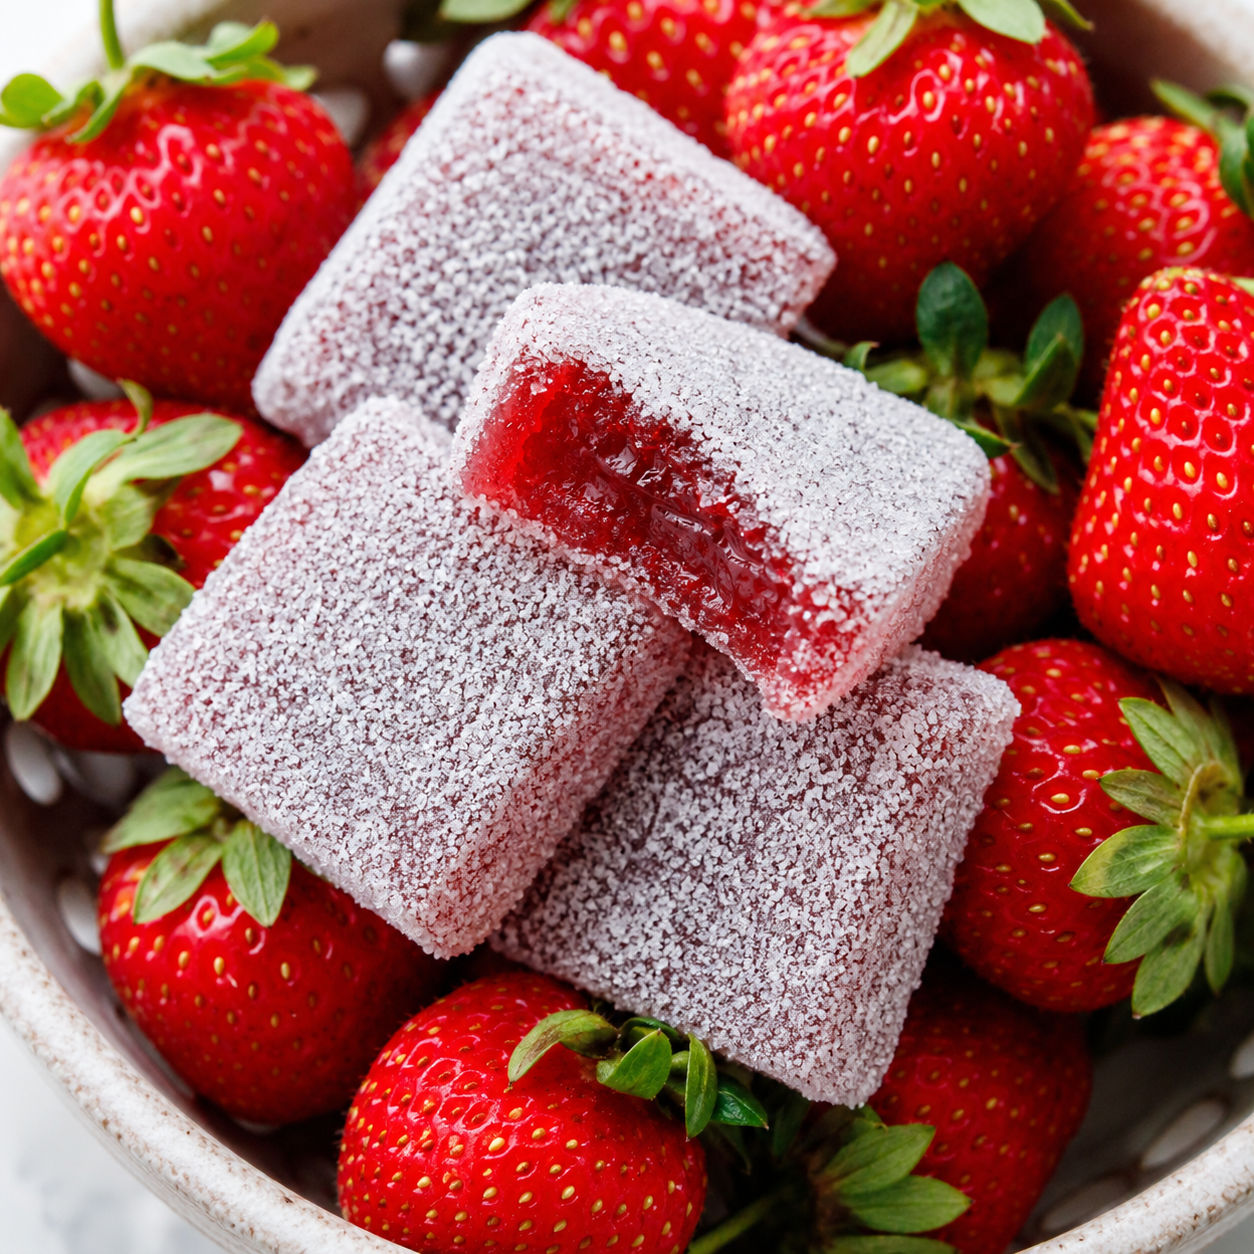
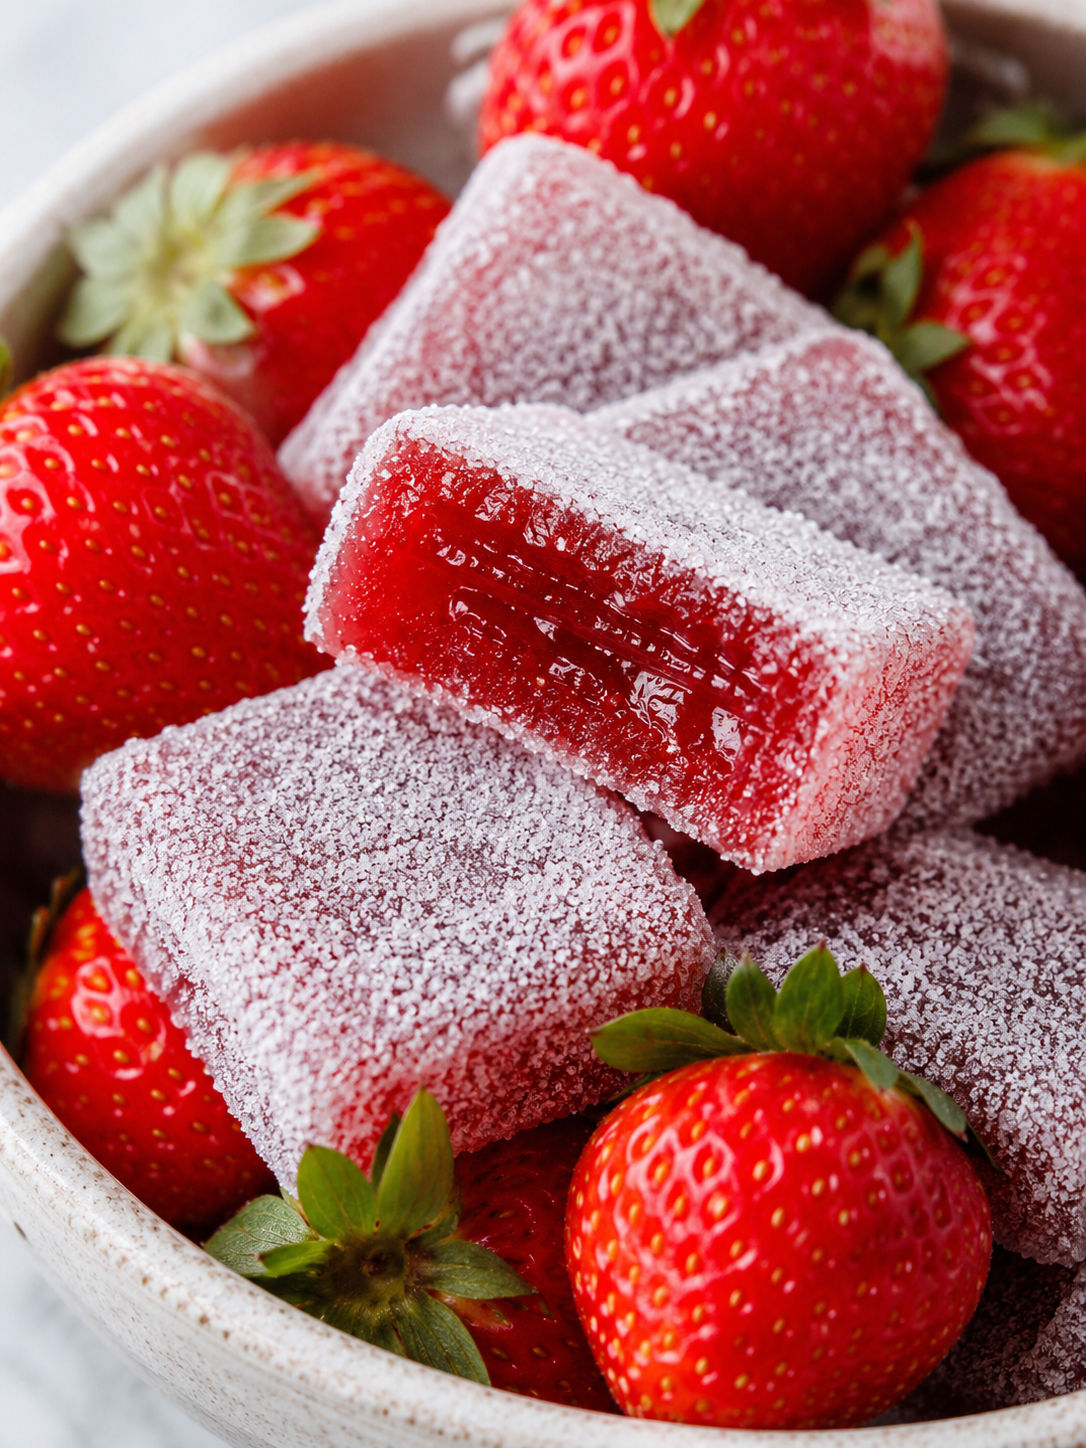
Homemade Sour Strawberry Gummies are chewy little strawberry squares with a gritty sour-sugar coat and a real fruit center. They taste brighter than store-bought candy because the base starts with actual berries, not just flavoring.
This is a candy recipe, so it asks for a thermometer and a little patience. The payoff is a tray of glossy red gummies that hold their shape, bend when you bite them, and make your mouth pucker in the best way.
The Strawberry Candy Lineup
Choose ripe strawberries with a deep red color and a clean berry smell. Regular powdered fruit pectin is important here, since low-sugar pectin will not set the same way in this cooked candy.
- Strawberries. Fresh or thawed berries give the gummies their real fruit flavor and deep red color.
- Granulated sugar. Sugar is part of the structure, not just sweetness, so do not cut it back.
- Light corn syrup. Helps the candy stay smooth and chewy instead of grainy.
- Regular fruit pectin. Sets the strawberry mixture into firm, sliceable gummies.
- Baking soda. Tames the acidity early so the pectin does not seize before the candy is cooked.
- Citric acid. Sharpens the strawberry flavor in the base and gives the coating its sour bite.
- Freeze-dried strawberry powder. Optional, but it adds color and extra berry flavor to the coating.
Cook, Set, Coat
- Prepare the molds. Set silicone candy molds or a parchment-lined 9-by-9 pan on a sheet pan before you start. The cooked candy is hot and thick.
- Blend the berries. Puree the strawberries until smooth. Strain only if you want a very polished candy texture.
- Start the strawberry base. Cook the puree with sugar and corn syrup until bubbling. Stir often so the fruit does not scorch on the bottom.
- Activate the pectin. Simmer the pectin, baking soda, and water in a small pan until foamy, then stir it into the strawberry mixture.
- Cook to temperature. Clip on a thermometer and cook to 230 F, stirring more often once it passes 220 F. The mixture should look thick, glossy, and jammy.
- Add the acid fast. Take the pan off the heat and stir in dissolved citric acid. Pour into molds right away before the candy tightens.
- Cool and coat. Let the gummies set for at least 2 hours. Unmold, then roll in sour strawberry sugar just before serving or storing.
Why Pectin Works Here
Pectin gives these sour strawberry gummies a tender candy chew, closer to a soft fruit jelly than a rubbery bear. It needs the right balance of sugar, acid, and heat. That is why this recipe uses regular pectin, a full amount of sugar, and a final temperature target instead of a loose simmer time.
If you like softer fruit snacks, try Easy Healthy Homemade Gummies another day. This version is more like homemade candy. The National Center for Home Food Preservation is a helpful place to read more about how pectin gels behave in fruit mixtures.
Temperature Tells The Truth
The mixture usually takes 40-50 minutes to reach 230 F, but the pan and stove matter. A wide pan cooks faster than a narrow one. A heavy pan helps protect the strawberry puree from scorching as it gets thick.
Once the thermometer shows 220 F, stay close and stir the bottom often. The smell should be bright and cooked-fruity, not browned. If your thermometer reads a few degrees off in boiling water, adjust your target. A batch pulled at 225 F may still taste good, but it will usually be softer.
Keep The Sour Coating Dry
The sour coating is simple sugar mixed with citric acid and a little freeze-dried strawberry powder. It tastes bold, but it can melt if the gummies are damp. Let the candies cool completely before coating. If your kitchen is humid, leave them uncovered for 30 minutes after unmolding.
Coat only what you plan to serve if you want the sugared edges to stay snowy and crisp. For a party tray, these pair nicely with fresh strawberry desserts like Homemade Strawberry Cream Cake or a chewy candy option like Easy Homemade Saltwater Taffy.
Smart Flavor Swaps
Raspberry, cherry, and blackberry all work in this style, but they do not behave exactly like strawberries. Some fruits have more seeds, acid, or natural pectin. Strain seedy berries and expect to fine-tune the final texture after the first batch.
For a sharper candy, increase the citric acid in the coating by another half teaspoon. Do not add a lot more acid to the hot gummy base. Too much can weaken the set. If you want a strawberry-lemon flavor, add a little finely grated lemon zest to the coating instead.
Serving And Stashing
Serve these in a shallow bowl with a few fresh strawberries tucked around the edges. They are sweet enough for dessert but small enough for lunch boxes, movie nights, and gift tins. A piece of parchment between layers keeps them tidy.
Store them uncovered at cool room temperature for up to a week if your house is dry. In the fridge, keep them in a container with parchment between layers for up to 2 weeks. They also freeze well. If you want another strawberry snack for the same table, Strawberry Crunch adds a crisp contrast.

FAQs
- Can I make Homemade Sour Strawberry Gummies without a candy thermometer?
You can try the cold-spoon test, but a thermometer gives much better results. The strawberry mixture needs to reach about 230 F so enough water cooks off and the pectin sets firmly.
- Can I use gelatin instead of pectin?
Not in this exact recipe. Gelatin sets at a much lower temperature and gives a bouncy fruit snack texture, while pectin makes a firmer candy-style gummy. Use a gelatin gummy recipe if that is the texture you want.
- Can I use frozen strawberries?
Yes. Thaw them first and use the juices too, then blend until smooth. Frozen berries often have great flavor because they are picked ripe.
- Why did my sour coating get wet?
The gummies may have been coated before they were fully cool, or they were stored airtight in a humid spot. Let them dry uncovered for a bit before coating, and store with parchment between layers.
- Can I make these less sour?
Yes. Keep the small amount of citric acid in the candy base because it helps the pectin set, but reduce the citric acid in the sugar coating. Plain granulated sugar makes a sweet strawberry gummy.
- How long do homemade strawberry gummies last?
They keep about one week at cool room temperature, up to two weeks in the fridge, or about three months in the freezer. The coating looks best when the candies are kept dry and separated.
