 Pin it
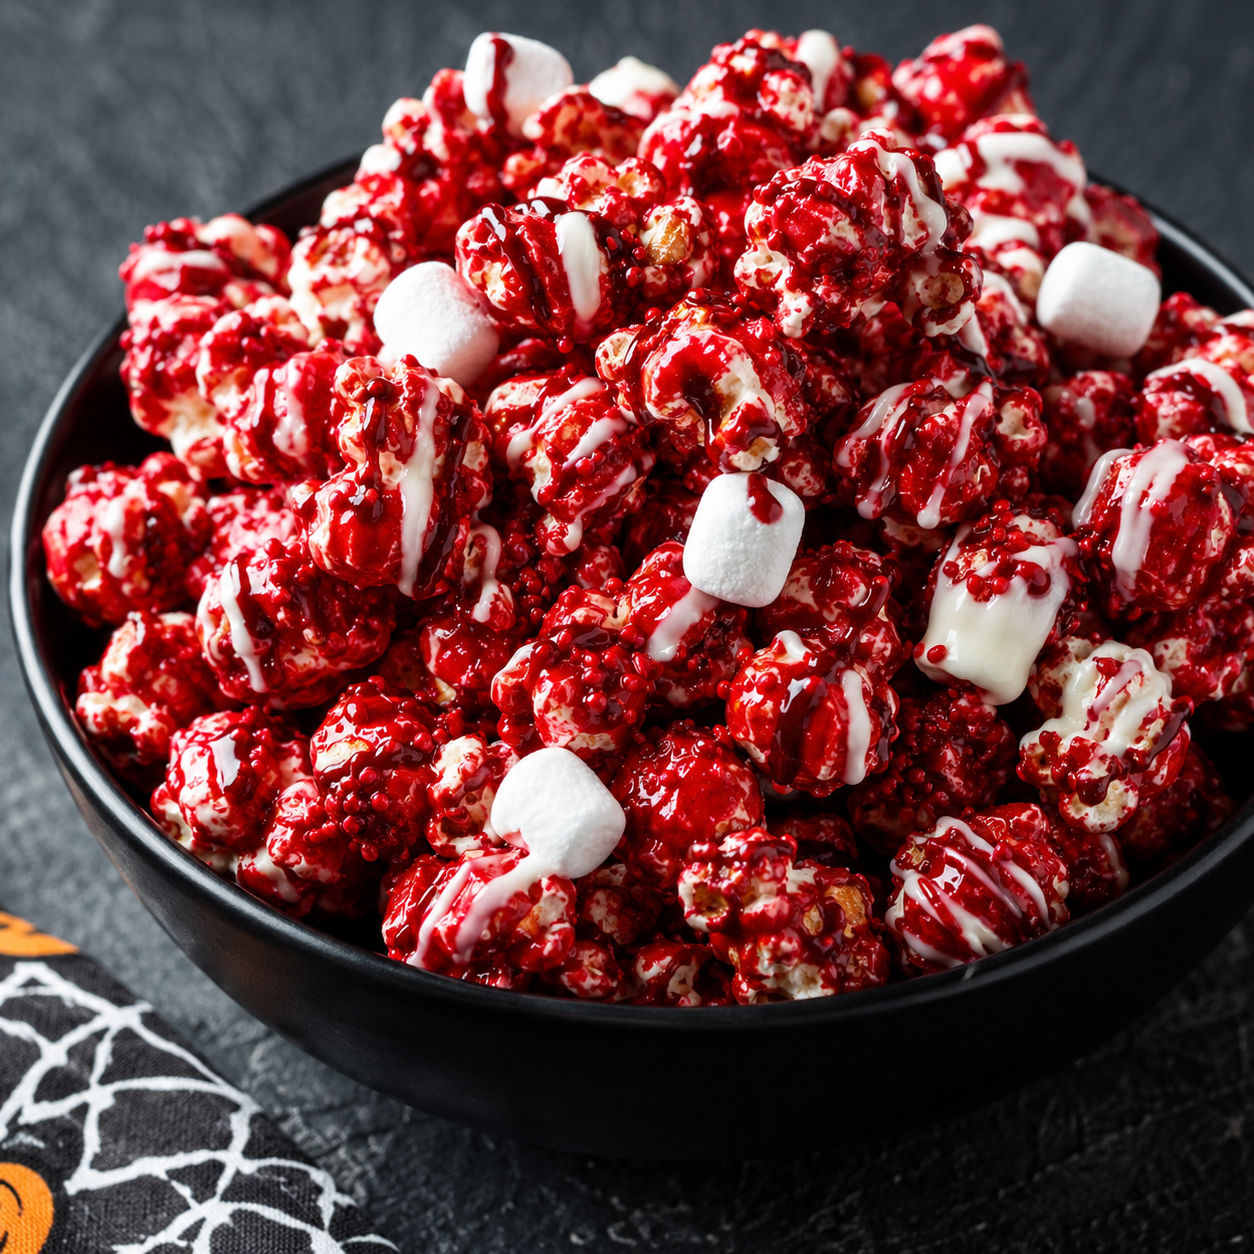
Bloody Red Velvet Popcorn is the kind of Halloween snack that looks much harder than it is. You get crisp popcorn, a light cocoa sweetness, and streaks of deep red coating that make the bowl look party-ready in about 20 minutes.
I like this version because it does not rely on cake crumbs, which can turn soft after a day. The cocoa and powdered sugar give you the red velvet note, while candy melts make neat clusters that hold their snap.
The Crimson Snack Lineup
Start with crisp, fresh popcorn and pick through it for hard kernels before anything sticky goes near the bowl. Red candy melts give the strongest color, while cocoa and a little powdered sugar bring the soft red velvet flavor.
- Popped popcorn. The airy base keeps the snack light and crunchy under the candy shell.
- Cocoa powder. Adds the gentle chocolate note that makes the coating taste like red velvet instead of plain sugar.
- Powdered sugar. Softens the cocoa and helps it cling to the popcorn.
- Red candy melts. Create the bright coating and firm clusters without much fuss.
- Neutral oil. Loosens the melted candy so it drizzles instead of landing in thick blobs.
- White candy melts. Add a sharp splatter contrast against the red popcorn.
- Corn syrup. Makes the glossy red drizzle look wet and dramatic after it sets.
- Red gel food color. Deepens the syrup color. Use it with a light hand because the color builds fast.
Coat, Splatter, Let Set
- Prepare the pan. Line a large rimmed baking sheet with parchment and spread the popcorn in a wide layer. Remove any unpopped kernels now.
- Dust the popcorn. Stir cocoa, powdered sugar, and salt together, then sift it lightly over the popcorn. Toss gently so the pieces get a thin cocoa coat.
- Melt the red coating. Warm the red candy melts with a little oil in short microwave bursts, stirring until smooth and pourable.
- Coat the clusters. Drizzle the red coating over the popcorn and fold with a spatula until you have streaked red clusters. Spread it back out so it can set evenly.
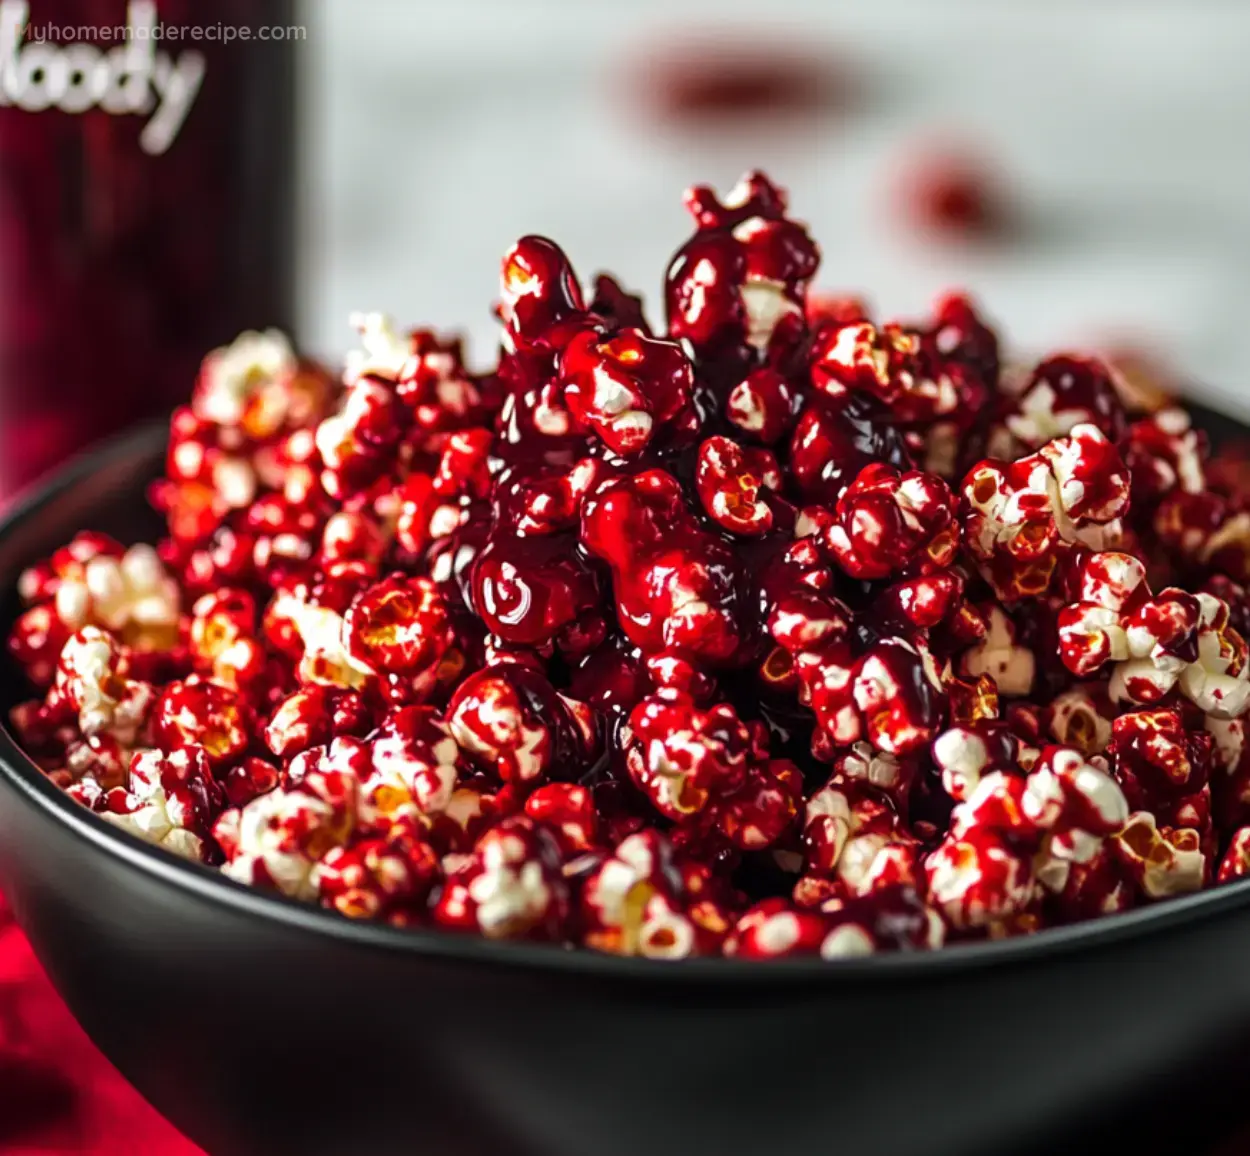
- Add the splatter. Melt the white candy melts and drizzle them over the popcorn. Stir corn syrup with red gel color and a pinch of cocoa, then flick it over the tray for a glossy bloody look.
- Cool and break. Let the tray sit until firm, about 15 minutes. Break into snackable pieces and serve in bowls or bags.
Why Bloody Red Velvet Popcorn Works
The best bite has two textures. The popcorn should still crackle, while the red coating gives a thin candy shell. That is why this recipe uses cocoa sugar for flavor instead of wet cake crumbs. Cake crumbs look pretty at first, but they pull moisture into the popcorn and can make the batch stale faster.
The red velvet flavor is simple here. Cocoa gives a mellow chocolate taste, salt keeps the sweetness in check, and the white drizzle adds a creamy note. If you want more red velvet treats on the table, pair the bowl with red velvet cookies with cream cheese frosting or no bake red velvet cheesecake bites.
The Color Without Clumping
Red candy melts are the easiest way to get a deep color. If you start with white chocolate, use oil-based candy color. Regular liquid food coloring can seize chocolate because even a small splash of water changes the texture. The FDA color additives information is a useful place to read more about food colors used in packaged ingredients.
Heat the coating slowly. Thirty-second bursts are too long for many microwaves once the candy starts melting, so switch to 10-second bursts near the end. Stir more than you think you need to. The last small lumps usually melt from the heat already in the bowl.
Make It Party Ready
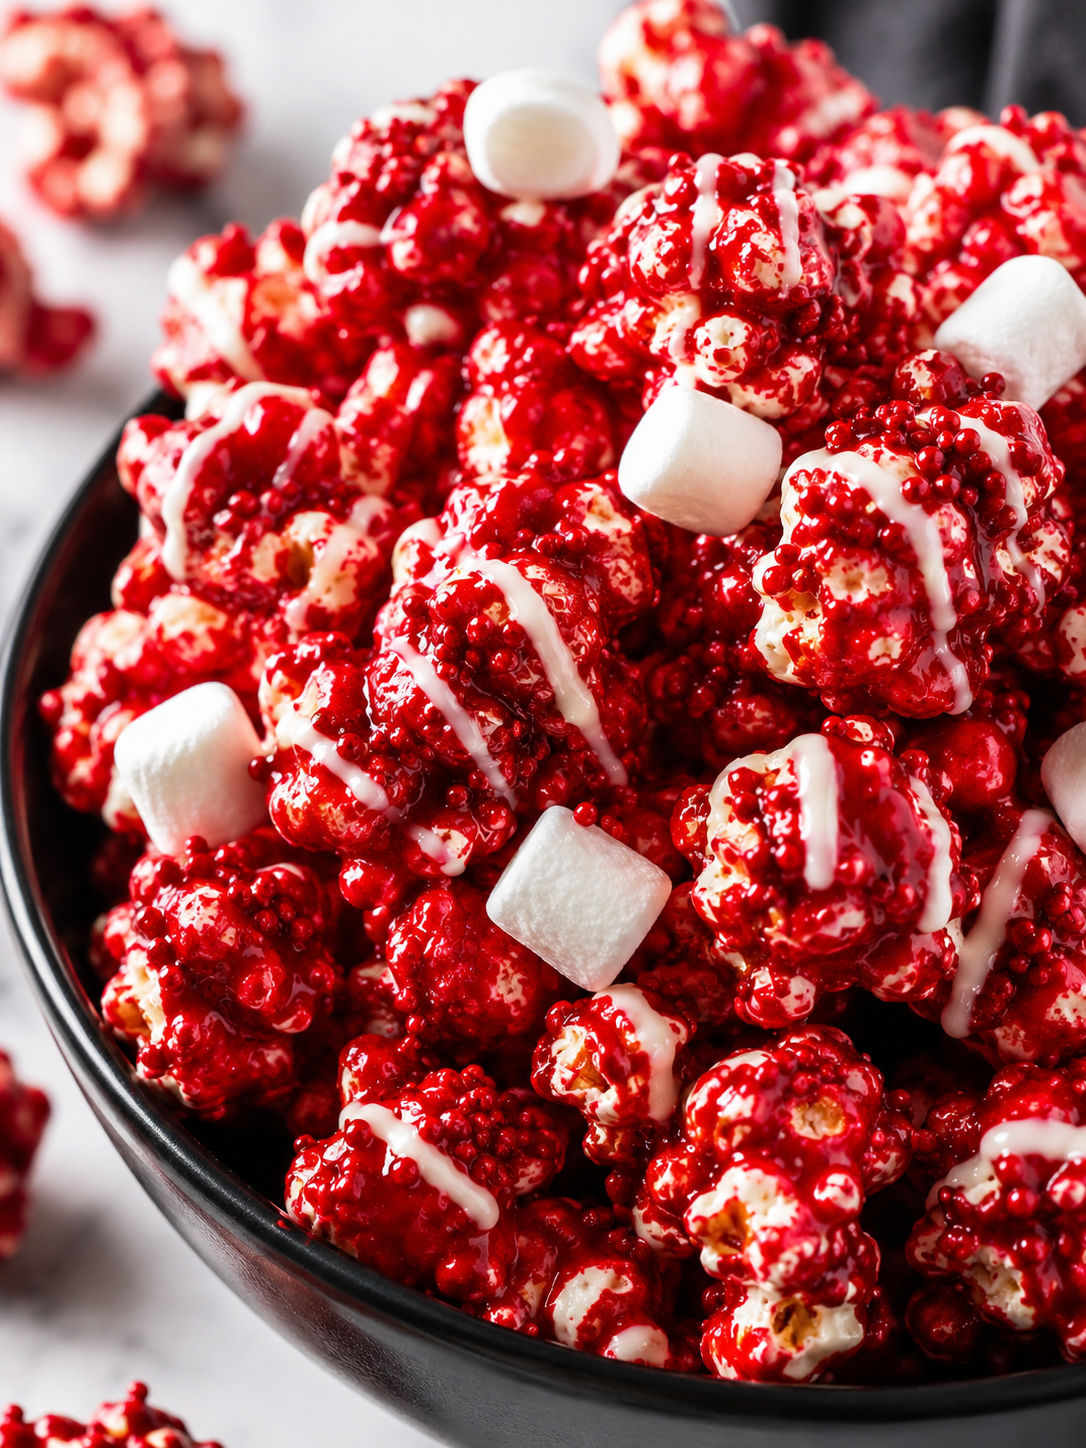
Serve the popcorn in a black bowl for the strongest red contrast, or spoon it into clear treat bags after it hardens. Add mini marshmallows if you want a softer bite, or gluten-free pretzel sticks if you want salty crunch. Keep candy eyes and sprinkles optional because they can push the snack from spooky to overly sweet.
For a full Halloween snack table, this sits nicely next to easy Halloween popcorn and popcorn balls. Put the sweeter bowls beside salty snacks so guests can go back and forth.
Storage That Keeps Crunch
Once the coating is firm, move the popcorn to an airtight container and keep it at cool room temperature. It is best within 2 days, though it can last up to 4 days if your kitchen is dry. The Popcorn Board has helpful popcorn basics if you like working with kernels at home.
If the popcorn loses a little snap, spread it on a parchment-lined sheet and warm it at 250°F for 4-5 minutes. Let it cool before serving. Do not use high heat because the candy coating can melt and smear.
Easy Flavor Switches
For a stronger cocoa flavor, add another teaspoon of cocoa powder to the dusting mix. For more tang, toss in a handful of freeze-dried strawberries after the coating sets. They give a sharp red fruit note that tastes good with the candy shell.
You can also make a cookies-and-cream version by adding crushed chocolate sandwich cookies after the first red drizzle. Add them while the coating is tacky so they stick. Keep the amount modest because too many crumbs will weigh down the popcorn and make the bowl messy.
Summary
Serve this popcorn the same day for the best crunch, or pack it into airtight treat bags once the coating is fully set.
FAQs
- Can I use microwave popcorn for Bloody Red Velvet Popcorn?
Yes. Use plain or lightly salted microwave popcorn and avoid heavy butter flavor. Too much butter makes the candy coating slide around and can soften the finished clusters.
- Can I use white chocolate instead of red candy melts?
You can, but use oil-based candy color instead of regular liquid food coloring. Water-based color can make melted chocolate clump. Candy melts are easier because they already set firm and bright.
- How far ahead can I make it?
Make it up to 2 days ahead for the best texture. Let the popcorn set completely, then store it in an airtight container at cool room temperature. Avoid the fridge because moisture can make it sticky.
- Why did my popcorn get chewy?
The popcorn was probably warm, damp, or packed before the coating hardened. Spread it in a thin layer and give it at least 15 minutes to set. If it softens later, a few minutes in a low oven can help dry it out.
- Can I make this gluten-free?
The recipe can be gluten-free if your popcorn, candy melts, cocoa, and decorations are labeled gluten-free. Skip pretzel add-ins unless you buy gluten-free pretzels.
- What can I serve with it?
Set it out with salty snacks so the bowl does not feel too sweet. It also works well beside cookies, caramel popcorn, or a tray of bite-size red velvet desserts.
