 Pin it
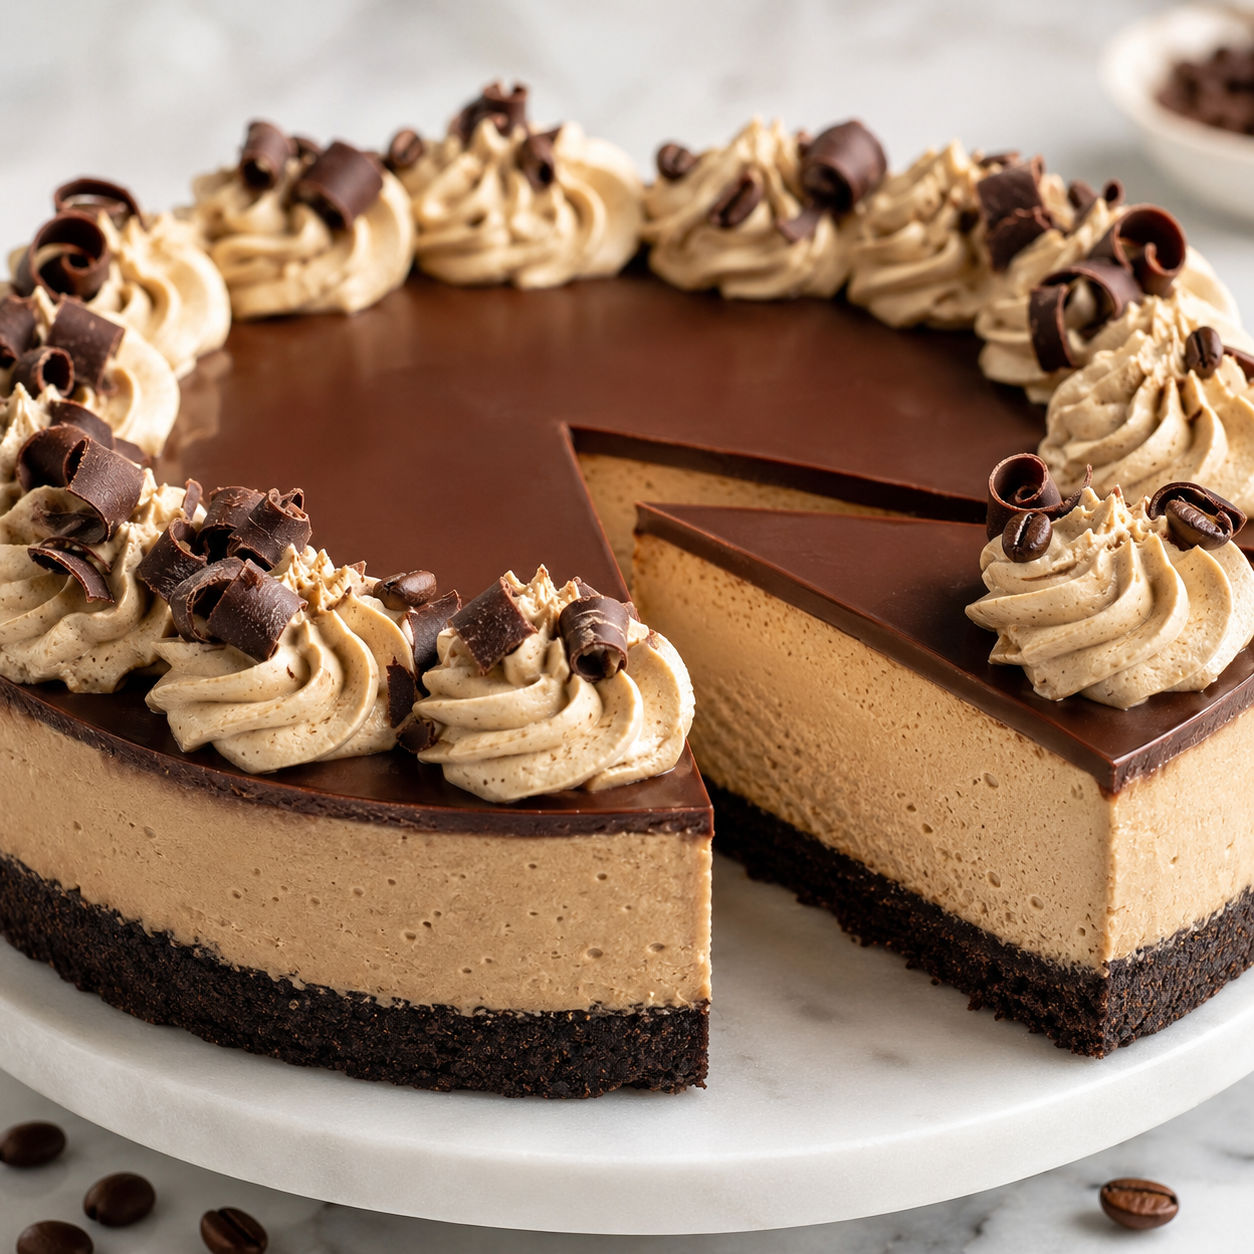
Creamy Coffee Cheesecake is rich in the way a good mocha is rich. You get a dark chocolate cookie crust, a smooth coffee filling, and a thin layer of ganache that sets just enough to cut.
I like this one for birthdays and holidays because it does most of its work while you wait. Bake it gently, chill it overnight, then finish with coffee whipped cream before serving.
Creamy Coffee Cheesecake Lineup
Use full-fat brick cream cheese and let the dairy come to room temperature before mixing. The coffee should be instant espresso powder or instant coffee granules dissolved in a small splash of hot water so the filling tastes bold without turning loose.
- Chocolate sandwich cookies. They make a dark, crisp crust that fits the coffee flavor better than plain crumbs.
- Unsalted butter. It binds the crumbs and helps the crust hold a clean edge.
- Cream cheese. Full-fat blocks give the filling its dense, smooth body.
- Sour cream. It softens the texture and adds a gentle tang.
- Instant espresso powder. It brings clear coffee flavor without extra liquid.
- Eggs. They set the custard as it bakes low and slow.
- Semi-sweet chocolate. It turns into a glossy ganache that keeps the dessert firmly in mocha territory.
- Heavy cream. It makes both the ganache and the coffee whipped cream.
Bake It Smooth And Tall
- Prepare the pan. Line a 9-inch springform pan with parchment, grease the sides, and wrap the outside well with foil or set it inside a silicone pan wrap.
- Make the crust. Mix chocolate cookie crumbs with melted butter, press them firmly into the bottom and partway up the sides, then bake at 325°F for 8-10 minutes.
- Mix the filling. Beat cream cheese, sugar, and flour on low until smooth, then mix in sour cream, dissolved espresso, and vanilla.
- Add the eggs gently. Mix in the eggs one at a time on low speed. Stop as soon as each one disappears so you do not whip in excess air.
- Bake in a water bath. Pour the filling into the crust, place the pan in a larger roasting pan, add hot water halfway up the side, and bake at 300°F for 70-80 minutes.
- Cool slowly. Turn off the oven and leave the cheesecake inside for 30 minutes, then crack the door for another 30 minutes before chilling.
- Finish the top. Spread warm ganache over the cold cheesecake, then pipe or spoon coffee whipped cream around the edge.
Coffee Flavor That Reads Clean
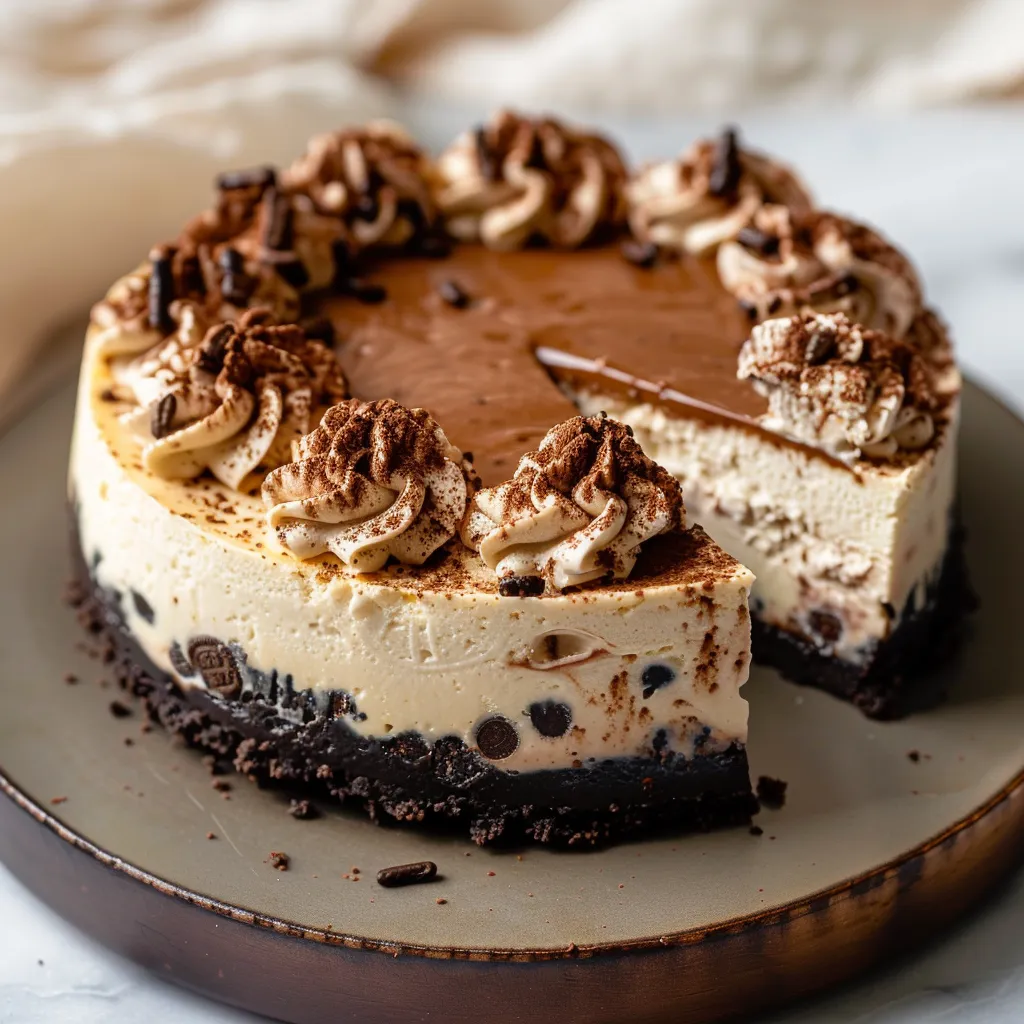
The best coffee cheesecakes taste like coffee, not bitterness. Dissolve the espresso powder in hot water before it touches the cream cheese. This tiny step keeps dark specks out of the filling and lets the flavor spread evenly. If you like a stronger dessert, add another teaspoon of espresso powder to the whipped cream instead of pushing the filling too far. That keeps the baked custard balanced.
For a lighter coffee pairing on the same site, the Creamy Coffee Banana Drink has the same cozy flavor in a quick glass. If you want a frozen dessert beside this cheesecake, Homemade Coffee Ice Cream Treat makes sense on a dessert table.
Water Bath Without Leaks
A water bath gives cheesecake gentle heat from the sides and bottom. That matters here because coffee darkens the filling slightly, so overbaked edges show quickly. Wrap the springform pan tightly in wide heavy-duty foil, then set it in a roasting pan before adding hot water. If your foil is narrow, use two layers with the seams higher than the water line.
You can also place the wrapped springform inside a slightly larger cake pan, then set that cake pan in the water bath. It is less fussy than trusting foil alone. The goal is simple. Steam around the cheesecake, no water in the crust.
Know When Baking Stops
Do not wait for the center to look firm. A baked cheesecake should still wobble in the middle when you nudge the pan. The outside 2 inches will look set, and the center will move like thick pudding. It firms as it cools in the turned-off oven, then tightens fully in the refrigerator.
If you bake until the center is stiff, the final texture can turn dry and a little grainy. A thin ganache layer can hide a small crack, but it cannot fix overbaking. For another creamy cheesecake style dessert, try Creamy Crescent Cheesecake Delight.
Ganache And Whipped Finish
Let the baked cheesecake chill before adding ganache. Warm ganache spreads smoothly over a cold surface and sets into a clean, shiny cap. If it looks too thick, stir in a teaspoon or two of warm cream. If it runs like chocolate milk, let it sit for a few minutes before pouring.
The coffee whipped cream should be cold and sturdy. Heavy cream, powdered sugar, vanilla, and a little espresso powder whip into soft rosettes that taste like a sweet latte. Keep the decoration simple. A ring around the edge and a few chocolate curls are enough.
Make Ahead And Slicing
This dessert rewards patience. Chill it at least 6 hours, but overnight is better. Use a thin sharp knife dipped in hot water, then wipe it clean between cuts. That one habit gives you neat layers of cookie crust, coffee filling, and ganache instead of smears.
Store leftovers covered in the refrigerator. FoodSafety.gov has a helpful cold food storage chart for general fridge timing. For a bigger chocolate cheesecake option, Decadent Brownie Bottom Cheesecake is a good next bake.
Summary
Serve this cheesecake cold, with a sharp knife wiped clean between slices. The coffee flavor gets deeper after a night in the fridge.

FAQs
- Can I make creamy coffee cheesecake ahead of time?
Yes. Cheesecake is better when made ahead because it needs several hours to chill and settle. Bake it the day before, refrigerate it overnight, then add the ganache and whipped cream the day you serve it.
- Can I use brewed coffee instead of instant espresso powder?
Instant espresso powder gives strong flavor without adding much liquid. Brewed coffee can make the filling softer if you add too much. If you only have brewed espresso, use 1 tablespoon and reduce the sour cream by the same amount.
- Why did my coffee cheesecake crack?
Cracks usually come from overmixing, overbaking, or cooling too fast. Mix on low after the cream cheese is smooth, use a water bath, and stop baking while the center still has a small wobble.
- Can I make this without chocolate ganache?
Yes. The cheesecake is still good with only coffee whipped cream or a dusting of cocoa powder. Ganache adds a mocha feel and helps balance the tang of the cream cheese.
- How long does coffee cheesecake last in the fridge?
Keep it covered in the refrigerator for 4-5 days. Store slices in a single layer if possible so the topping stays neat. The crust softens a little over time but still tastes good.
- Can I freeze coffee cheesecake?
Freeze it without the whipped cream for the cleanest result. Wrap the chilled cheesecake or individual slices tightly, then freeze for up to 2 months. Thaw overnight in the refrigerator before serving.
