 Pin it
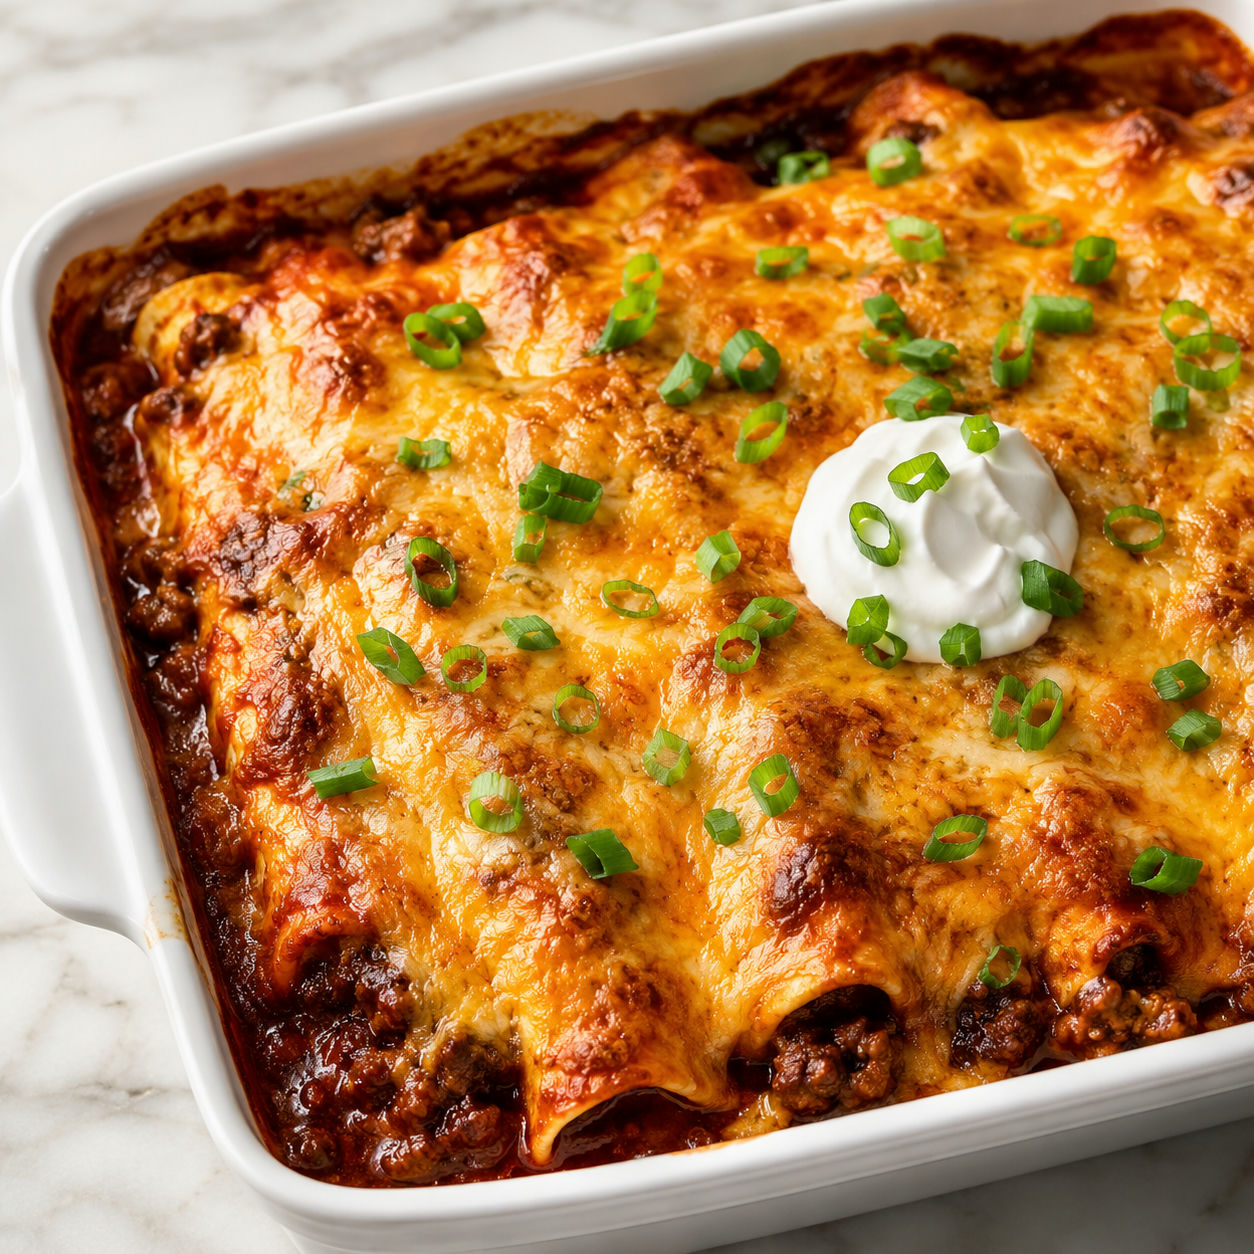
If you have ever pulled a pan of enchiladas from the oven and thought the cheese layer could be thicker, this is the recipe for you. The topping here is almost outrageously generous, and that is by design. A thick blanket of melted cheese protects the sauce from drying out and gives every serving that pull-apart, golden-edge moment that brings people back for seconds.
The filling is simple. Ground beef with cumin, chili powder, and oregano is the core. A splash of enchilada sauce stirred in keeps it moist inside the tortilla. Corn tortillas are the classic choice and hold up better in the oven than flour ones. The whole dish takes about 45 minutes from start to table.
What Goes Into the Pan
Short ingredient list, big payoff. The quality of your enchilada sauce and cheese matters most here. Buy the best red enchilada sauce you can find, or make a quick version at home with dried chiles. Freshly shredded cheese melts far smoother than anything from a pre-shredded bag.
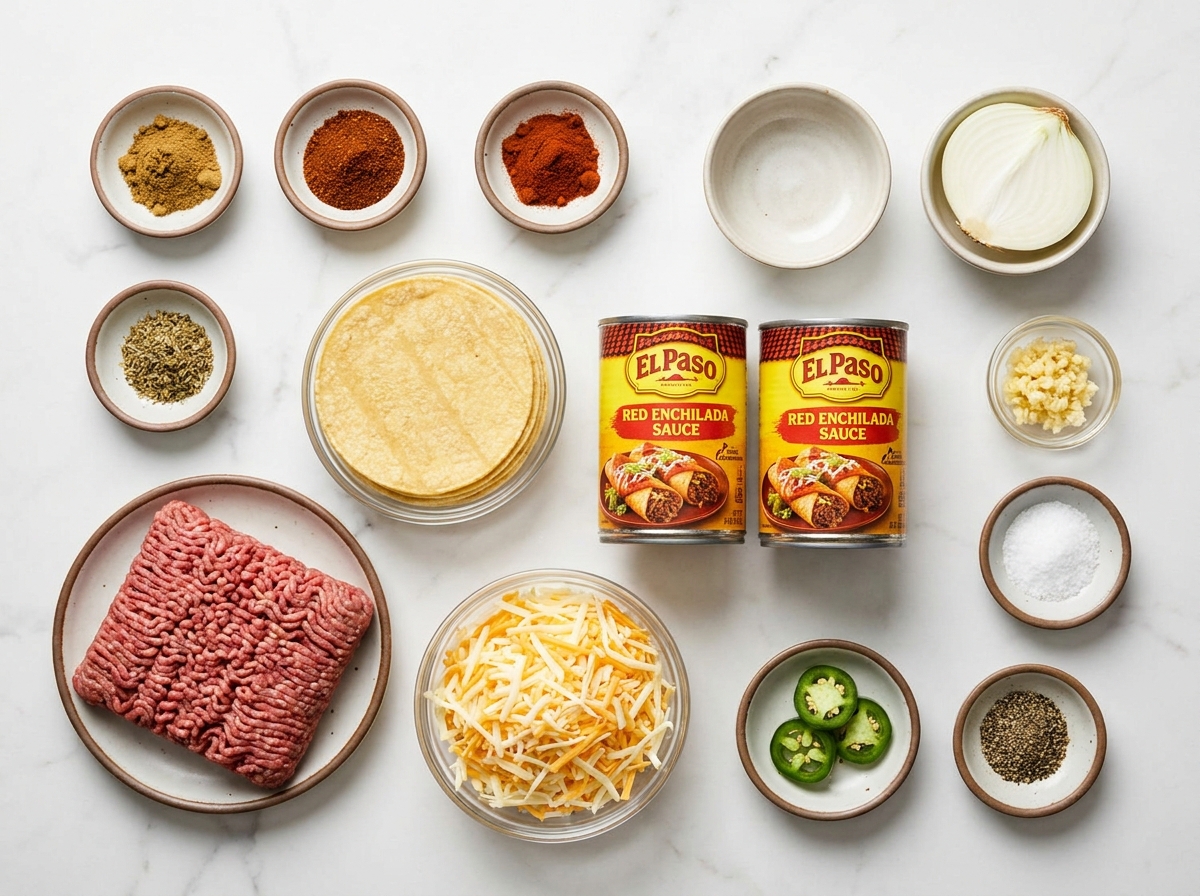
- Ground beef (80/20). The fat keeps the filling juicy through the full bake. Lean beef tends to dry out before the cheese finishes browning on top.
- Red enchilada sauce. The backbone of the dish. Two cans gives you enough for the filling and a generous pour over the rolled tortillas.
- Corn tortillas. Classic and sturdy. They absorb the sauce in the best possible way and hold together in the oven better than flour tortillas.
- Mexican cheese blend. The top layer is thick and generous. Freshly grated from a block melts into a smooth, gooey sheet that browns at the edges.
- Onion and garlic. Sautéed first for depth and sweetness. Without them the filling tastes flat.
- Cumin, chili powder, paprika, and oregano. The spice blend that gives the beef that distinct enchilada-filling aroma and flavor while it cooks.
- Jalapeño (optional). A finely diced one adds mild heat without overwhelming the dish. Easy to leave out for picky eaters.
Building the Enchiladas from Scratch
- Sauté the aromatics. Heat olive oil in a large skillet over medium heat. Add the diced onion and cook until soft, about four minutes. Add the garlic and jalapeño and cook for one more minute.
- Brown the beef. Add the ground beef and break it up with a wooden spoon as it cooks. Cook until fully browned with no pink remaining, 7 to 8 minutes. Drain excess fat from the pan.
- Season the filling. Add the cumin, chili powder, paprika, oregano, salt, and pepper. Stir in a quarter cup of the enchilada sauce and cook for one more minute, then remove from heat.
- Preheat and prep the dish. Heat the oven to 375°F (190°C). Lightly grease a 9x13-inch baking dish. Reserve one cup of cheese for the top layer.
- Warm the tortillas. Wrap six corn tortillas in a damp paper towel and microwave for 30 to 45 seconds until pliable. Keep them covered under a kitchen towel while you work. Repeat with the remaining tortillas as needed.
- Fill and roll. Place 2 to 3 tablespoons of filling down the center of each warm tortilla and add a small pinch of cheese. Roll tightly and place seam-side down in the baking dish. Pack them snug so they hold their shape.
- Add sauce and cheese. Pour the remaining enchilada sauce evenly over the rolled tortillas, making sure the ends are covered. Scatter the reserved cheese in a thick, even layer over the top.
- Bake until bubbly. Cover the dish with foil and bake for 20 minutes. Remove the foil and bake for an additional 5 to 8 minutes until the cheese is bubbling and lightly golden at the edges. Rest for 5 minutes before serving.
Why the Cheese Topping Does More Than Look Good
The cheese on top acts as a lid during baking. It traps steam from the sauce underneath and keeps the tortillas from drying out. When the foil comes off in the last few minutes, the cheese browns and bubbles at the edges, and that is where the best flavor hides. For the smoothest melt, grate your own cheese from a block rather than buying pre-shredded. Pre-shredded bags contain cellulose that prevents clumping in the package and also prevents a smooth, even melt in the oven. If you love the cheese-forward approach, these Cheese Enchiladas with Chili Gravy take it even further with a no-meat version.
Getting Corn Tortillas to Roll Without Cracking
Cold corn tortillas crack the moment you try to roll them. That is the most common frustration with this dish. The fix is to warm them right before rolling and work quickly. Wrap a stack in a damp paper towel and microwave for 30 to 45 seconds. Or pass each one through a lightly oiled skillet for about 15 seconds per side. Either way, keep the stack under a kitchen towel while you fill each tortilla so they stay warm and pliable. These Red Chile Ground Beef and Cheese Stacked Enchiladas skip the rolling altogether and layer the tortillas instead, which is a great option when you are short on time.
Swaps and Additions Worth Trying
The filling takes well to changes. Swap half the beef for black beans or pinto beans to stretch the recipe and add fiber. A drained can of corn stirred in adds sweetness and texture. For smoky heat, add a teaspoon of chipotle in adobo to the sauce before pouring it over the top. Green enchilada sauce is a lighter, tangier swap if you want a different flavor profile. For a bean-focused version, the Cheesy Beef and Bean Enchiladas show how beans round out the filling without losing any of the heartiness.
Serving, Storing, and Reheating
These enchiladas hold well in the fridge for up to three days. Reheat covered with foil in a 350°F oven for 15 minutes. A small splash of extra sauce before you cover them helps maintain moisture. Top with sour cream, green onions, and cilantro to cut through the richness of the cheese. For a chicken take on the same baked format, try the Queso Chicken Enchiladas. The USDA FSIS safe temperature chart confirms ground beef should reach an internal temperature of 160°F before it goes into the tortillas. For food storage, follow FDA food handling guidelines and refrigerate leftovers within two hours.
FAQs
- Can I use flour tortillas instead of corn?
You can, and many people prefer them for a softer texture. Corn tortillas are the traditional choice and hold their shape better when baked. Flour tortillas give a chewier, milder result. If you use flour, the bake time stays the same.
- What is the best cheese for beef enchiladas?
A Mexican blend of Oaxaca, Chihuahua, cheddar, and Monterey Jack melts beautifully and adds layered flavor. Plain Monterey Jack is the smoothest melter. Cheddar adds sharpness but releases more oil, so mixing it with Jack keeps things creamy. Freshly shredded from a block beats pre-shredded bags every time.
- Can I make beef enchiladas ahead of time?
Yes. Assemble them fully the day before, cover the dish tightly with foil, and refrigerate overnight. Bake straight from the fridge the next day, adding about 10 minutes to the covered bake time. Add the final cheese layer in the last 10 minutes uncovered so it browns and bubbles properly.
- How do I keep corn tortillas from cracking when I roll them?
Warm them first. Wrap a stack in a damp paper towel and microwave for 30 to 45 seconds, or pass each one through a lightly oiled skillet for about 15 seconds per side. Keep the stack covered while you fill each tortilla so they stay pliable. Cold tortillas crack no matter how carefully you handle them.
- Can I substitute the ground beef with something else?
Ground turkey or chicken works well with the same spice blend. Shredded braised beef from a slow-cooked chuck roast makes an even richer filling. Half beef and half black beans stretches the recipe further and adds fiber. The seasoning stays the same regardless of the protein you choose.
- How do I store and reheat leftover enchiladas?
Keep leftovers in an airtight container in the fridge for up to three days. Reheat covered with foil in a 350°F oven for 15 to 20 minutes until warmed through. The microwave works but can make tortillas soggy. A small splash of extra enchilada sauce before reheating keeps them moist.
- Can I freeze beef enchiladas before baking?
Yes, they freeze very well. Assemble without baking, cover tightly with foil, and freeze for up to three months. Thaw overnight in the fridge, then bake as directed with 10 to 15 extra minutes added. Add the cheese topping in the final 10 minutes uncovered so it browns properly.
