 Pin it
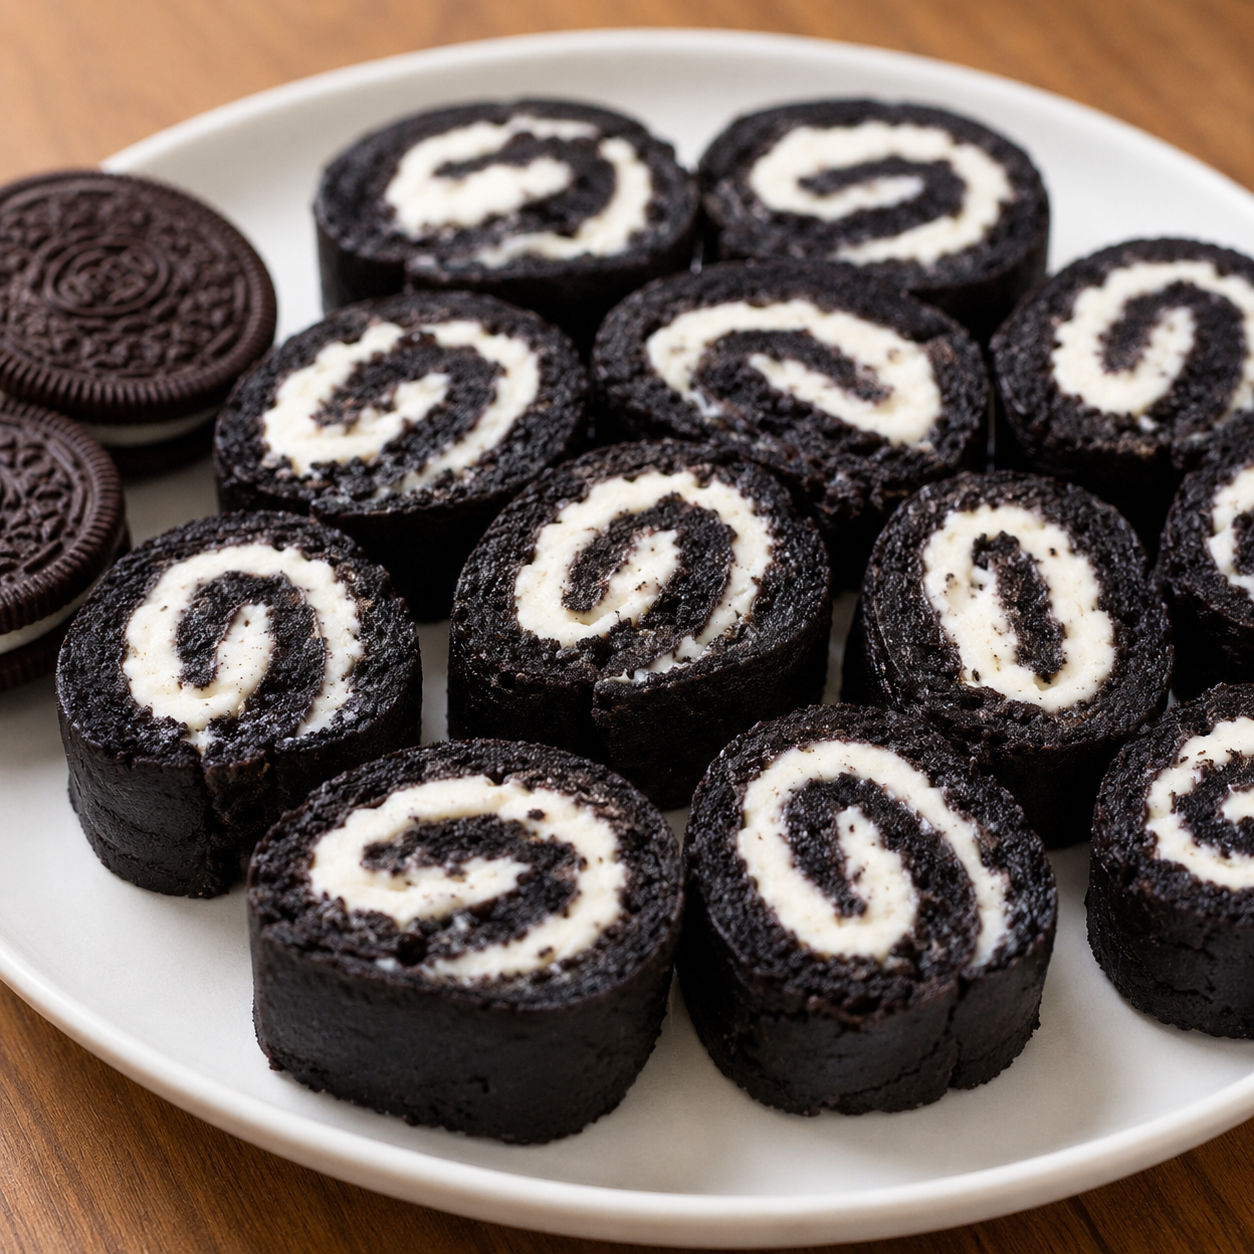
This is the kind of silly, satisfying dessert that stops the scroll and actually delivers. You split Oreos apart, turn the cookies into a soft dough with a splash of cream, then spread the filling and roll it all back up like sweet sushi. It takes ten minutes of hands-on time and no oven.
I make this when my niece visits or when I want something chocolatey without committing to a full baking project. The hardest part is waiting for the log to chill before slicing.
What goes into the roll
Only two ingredients stand between you and this chocolatey snack, but the quality of the cookies matters. Use regular Oreos rather than off-brand sandwich cookies because the cream filling needs to be thick enough to spread without running.
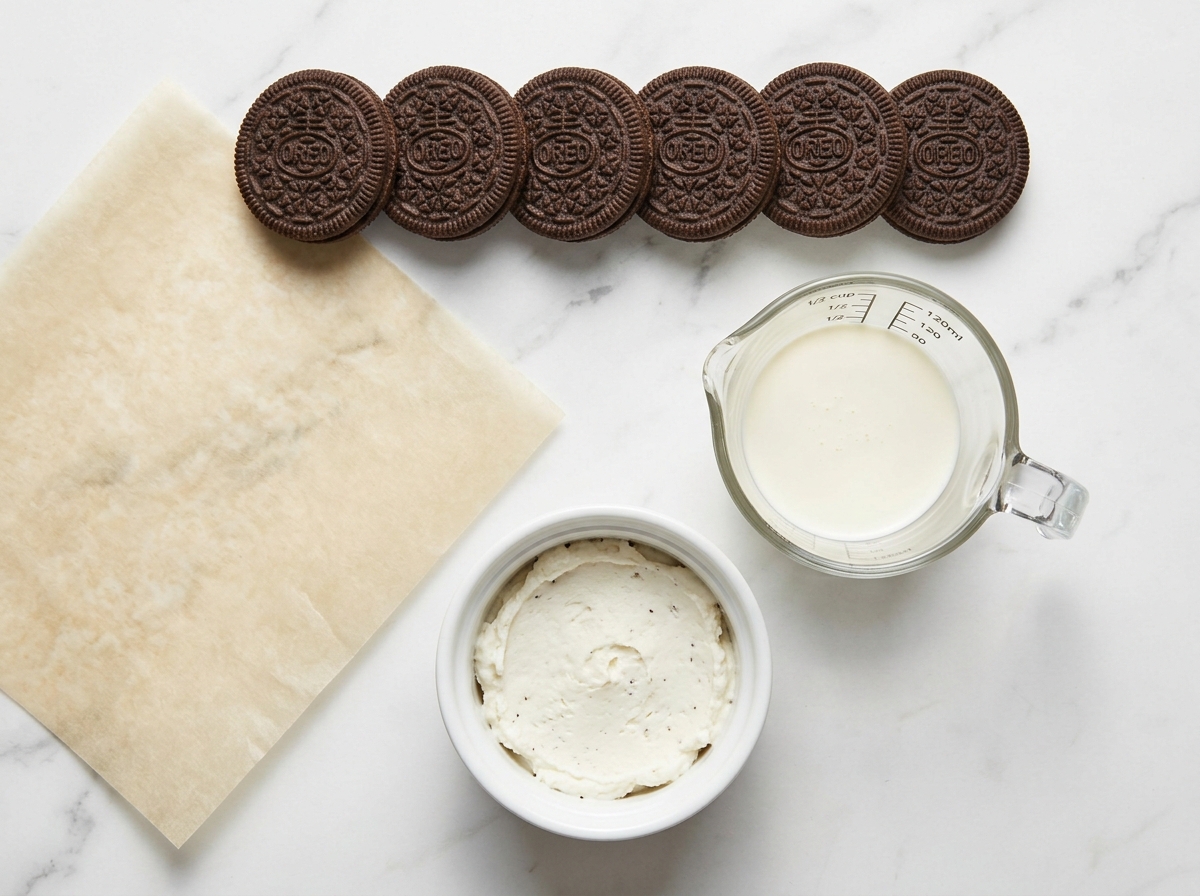
- Oreo cookies. The chocolate wafers become the dough and the cream becomes the filling. Regular Oreos give the most reliable texture.
- Heavy cream. Three tablespoons bind the cookie crumbs into a pliable dough. One more tablespoon loosens the reserved cream filling into a spreadable paste.
How to roll it up
- Split the cookies. Twist apart all the Oreos and scrape the white cream filling into a small bowl. Set the dark cookie halves aside.
- Crush the wafers. Blitz the dark cookie halves in a food processor until they are fine crumbs. No processor? Seal them in a zip-top bag and bash them with a rolling pin.
- Make the dough. Stir three tablespoons of heavy cream into the crumbs. Knead with your hands until the mixture forms a soft, pliable dough ball.
- Roll it flat. Place the dough between two sheets of parchment paper. Roll it into a thin, even rectangle about one quarter inch thick.
- Mix the filling. Stir the remaining one tablespoon of heavy cream into the reserved Oreo cream until it becomes a smooth, spreadable paste.
- Spread and roll. Spread the cream mixture evenly across the dough rectangle. Starting from one long edge, roll the dough into a tight log using the parchment paper to guide you.
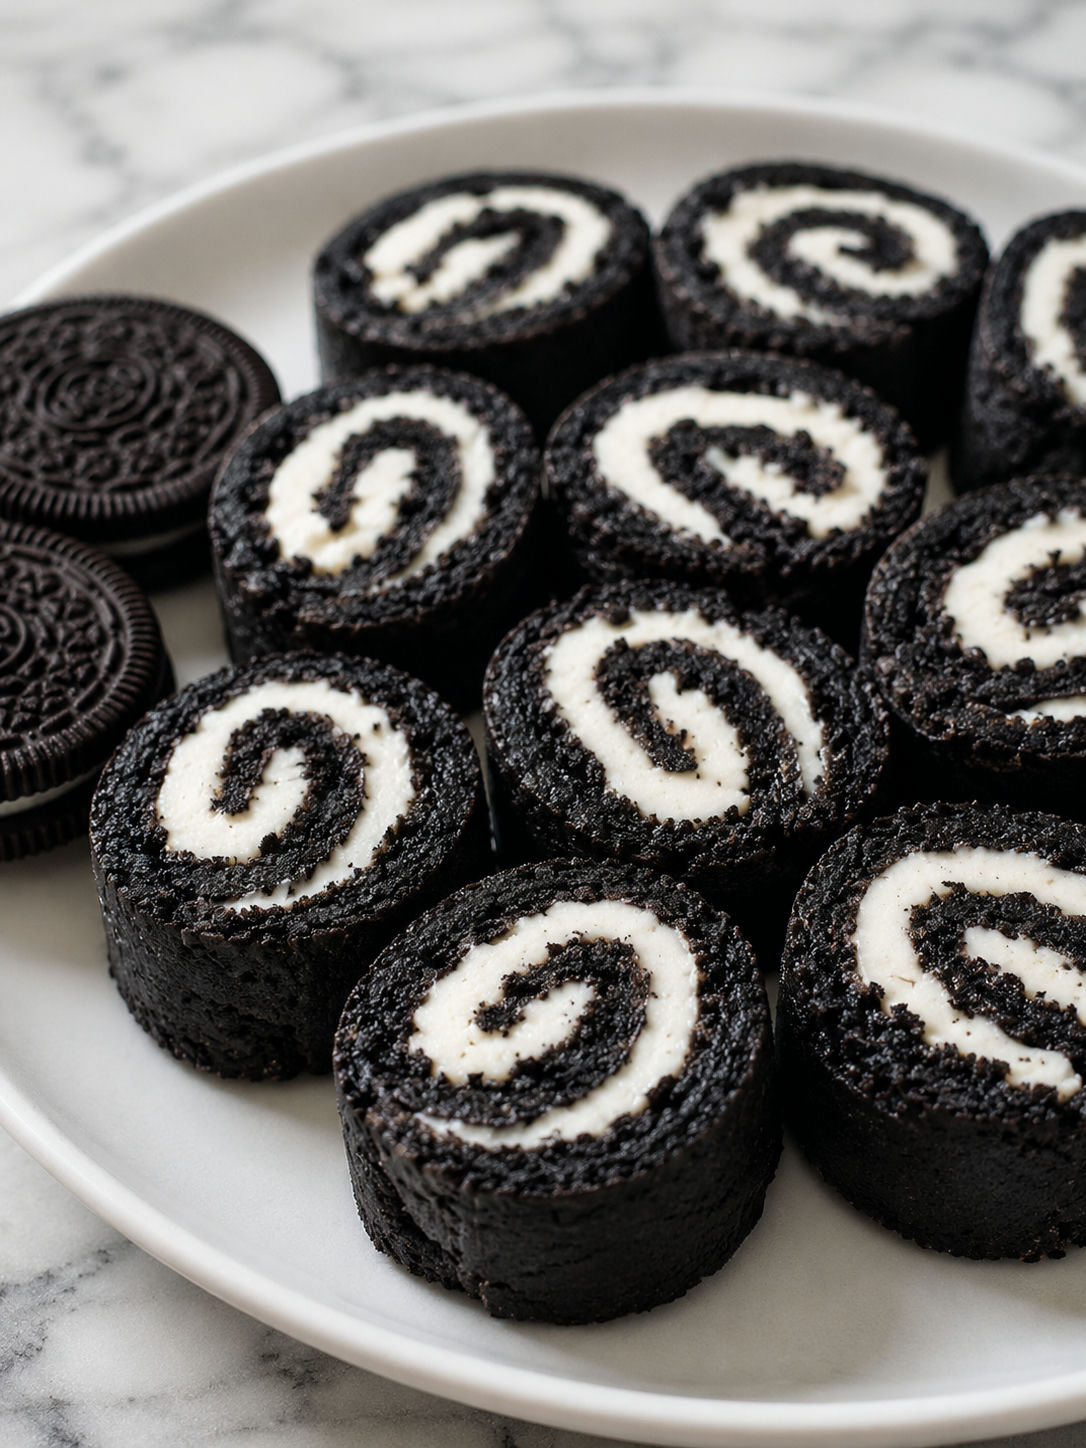
- Chill and slice. Wrap the log in parchment and refrigerate for at least two hours until firm. Slice into half-inch rounds with a sharp knife.
Keep the round shape
The biggest mistake is laying the soft log flat on a fridge shelf. One side flattens into an oval and your sushi rounds look squished. Instead, rest the log inside a cardboard paper-towel tube cut open lengthwise. The tube holds the shape as the dough firms up. If you do not have a tube, lay the log on a small tray and rotate it every twenty minutes during the first hour of chilling.
Milk works in a pinch
Heavy cream gives the richest texture, but whole milk will bind the crumbs too. Start with two tablespoons of milk instead of three because milk is thinner than cream. The filling will be slightly less luscious, but the roll still holds together. For more no-bake chocolate treats, try our bunny butt Oreo balls or no-bake Funfetti Oreo icebox cake.
Clean slices every time
A warm knife is the secret to neat rounds. Run the blade under hot water, wipe it dry, then slice. Press gently rather than sawing back and forth. If the log cracks, let it sit at room temperature for five minutes to soften slightly. Wipe the blade clean between cuts so the white filling does not streak the dark dough.
Storing leftovers
Keep the slices in an airtight container in the refrigerator for up to three days. The dough stays soft and the filling stays creamy. You can also keep them at room temperature for about two days if your kitchen is cool. For longer storage, freeze the whole unsliced log wrapped tightly in plastic wrap for up to one month. Thaw in the fridge overnight before slicing. The FDA safe food handling guide has more tips on storing dairy-based treats.
Fun ways to serve
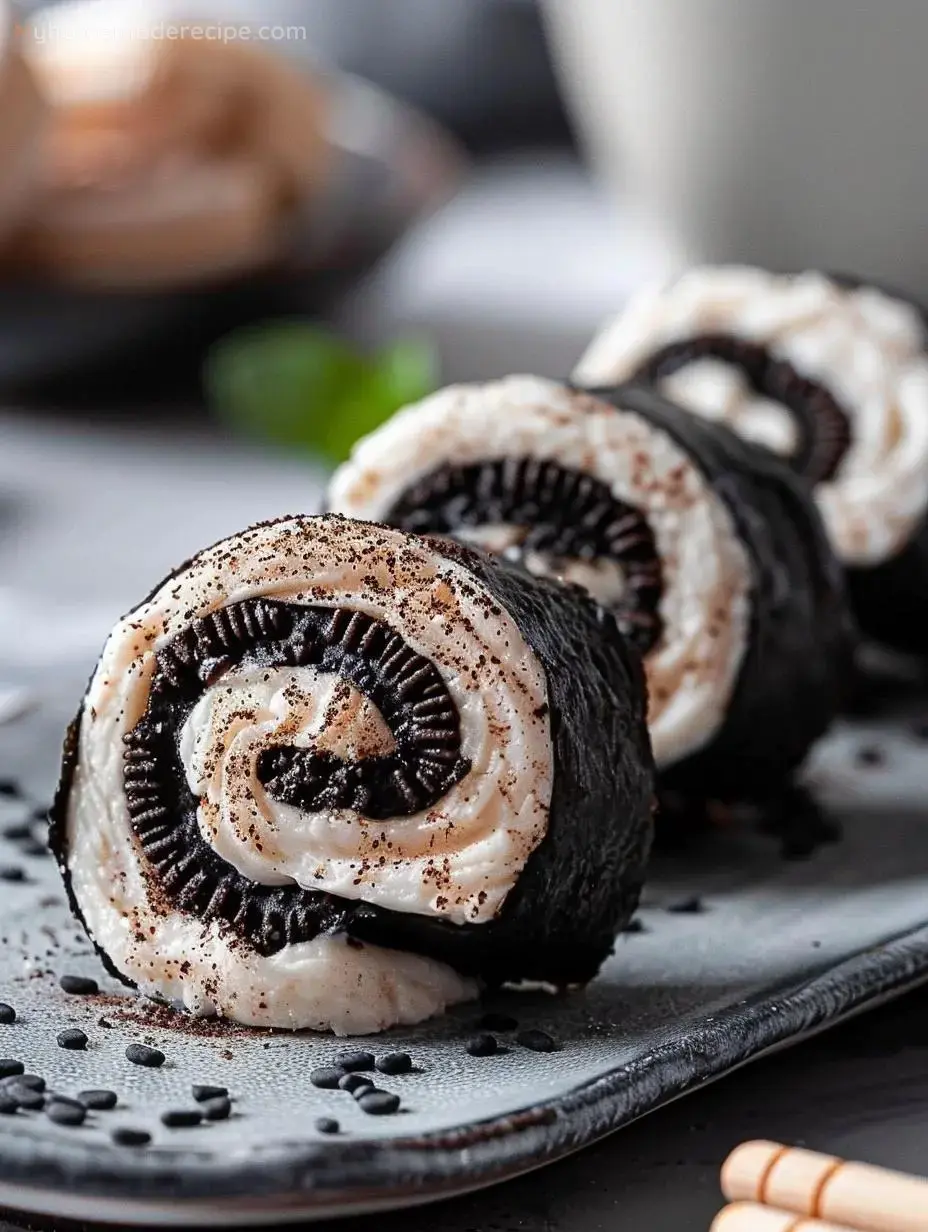
Arrange the rounds on a small wooden board with chopsticks for a playful presentation. A shallow dish of chocolate syrup on the side turns this into a dipper dessert. For a holiday twist, use Peppermint Bark Oreos and roll the log in crushed candy canes before chilling. Our peppermint Oreo bark uses the same flavor profile if you want a matching tray.
FAQs
- Can I use milk instead of heavy cream?
Yes. Whole milk works in a pinch, but start with two tablespoons instead of three because milk is thinner than cream. The dough will be slightly less rich, but the roll still holds together fine.
- Do I need a food processor?
No. A food processor makes quick work of the crumbs, but you can seal the cookie halves in a zip-top bag and crush them with a rolling pin. Just watch for sharp edges that might puncture the plastic.
- Why did my roll flatten in the fridge?
A soft log left on a flat shelf will settle on one side. Slide it into an empty paper-towel tube cut open lengthwise, or rotate the log every twenty minutes during the first hour of chilling so it stays round.
- How long does Oreo sushi last?
Store slices in an airtight container in the refrigerator for up to three days. You can also freeze the whole unsliced log wrapped tightly in plastic wrap for up to one month. Thaw overnight in the fridge before slicing.
- Can I use Double Stuf or flavored Oreos?
Double Stuf gives you extra filling to spread, which is never a bad thing. Flavored Oreos like mint or peanut butter work too, though the dough color and taste will change accordingly.
- Is this safe for kids to make alone?
Older kids can handle the twisting, crushing, and rolling with minimal supervision. The only tool needed is a rolling pin and a knife for slicing, so it is a great no-stove project for young bakers.
