 Pin it
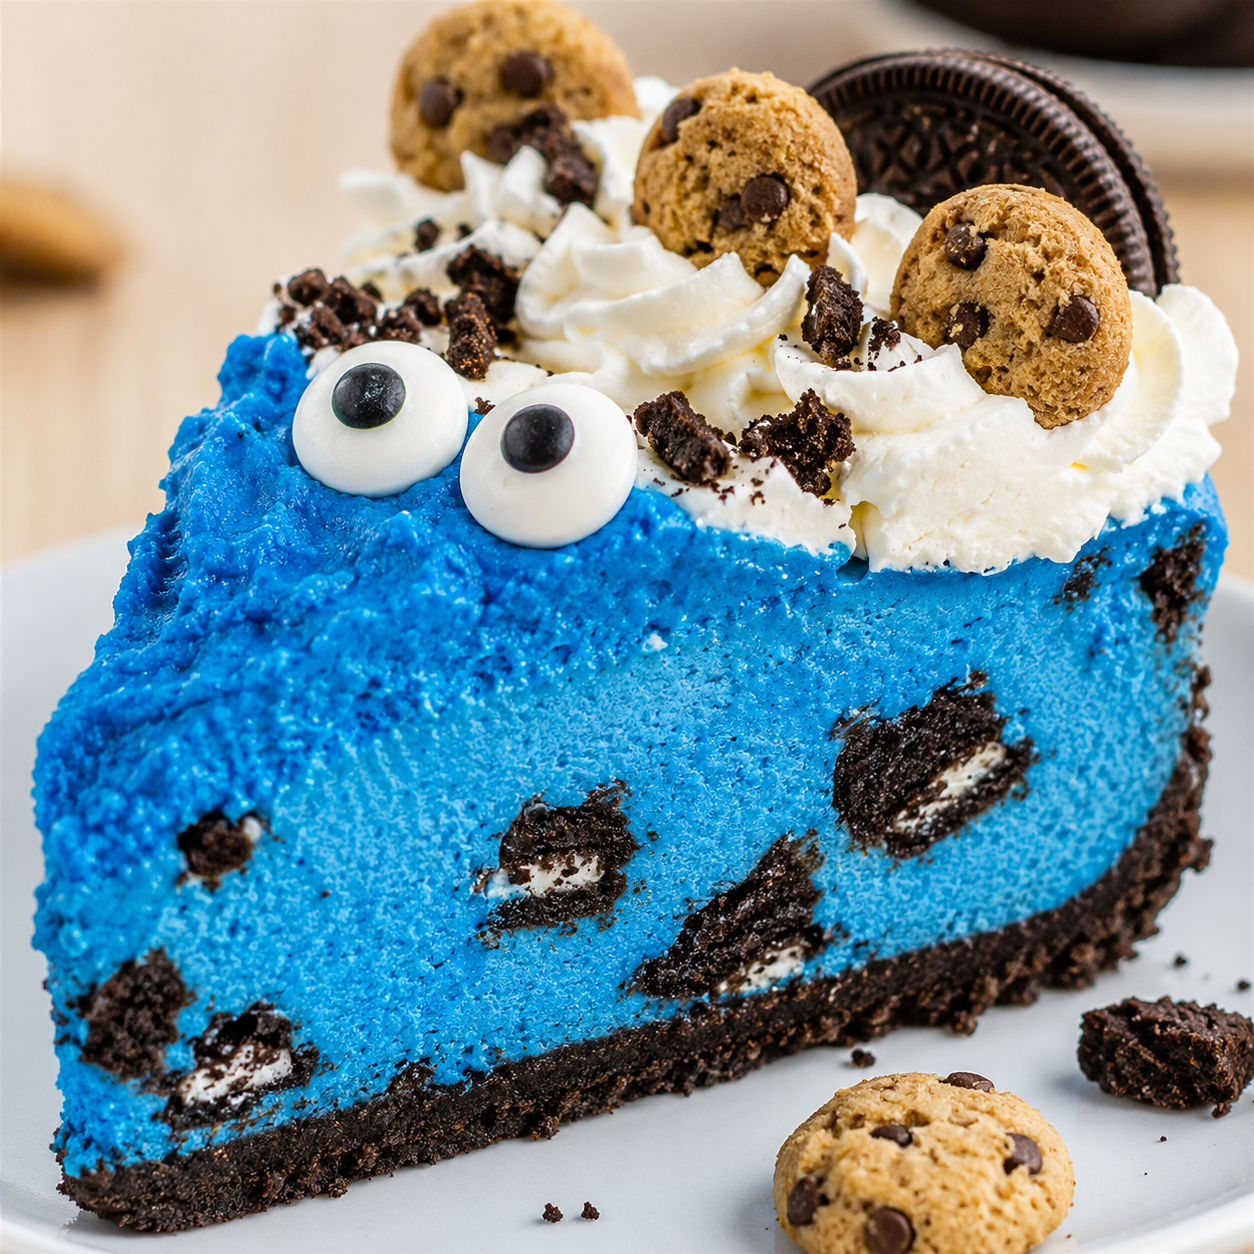
This is the dessert I pull out when I want a room to go quiet. A tall slice of bright blue no-bake cheesecake, studded with cookie chunks and perched on a dark Oreo crust, has that kind of power. If you are ready to indulge in a delicious Cookie Monster cheesecake adventure, the good news is it is mostly mixing and chilling. No oven, no water bath and no stress.
The filling gets its color from a few drops of royal blue gel food coloring and its stability from whipped cream folded into softened cream cheese. The result is fluffy but dense enough to slice cleanly, with crunchy cookie pockets in every bite. It is silly, fun and genuinely good.
What builds the blue
The ingredient list is short and everything comes from the regular grocery store. The only item you might not have on hand is royal blue gel food coloring, which gives a vivid color without thinning the filling.
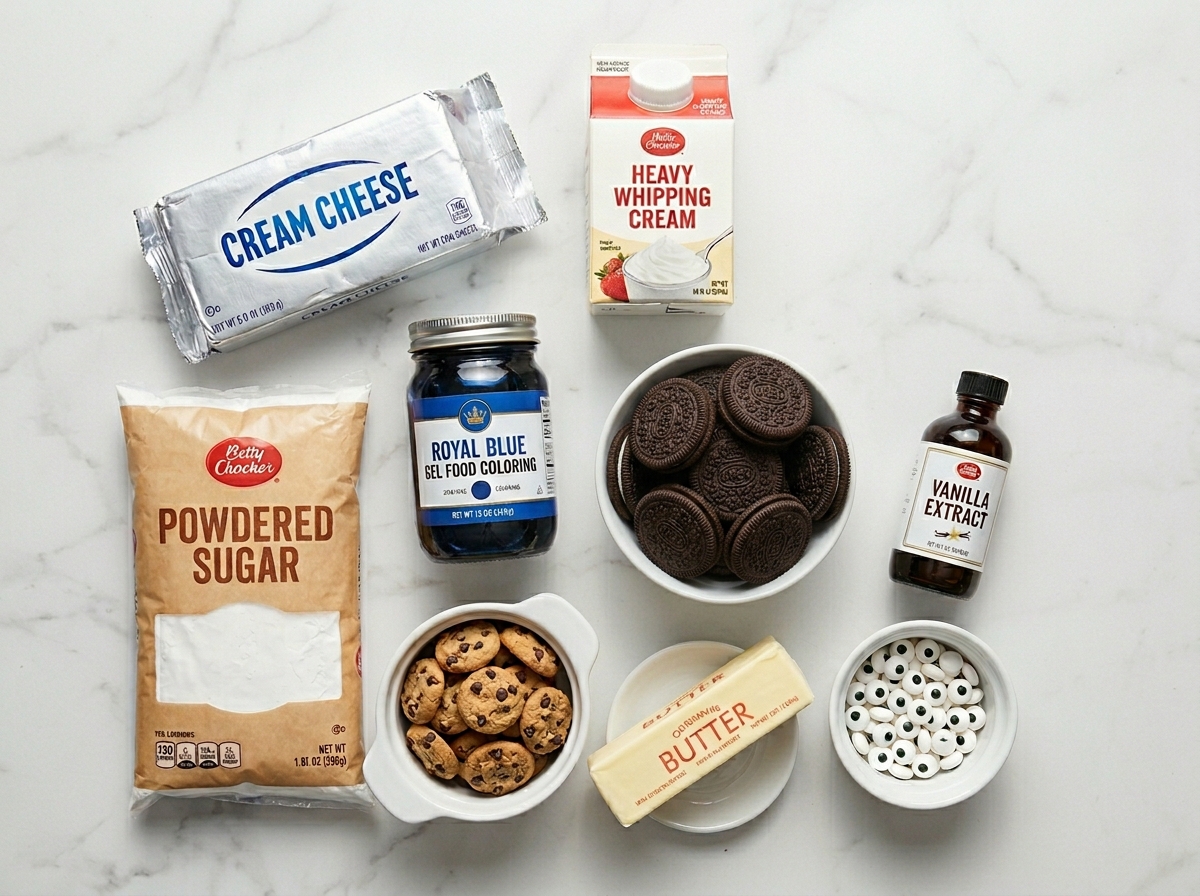
- Oreo cookies. These form the crust and the crunchy mix-ins. Keep the cream filling in the cookies when you crush them for the base. It helps the crust stick together.
- Cream cheese. Use full-fat brick-style cream cheese and let it soften to room temperature. This prevents lumps and lets you fold in the whipped cream without deflating it.
- Heavy whipping cream. Cold cream whips to stiff peaks faster and holds more air, which gives the cheesecake its sliceable structure.
- Powdered sugar. Dissolves instantly into the cream cheese so the filling stays smooth without any grit.
- Royal blue gel food coloring. Gel gives an intense hue with just a small amount. Liquid dye can make the filling runny if you add too much.
- Mini chocolate chip cookies and candy eyeballs. These are purely for fun, but they turn a simple cheesecake into a showpiece.
How it stacks up
- Crush and press the crust. Pulse whole Oreo cookies into fine crumbs in a food processor. Stir in melted butter until the mixture looks like wet sand. Press it firmly into the bottom of a 9-inch springform pan and chill while you make the filling.
- Beat the cream cheese base. In a large bowl, beat the softened cream cheese, powdered sugar and vanilla extract until completely smooth. Scrape the bowl once so no lumps hide at the bottom.
- Whip the cream. In a separate chilled bowl, whip the cold heavy cream until stiff peaks form. This takes about three to four minutes with a hand mixer on high speed.
- Fold and color. Gently fold the whipped cream into the cream cheese mixture in two additions. Add the blue gel coloring a small dab at a time and fold until you reach a bright Cookie Monster shade.
- Add cookie chunks. Roughly chop a handful of Oreos and fold them into the blue batter. Do not overmix or the cream will lose its air.
- Fill and chill. Spread the filling over the chilled crust and smooth the top with an offset spatula. Refrigerate for at least six hours, or overnight for the cleanest slices.
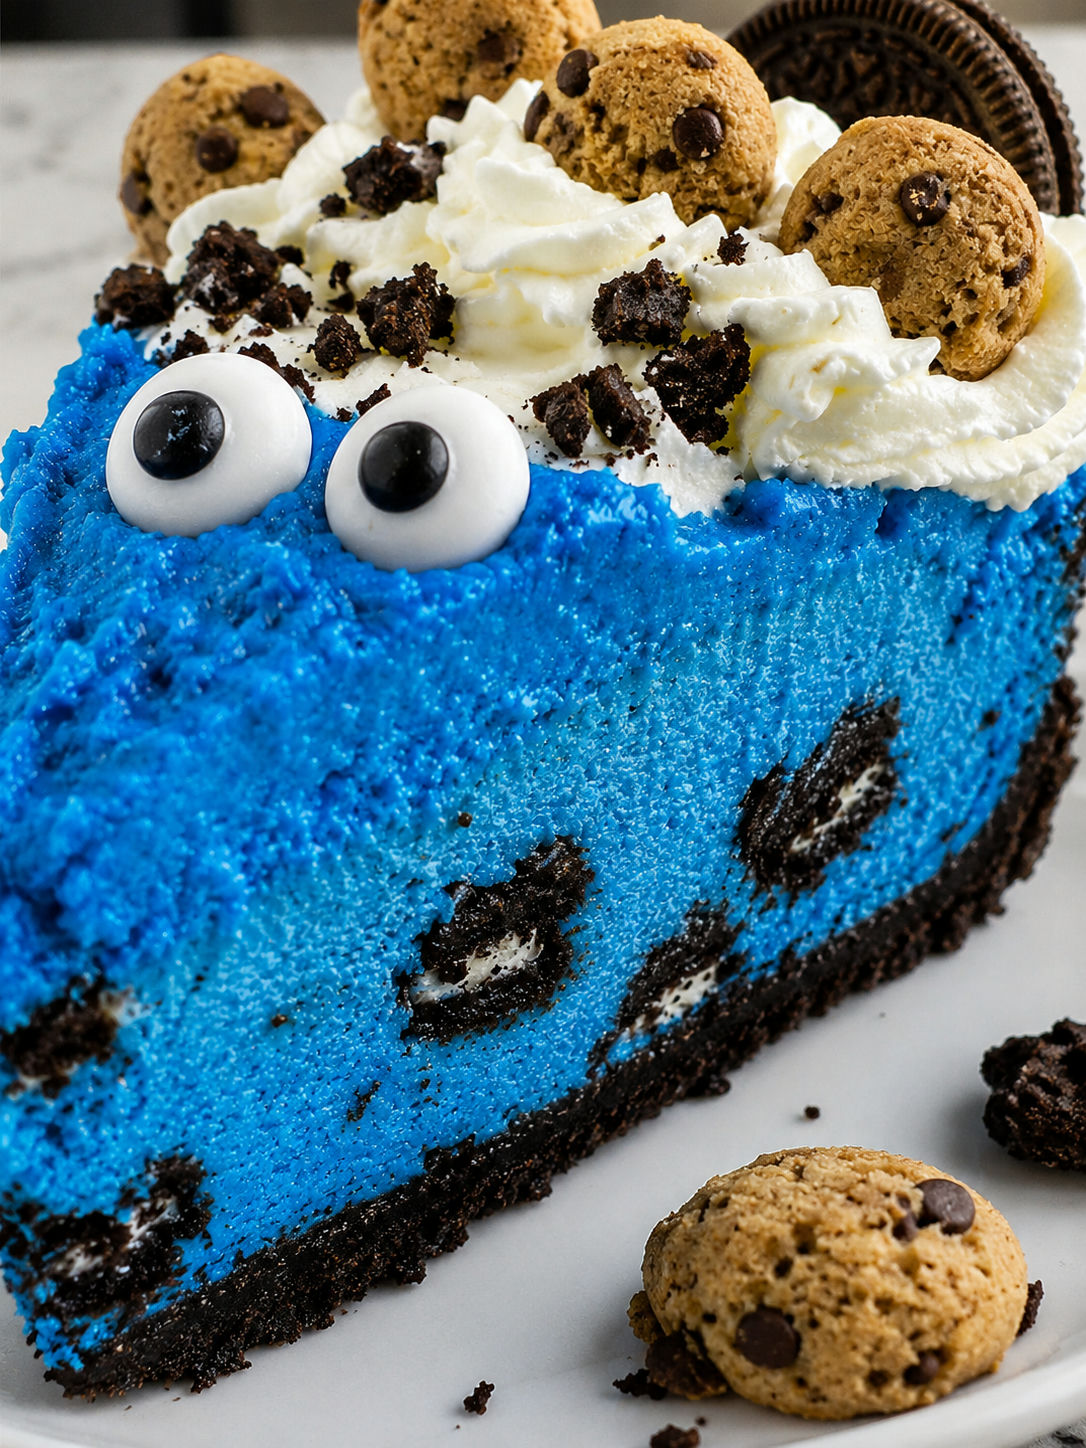
- Decorate and serve. Pipe or spread whipped cream around the edges. Press mini cookies and candy eyeballs into the top and sprinkle with cookie crumbs just before serving.
The press that holds
A no-bake crust only stays together if you pack it tight and give it time to set. After you mix the Oreo crumbs with melted butter, dump it into the pan and use the flat bottom of a measuring cup to press it into an even layer. Push harder than you think you need to, especially around the edges where slices tend to crumble. Then chill it for at least fifteen minutes so the butter firms up before you add the heavy filling on top. If you are into cookie desserts, our Cookie Monster cookies use the same Oreo crumb trick in the dough itself.
Color without a puddle
Liquid food coloring is mostly water, and water is the enemy of a stable no-bake cheesecake. If you pour in too much liquid dye, the filling can weep or refuse to set firm. Royal blue gel coloring is concentrated paste, so a pea-sized dot can turn the whole batch a vivid blue. Start with one small dot, fold it through, and add more only if you want it darker. You can find gel colors in the baking aisle near the cake mixes. For a deeper navy tone, some bakers add a tiny touch of violet gel, but pure royal blue is the classic Cookie Monster shade.
Cold cream is key
Whipped cream is doing all the structural work here since there is no gelatin and no baking to set the eggs. For the tallest, most stable peaks, start with cream straight from the refrigerator and beat it in a cold metal or glass bowl. If your kitchen is warm, pop the bowl and beaters in the freezer for ten minutes first. Stop beating as soon as the cream holds a stiff peak when you lift the beater. Go past that point and you will start making butter. If you want another cold dessert that relies on the same whipped cream trick, our No-Churn Cookie Monster Ice Cream is worth a try.
Swap the cookie
Oreos are the standard, but any sandwich cookie or chocolate cookie with a creamy filling will work for the crust. For the mix-ins, try chocolate chip cookies, peanut butter cups, or even brownie chunks. Just keep the add-ins to about one cup total so the filling can still hold together when sliced. If you prefer a cookie dough vibe over crunchy cookies, swap the Oreo chunks for small balls of edible cookie dough and check out our Cookie Dough Cheesecake for a related twist.
Keep leftovers firm
Store the cheesecake uncovered only until the topping is fully set, then wrap the pan tightly in plastic wrap. It stays fresh in the refrigerator for up to five days. The whipped cream topping is best added within a day of serving so it does not weep. For longer storage, freeze the plain cheesecake without decorations. Wrap individual slices in plastic and then foil, and thaw them overnight in the refrigerator. The texture stays surprisingly creamy.

FAQs
- Do I have to bake the Oreo crust?
No. The melted butter binds the cookie crumbs together and firms up in the refrigerator. As long as you press the mixture firmly and chill it before adding the filling, the crust will hold its shape when sliced.
- Can I use liquid food coloring instead of gel?
You can, but you will need to use much more to get the same bright shade, and the extra liquid can soften the filling. Gel food coloring is strongly recommended for this recipe.
- How long does the cheesecake need to chill?
At least six hours in the refrigerator, but overnight is ideal. The cream cheese and whipped cream need time to firm up so you can cut neat slices. Rushing this step leads to a soft, messy center.
- Can I make this cheesecake ahead of time?
Yes. You can prepare the cheesecake up to two days in advance and keep it covered in the refrigerator. Wait to add the whipped cream topping, cookies and candy eyeballs until the day you plan to serve it.
- What can I use if I do not have a springform pan?
A deep 9-inch pie dish or a square baking pan lined with parchment paper works. You will not get the tall sides of a springform cheesecake, but the flavor is the same. Lift the parchment to remove the cheesecake if you want clean edges.
- Can I turn this into individual mini cheesecakes?
Absolutely. Press the crust into the bottoms of muffin tins lined with cupcake wrappers and divide the filling evenly. Chill until firm, about four hours, then peel the wrappers and decorate each one.
