
 Pin it
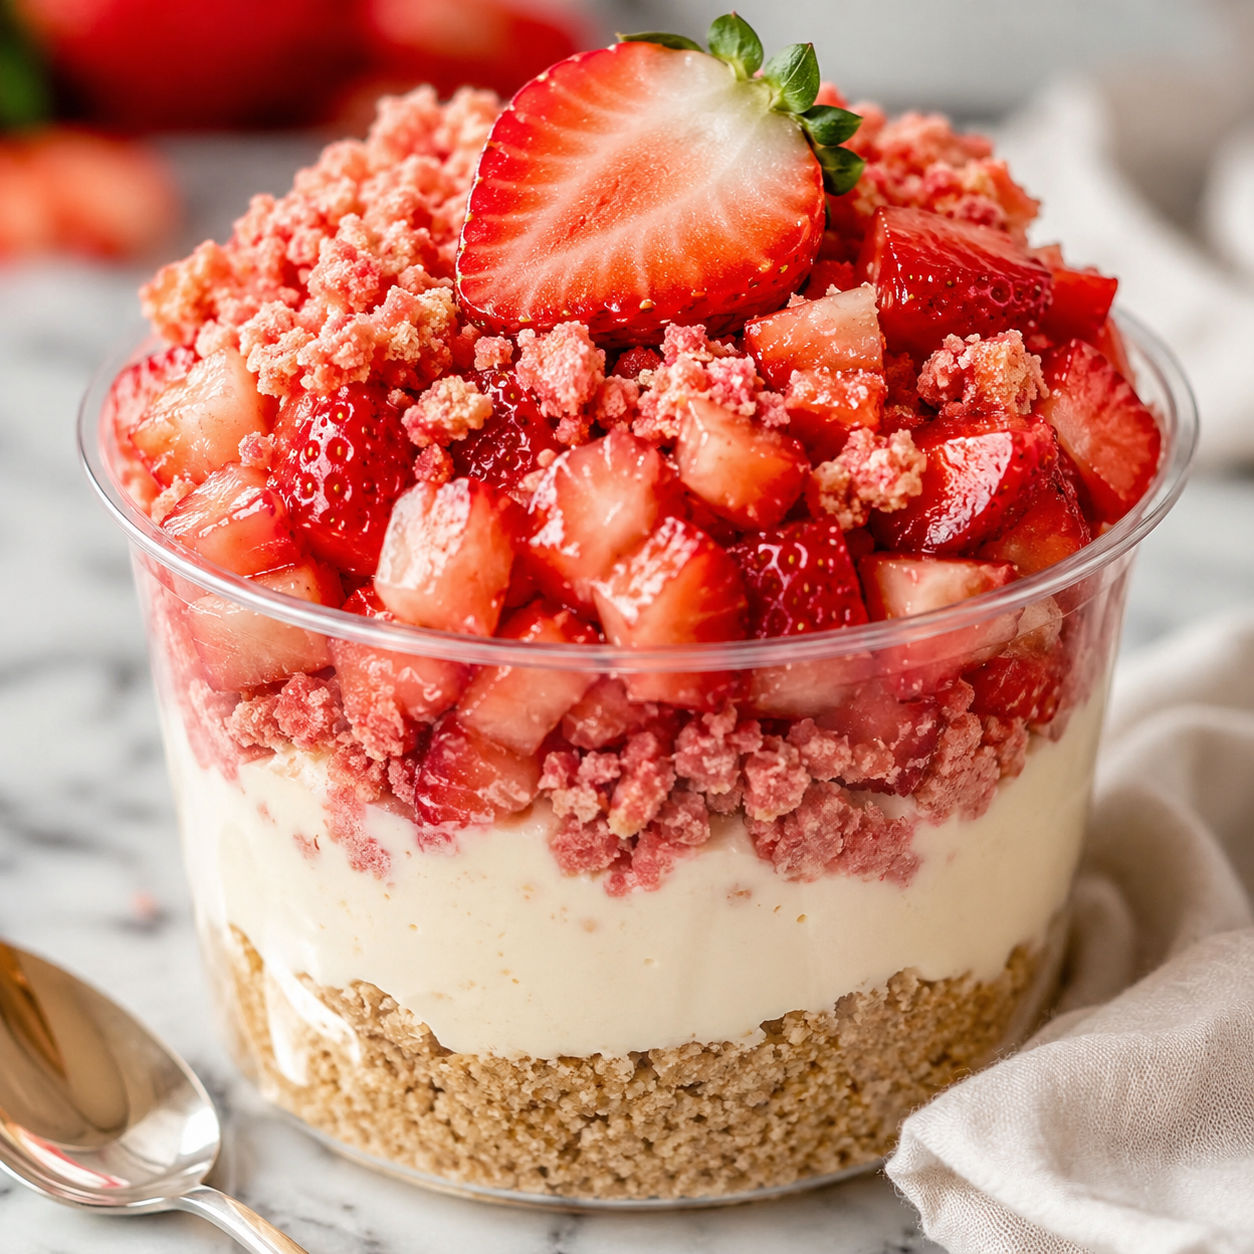
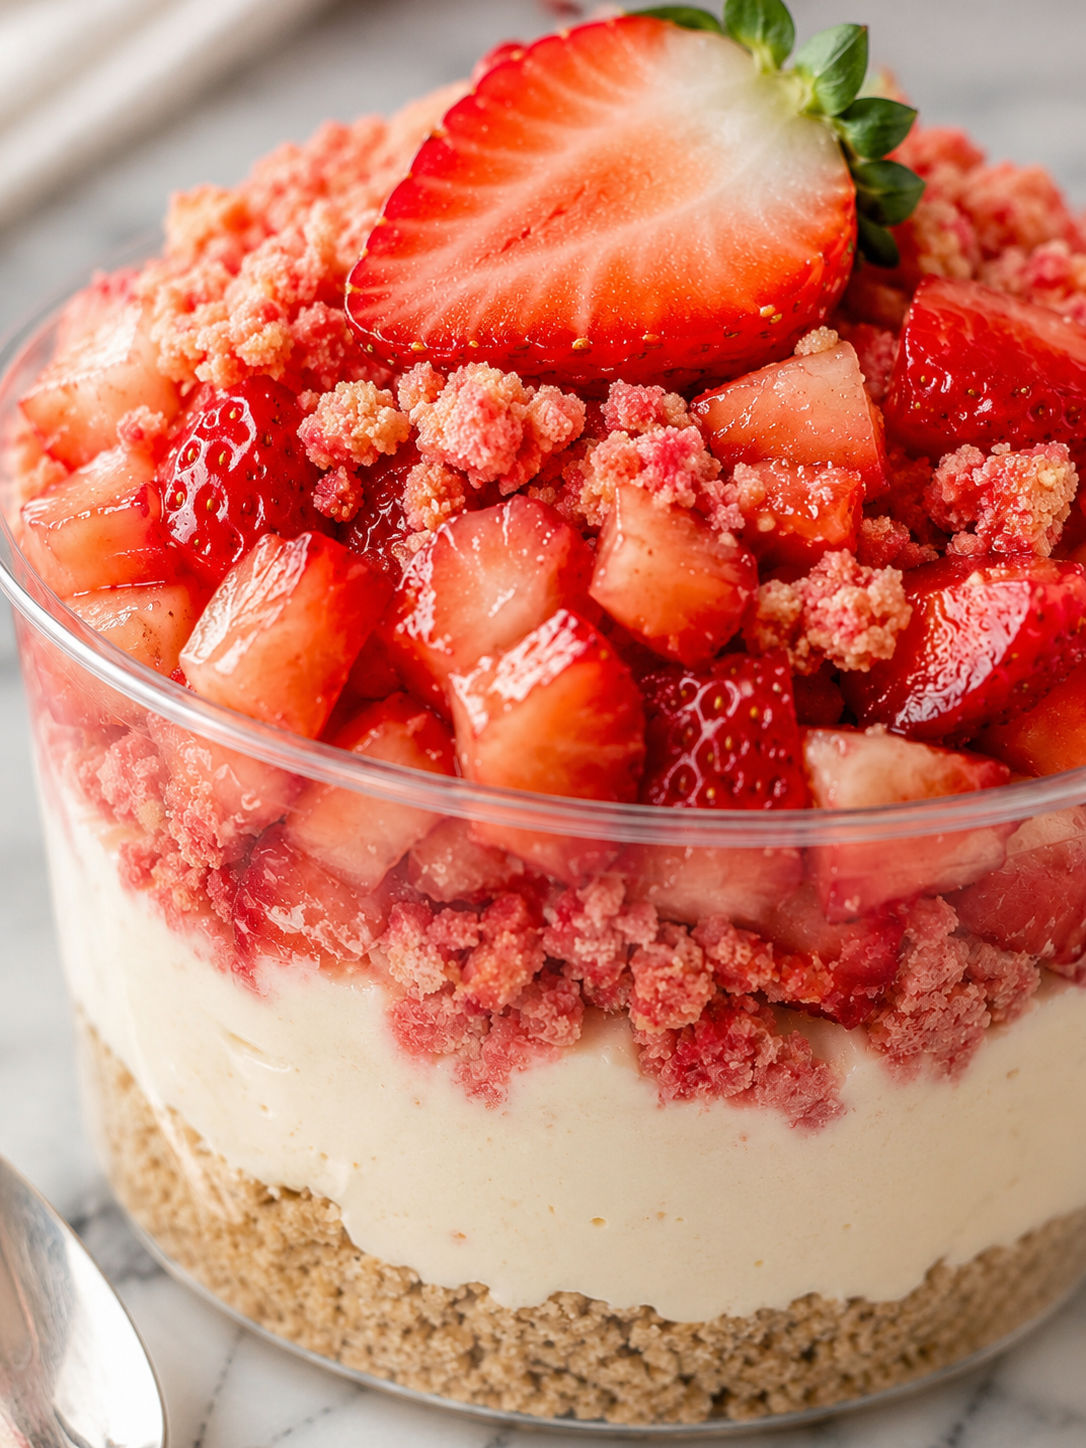
Strawberry Cheesecake Crunch Cup gives you the fun of strawberry crunch cake without turning on the oven. Each cup has a buttery base, a soft cheesecake layer, a crumbly pink topping, and spoonfuls of fresh strawberries that get glossy with lemon and sugar.
I like these for parties because they look finished without fussy decorating. The trick is simple. Whip the cream until it holds firm peaks, fold it gently into softened cream cheese, and keep the crunch topping dry until it goes into the cups.
The Creamy Pink Layers
Use ripe strawberries with a sweet smell and cream cheese that is fully softened. The filling turns smooth faster, and the strawberries make their own little syrup while the cups chill.
- Graham cracker crumbs. Build the buttery base and give each cup a cheesecake-crust bite.
- Unsalted butter. Holds the crumbs together and adds a rich toasted flavor.
- Cream cheese. Makes the filling tangy, thick, and spoonable.
- Powdered sugar. Sweetens the filling without leaving a gritty texture.
- Vanilla extract. Rounds out the dairy and makes the filling taste more like classic cheesecake.
- Heavy whipping cream. Lightens the cream cheese so the cups feel fluffy instead of dense.
- Freeze-dried strawberries. Bring strong berry flavor and the bright pink color in the crunch.
- Golden sandwich cookies. Add sweet cookie crumbs that mimic strawberry shortcake ice cream bars.
- Fresh strawberries. Finish the cups with juicy fruit and a little natural syrup.
- Lemon juice. Keeps the strawberry topping bright and cuts the sweetness.
Build The Crunch Cups
- Make the crumb base. Stir graham crumbs, sugar, and melted butter until the crumbs look evenly damp. Press a spoonful into each cup so the bottom layer is compact.
- Mix the cheesecake filling. Beat softened cream cheese with powdered sugar and vanilla until smooth. In a separate bowl, whip the cream to stiff peaks, then fold it in gently.
- Crush the pink topping. Pulse freeze-dried strawberries and golden sandwich cookies into small crumbs. Stir in melted butter until the mixture forms light clumps.
- Macreate the berries. Toss diced strawberries with sugar and lemon juice. Let them sit for 5-10 minutes until glossy.
- Layer and chill. Spoon or pipe the cheesecake filling over the crust, add strawberry crunch, and top with berries. Chill at least 1 hour before serving.
Keep The Filling Smooth
Cold cream cheese is the usual reason cheesecake cups turn lumpy. Set it on the counter for about 45 minutes before mixing. It should press easily when you touch it, but it should not be oily or warm.
Beat the cream cheese before adding whipped cream. Once the cream goes in, switch to a spatula and fold slowly. If you beat hard at that point, you knock out the air that makes these cups feel light.
Crunch That Stays Crisp
The crunch topping is best when the crumbs are fine with a few pebble-sized bits. Too powdery and it disappears into the filling. Too chunky and it is hard to eat from a small cup.
If you love this topping, keep a separate batch from Strawberry Crunch on hand for ice cream, cupcakes, or yogurt bowls. For bigger cheesecake flavor, the same pink crumble works well over Strawberry Crunch Cheesecake.
Fresh Strawberries Matter
The fresh topping should taste bright, not watery. Dice the berries small so every spoonful gets fruit. The lemon juice wakes them up, and a short rest with sugar pulls out just enough juice to glaze the top.
Wash berries before cutting and dry them well. The FDA has simple produce handling guidance in its fresh produce safety guide, which is useful when serving fruit desserts to a crowd.
Smart Swaps For Cups
These cups are flexible. Use vanilla wafers or shortbread in the crunch if you do not have golden sandwich cookies. Use raspberries for a tarter topping, or fold a spoonful of strawberry puree into the filling for a stronger berry color.
For another spoonable dessert, try No-Bake Cheesecake Jars. If you want the same cup format with chocolate, Loaded Brownie Cheesecake Cup is the richer option.
Chill, Store, Serve
Serve these cups cold from the fridge. They hold well for 2-3 days when covered, but the topping is crunchiest on day one. If you are making them for a party, assemble the crust and filling in the cups first, then add crunch and strawberries closer to serving.
For general leftover timing, the USDA has a helpful leftovers safety guide. Since these are dairy-based, keep them chilled until dessert time.
Summary
These no-bake strawberry cheesecake cups are creamy, crunchy, and easy to prep ahead. Keep the crunch topping separate until assembly for the best texture.
FAQs
- Can I make Strawberry Cheesecake Crunch Cup ahead of time?
Yes. Make the filling, strawberry topping, and crunch mixture up to 1 day ahead. For the crispest texture, keep the crunch in a covered container at room temperature and add it when you assemble the cups.
- Can I use whipped topping instead of heavy cream?
Yes. Use about 1 cup thawed whipped topping in place of the whipped cream. Fold it into the cream cheese mixture gently so the filling stays light.
- What can I use instead of golden sandwich cookies?
Vanilla wafers, shortbread cookies, or graham crackers all work. The flavor will change a little, but you will still get a sandy, sweet crunch that fits the cheesecake filling.
- How long do the cups need to chill?
Chill the assembled cups for at least 1 hour. Two hours is even better if you want a firmer spoonable filling and cleaner layers.
- Why is my cheesecake filling runny?
The cream cheese may have been too cold, or the whipped cream may not have reached stiff peaks. Beat the cream cheese smooth first, whip the cream separately until it holds shape, then fold the two together with a spatula.
- Can I make these gluten-free?
Yes, use gluten-free graham crackers and gluten-free vanilla sandwich cookies. Check the freeze-dried strawberries too, since plain fruit should be gluten-free but flavored blends can vary.
