 Pin it
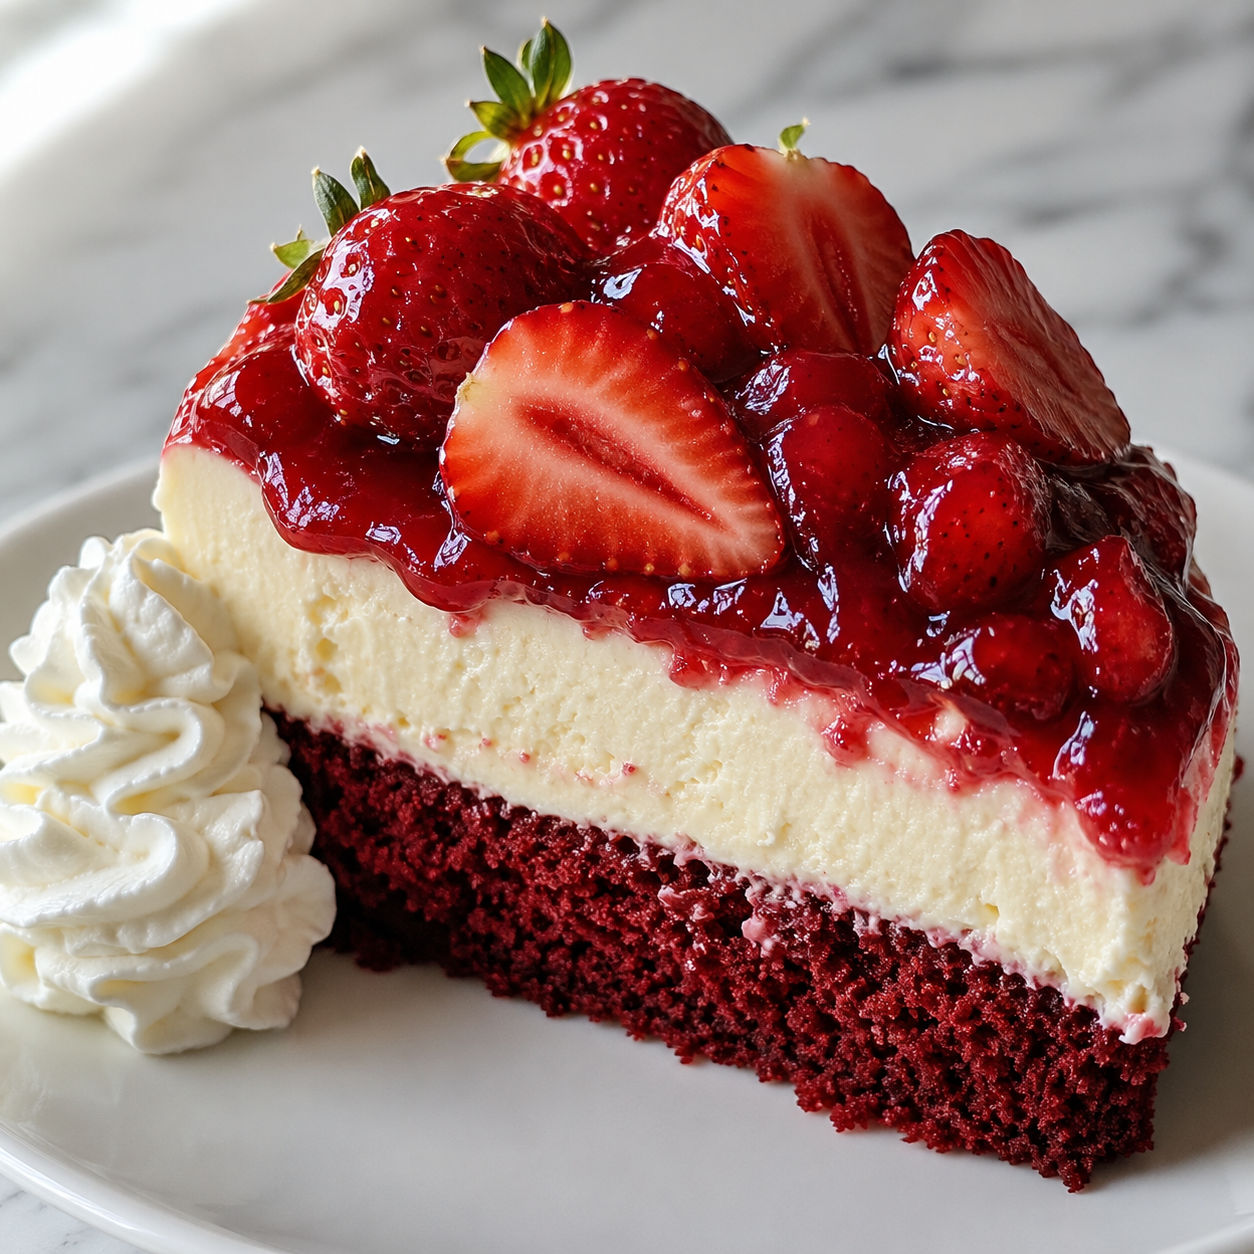
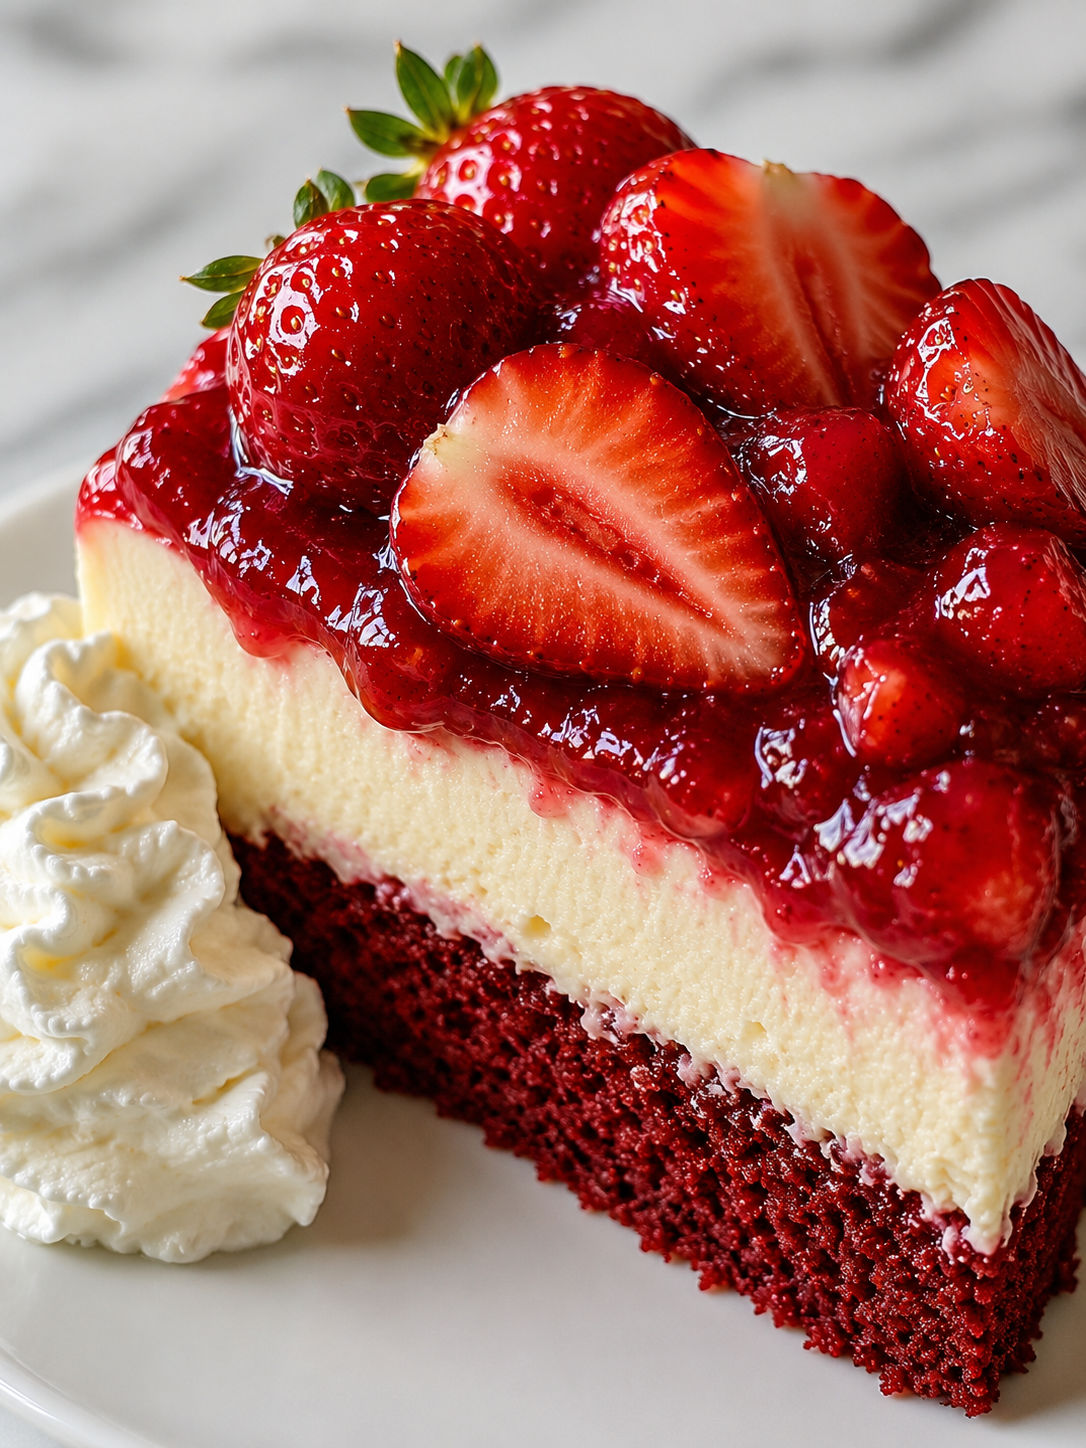
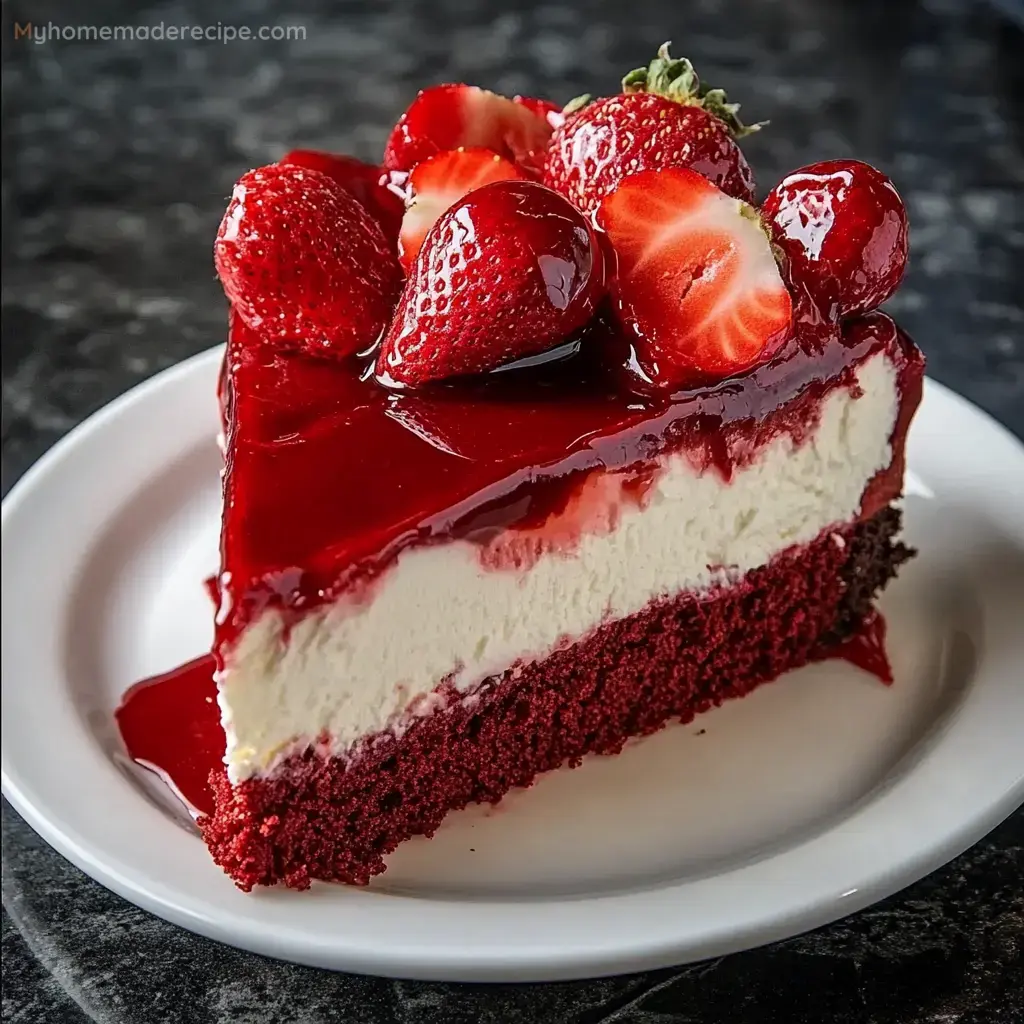
This cake is what I bring out when I want the room to go quiet for a second. A dense, slightly chocolatey red velvet base holds up a thick layer of vanilla cheesecake, and the whole thing gets crowned with a glossy strawberry glaze and fresh berries. It looks like bakery work, but the steps break down into two simple bakes and a little assembly.
The magic is in the contrast. The cake is soft and moist, the cheesecake is cool and creamy, and the tart strawberries cut through the richness. You can bake both layers the day before, then put it together an hour or two before serving.
The cake and cheesecake lineup
Quality shows here, so use real block cream cheese and fresh strawberries that smell sweet at the stem. The red velvet layer gets its color from food coloring and a touch of cocoa, while the cheesecake is a simple mix of cream cheese, sugar, eggs, and vanilla. Buttermilk keeps the cake tender and adds a subtle tang that balances the sweetness of the topping.
- All-purpose flour. The backbone of the red velvet base, giving it just enough structure to support the cheesecake layer.
- Unsweetened cocoa powder. Only a tablespoon, but it adds the subtle chocolate note that makes red velvet taste like itself.
- Buttermilk. Reacts with vinegar and baking soda to create a fine, tender crumb and a gentle tang.
- Cream cheese. The heart of the cheesecake layer. Full-fat blocks beat smoother than tubs and set cleaner.
- Strawberry preserves. Warmed and spread over the top, they create a glossy seal and an extra punch of berry flavor.
- Fresh strawberries. Sliced and arranged over the preserves, they add brightness and make the presentation pop.
Bake, layer, and chill
- Mix the red velvet batter. Preheat your oven to 350°F (175°C). Whisk the dry ingredients in one bowl and the wet in another. Stir them together until just combined, then pour into a greased and parchment-lined 8-inch round pan. Bake for 25 to 30 minutes, until a toothpick comes out clean. Let the cake cool completely.
- Beat the cheesecake filling. Reduce the oven to 325°F (160°C). Beat softened cream cheese with sugar until completely smooth, then add the eggs one at a time, followed by the vanilla. Do not overbeat once the eggs are in, or the layer can puff and crack.
- Bake the cheesecake. Pour the batter into a greased 8-inch springform pan and bake for 40 to 45 minutes. The edges should look set, but the center can still have a slight wobble. Cool to room temperature, then chill for at least 2 hours.
- Stack and glaze. Place the cooled red velvet cake on a platter. Carefully set the chilled cheesecake layer on top. Warm the strawberry preserves in a small saucepan until loose, then spread them over the cheesecake. Arrange fresh strawberry slices on top and add whipped cream if you like.
- Chill to set. Refrigerate the assembled cake for 1 to 2 hours before slicing. This firms up the cheesecake and lets the glaze settle.
Getting the red velvet crumb right
Red velvet should be fine-crumbed and moist, not heavy or gummy. The biggest mistake is overmixing once the wet and dry ingredients meet. Stir until you no longer see streaks of flour, then stop. Room temperature buttermilk and egg emulsify better into the oil, so set them out 30 minutes before you start. King Arthur Baking notes that traditional red velvet relied on a chemical reaction between natural cocoa and acid for its color, though modern recipes use food coloring for reliability. You can read more about the science on their baking blog. If you want a smaller red velvet treat, try our red velvet blossom cookies.
Keep the cheesecake smooth
Cracks usually come from overbeaten eggs or sudden temperature changes. Beat the cream cheese and sugar until silky before you add anything else, and mix in the eggs on low speed just until they disappear. You do not need a water bath for this thinner layer, but placing a shallow pan of water on the rack below helps keep the air humid and the surface flawless. If you prefer a no-bake shortcut, our no-bake red velvet cheesecake bites skip the oven entirely.
Preserves versus fresh fruit
Strawberry preserves give you a shiny, sticky glaze that seals the cheesecake and adds concentrated flavor. Fresh berries alone look beautiful but can weep and slide after a few hours. I use both: a thin layer of warmed preserves for grip and gloss, then fresh slices pressed gently on top for texture. If you love strawberry desserts, our strawberry crunch cheesecake plays with the same flavors in a totally different texture.
Make ahead and store
You can bake both layers up to two days ahead. Wrap them separately and refrigerate. Assemble the cake the day you plan to serve it, since the fresh fruit looks best within the first 24 hours. Leftovers keep covered in the refrigerator for up to three days. The cheesecake layer actually firms up and slices even cleaner after a full night in the fridge. For a handheld version, check out our cheesecake red velvet cupcakes.
Slice like a pro
A tall layered cake like this fights back against a dull knife. Use a long thin blade dipped in hot water, wipe it clean between slices, and cut with a gentle sawing motion. Serve chilled; the cheesecake softens quickly at room temperature and can squish under the knife. The U.S. FDA offers safe handling guidance for eggs and dairy at home on their food safety portal.
FAQs
- Can I use a boxed red velvet cake mix for the base?
Yes. Bake the mix in an 8-inch round pan according to the package directions, then cool completely before adding the cheesecake layer. Homemade tastes richer, but a mix saves time.
- Do I need a water bath for the cheesecake layer?
Not strictly, since this is a relatively thin layer. A pan of water on the lower oven rack adds humidity and helps prevent cracking, but you can skip it if you bake at 325°F and do not overbeat the eggs.
- Can I make this dessert ahead of time?
Absolutely. Bake both layers up to two days ahead and refrigerate them wrapped. Assemble with the glaze and fresh strawberries the day you plan to serve for the best look and texture.
- How do I store leftovers?
Cover loosely and refrigerate for up to three days. The cheesecake layer keeps well, though the fresh strawberries may soften after the first day.
- Can I use frozen strawberries instead of fresh?
Frozen berries work in the puree if you are making a whipped filling, but for the top garnish they thaw too soft and release too much liquid. Stick to fresh for the finishing layer.
- Why did my cheesecake layer crack?
Cracks happen when eggs are overbeaten, the oven is too hot, or the cheesecake cools too fast. Beat on low once the eggs go in, bake at 325°F, and let it cool gradually in the turned-off oven with the door cracked.
- Can I turn this recipe into cupcakes?
Yes. Spoon red velvet batter into lined muffin tins, add a dollop of cheesecake filling, and bake at 350°F for about 18 minutes. For full instructions, see our cheesecake red velvet cupcakes.
- Is this dessert vegetarian?
Yes. This recipe contains dairy and eggs but no meat, poultry, or fish, so it is suitable for a lacto-ovo vegetarian diet.
