 Pin it
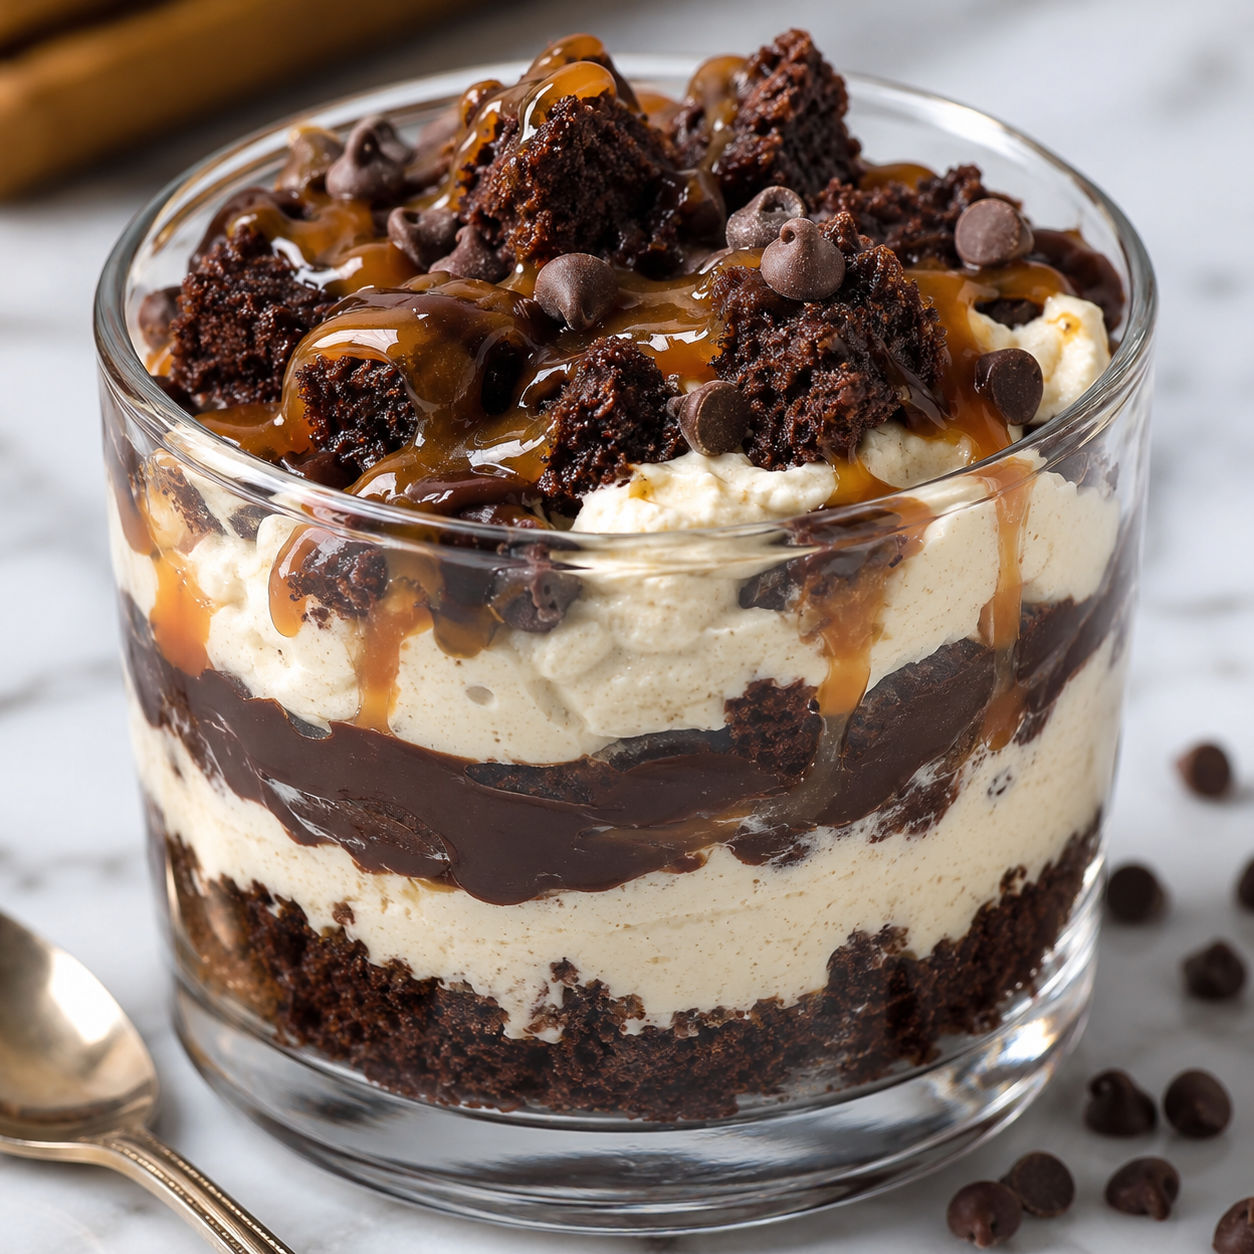
A Loaded Brownie Cheesecake Cup gives you the good parts of a brownie sundae and a cheesecake slice in one spoonable dessert. The brownie layer stays chewy, the filling is cool and tangy, and the toppings make it feel like something from a dessert case.
I like these when I need a party dessert that can sit ready in the fridge. They look neat in clear cups, but they are forgiving. A few brownie chunks and glossy drizzles hide any messy piping.
Brownie cup building blocks
Use brownies that are fully cooled and soft in the center. The cheesecake filling needs room-temperature cream cheese and cold heavy cream, which gives you a smooth base with enough lift to pipe or spoon.
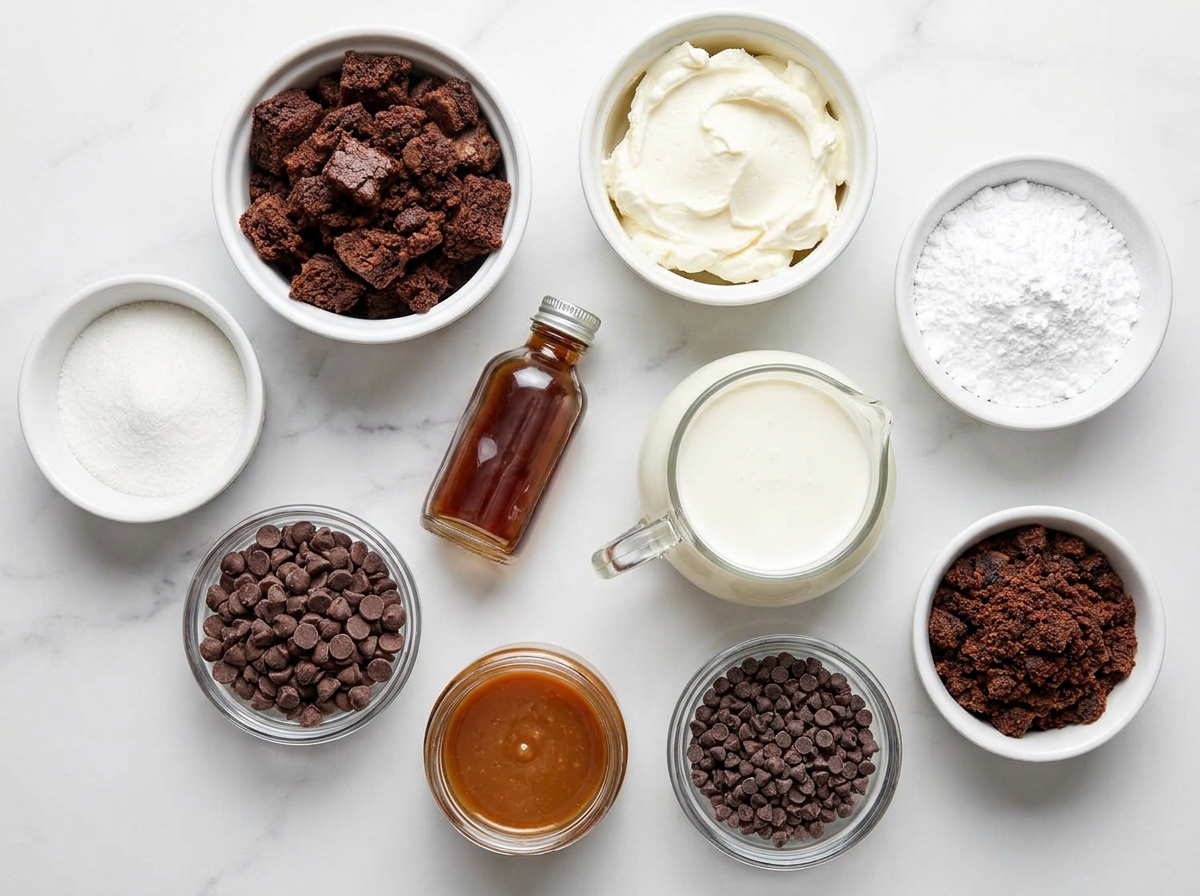
- Fudgy brownies. They form the chewy chocolate layer and give each spoonful weight.
- Cream cheese. This brings the tangy cheesecake flavor and keeps the filling rich.
- Powdered sugar. It sweetens the filling without leaving grit.
- Vanilla extract. A small amount rounds out the dairy and chocolate.
- Heavy whipping cream. Whipped cream lightens the filling so it is creamy instead of dense.
- Semi-sweet chocolate chips. Melted with cream, they make a quick glossy ganache.
- Caramel sauce. It adds a buttery sweet drizzle that plays well with the brownie layer.
- Mini chocolate chips. These add crunch and make the cups look loaded.
Layer the cups neatly
- Crumble the brownies. Break the cooled brownies into small chunks and crumbs. Press a spoonful into each cup, but do not pack it too hard.
- Whip the cream. Beat the cold heavy cream until stiff peaks form. Keep it chilled while you mix the cream cheese.
- Mix the cheesecake base. Beat softened cream cheese with powdered sugar, vanilla, and salt until smooth. Fold in the whipped cream slowly so the filling stays fluffy.
- Fill the cups. Spoon or pipe cheesecake filling over the brownie layer. Add another small layer of brownie crumbs if you want a fuller cup.
- Make the ganache. Warm cream until steaming, pour it over chocolate chips, wait 2 minutes, then stir until shiny.
- Top and chill. Drizzle each cup with ganache and caramel, scatter on mini chips and brownie crumbs, then chill for at least 2 hours.
Keep the filling smooth
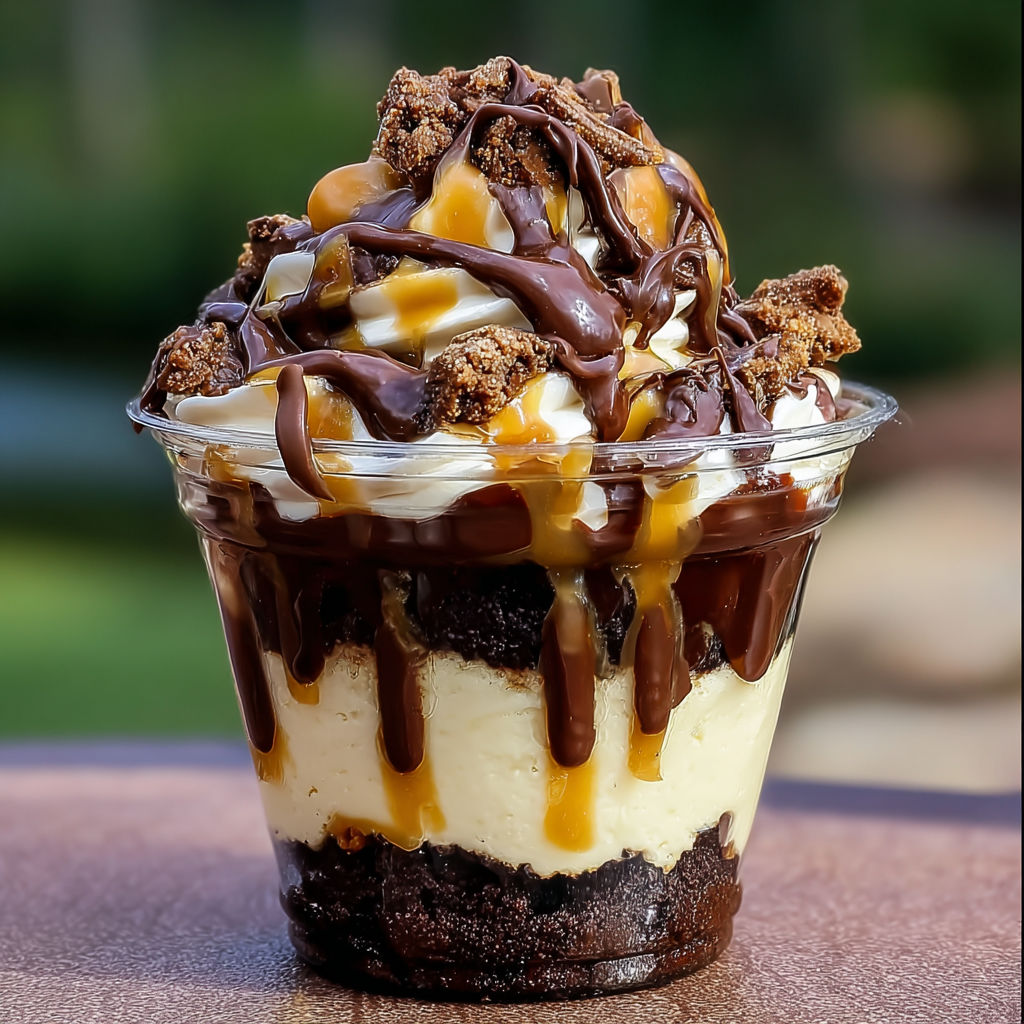
The only fussy part is the cream cheese. It needs to be soft enough that a finger leaves an easy dent. Cold cream cheese breaks into tiny lumps, and those lumps are hard to fix once the whipped cream goes in.
Beat the cream cheese first, before adding anything else. Scrape the bowl, then beat in the powdered sugar, vanilla, and salt. When the base looks glossy, fold in the whipped cream with a spatula. This gives the Loaded Brownie Cheesecake Cup a mousse-like texture. For a baked version with the same brownie-cheesecake idea, try Decadent Brownie Bottom Cheesecake.
Chill time changes everything
These cups are edible right after assembly, but they taste better after a proper chill. Two hours lets the cheesecake filling set and lets the brownie crumbs soften just enough at the edges. The center of the brownie pieces should still taste chewy.
Keep cream-based desserts cold until serving. The cold storage chart at FoodSafety.gov is a useful reference for refrigerator timing. If the cups are going to a party, pack them in a cooler and add the final drizzle when you arrive.
Swaps for more crunch
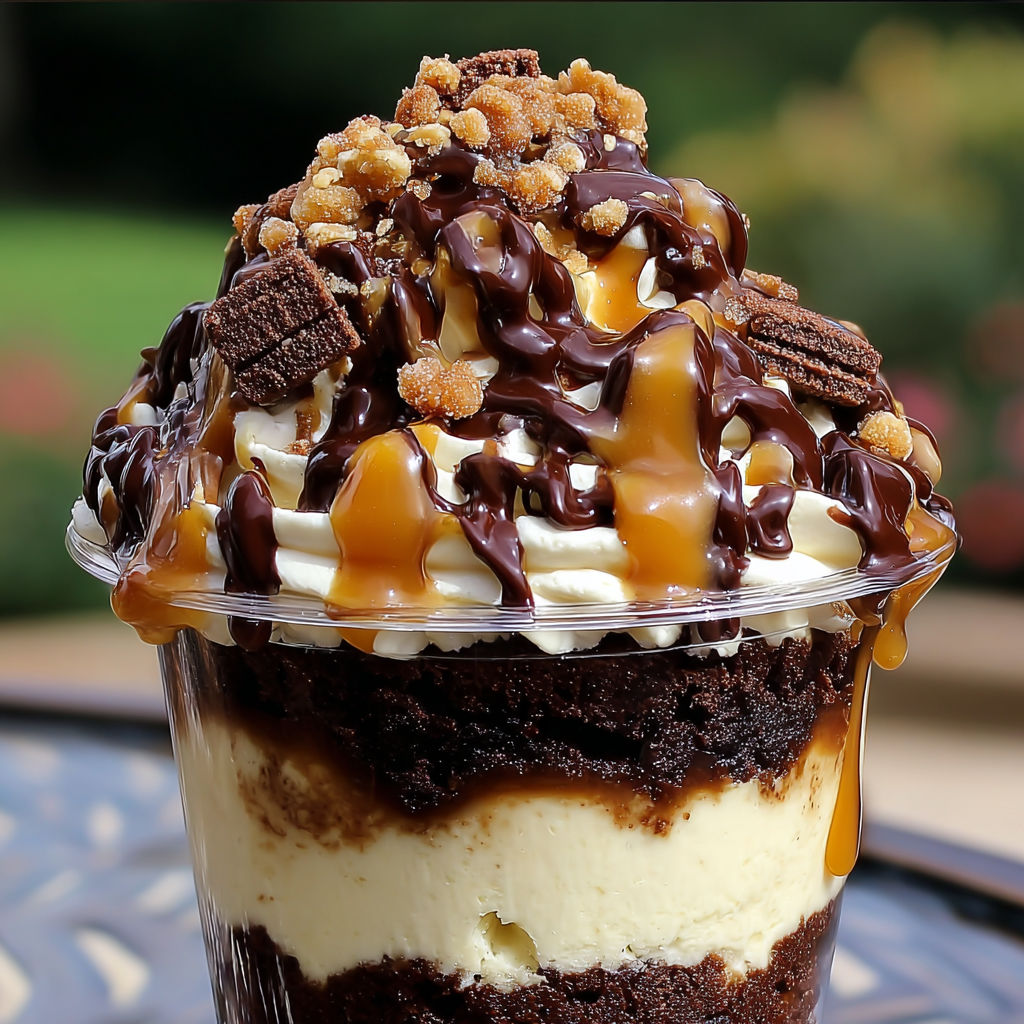
You can change the toppings without changing the base recipe. Crushed chocolate sandwich cookies make the cups darker and more dramatic. Toffee bits add a buttery snap. Chopped strawberries cut through the richness if you want a brighter finish.
If you like layered cheesecake desserts, the same no-bake rhythm works in Strawberry Cheesecake Crunch Cup. For a heavier chocolate table, pair these cups with Chocolate Chip Cookie Dough Brownie. Keep the topping pieces small so every spoonful has brownie, filling, and crunch together.
Storage and serving window
Cover the cups and refrigerate them for up to 3 days. The brownie layer gets softer as it sits, which is pleasant on day one and day two. By day three, the toppings start to lose their shine, so I save the caramel and ganache drizzle for later if I am making them far ahead.
For leftovers, the USDA has a clear leftovers and food safety guide. Serve the cups cold, but let them stand at room temperature for 5 minutes first. The filling softens slightly and the chocolate tastes fuller.
Summary
These no-bake brownie cheesecake cups are rich, chilled, and easy to assemble ahead. Keep the brownie layer fudgy and the cheesecake filling light for the best texture.
FAQs
- Can I use store-bought brownies for Loaded Brownie Cheesecake Cup?
Yes. Store-bought brownies work well if they are dense and fudgy. Avoid dry or cakey brownies because they crumble into dust instead of giving you a chewy base.
- Can I make these brownie cheesecake cups ahead?
Yes. Assemble the brownie and cheesecake layers up to 24 hours ahead, then keep them covered in the refrigerator. Add ganache, caramel, and extra crumbs close to serving so the tops stay glossy.
- Can I use whipped topping instead of whipped cream?
You can use thawed whipped topping in place of freshly whipped cream. Fold it gently into the sweetened cream cheese so the filling stays light instead of flat.
- How long do brownie cheesecake cups need to chill?
Plan on at least 2 hours in the refrigerator. The cups taste better cold because the cheesecake layer firms up and the brownie crumbs soften slightly where they meet the filling.
- Can I make this recipe gluten-free?
Yes. Use your favorite gluten-free brownies and check that the chocolate chips and caramel sauce are gluten-free. The cheesecake filling itself does not need flour.
- What size cups should I use?
Small 5-6 ounce dessert cups are the easiest to serve. They hold enough brownie, filling, and topping without turning the dessert into an oversized portion.
