 Pin it
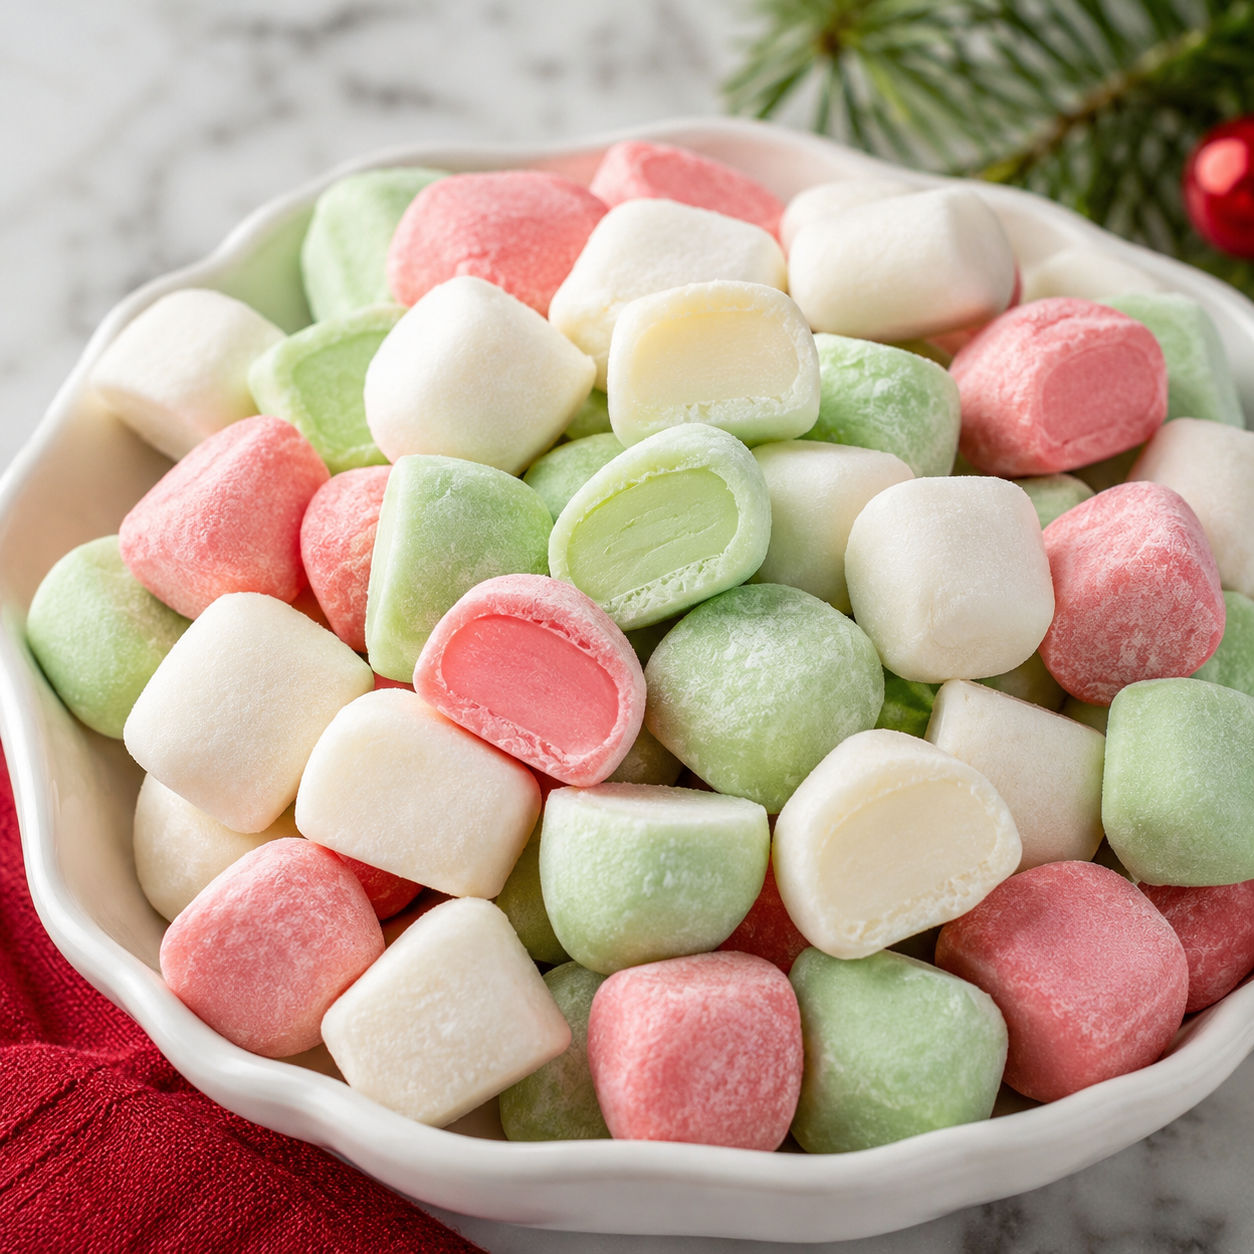
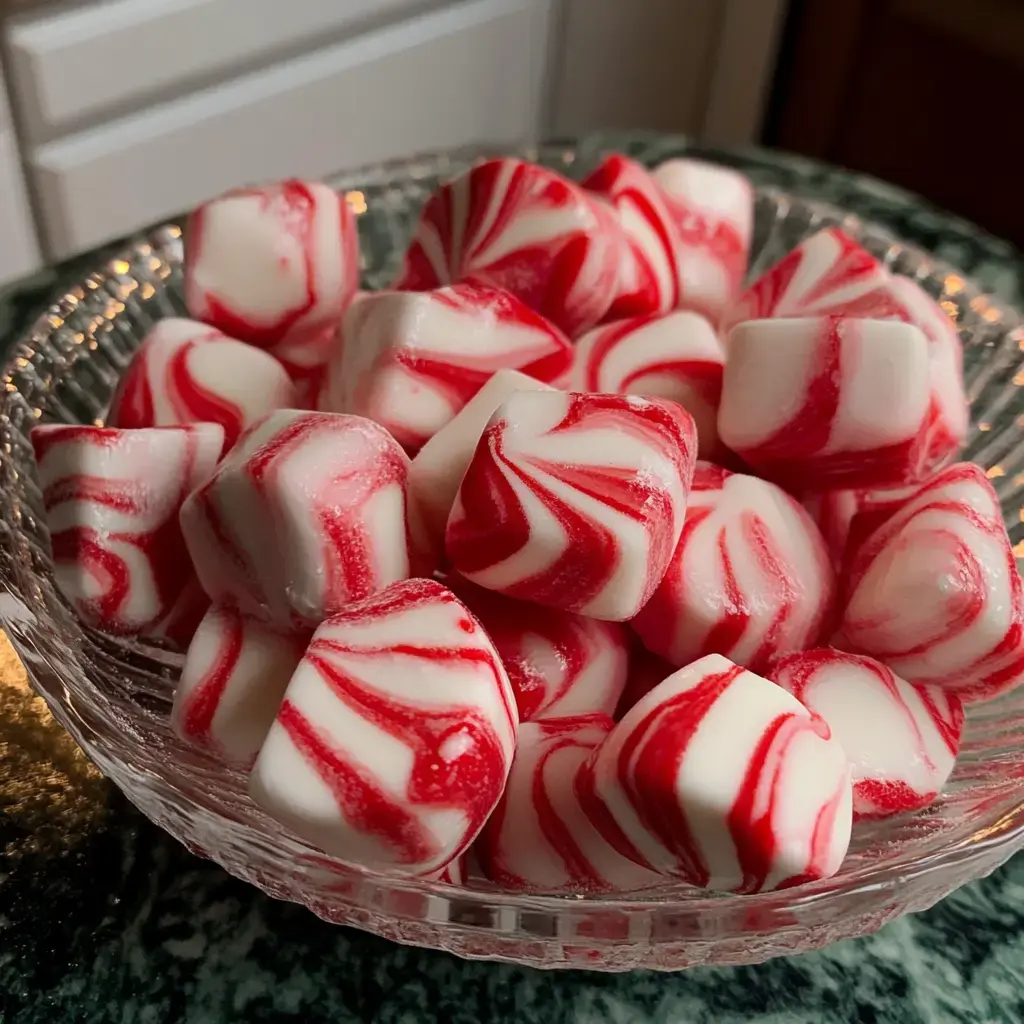
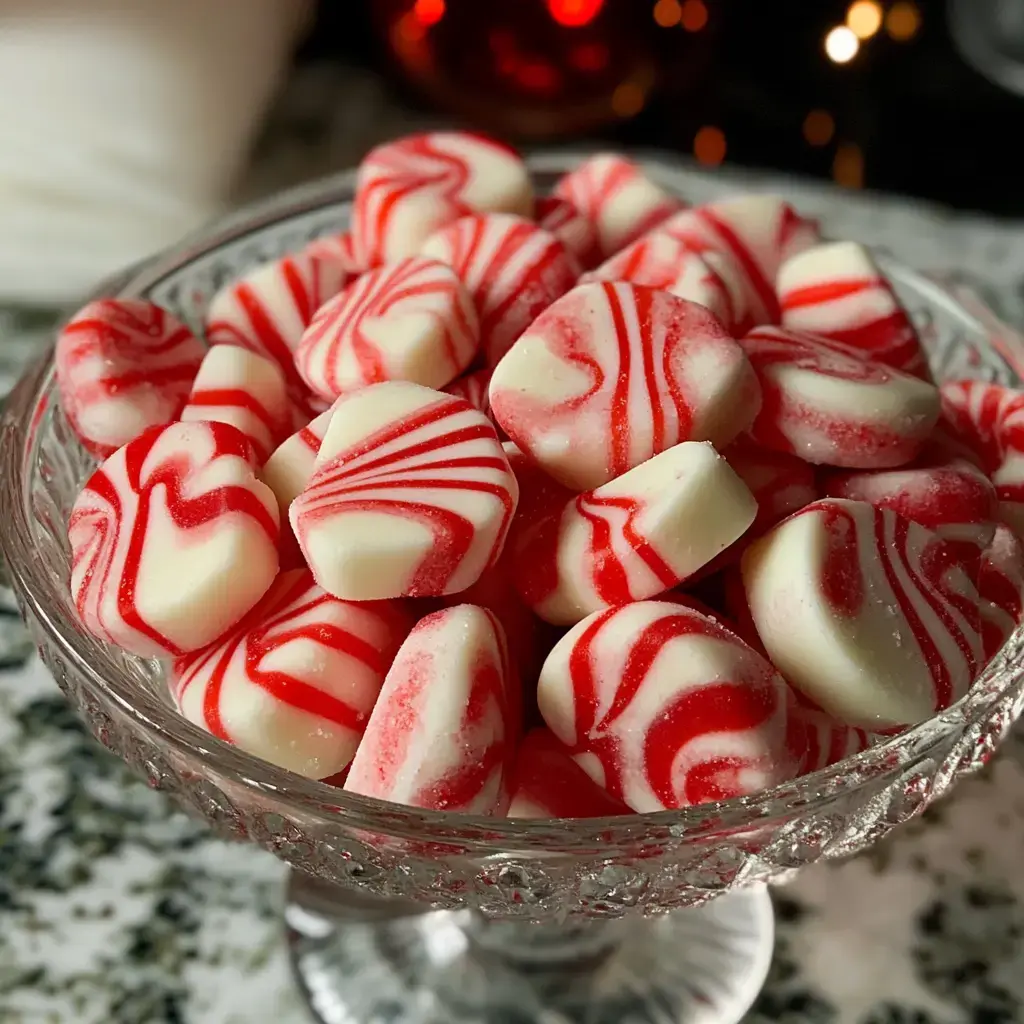
Easy Homemade Butter Mints for Christmas are the tiny pastel candies I want on the table after a heavy holiday meal. They are cool, sweet, and buttery, with that soft melt-away bite you remember from old candy dishes.
The dough is simple. The only real trick is texture. It should feel like firm play dough, not frosting and not dry crumbs. Once you get that right, rolling and cutting the mints is relaxed work.
Christmas Butter Mint Basics
Use real butter, fresh powdered sugar, and a light hand with peppermint. If your powdered sugar has been sitting open for months, sift it first so the finished mints stay smooth.
- Unsalted butter. Gives the mints their creamy body and rich finish.
- Powdered sugar. Sweetens and stiffens the dough so it can be rolled and cut.
- Heavy cream. Adds just enough moisture to bring the dough together.
- Peppermint oil or extract. Gives the cool holiday flavor. Start small because it gets loud fast.
- Vanilla extract. Rounds the peppermint so it tastes like candy instead of toothpaste.
- Fine salt. Keeps the sweetness from tasting flat.
- Gel food coloring. Makes soft red, green, and white Christmas mints without watering down the dough.
Make Easy Homemade Butter Mints
- Beat the butter. Use softened butter, not melted butter, and beat until smooth before adding sugar.
- Add the flavoring. Mix in cream, vanilla, peppermint, and salt, then scrape the bowl so the flavor spreads evenly.
- Work in the sugar. Add powdered sugar gradually on low speed. The dough should look crumbly at first, then gather into a firm, smooth mass.
- Tint the dough. Divide it into portions and knead in tiny dots of gel color for red, green, and white mints.
- Roll and cut. Dust the counter with powdered sugar, roll ropes about 1/2 inch thick, and cut small pillows with a sharp knife.
- Dry overnight. Spread the mints on parchment and let them stand uncovered until the outside feels dry and set.
The Texture Tells You
The dough should pinch cleanly and hold an edge when cut. If it sticks to the knife, add more powdered sugar. If it cracks badly while rolling, knead in a few drops of cream. Powdered sugar can vary by brand and measuring style, so texture matters more than the exact cup count. The King Arthur ingredient weight chart is helpful if you like weighing sugar for repeatable results.
Peppermint Without Harshness
Peppermint oil and extract are not equal. Oil is concentrated, so 1/4 teaspoon is plenty for a full batch. Extract is gentler and usually needs closer to 1 teaspoon. I like adding vanilla because it softens the sharp edge. Taste a tiny pinch of dough before you shape the mints. The flavor blooms as the candies dry, so stop just shy of where you think it should be.
Coloring For Candy Trays
Gel color keeps the dough sturdy. Liquid color can make it tacky, especially if you want bright red. For a softer Christmas look, leave one portion white, tint one pale green, and tint one pinkish red. The FDA has a plain overview of color additives in food if you are choosing colors for guests. These mints fit nicely beside Wedding Mints, Easy Christmas Crack, and Best Soft Christmas Cookies on a dessert tray.
Drying And Storage
Let the cut mints sit on parchment overnight at cool room temperature. They should feel dry outside but still creamy inside. Once dry, move them to an airtight container with parchment between layers. Refrigerate for up to two weeks or freeze for longer storage. If your kitchen is humid, give them extra drying time before packing them into tins.
Gifting Without Sticking
For gift boxes, wait until the mints are fully dry, then layer them in mini paper cups or between sheets of parchment. They are sweet, so small portions are right. Add them to a homemade basket with Homemade Merry Christmas Jam or Easy Christmas Funfetti Bread. Keep the box cool until serving so the butter stays firm and the colors stay neat.
FAQs
- Can I make butter mints ahead for Christmas?
Yes. Butter mints are better when made at least one day ahead because they need time to dry on the outside. Store them airtight after drying, then keep them in the refrigerator for a firmer texture.
- Should I use peppermint oil or peppermint extract?
Either works, but peppermint oil is much stronger. Use about 1/4 teaspoon food-grade peppermint oil or about 1 teaspoon peppermint extract, then taste the dough before adding more.
- Why is my butter mint dough sticky?
Sticky dough usually means the butter was too warm or too much liquid was added. Beat in powdered sugar a tablespoon at a time until the dough holds its shape and no longer smears on your fingers.
- Can I color the mints red and green?
Yes. Gel food coloring is best because it gives strong color without adding much liquid. Divide the dough into portions, tint each one lightly, and keep unused dough covered while you shape the first color.
- Do homemade butter mints need to be refrigerated?
They can sit out on a candy tray for a few hours, but store them in the refrigerator for longer keeping. The butter in the recipe stays firmer and the mints keep their clean shape better when chilled.
- Can I freeze Christmas butter mints?
Yes. Freeze fully dried mints in a sealed container with parchment between layers for up to two months. Thaw them in the refrigerator so condensation does not make the outside tacky.
