 Pin it
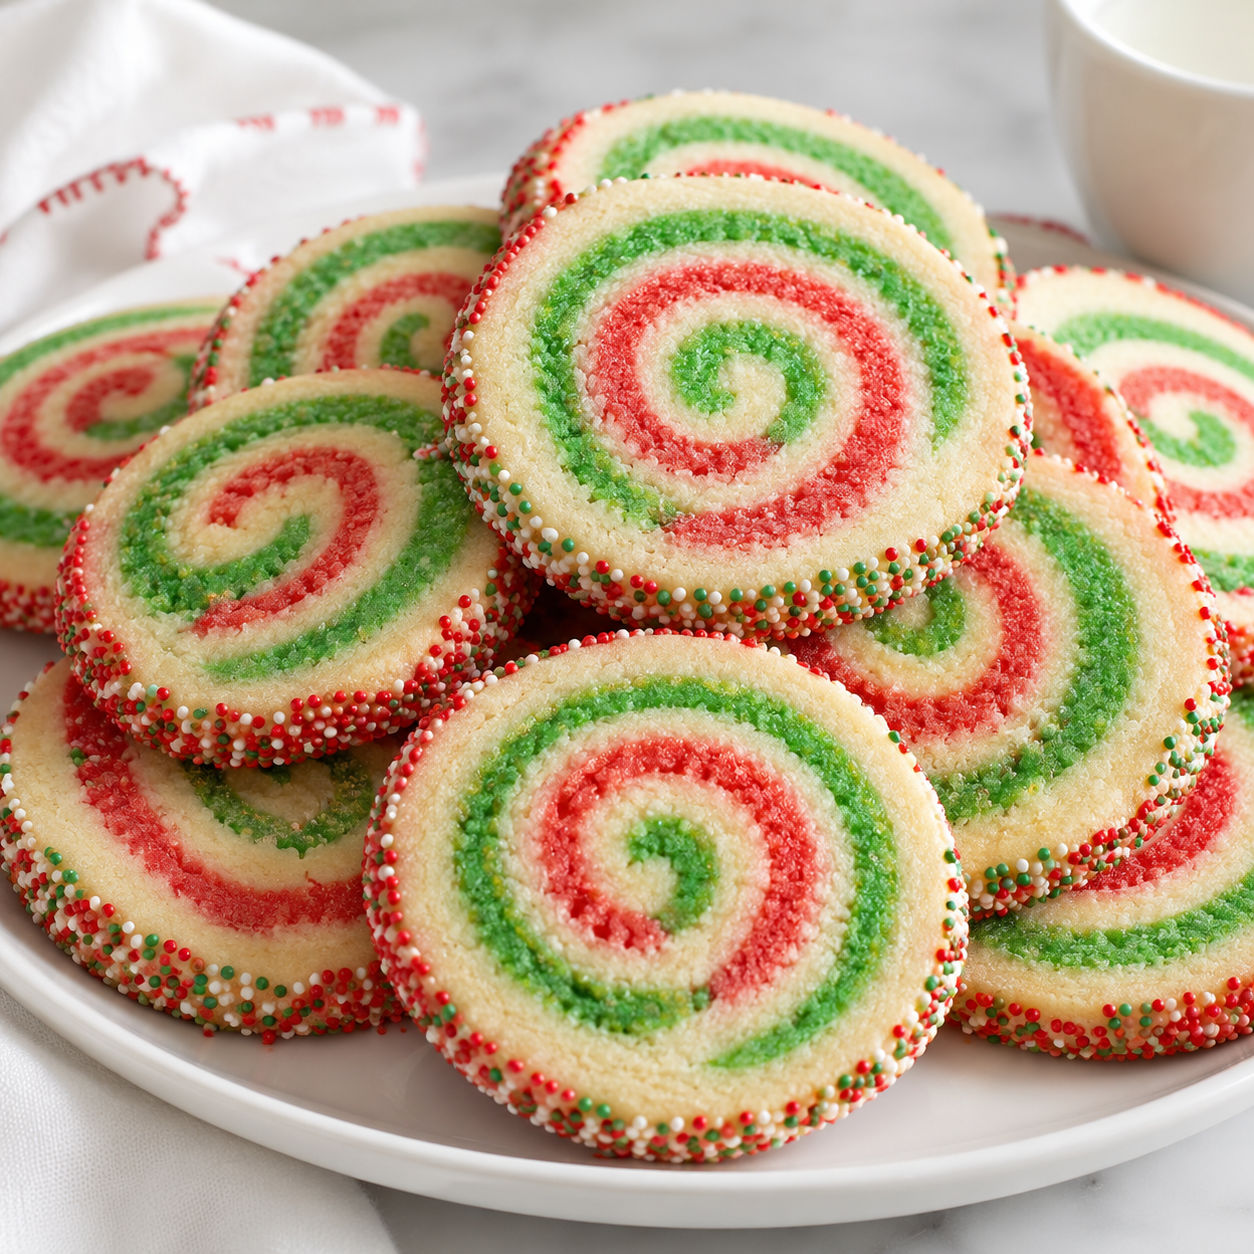
Festive Holiday Pinwheel Cookies look fancy on a cookie tray, but the dough is simple butter cookie dough with a little patience built in. The swirl comes from stacking thin sheets of red, green, and plain dough, then rolling them into a tight log.
I like these for December baking because the work can be split over two days. Make the dough one night, slice and bake the next, and the cookies come out neat, bright, and crisp at the edges.
Bright dough basics
The best pinwheels start with a sturdy sugar cookie dough, not a soft drop-cookie dough. Use room-temperature butter, fresh baking powder, and gel coloring for clean red and green stripes.
- All-purpose flour. Gives the dough enough structure to roll, stack, and slice without spreading too much.
- Baking powder. Adds a small lift while keeping the cookies flat enough to show the swirl.
- Unsalted butter. Brings rich flavor and a tender bite. Let it soften before mixing.
- Granulated sugar. Sweetens the dough and helps the edges bake lightly crisp.
- Egg. Binds the dough so it rolls cleanly and holds together after baking.
- Vanilla extract. Keeps the flavor warm and classic. Peppermint or almond can be added in small amounts.
- Gel food coloring. Creates bold holiday color without watering down the dough.
- Holiday sprinkles. Add crunch and a bright finished edge around each cookie.
Festive Holiday Pinwheel Cookies method
- Mix the dough. Whisk the dry ingredients, then cream the butter and sugar until light. Beat in the egg and vanilla, then mix in the flour just until no dry streaks remain.
- Color and chill. Divide the dough into three pieces. Leave one plain, tint one red, and tint one green. Shape each piece into a flat rectangle and chill until firm but rollable.
- Roll the layers. Roll each color between parchment into similar rectangles. Stack the layers, trim the uneven edge, and roll gently so they stick.
- Shape the log. Roll from the short side into a tight log, using the parchment to help guide the dough. Roll the outside in sprinkles, then wrap and chill until very firm.
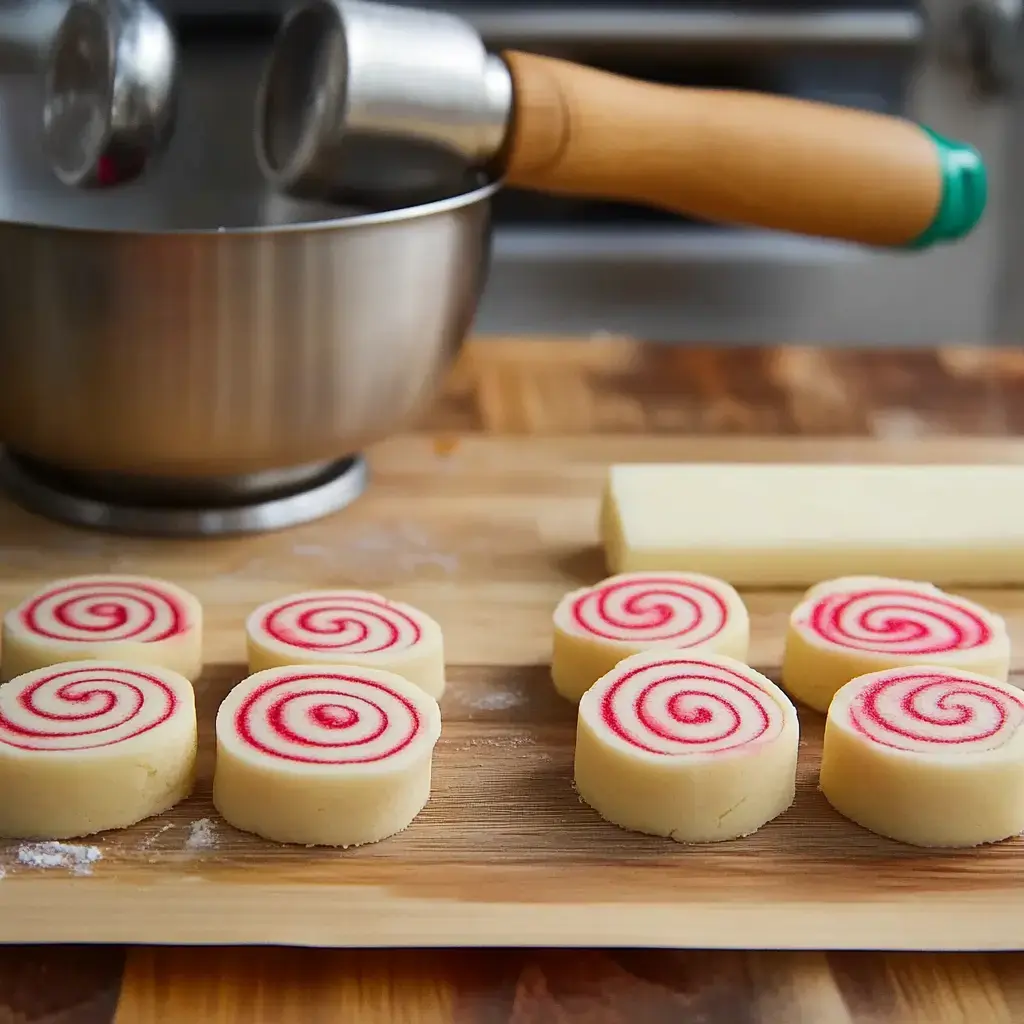
- Slice and bake. Cut the log into 1/4-inch slices and bake at 350°F until the cookies look set and the bottoms are barely golden.
Cold dough makes clean swirls
The shape depends more on temperature than skill. Soft dough smears as you roll it, and warm slices spread before the cookie sets. If a log feels squishy, put it back in the fridge for 20 minutes. If it is rock-hard from the freezer, let it sit until your knife can cut without cracking the edge. For more classic holiday baking, pair these with soft Christmas sugar cookies or candy cane cookies.
Rolling without gaps
Start with a straight trimmed edge because that first turn becomes the center of the spiral. Press the first inch firmly, then roll with even pressure. Do not yank the parchment. Peel it back slowly as the dough turns. If you see a gap forming, pause and nudge the log back together with your fingers. A small crack is fine. A loose center will show up in every slice.
Color that stays bright
Gel color is worth using here. It gives strong red and green without making the dough sticky. Start with a small amount and knead in more as needed. The color deepens slightly after chilling and baking, so stop just before it looks too intense. For measuring flour accurately, the King Arthur ingredient weight chart is a useful reference, especially if your dough often turns dry.
Flavor swaps for cookie boxes
Vanilla is the safest flavor for a mixed cookie tray, but you can change it without changing the method. Add 1/4 teaspoon almond extract for a bakery-style cookie. Use 1/4 to 1/2 teaspoon peppermint extract if you want a candy-cane feel. Orange zest also works nicely with the buttery dough. If your tray needs deeper flavors, add chewy gingerbread man cookies or buttery pecan snowball cookies beside these bright swirls.
Storing and gifting them
Let the cookies cool completely before packing. Warm cookies trap steam and lose their crisp edges. Store them airtight at room temperature for up to a week. For gifts, stack them in small bundles with parchment between layers so the sprinkle edges stay neat. Baked cookies freeze well too. Thaw them uncovered for about 20 minutes so condensation does not soften the surface.
Summary
These cookies are best when the dough stays cold and the slices go into the oven firm. That is what keeps the pinwheel shape sharp instead of soft and blurry.
FAQs
- How do I keep pinwheel cookies from losing their shape?
Keep the dough cold at every stage. Chill the rolled log until firm, slice with a sharp knife, and bake the cookies while the slices still feel cool and sturdy.
- Can I make the dough ahead of time?
Yes. Wrap the dough logs tightly and refrigerate them for up to 3 days. You can also freeze the logs for up to 1 month, then thaw in the fridge until sliceable.
- Can I use liquid food coloring instead of gel?
Gel food coloring works better because it gives strong color without adding much moisture. Liquid coloring can work, but you may need more of it and the dough can feel softer.
- Why did my pinwheel layers separate?
The dough sheets may have been too dry or too cold when stacked. Let them soften just enough to bend, then press gently with a rolling pin so the layers cling before you roll the log.
- Can I flavor the dough with peppermint or almond extract?
Yes. Replace 1/2 teaspoon of the vanilla with peppermint or almond extract. Go light with peppermint because it can take over the buttery cookie flavor quickly.
- How should I store baked pinwheel cookies?
Store cooled cookies in an airtight container at room temperature for up to 1 week. For longer storage, freeze them in layers with parchment between the cookies.
- What can I serve with holiday pinwheel cookies?
They pair well with cocoa, coffee, milk, or a mixed cookie box. Add a few soft cookies and a spiced cookie to balance the crisp buttery bite.
