 Pin it
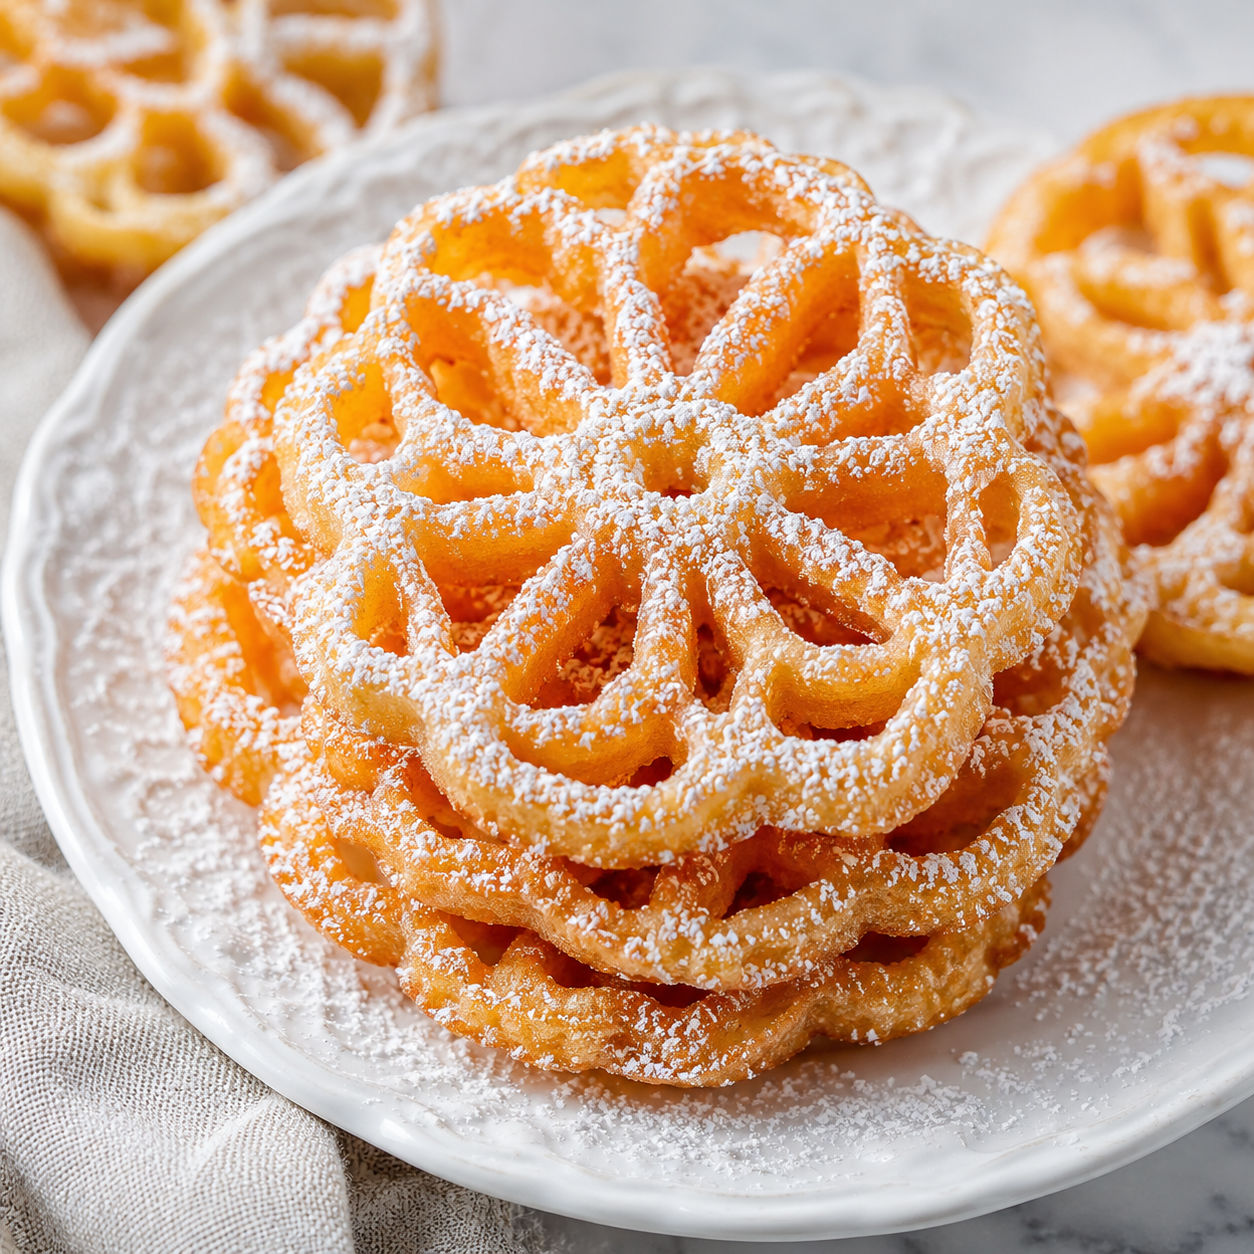
Every December I pull out my rosette iron and a shallow bowl of batter. The ritual is simple, but the result feels like magic. Thin, golden, and impossibly lacy, these traditional Scandinavian cookies crisp up in seconds and disappear just as fast.
Rosettes are not baked. They are deep-fried on a decorative metal iron, which gives them their signature flower shape. The texture is light and shattery, closer to a funnel cake than a sugar cookie, and a dusting of powdered sugar makes them look like edible snowflakes. They have deep roots in Norwegian and Swedish holiday baking, as noted in this overview of rosette cookies.
They do take a little practice. The iron must be hot, the batter cold, and the oil steady at 375 degrees. Once you find the rhythm, though, you will fry batch after batch without thinking.
What you need for the batter
This is a pantry batter. Eggs give it structure, milk thins it to the right coating consistency, and a little sugar adds just enough sweetness since most of the flavor comes from the fry and the final dusting. Sift the flour so the batter stays lump-free and clings to the iron evenly.
- Large eggs. They bind the batter and create the delicate shell that puffs away from the iron in the hot oil.
- Whole milk. Adds richness and thins the batter to a light pancake consistency. Cold milk helps keep the batter chilled.
- All-purpose flour. Sifted so it incorporates smoothly. Too much flour makes the rosettes heavy and thick instead of lacy.
- Granulated sugar. Just a tablespoon for a subtle sweetness. The real sweetness comes from the powdered sugar finish.
- Salt and vanilla. Salt sharpens the flavor and vanilla adds a soft floral note that works with the fry.
- Vegetable or canola oil. A neutral, high-heat oil for frying. You need about two inches in a deep, heavy pot.
- Powdered sugar. For dusting after the rosettes cool. Do not skip this step.
Frying the rosettes
- Whisk the batter. Beat the eggs, milk, sugar, salt, and vanilla until smooth. Sift in the flour and whisk just until combined. Do not overmix.
- Chill the batter. Cover and refrigerate for at least 30 minutes. Cold batter clings better to the hot iron and fries up crisper.
- Heat the oil and iron. Pour about two inches of oil into a deep, heavy pot and bring it to 375 degrees. Submerge the rosette iron in the oil for a full minute or two so it is screaming hot.
- Dip and coat. Lift the iron out, letting excess oil drip back. Dip it into the cold batter about seven-eighths of the way up the sides. Do not cover the top edge or the rosette will not release.
- Fry until golden. Submerge the coated iron in the oil. The batter will bubble and begin to set. In about 30 to 60 seconds the rosette will slip off the iron on its own or need a gentle nudge with a fork. Fry until it is a pale, crisp gold.
- Drain and cool. Lift the rosette out with a fork or skewer and drain it upside down on a paper towel-lined rack. Let it cool completely before sugaring.
Why the iron must be hot
The rosette iron must be fully heated in the oil before every single dip. A lukewarm iron lets the batter slide right off into the oil, and you end up with a blob instead of a flower. I leave mine in the hot oil for a full minute between each cookie. When the iron is hot enough, the batter sizzles on contact and sets into a thin, crisp shell that releases cleanly as it fries.
Keep the batter cold
Warm batter is the enemy of a thin, crisp rosette. As the iron heats the batter on contact, a cold batter firms up fast and stays thin. Warm batter oozes and creates thick, chewy edges. I set my bowl of batter in an ice bath if my kitchen is warm, and I never take it out of the fridge until the oil is ready.
Fixing common frying mistakes
If your rosettes are soft instead of crisp, the oil temperature is probably too low. Use a candy thermometer and hold it at 375 degrees. If the rosettes brown too fast or taste burnt, the oil is too hot or the iron is overheating. Drop the heat slightly and let the iron cool a few seconds longer between dips.
Should a rosette refuse to release from the iron, tap the top gently with a fork while it is still submerged. Do not yank it. If the shape looks blotchy, the iron was not hot enough or had too much oil on it when you dipped it in the batter.
Storing and serving
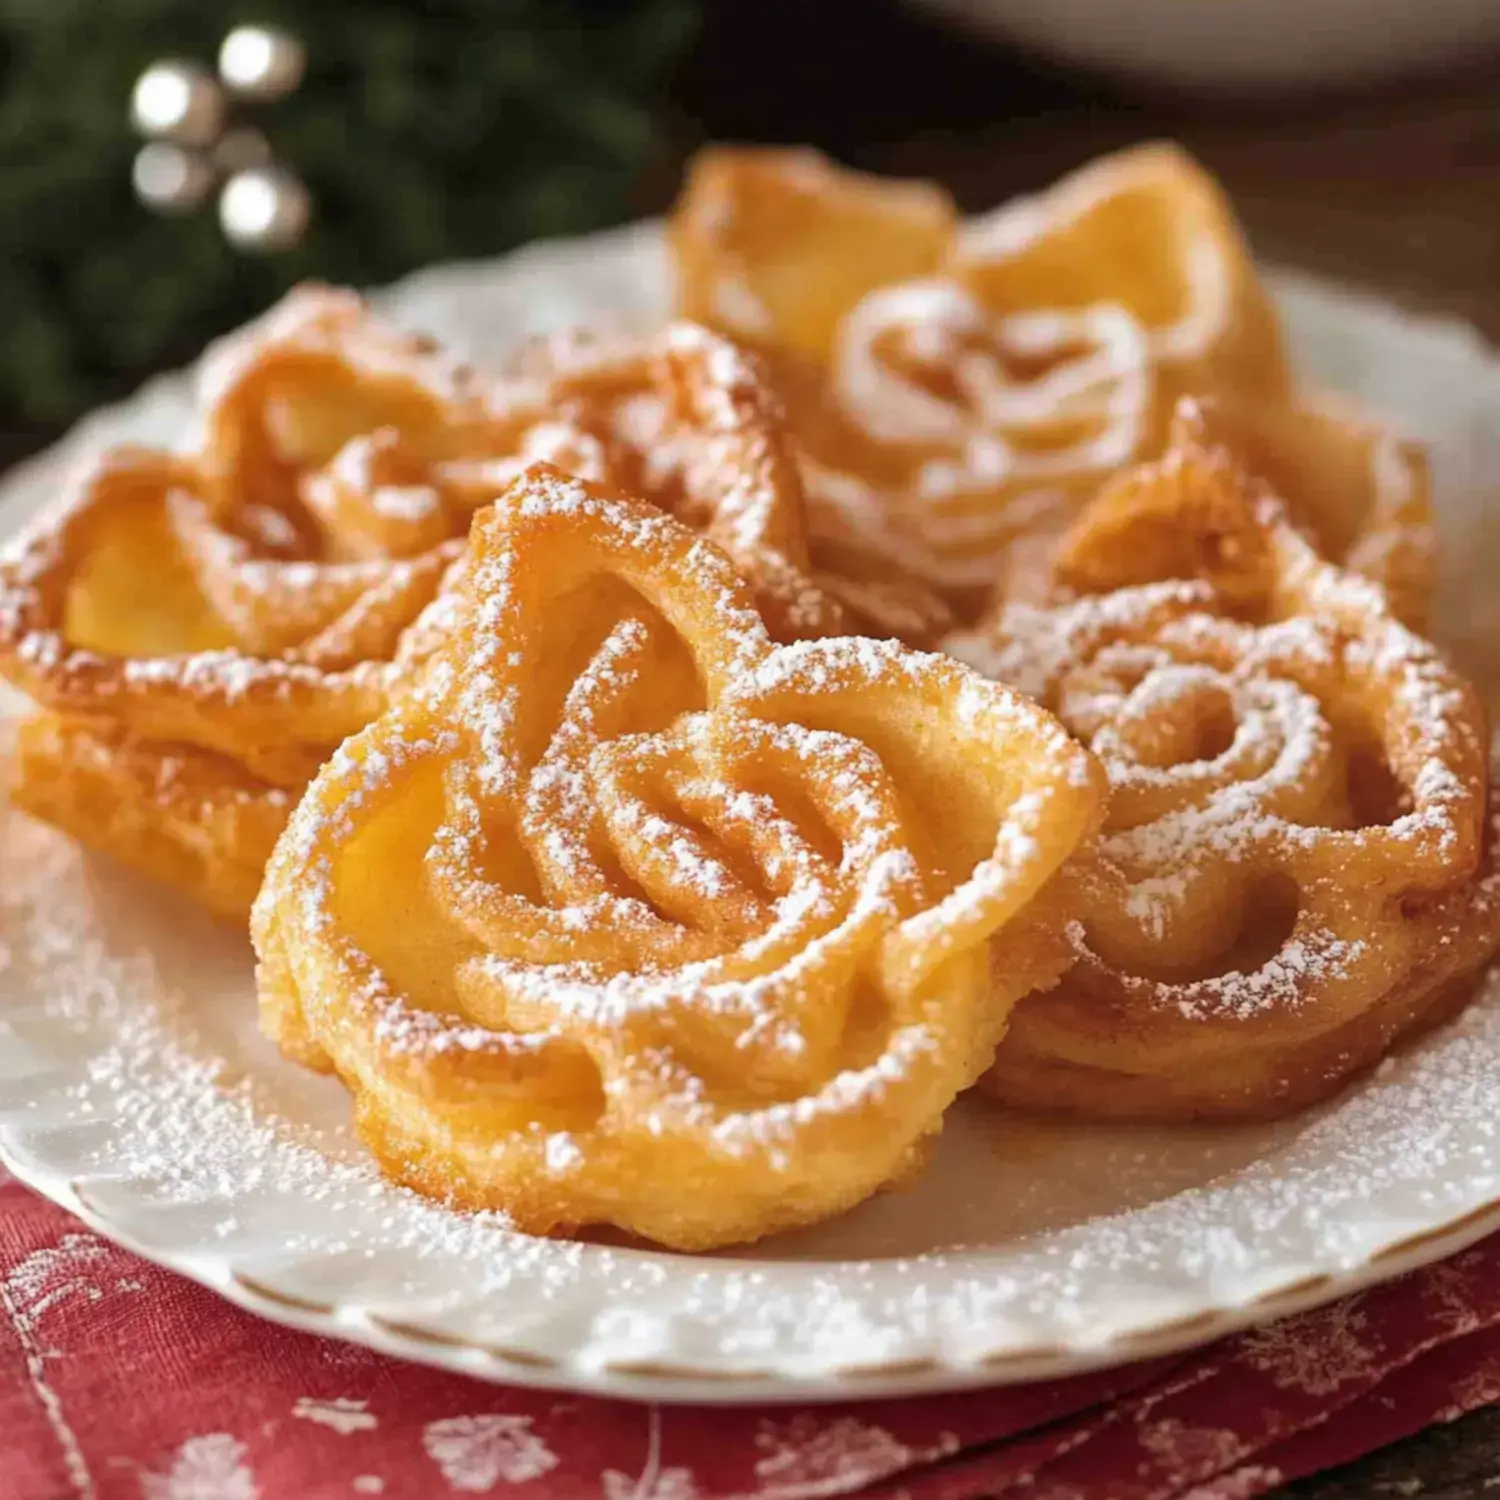
Rosettes are best the day they are made, but you can keep them in an airtight container at room temperature for up to three days. Wait until they are fully cool, then dust generously with powdered sugar through a fine sieve. If you sugar them while warm, the sugar melts into the surface and they lose that snowy look.
To freeze them, skip the powdered sugar and stack the plain rosettes between layers of wax paper in a rigid container. They keep for about two months. Thaw uncovered at room temperature and sugar them just before serving. For another crisp fried treat, try our traditional Italian rainbow cookie or layer them on a platter with classic magic cookie bars and sugar cookie bars with frosting.
Summary
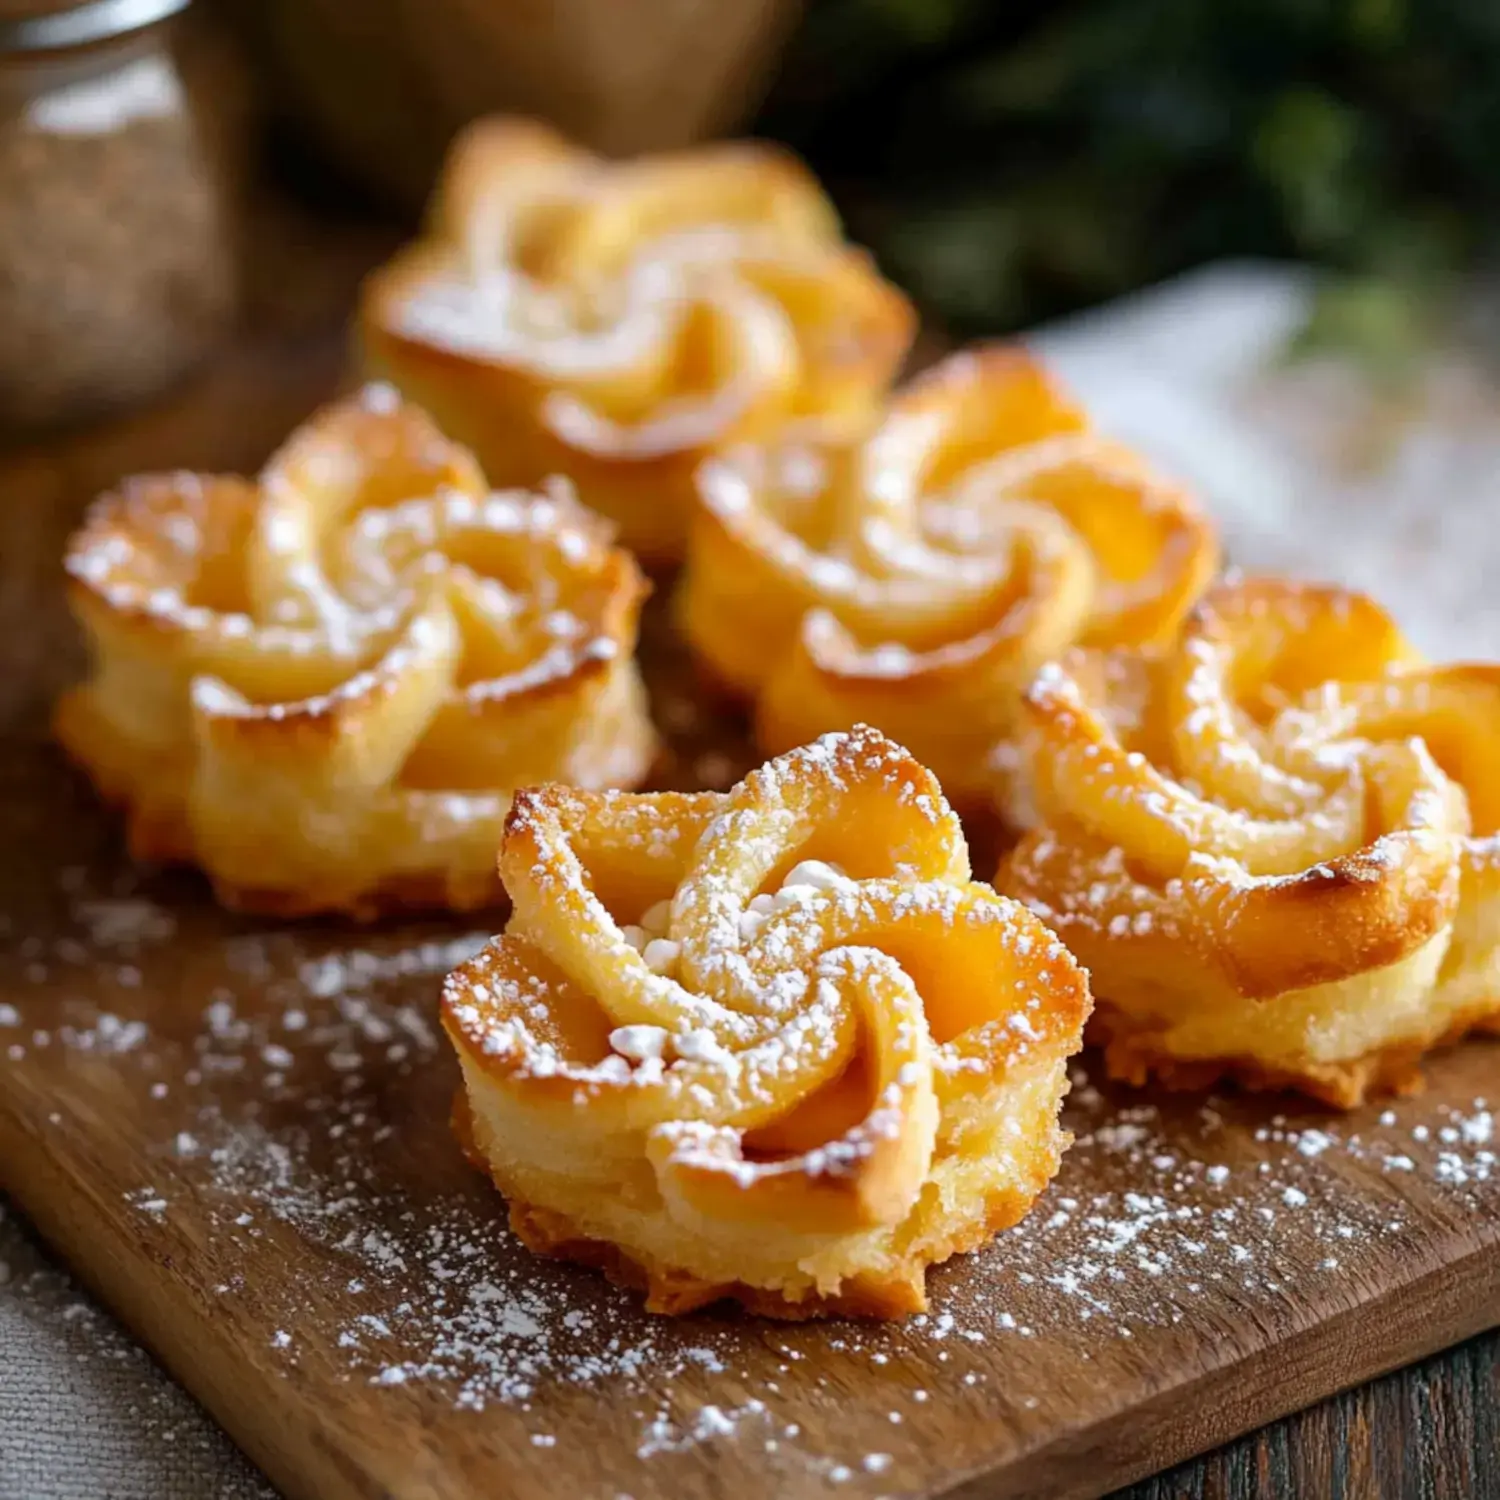
Traditional rosettes are delicate, crispy fried cookies made using a special iron. These festive treats are dusted with powdered sugar and perfect for holiday celebrations.
FAQs
- What is a rosette iron and where can I buy one?
A rosette iron is a metal mold attached to a long handle, used to shape thin batter into lacy flowers. You can find them at kitchen specialty stores or online, often with interchangeable shapes like stars and snowflakes.
- Can I make rosettes without a rosette iron?
No. The iron is essential for creating the thin, shaped shell. Without it, the batter fries into a flat fritter instead of a delicate flower.
- Why is my batter not sticking to the iron?
The iron is likely not hot enough. Submerge it in the 375-degree oil for a full minute before dipping it into the batter. Also make sure the batter is cold and the iron is not dripping with oil.
- What is the best oil for frying rosettes?
Use a neutral oil with a high smoke point, such as canola or vegetable oil. Some traditional recipes use a mix of lard and vegetable shortening for extra flavor.
- Can I freeze rosette cookies?
Yes. Freeze them plain without powdered sugar for up to two months. Thaw at room temperature and dust with sugar right before serving so they stay crisp and look fresh.
- Can I add spices or other flavors to the batter?
Yes. A pinch of cardamom or cinnamon is common in Scandinavian versions. Add it with the flour so it disperses evenly. Avoid heavy additions that weigh down the thin batter.
