 Pin it
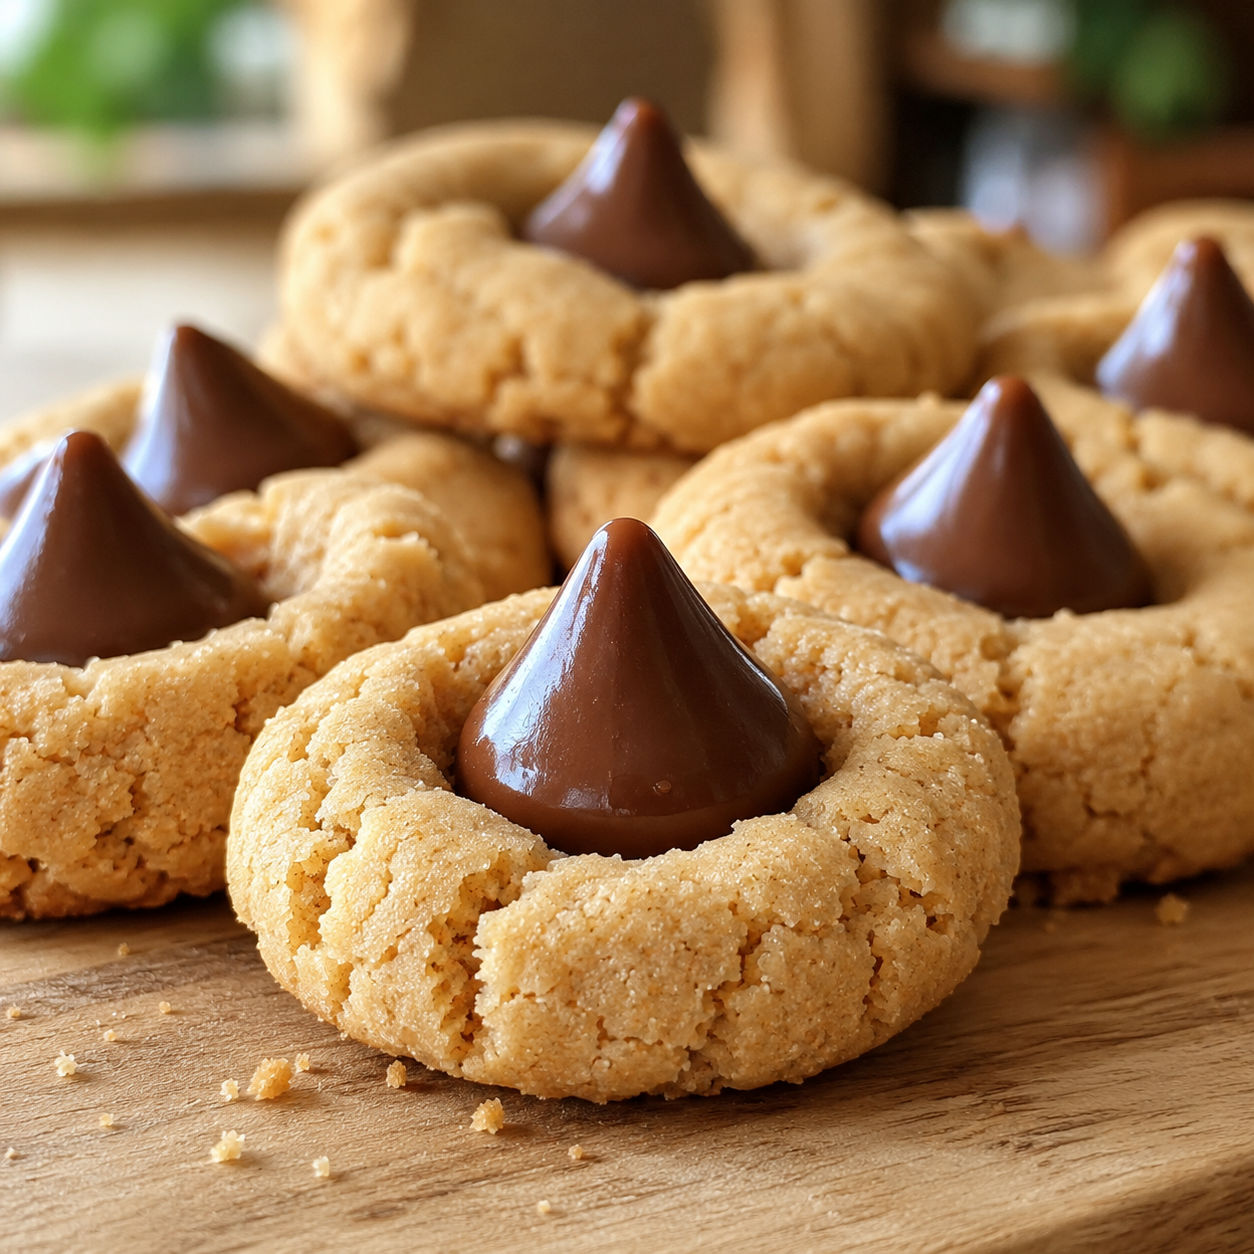
These are the cookies I bake when I need a reliable crowd-pleaser and I do not want to chill dough overnight. The peanut butter base bakes up soft and a little chewy, and the warm cookies get crowned with a chocolate kiss that settles in just enough to hold.
The whole batch comes together in under thirty minutes, which makes them ideal for holiday cookie trays or last-minute bake sales. My kids still fight over who gets to unwrap the kisses, and the kitchen smells like a peanut butter bakery for hours.
Peanut butter and pantry staples
Most of these ingredients are already in a standard baking cabinet. Use regular creamy peanut butter, not the natural kind that separates, so the dough stays consistent from the first scoop to the last.
- All-purpose flour. Provides the soft structure that holds the thumbprint shape without turning tough.
- Baking powder and salt. A little lift and seasoning keep the flavor balanced.
- Unsalted butter. Melted butter makes a tender, easy-to-mix dough.
- Light brown sugar and granulated sugar. Brown sugar adds moisture and a gentle caramel note, while white sugar helps the edges set.
- Creamy peanut butter. The dominant flavor. Choose a standard no-stir brand for the best texture.
- Egg and vanilla. Bind the dough and add background warmth.
- Hershey's Kisses. Pressed into the warm cookies so the base hugs the chocolate just enough.
From dough to chocolate crown
- Preheat and prep. Set the oven to 350°F and line baking sheets with parchment paper. Unwrap the kisses and keep them within reach.
- Blend the dry ingredients. Whisk the flour, baking powder, and salt in a bowl to distribute the leavener evenly.
- Mix the wet base. Stir melted butter, both sugars, and peanut butter until smooth, then beat in the egg and vanilla.
- Combine. Add the flour mixture and stir just until no streaks remain. Over-mixing can make the cookies dense.
- Shape the cookies. Roll scant tablespoonfuls of dough into balls and place them 1 inch apart. No need to flatten.
- Bake. Bake for 8 to 10 minutes until the tops look set and the edges are barely golden.
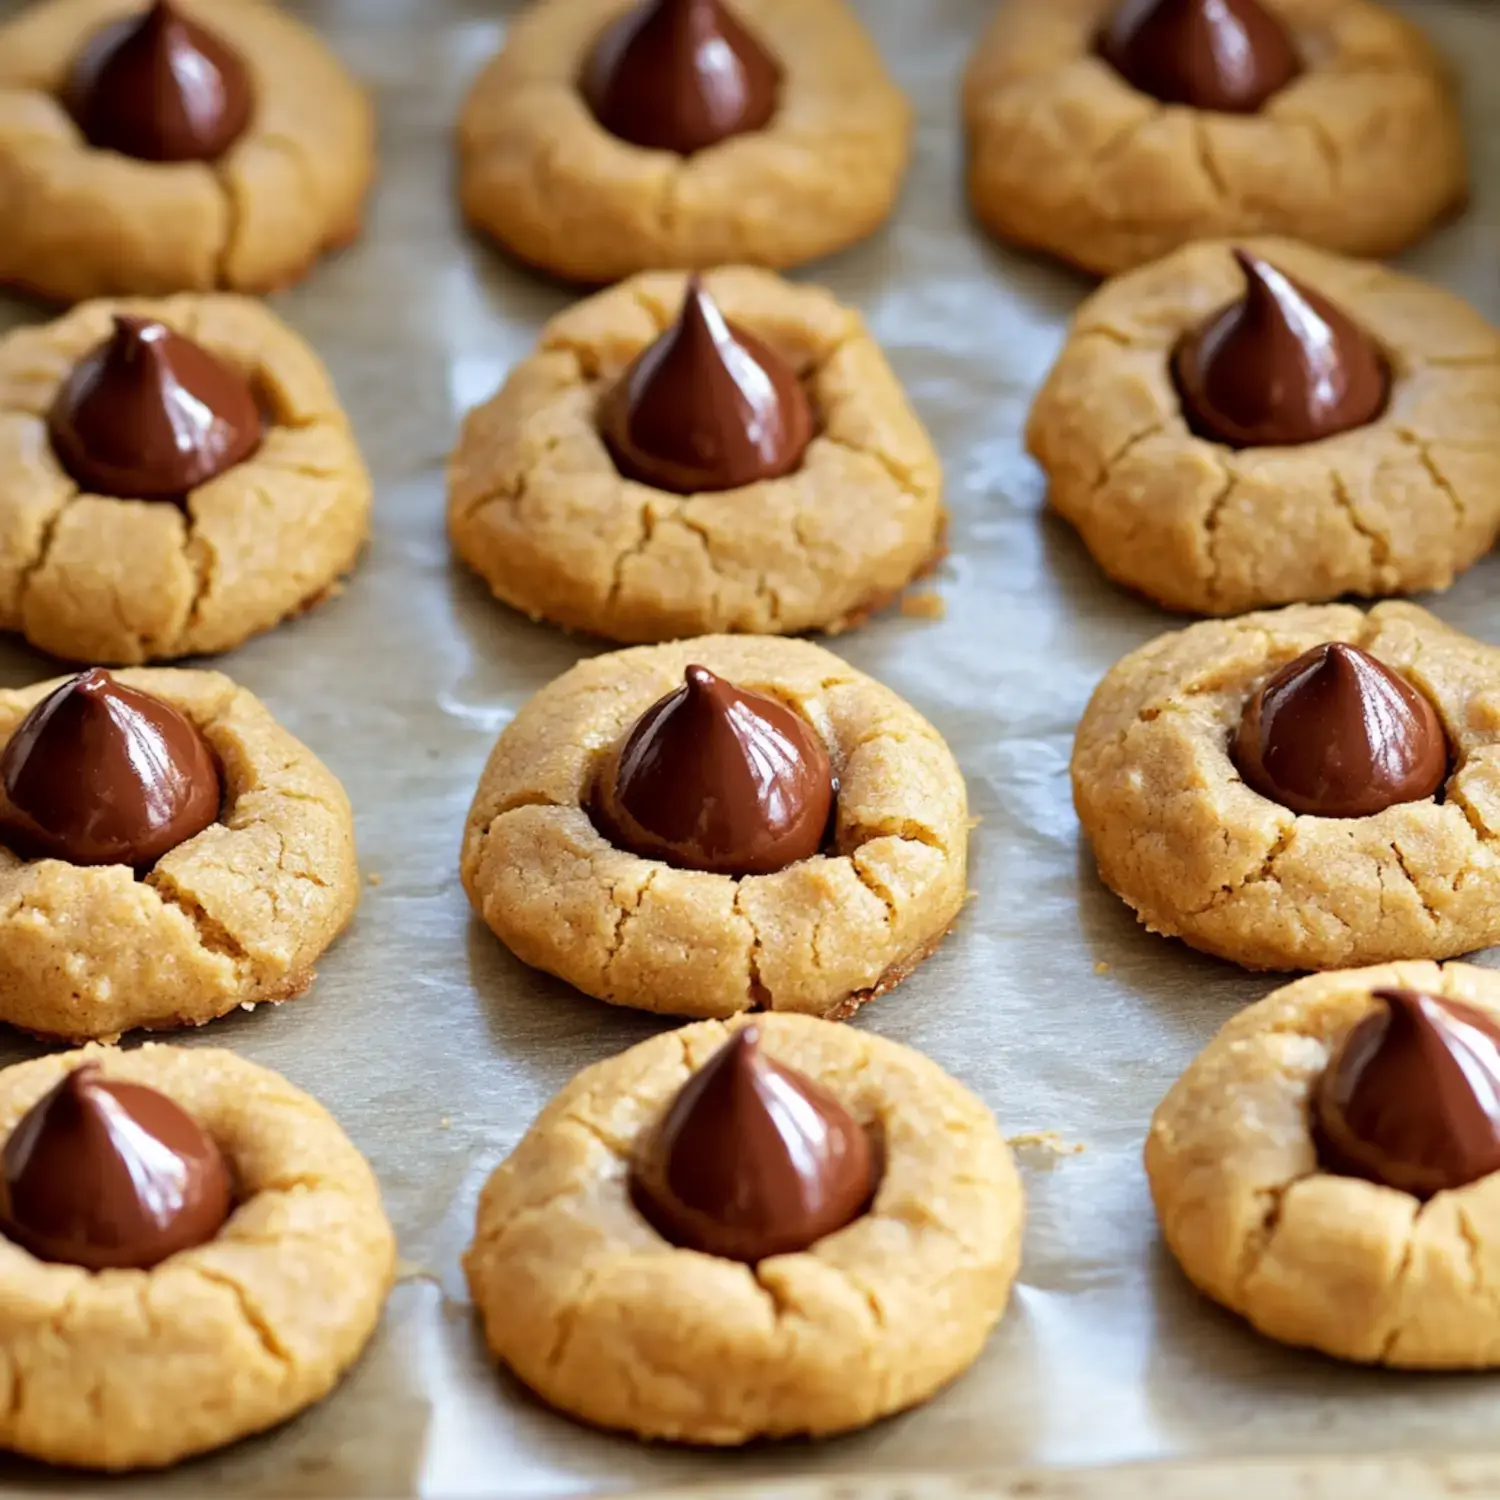
- Crown with chocolate. Immediately press a Hershey's Kiss into the center of each hot cookie. The warmth softens the bottom of the kiss so it adheres.
- Cool. Let the cookies sit on the pan for 5 minutes, then transfer to a wire rack.
Why timing the kiss matters
The difference between a pretty thumbprint cookie and a messy puddle comes down to about sixty seconds. As soon as the baking sheet leaves the oven, the cookies are still soft and hot enough to accept the chocolate. Press a Hershey's Kiss straight down into the center with gentle, even pressure. You want the base of the kiss to touch the cookie and sink in slightly, but you do not want to push all the way through.
If you wait even five minutes, the cookie surface firms up and the kiss will perch on top like a hat instead of nesting in. That makes it more likely to fall off when you stack or transport the cookies. On the other hand, pressing too hard while the cookie is screaming hot can flatten the chocolate tip or smudge the foil wrapper lines into the dough. I unwrap every kiss before the dough goes into the oven so I can move fast once the timer beeps.
If you enjoy the peanut butter and chocolate pairing, our Hershey Kiss Cookies use the same flavors with a slightly different shape.
Get the peanut butter right
Not all peanut butters bake the same. Natural styles with oil separation can make the dough greasy or crumbly, and the cookies may spread in odd patches. I reach for a conventional creamy peanut butter, the kind that does not need stirring. It keeps the fat and solids stable so the dough scoops cleanly and bakes evenly.
If you only have crunchy peanut butter, the cookies will still taste good but the texture is more crumbly and the tops may crack. Measure peanut butter by packing it into a dry measuring cup and leveling with a straight edge. A quick oil spray on the cup helps it slide right out. For another nostalgic twist, Nostalgic PB&J Thumbprint Cookies fill the center with jam instead of chocolate.
Keep the batch fresh longer
Stored in an airtight container at room temperature, these cookies stay soft for about four days. After that the peanut butter flavor is still good but the kiss can start to look cloudy from sugar bloom. I layer them between sheets of parchment so the chocolate does not smudge the next cookie.
You can freeze the baked cookies for up to two months. Let them cool completely first, then arrange in a rigid container with parchment between layers. Thaw at room temperature with the lid slightly ajar so condensation does not make the kisses spotty. If you are giving them away, slip a small piece of parchment on top of the kisses before closing the lid. It keeps the chocolate looking gift-worthy.
For a nutty alternative that also freezes well, our Buttery Pecan Snowball Cookies are a holiday favorite.
Simple variations to try
The base dough is a blank canvas. Swap the Hershey's Kiss for a dark chocolate kiss, a hug, or a mini peanut butter cup pressed in the same way. You can also roll the dough balls in granulated sugar before baking for a tiny crunch and a slightly sparkly finish.
For a salted vibe, sprinkle a few flaky salt grains on top of the kiss right after pressing it in. The heat will help the salt adhere. If you want to dress them up for a party, drizzle a thin line of melted chocolate across the cooled cookies and let it set before stacking. Just remember that any add-on needs to set firm or it will stick to the container.
If you prefer a fruit center, our Thumbprint Hershey Kiss Cookies post includes ideas for jam-filled thumbprints too.
Mistakes that flatten the cookies
The most frequent problem is cookies that spread into pancakes. That usually means the butter was too warm when it hit the flour or the dough sat out too long. Melt the butter and let it cool for five minutes before mixing, and work quickly once the dough is ready.
Another issue is cracked or dry cookies. Over-measuring flour is the usual culprit. Spoon the flour into the measuring cup and level it with a knife instead of scooping straight from the bag. If the dough feels stiff, add a teaspoon of milk to loosen it. Bake until the tops look set but not brown. These cookies should stay pale with just a hint of gold at the edges.
This recipe contains common allergens including peanuts, milk, wheat, and eggs. Check labels and consult the FDA food allergen guidance if you are baking for anyone with allergies.

FAQs
- Can I use natural peanut butter?
It is not recommended. Natural peanut butter separates and can make the dough greasy or crumbly. A conventional no-stir creamy peanut butter gives the most consistent dough and the softest baked texture.
- Why do I press the kiss in after baking instead of before?
Pressing the kiss into a hot cookie right out of the oven softens just the bottom of the chocolate so it adheres without collapsing the whole piece. Baking the kiss would melt it into a puddle.
- How do I keep the Hershey's Kiss from melting completely?
Use a gentle, one-second press straight down. The cookie heat is enough to soften the base, but a light touch keeps the pointed tip intact. Let the cookies cool on the pan for five minutes before moving them.
- Can I freeze the dough or baked cookies?
Yes. Freeze baked cookies in an airtight container with parchment between layers for up to two months. You can also freeze portioned dough balls on a tray, then transfer to a bag and bake from frozen, adding a minute or two.
- Can I halve or double the recipe?
Both work fine. Halve it for a smaller tray, or double it for a big cookie swap. Just mix in a larger bowl and bake in batches so the pans are not overcrowded.
- What can I use instead of Hershey's Kisses?
Dark chocolate kisses, hugs, or mini peanut butter cups all press into the warm cookies the same way. You can also fill the thumbprint with a small spoonful of thick jam or ganache after baking.
