 Pin it
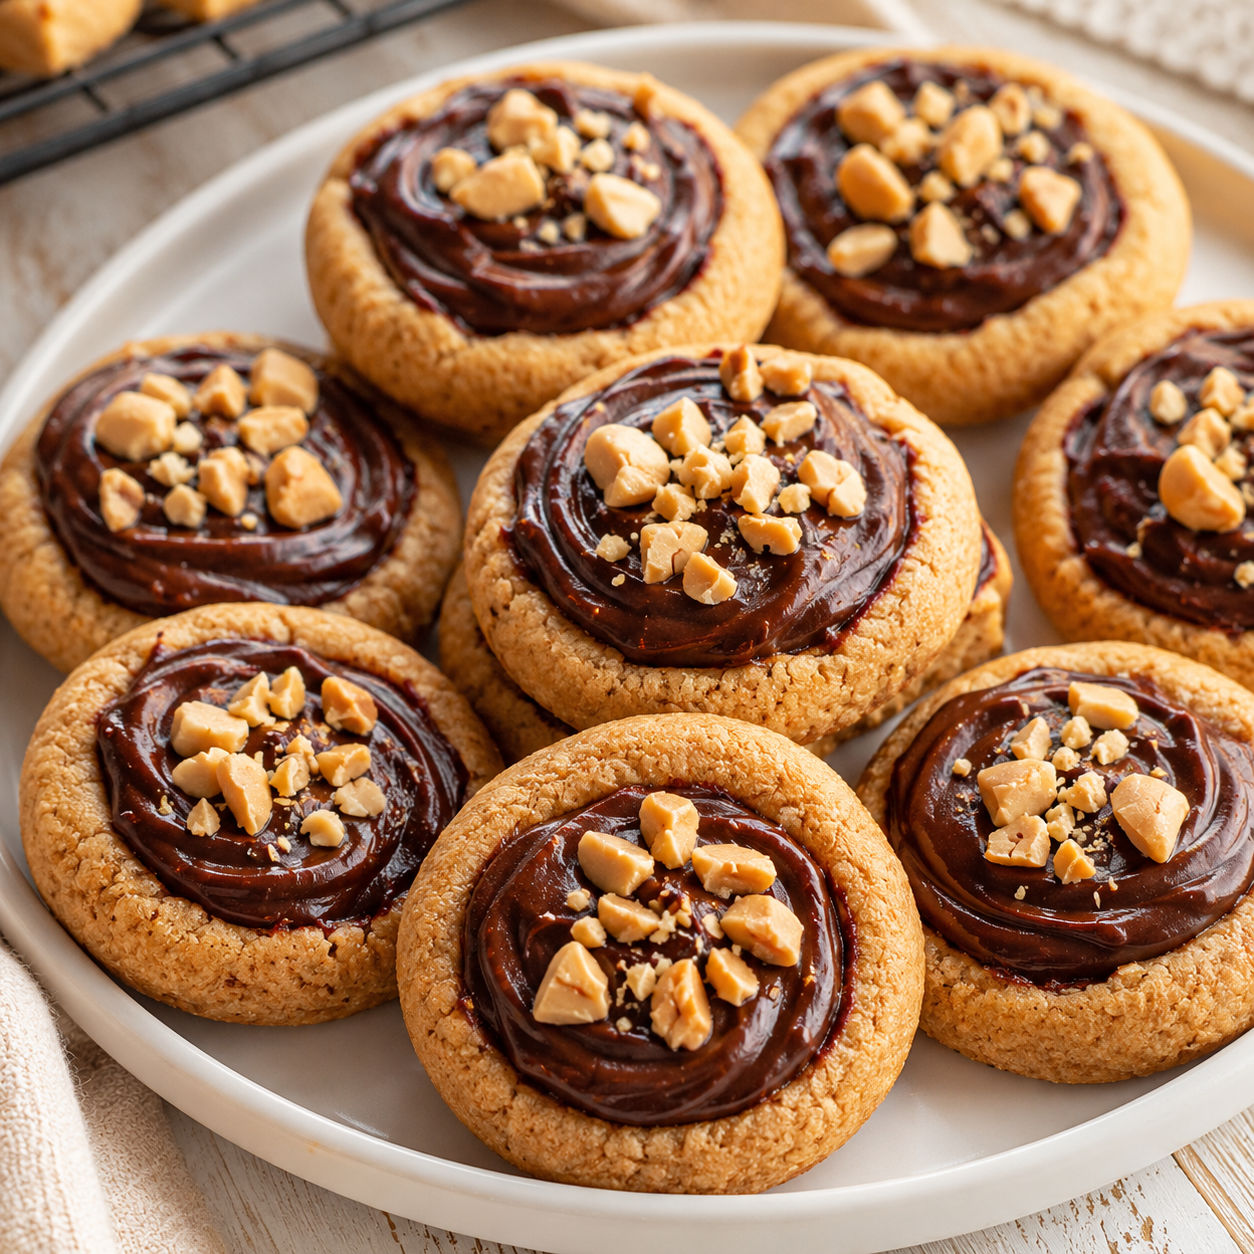
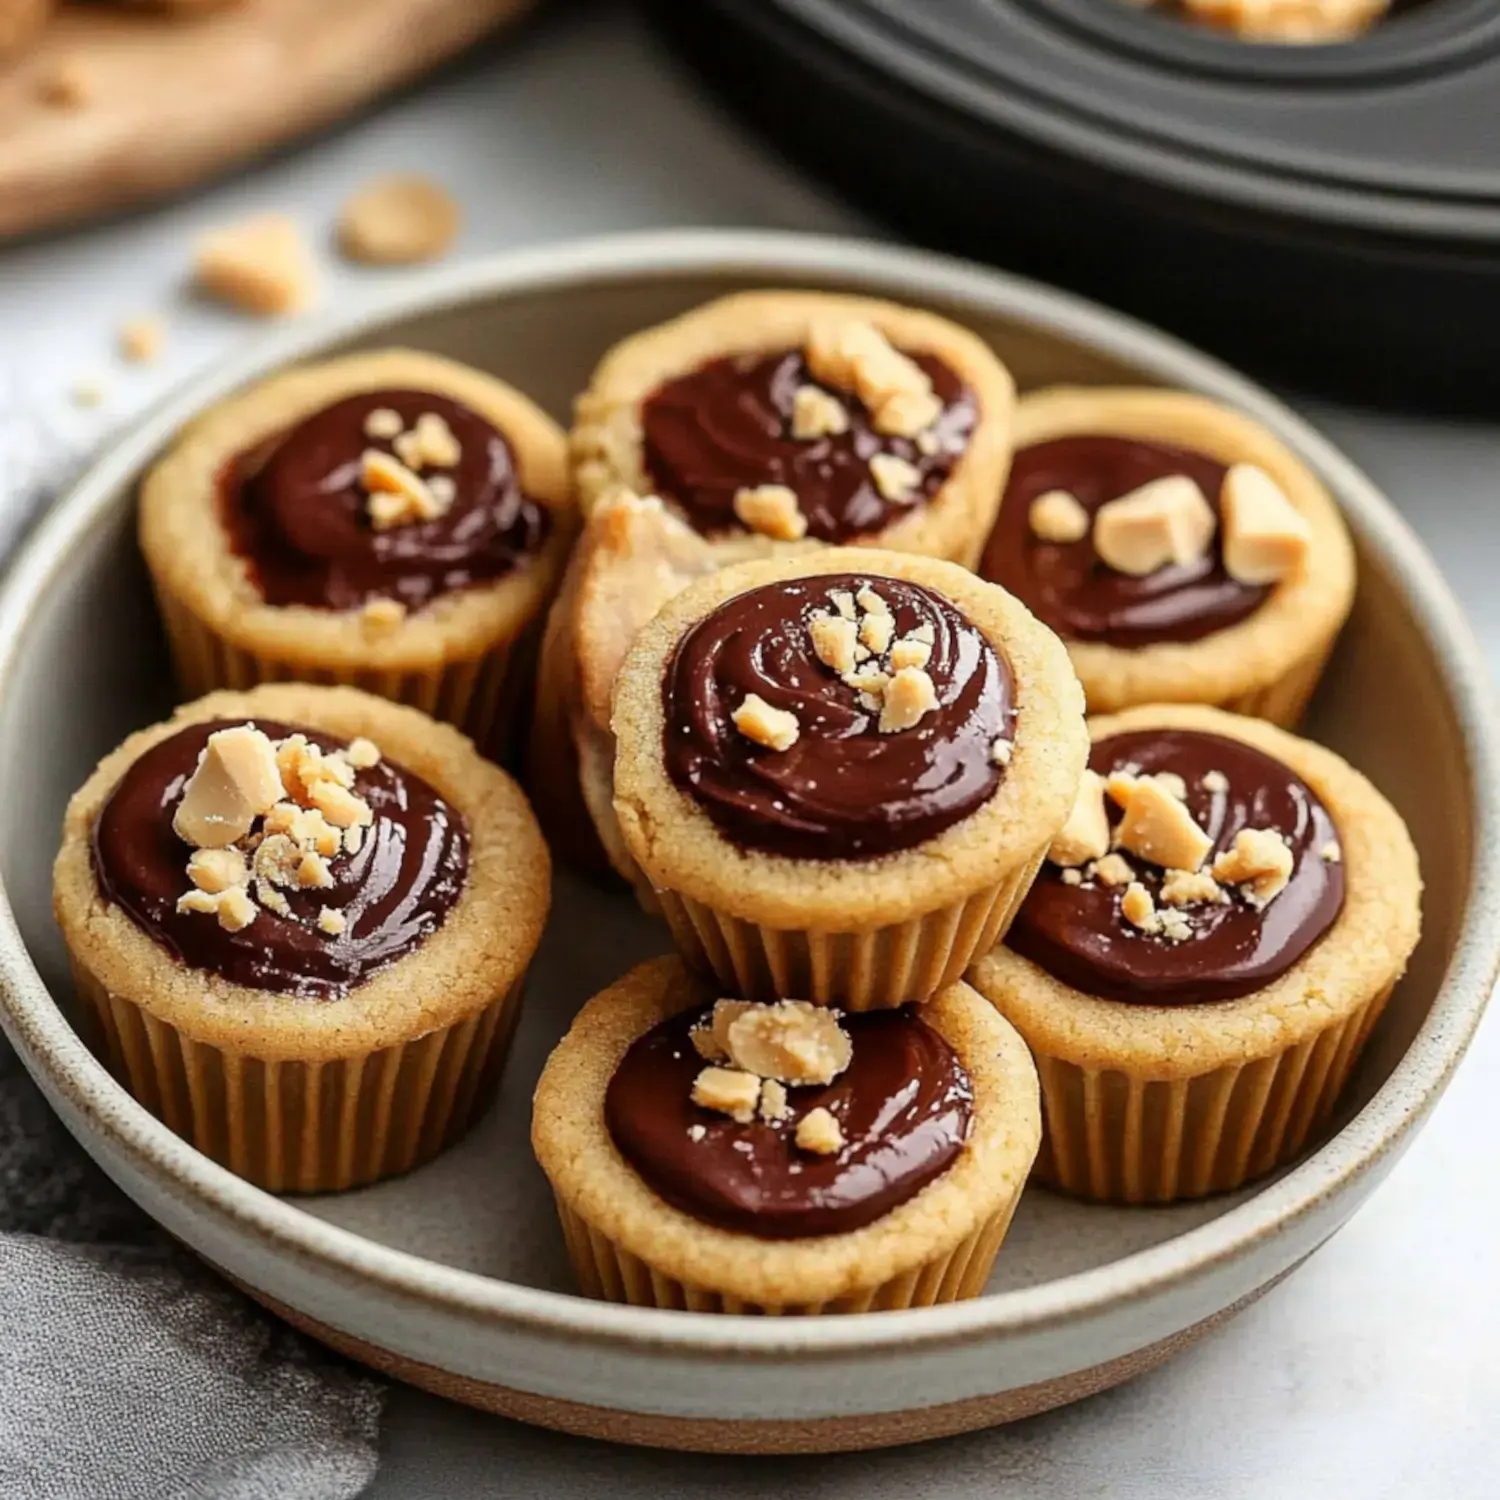
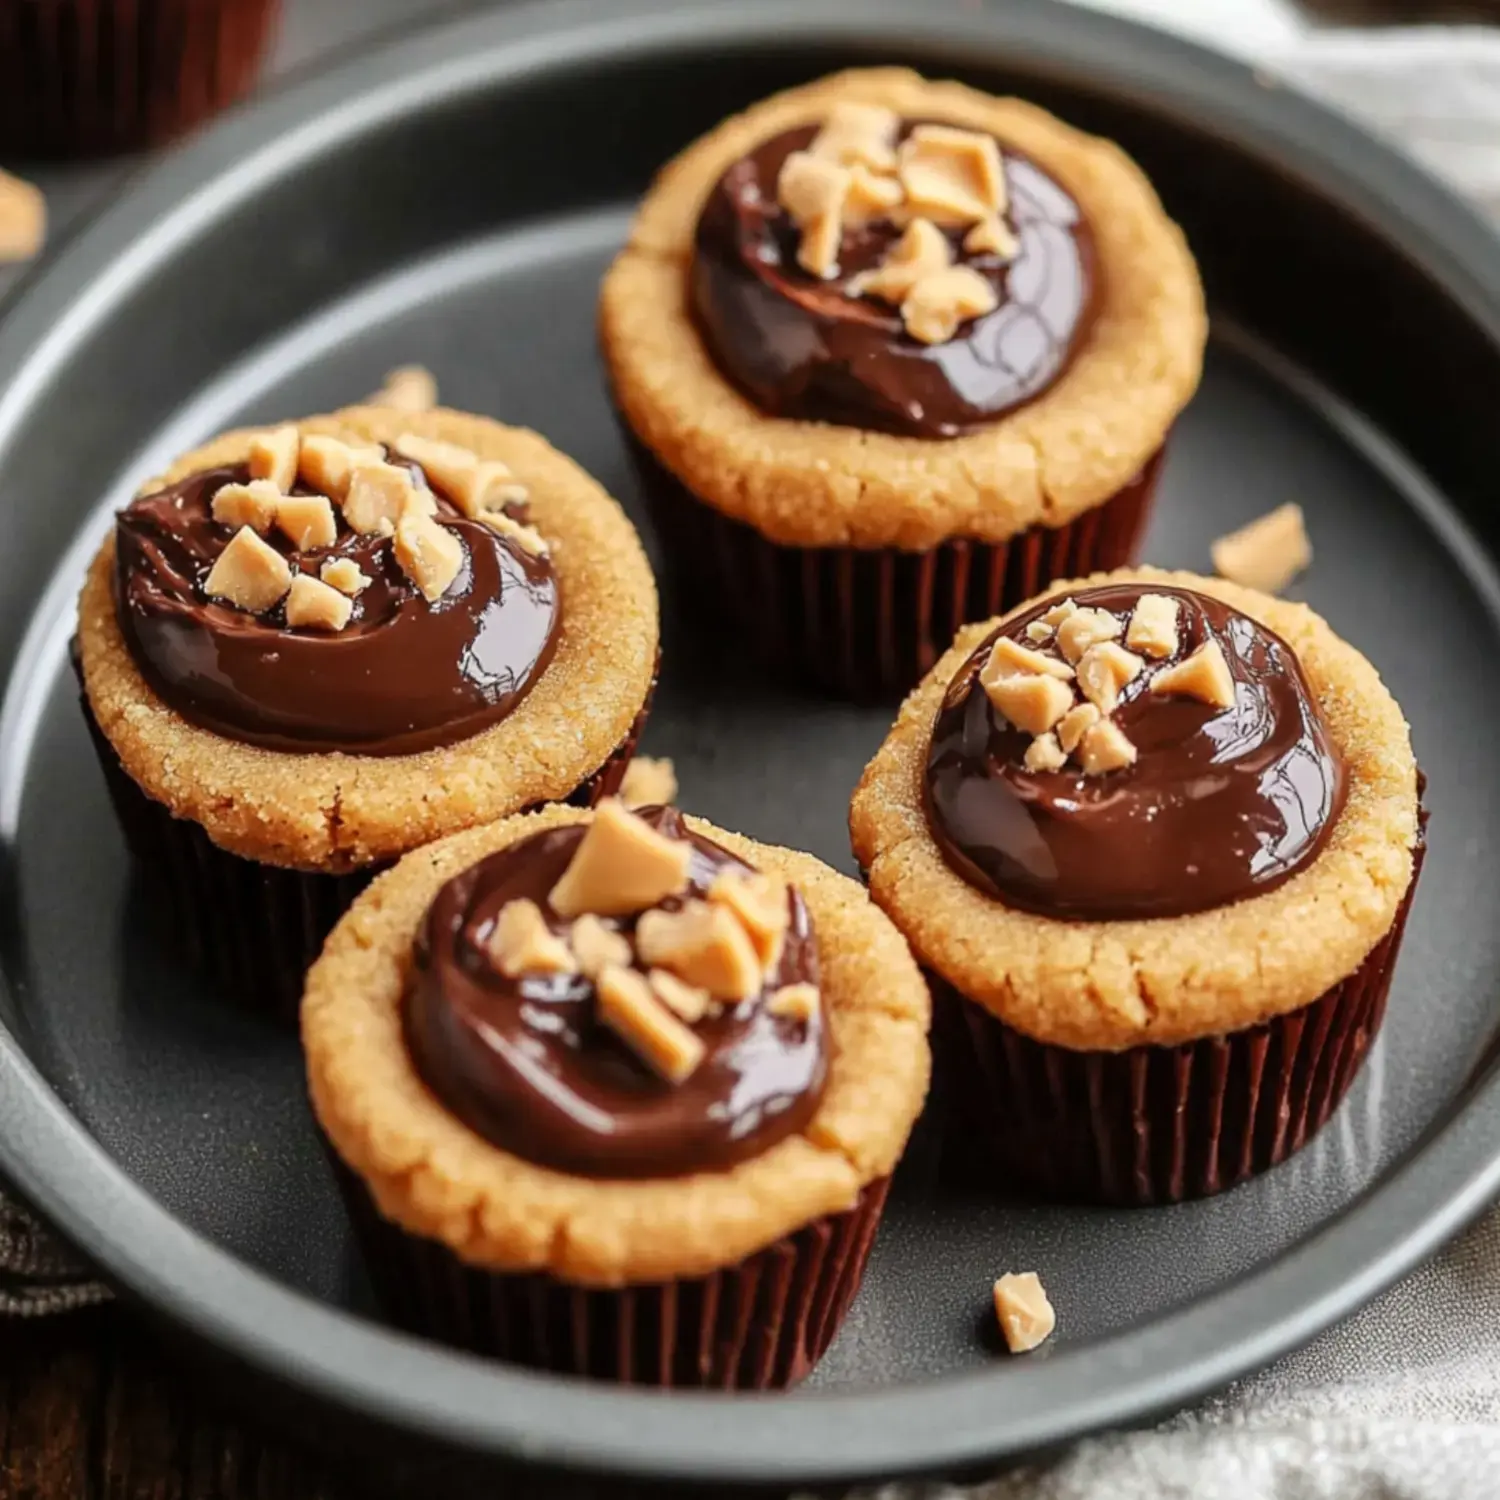
Peanut Butter Fudge Puddles are what happens when a peanut butter cookie turns into a tiny chocolate tart. The cookie shell is soft in the middle, lightly crisp at the edge, and sturdy enough to hold a spoonful of glossy fudge.
I like these for cookie trays because they look fussier than they are. A mini muffin pan does most of the shaping, and the filling melts together in a few minutes while the cookie cups cool.
The peanut butter lineup
Use creamy peanut butter with a smooth, spreadable texture for the neatest cookie cups. The chocolate filling tastes best with semi-sweet chocolate because it balances the sweet cookie shell.
- Creamy peanut butter. Gives the cookie cups their main flavor and helps keep the crumb soft.
- Unsalted butter. Creams with the sugars for a tender cookie shell with lightly crisp edges.
- Brown sugar. Adds moisture and a warmer flavor than white sugar alone.
- Granulated sugar. Helps the cookie cups set and gives the edges a little snap.
- Egg. Binds the dough so the cups hold their shape after baking.
- All-purpose flour. Gives structure without making the cookies dry.
- Baking soda. Adds just enough lift for a soft peanut butter cookie texture.
- Semi-sweet chocolate. Melts into the fudge center and keeps the dessert from tasting too sugary.
- Sweetened condensed milk. Turns the melted chocolate into a smooth, sliceable fudge filling.
- Vanilla and salt. Round out the peanut butter and chocolate flavors.
Shape, bake, and fill
- Make the dough. Cream the butter, peanut butter, brown sugar, and granulated sugar until smooth, then beat in the egg and vanilla. Mix in the flour, baking soda, and salt just until the dough comes together.
- Chill before shaping. Refrigerate the dough for at least 30 minutes. Cold dough is easier to roll and makes cleaner cups in the mini muffin pan.
- Press the cups. Scoop tablespoon-size portions into a greased mini muffin pan. Press a dent into each ball and nudge the dough slightly up the sides.
- Bake until set. Bake at 325 F until the edges look lightly golden and the centers are puffed, about 13-15 minutes. Do not pull them while they look wet.
- Deepen the wells. While the cups are warm, press the centers again with a rounded teaspoon. Cool for 10 minutes in the pan, then move them to a rack.
- Melt the filling. Warm the chocolate, condensed milk, and butter together until glossy. Stir in vanilla and a pinch of salt.
- Fill and finish. Spoon or pipe the fudge into the cooled cups. Add chopped peanuts if you like a little crunch, then let the filling set before storing.
The pan does the shaping
A mini muffin pan is the quiet trick here. It keeps each cookie thick enough to stay tender and gives you a built-in wall for the fudge. Grease the pan well, then press the dough before baking and once more right after it comes out. That second press matters because the centers puff as they bake.
If you like classic peanut butter blossoms, this recipe has the same peanut butter and chocolate comfort, but the chocolate stays soft instead of firm. The finished cups should lift out with a gentle twist or a small nudge from a butter knife.
Keep the centers tender
The main mistake is overworking the dough after the flour goes in. Mix only until you no longer see dry streaks. Peanut butter dough can turn dense if it is beaten too long at that stage. Accurate flour helps too. If you scoop flour straight from the bag, you can pack in too much and end up with dry cups. For weight conversions, the King Arthur ingredient weight chart is a useful baking reference.
Chilling is also worth the wait. Warm dough sticks to your fingers, smears in the pan, and bakes into shallower wells. Thirty minutes is enough for a small batch like this.
Fudge that stays spoon-soft
The filling should be glossy, thick, and easy to spoon. Melt it gently and stop heating as soon as the chocolate is smooth. High heat can make chocolate look dull or grainy. If it thickens before you finish filling the cups, warm it for a few seconds and stir until loose again.
For a slightly more bakery-style version, pipe the filling from a small zip-top bag with the corner snipped. It is faster, cleaner, and gives each cup a rounded top. A similar soft-center idea shows up in the Sally's Baking peanut butter fudge puddles version, which is helpful if you want to compare textures.
Swaps for cookie trays
Chopped roasted peanuts are my favorite topping because they make the little cups look finished and cut some sweetness. Mini chocolate chips, flaky salt, or tiny holiday sprinkles also work. If you want a richer peanut butter spread for the table, pair these with easy peanut butter fudge. For a brownie-style tray, add fudgy peanut butter brownies beside them.
You can swap the semi-sweet chocolate for bittersweet chocolate if you prefer a deeper flavor. Milk chocolate works too, but it makes a sweeter, softer filling. Almond butter can replace peanut butter in the dough, though the cups may be a little more fragile.
Storing them without smearing
Once the filling is set, store the cups in a single layer or with parchment between layers. Because the filling contains dairy, I keep them in the refrigerator for longer storage. The USDA refrigeration guide recommends keeping cold food at 40 F or below, and that is a good habit for filled desserts too. You can read their guidance here: USDA refrigeration basics.
For serving, pull them out of the fridge a little early. The cookie tastes more peanut-buttery and the fudge center softens after a short rest at room temperature.
Summary
Create mini peanut butter cookie cups in a muffin tin, then fill them with a rich chocolate-mascarpone cream for an indulgent two-bite dessert.
FAQs
- Can I make Peanut Butter Fudge Puddles ahead of time?
Yes. Bake and fill them up to 2 days ahead, then store them covered in the refrigerator. Let them sit at room temperature for 15-20 minutes before serving so the fudge center softens slightly.
- Can I use natural peanut butter?
Processed creamy peanut butter gives the most reliable cookie cup because it has a stable texture. Natural peanut butter can work if it is very well stirred, but the cups may spread less evenly or crumble more.
- Why did my cookie cups puff up?
That is normal. Peanut butter cookie dough rises in the oven, so press the centers again with a rounded teaspoon while the cups are still warm. Work gently so the sides stay intact.
- Can I use milk chocolate instead of semi-sweet chocolate?
You can, but the filling will taste sweeter and softer. If using milk chocolate, add a pinch of salt and chill the filled cups longer before stacking or packing them.
- How do I keep the cups from sticking?
Grease the mini muffin pan well, especially the upper edges of each well. Let the cups cool for about 10 minutes before lifting them out with the tip of a thin butter knife.
- Can I freeze Peanut Butter Fudge Puddles?
Yes. Freeze them in a single layer until firm, then pack between sheets of parchment. Thaw in the refrigerator overnight and bring to room temperature before serving.
