 Pin it
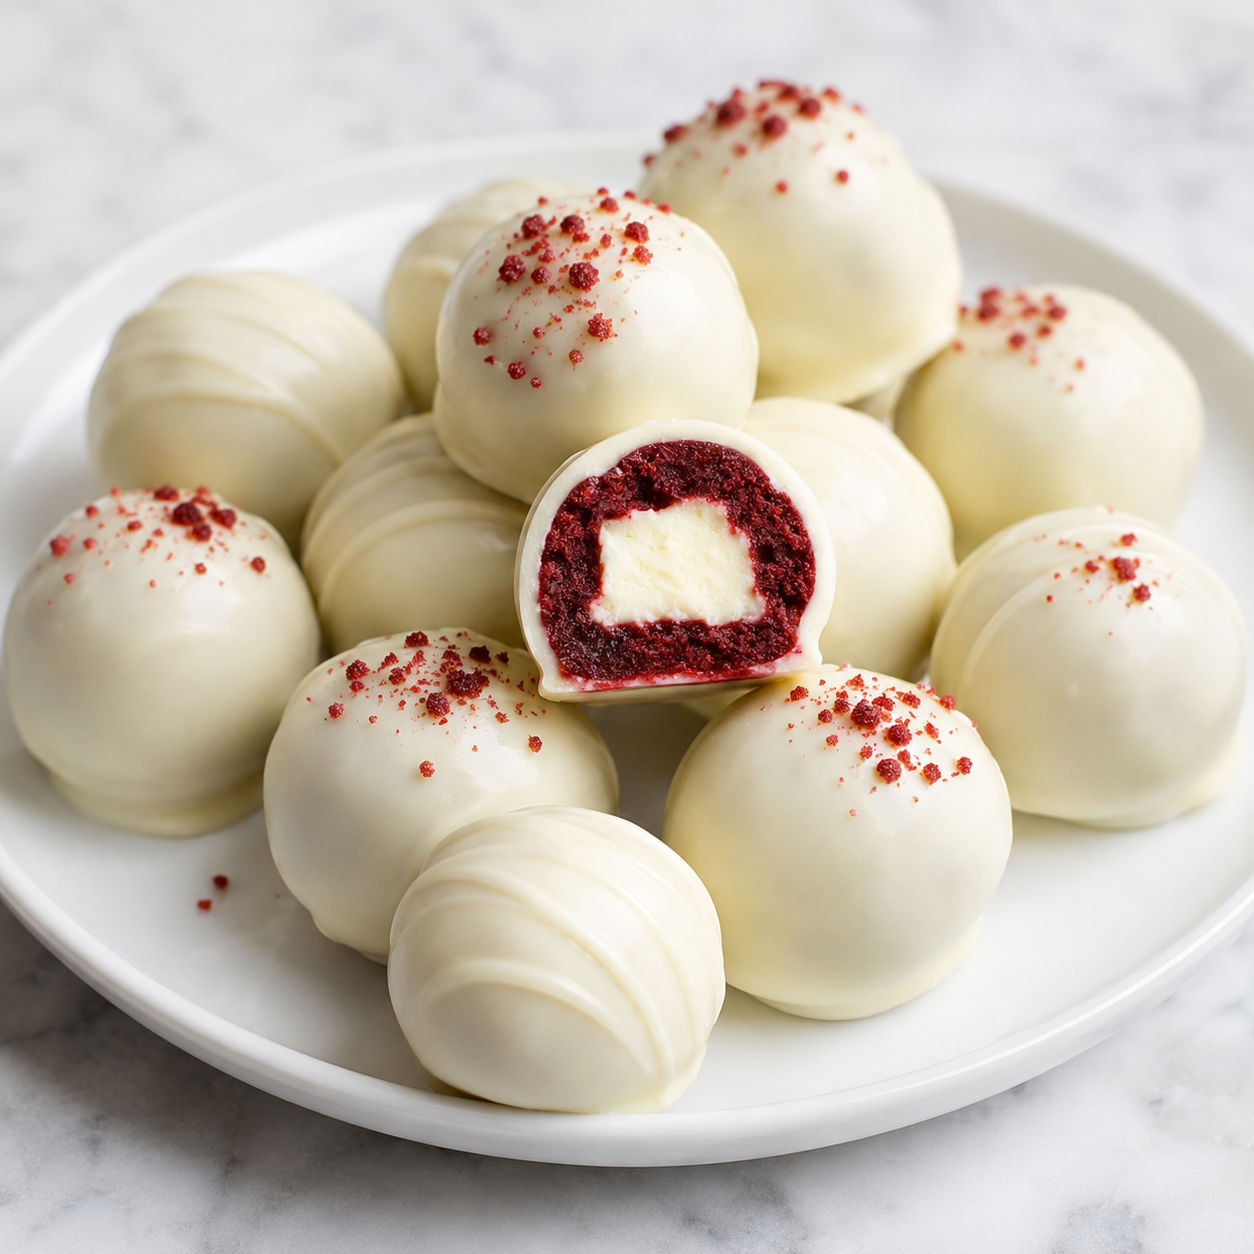
These bites are the answer when you want something festive and sweet without turning on the oven. The combination of tangy cream cheese and red velvet cake mix gives you that classic cheesecake texture with a hint of cocoa, all wrapped in a crisp white chocolate shell.
I make a batch whenever I need a portable dessert for parties or holiday cookie trays. They hold up well, travel easily, and disappear faster than anything else on the table.
The three-ingredient base
You only need a box of red velvet cake mix, a block of cream cheese, and white chocolate candy coating. Quality matters here because there are no extras to hide behind. Use full-fat cream cheese and a cake mix you actually like the flavor of.
- Red velvet cake mix. This forms the body of the bite and provides the color, cocoa notes, and sweetness all at once.
- Cream cheese. Softened full-fat cream cheese creates the tangy cheesecake center and binds the dough together.
- White chocolate candy melts. These melt smoothly into a thin shell that sets firm at room temperature without needing to temper real chocolate.
- Shortening or coconut oil. Just a teaspoon thins the coating so it drapes evenly instead of clumping.
Roll and dip method
- Heat treat the mix. Pour the dry cake mix into a microwave-safe bowl and heat in two 30-second bursts, stirring between each, until it reaches 165°F throughout. Let it cool completely so it does not melt the cream cheese.
- Beat the cream cheese. In a large bowl, beat the softened cream cheese with a hand mixer for one to two minutes until it is perfectly smooth and lump-free.
- Form the dough. Add the cooled cake mix and beat on low until a thick, uniform dough forms. It will look like bright red cookie dough.
- Chill. Cover the bowl and refrigerate for at least one hour so the dough firms up enough to scoop cleanly.
- Shape the bites. Use a 1-tablespoon cookie scoop to portion the dough, then roll each portion between your palms into a smooth ball. Place them on a parchment-lined baking sheet.
- Dip in coating. Melt the candy coating with a little shortening until fluid. Let the bites sit at room temperature for ten minutes so they are not ice-cold, then dip each one with a fork. Tap off excess and return to the parchment.
- Decorate. Before the coating sets, add sprinkles or drizzle with contrasting chocolate. Chill for fifteen minutes to harden completely.

The heat-treat step matters
Raw cake mix contains uncooked flour, which can carry bacteria. Heating the dry mix to 165°F makes it safe to eat without baking. I use an instant-read thermometer to be sure. If you do not have one, microwave in 30-second intervals for a total of 90 seconds, stirring well each time. The flour should feel hot to the touch. Let it cool fully before mixing or the cream cheese will soften too much and the dough will be sticky. For more on safe handling, see the FDA food-safety guidance.
A smooth shell every time
The biggest mistake people make is dipping ice-cold balls into warm coating. The temperature shock causes the shell to crack within minutes. Let the shaped bites rest on the counter for ten to fifteen minutes before dipping. The coating should be warm and fluid but not steaming hot. Add a teaspoon of shortening if it feels thick. Use a fork to lower each bite in, then lift it out and tap the fork gently on the bowl edge so the excess drips away cleanly. If you want a thicker shell, dip twice after the first layer sets for a minute. These little details make the finished bites look like they came from a chocolate shop.
Flavors and colors to try
The base recipe is forgiving. Swap the red velvet for strawberry or funfetti cake mix and use matching candy coatings. For a classic holiday look, dip in white chocolate and dust with red sanding sugar. You can also drizzle the set bites with melted dark chocolate for contrast. If you love red velvet desserts, try our No Bake Red Velvet Cheesecake Bites or Red Velvet Blossom Cookies Recipe for your next tray. For a cheesecake fix without the cocoa, Easy White Chocolate Raspberry Cheesecake Balls use the same technique with a fruity center.
Pack and store cleanly
Layer the finished bites between sheets of parchment in an airtight container. They keep in the refrigerator for up to five days. For longer storage, freeze the uncoated balls on a baking sheet until solid, then transfer to a freezer bag for up to two months. Thaw overnight in the refrigerator before dipping. This makes them an ideal make-ahead project for busy weeks. Pack them in mini cupcake liners inside a gift box and they travel beautifully to potlucks or cookie swaps.

FAQs
- Can I use chocolate chips instead of candy melts?
Real chocolate chips require tempering to set hard and shiny. Candy melts or almond bark are much easier for beginners because they set firm at room temperature without any special technique.
- Why does my chocolate coating crack?
Cracking happens when the filling is much colder than the coating. Let the shaped bites warm up on the counter for ten to fifteen minutes before dipping so the temperatures are closer.
- Can I make these ahead and freeze them?
Yes. Freeze the uncoated balls in a single layer, then store in a bag for up to two months. Thaw overnight in the refrigerator and dip the next day.
- Do I really need to heat treat the cake mix?
Yes. Dry cake mix contains raw flour that should be heated to 165°F to reduce the risk of foodborne illness. It only takes a minute in the microwave.
- Can I use low-fat cream cheese?
You can, but the bites will be softer and slightly less rich. Full-fat cream cheese gives the best flavor and helps the dough hold its shape.
- How long do they last at room temperature?
They stay firm for about two hours at cool room temperature. After that the coating softens and the cheesecake center loosens, so keep them chilled until serving.
