 Pin it
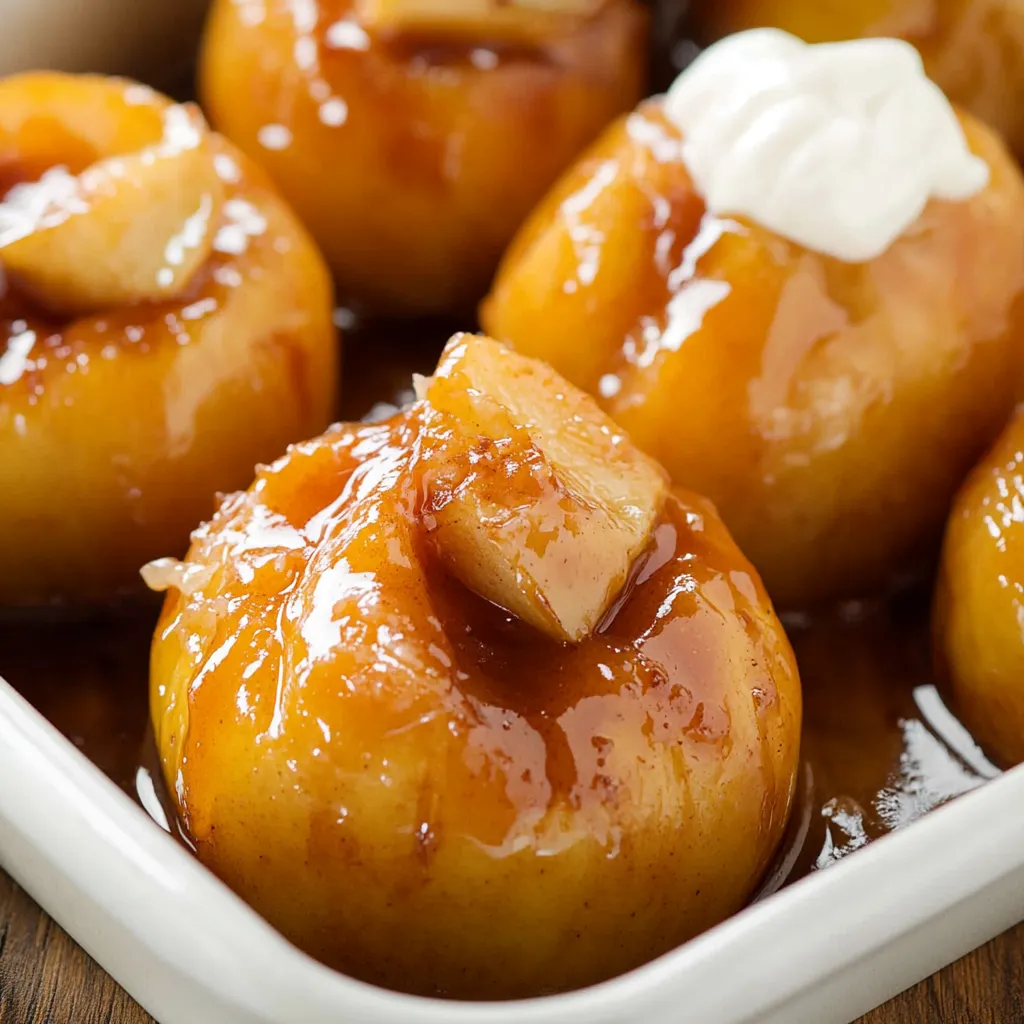
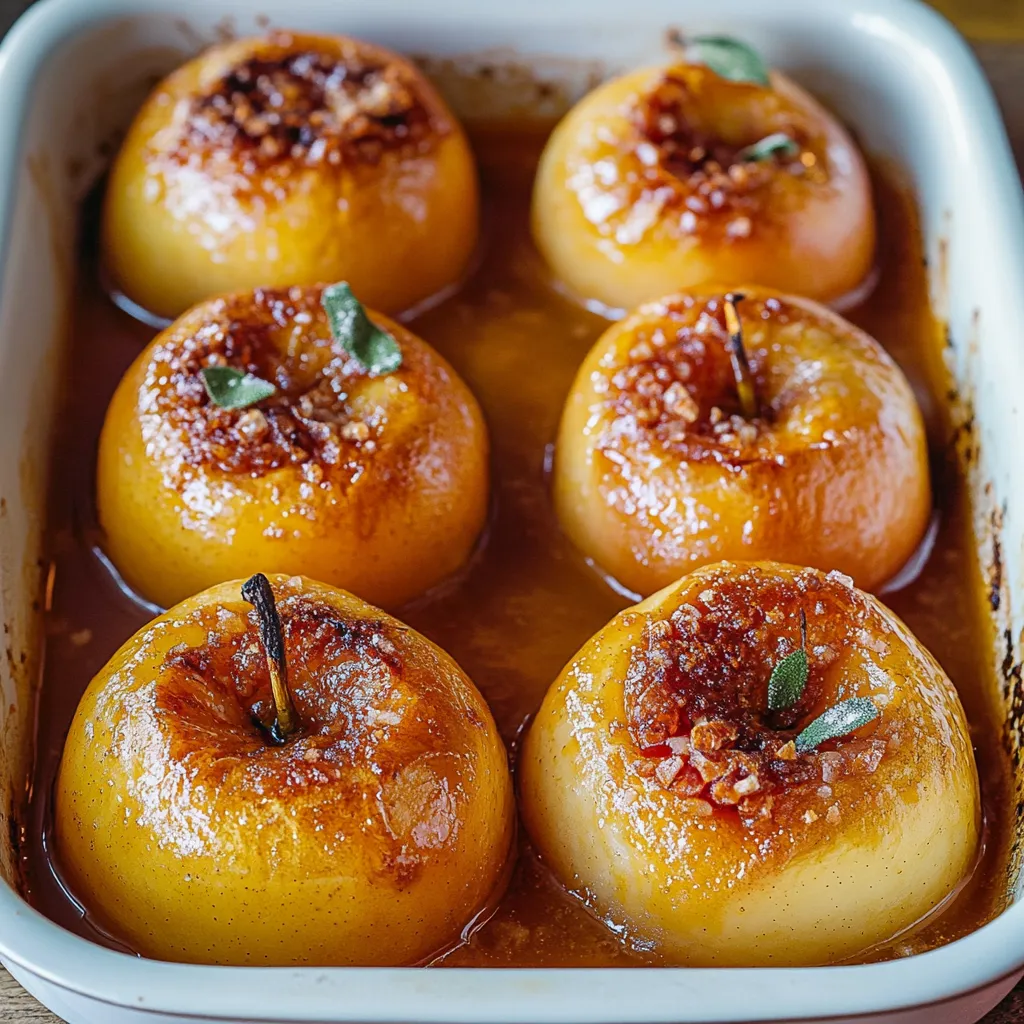
A cozy celebration of fall flavors comes together in these stuffed baked apples, where sweet fruit becomes a vessel for a warm, spiced filling that transforms into something magical in the oven. Each apple becomes tender while holding its shape, creating the perfect edible container for the caramelized brown sugar and cranberry mixture.
Through countless attempts at perfecting this recipe, I discovered that keeping the apple base intact while coring is crucial - it creates a perfect vessel for all that delicious filling.
Essential Ingredients Selection Guide
- Apples: Choose firm, round varieties that stand upright easily
- Brown sugar: Dark brown offers deeper caramel notes
- Dried cranberries: Look for plump, moist ones
- Butter: Unsalted allows better control of seasoning
- Cinnamon: Fresh, aromatic ground cinnamon is key
- Walnuts: Fresh, preferably just chopped
 Pin it
Detailed Step-by-Step Instructions
- Apple preparation:
- Wash and dry apples thoroughly. Use melon baller or small knife for coring. Leave 1/2 inch base intact. Remove seeds and tough parts. Create wide enough opening for filling.
- Perfect filling creation:
- Mix brown sugar and spices first. Add cranberries and combine well. Ensure even distribution of ingredients. Taste for balance of sweetness. Have filling ready before coring apples.
- Assembly process:
- Stand apples upright in baking dish. Pack filling gently but firmly. Top each with butter pat. Sprinkle with chopped nuts. Add hot water to dish base.
- Baking technique:
- Position rack in center of oven. Monitor for proper softening. Test with knife for doneness. Watch for slight splitting. Allow to cool slightly before serving.
My journey with baked apples started with my grandmother's recipe, and I've learned that patience during the coring process makes all the difference. Taking time to create a proper cavity without breaking through the bottom ensures that delicious filling stays where it belongs.
Temperature Control
Understanding heat is crucial:
- 375°F provides perfect caramelization
- Check tenderness at 45 minutes
- Apples should be soft but hold shape
- Allow 10 minutes cooling time
Make-Ahead Strategies
Perfect for advance preparation:
- Prepare filling up to 3 days ahead
- Core apples just before filling
- Store leftover apples up to 2 days
- Reheat gently in microwave
Serving Suggestions
Enhance your baked apples with:
- Vanilla ice cream or whipped cream
- Warm caramel sauce
- Greek yogurt for breakfast
- Additional chopped nuts
 Pin it
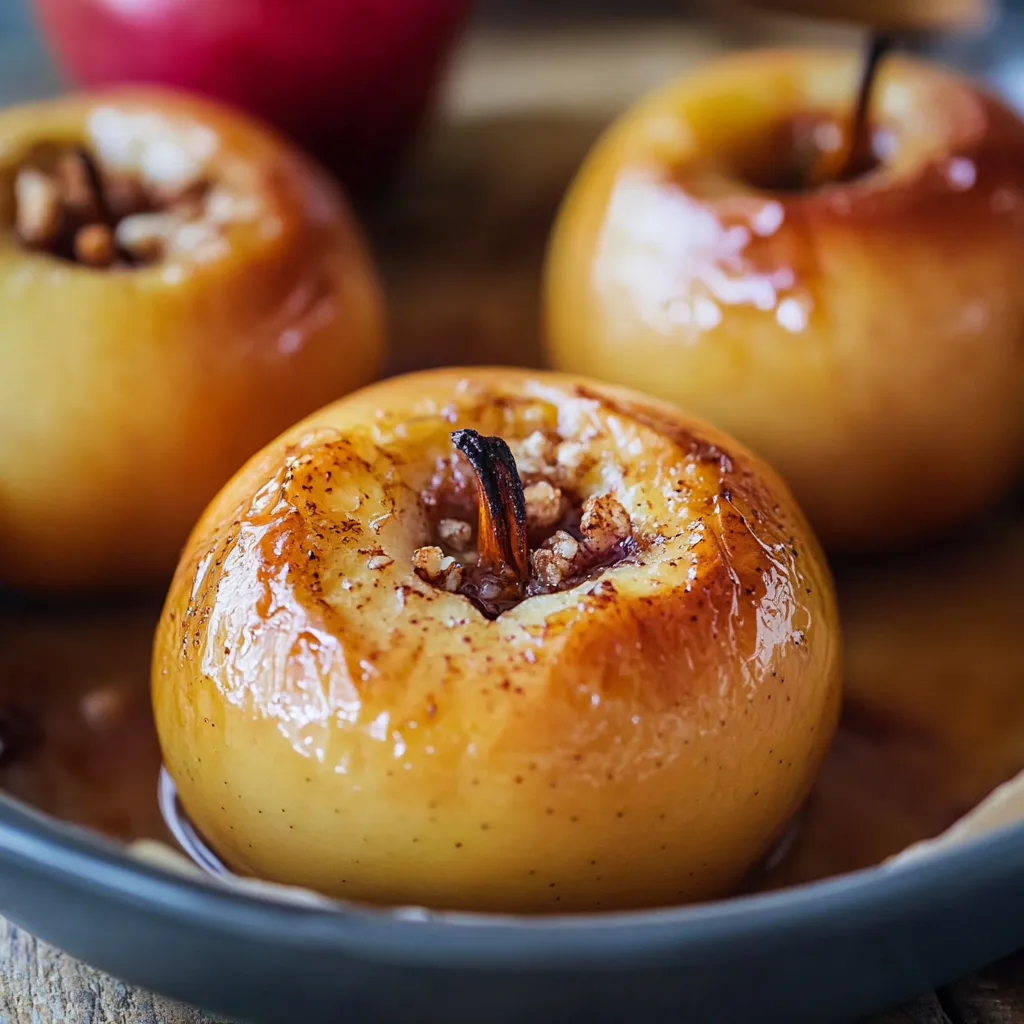
After years of making baked apples, I've come to appreciate how this simple dessert captures the essence of fall comfort. The way the apple softens while maintaining its shape, and how the filling becomes a rich, caramel-like sauce creates something truly special. Whether served for breakfast or dessert, these baked apples prove that sometimes the simplest preparations yield the most satisfying results.
Frequently Asked Questions
- → What are the best apples to use?
- Firm, crisp apples like Rome Beauty, McIntosh, Jonagold, Fuji, Granny Smith, or Golden Delicious work best.
- → How do I know when they're done?
- Apples should be tender when pierced but not mushy - cooking time varies by apple size and variety.
- → Can I make these ahead?
- Best served warm, but can be reheated gently in the microwave or oven.
- → Why add water to the baking dish?
- The water creates steam and prevents the apples from drying out while baking.
- → Can I use different dried fruit?
- Yes, raisins or any other dried fruit can replace the cranberries.
