 Pin it
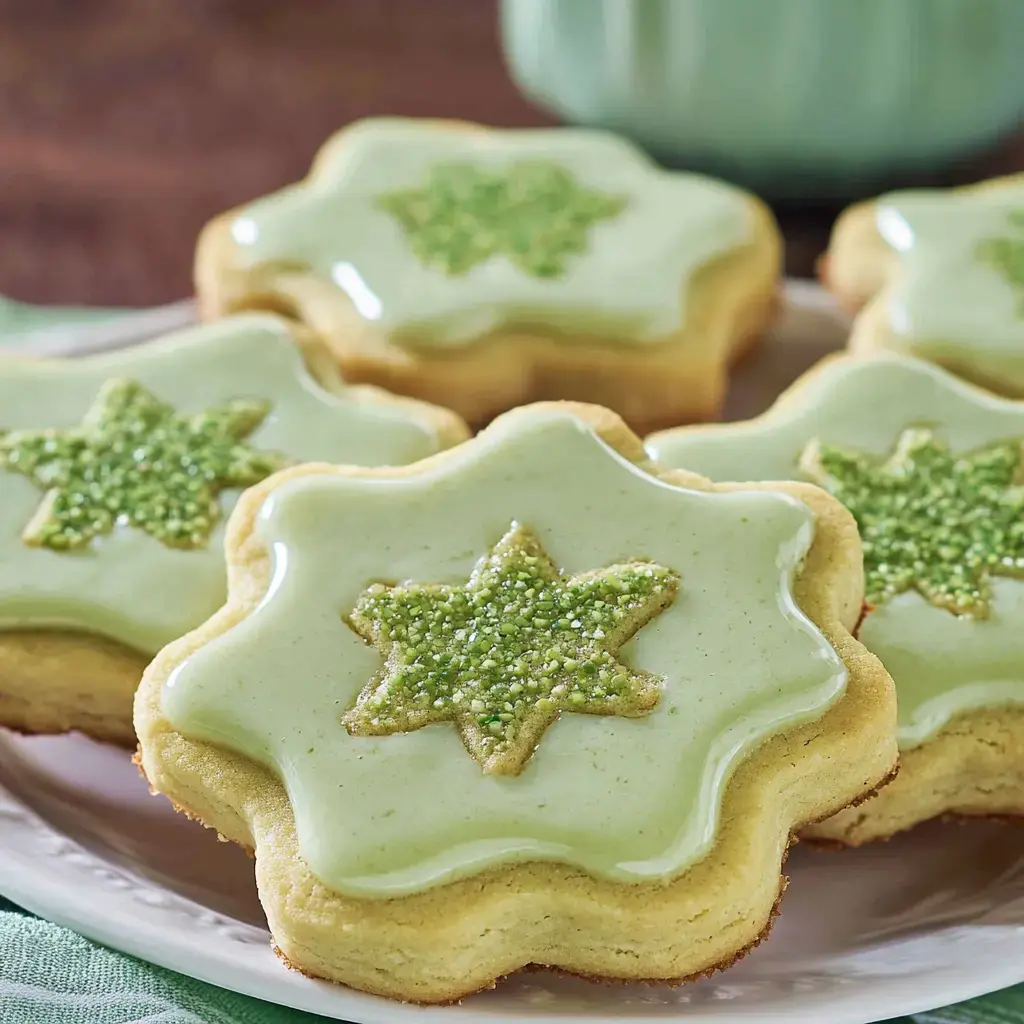
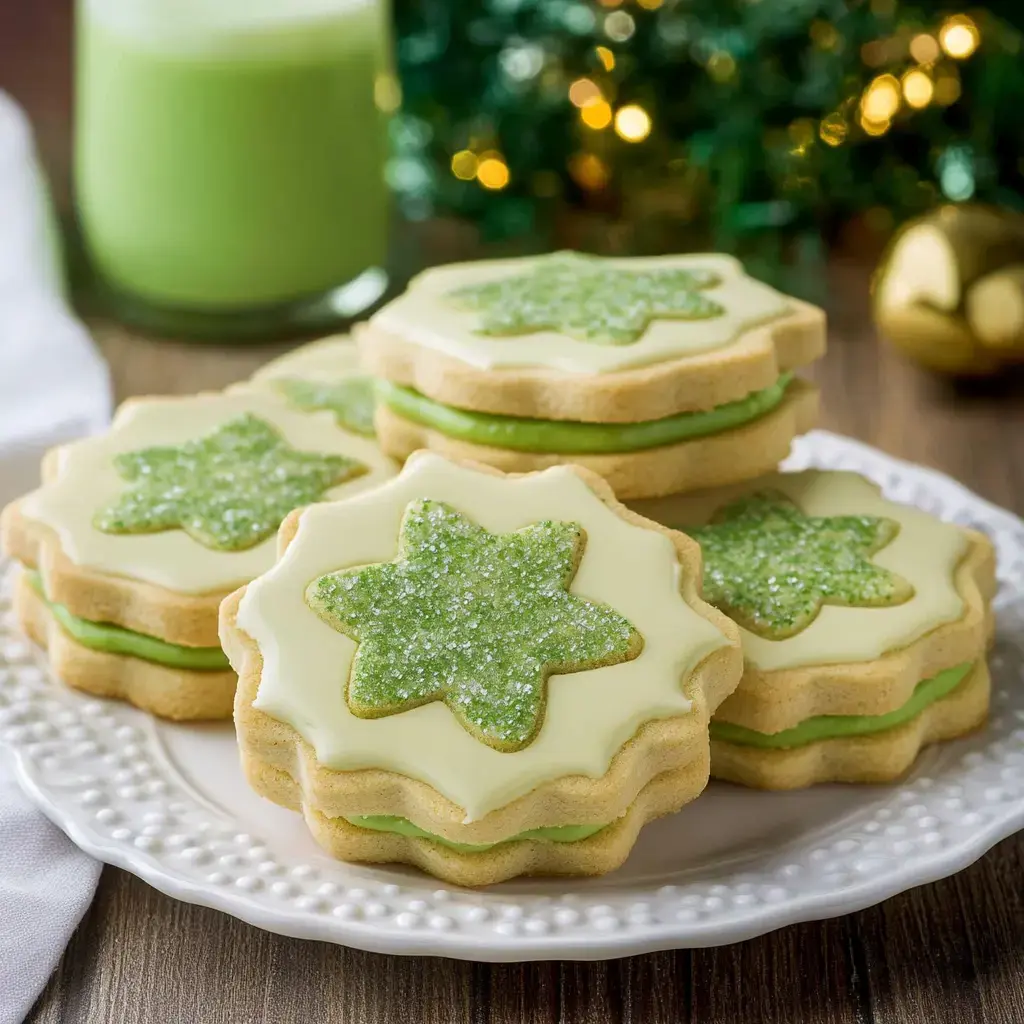
These Pistachio Pudding Linzer Cookies started as a fun experiment in my kitchen last March and quickly became a family favorite. I wanted to create something special for St. Patrick's Day that wasn't just another green-dyed treat. The result? The most beautiful sandwich cookies with a natural green tint from pistachio pudding sweet frosting filling and adorable clover cutouts. Every time I make them people can't believe how pretty they are especially when those sparkly green sprinkles catch the light.
What Makes These Cookies Extra Special
I love how these cookies combine the classic elegance of Linzer cookies with a fun festive twist. The pistachio pudding mix is my secret weapon here giving us that perfect shade of green and a subtle nutty flavor that makes these cookies absolutely irresistible. They're surprisingly easy to make but look like they came from a fancy bakery. My kids love helping with the cutouts and sprinkling the tops it's become our favorite holiday baking tradition.
Everything You'll Need
- Pistachio Pudding Mix: This magical ingredient gives us both color and flavor without any artificial dyes.
- Unsalted Butter: Make sure it's properly softened your cookies will thank you.
- Granulated Sugar: Just enough to make them perfectly sweet.
- Egg: This helps hold everything together.
- All-Purpose Flour: The foundation of our cookie dough.
- Salt: A pinch makes all the difference in bringing out the flavors.
- Frosting Ingredients: We're making the creamiest filling with butter powdered sugar vanilla paste and milk.
- Green Sprinkles: Because every festive cookie deserves a little sparkle.
Time to Make Cookie Magic
- Making Our Dough
- First things first cream your pudding mix butter and sugar together until it's light and fluffy. I love watching the dough turn this beautiful soft green color. When you add the egg it all comes together like magic.
- Getting Ready to Cut
- Here's a trick I learned the hard way roll your dough between parchment paper and freeze it. Those 20 minutes in the freezer make cutting out shapes so much easier.
- The Fun Part
- Cutting out the shapes is my favorite especially those cute little clovers. I always let my kids help with this part they love seeing the patterns emerge.
- Baking Time
- Keep a close eye on these beauties while they bake. You want them just set around 6-8 minutes they'll continue firming up as they cool.
- Creating the Filling
- While the cookies cool whip up that dreamy frosting. When it's nice and fluffy you know it's ready to bring these cookies together.
Making Them Pretty
Let me share some tricks I've learned along the way. Always re-chill those scraps before cutting more cookies it makes such a difference in keeping the shapes clean. Want to make them extra festive? Try mixing green and gold sprinkles for that true St. Patrick's Day feel. I use a piping bag for the frosting it helps control the amount and keeps everything neat.
Keeping Them Fresh
These cookies stay perfect in an airtight container on your counter for about three days if they last that long in your house. Mine usually disappear much faster. If you need them to last longer pop them in the fridge but let them come to room temperature before serving. My top tip? Wait to frost them until you're ready to serve they stay fresher that way.
Mix It Up
After making these cookies dozens of times I've discovered some great variations. If someone has a nut allergy I swap the pistachio pudding for vanilla and add a few drops of green food coloring. The vanilla paste in the frosting can be replaced with regular extract but I love those tiny vanilla bean specks in the filling. For my gluten-free friends I use my favorite cup-for-cup flour blend and they turn out just as delicious. Sometimes I even change up the cutouts making hearts for Valentine's Day or stars for Christmas.
Not Just for St. Patrick's Day
While these cookies are perfect for March 17th they're too good to make just once a year. I bring them to spring garden parties where that soft green color looks beautiful on the dessert table. They're always a hit at afternoon tea parties and my daughter requested them for her birthday instead of cake. The best part is you can switch up the sprinkle colors and cutout shapes to match any celebration.
Perfect Pairings
There's nothing like dunking these cookies in a hot cup of Irish breakfast tea. When I'm feeling fancy I serve them alongside vanilla bean ice cream the combination is heavenly. For my kids' parties I put out cold milk in green glasses and watch their faces light up at the festive treat. Sometimes I even blend up green smoothies to match it makes snack time extra special.
Share the Love
These cookies make the sweetest gifts. I love packaging them in clear boxes tied with green ribbon you can see the pretty layers through the window. Sometimes I'll include the recipe written on a shamrock-shaped card. They're perfect for teacher gifts during March or as part of a holiday cookie box. Nothing says "you're special" quite like a box of homemade sandwich cookies.
 Pin it
Frequently Asked Questions
- → Can I make these cookies ahead of time?
- Yes, you can bake the cookies up to 3 days ahead and store unfilled in an airtight container. Fill with frosting the day you plan to serve them for best results.
- → What if I can't find a clover cookie cutter?
- You can use any small cookie cutter shape you like. Hearts, circles, or even stars work well for the center cutout and will look just as pretty.
- → Can I use regular vanilla instead of vanilla paste?
- Regular vanilla extract works perfectly fine in this recipe. Vanilla paste just provides visible vanilla bean specks in the frosting but doesn't affect the taste significantly.
- → How should I store these cookies?
- Store filled cookies in an airtight container at room temperature for up to 3 days. The frosting will help keep the cookies soft and fresh.
- → Can I freeze these cookies?
- You can freeze the unfilled cookies for up to 3 months. Thaw completely before filling with frosting and decorating with sprinkles.
