 Pin it
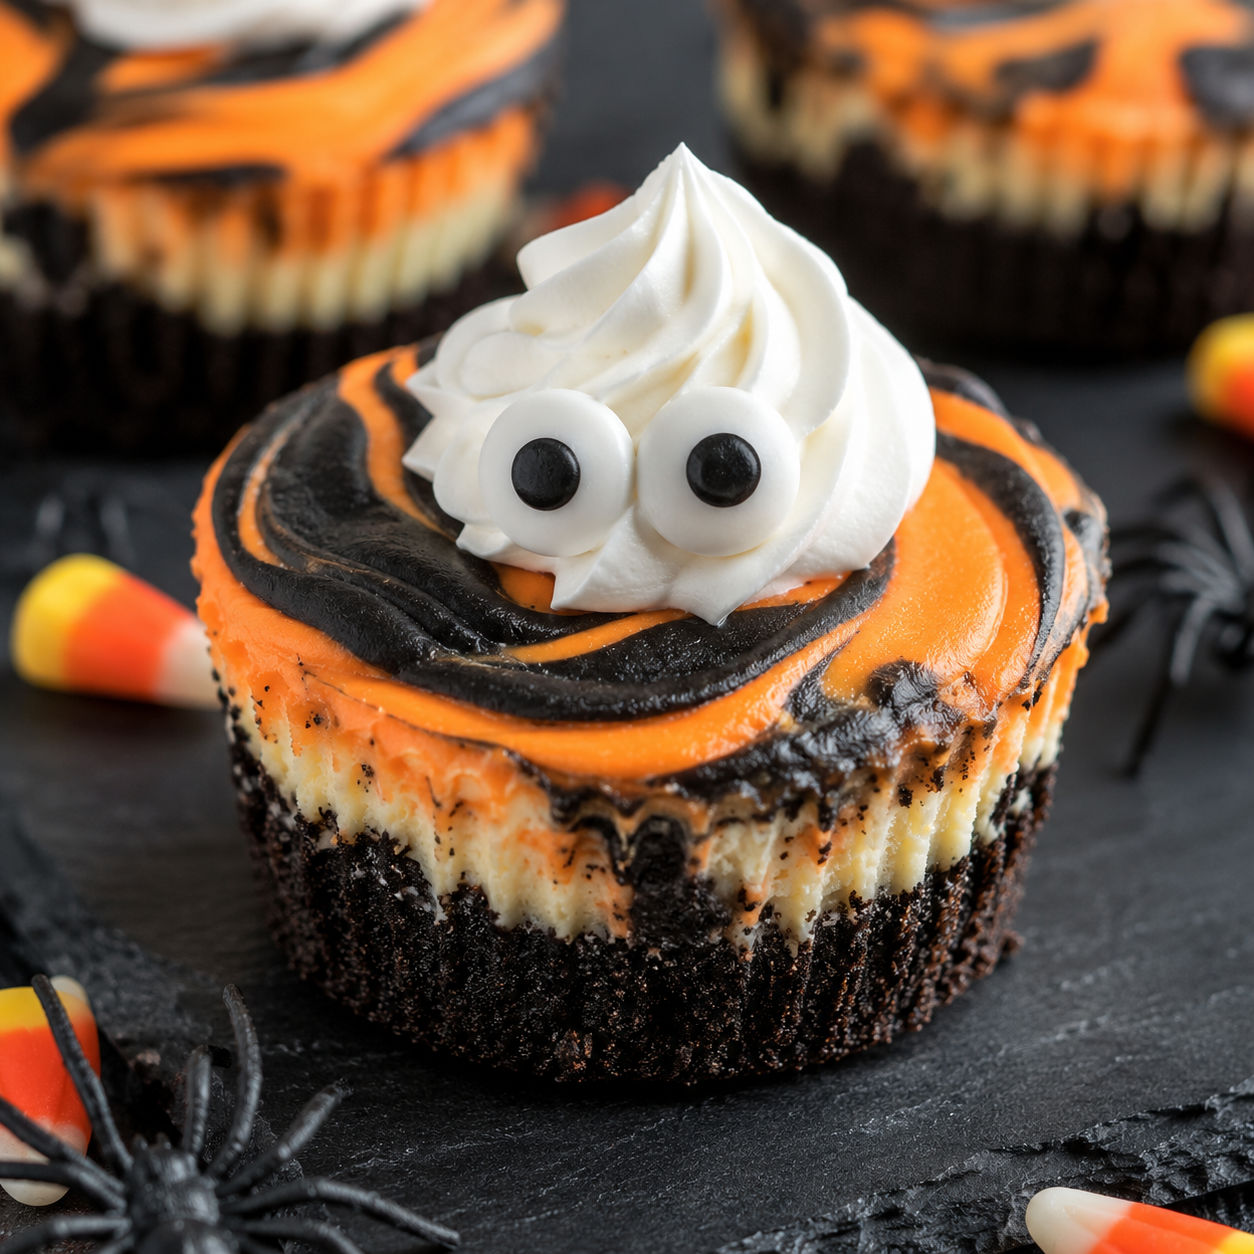
I make these every October when I want something that looks like it took far more effort than it did. The batter comes together in one bowl, the oven does most of the work, and the decorations are forgiving. If a swirl looks a little messy, call it spooky.
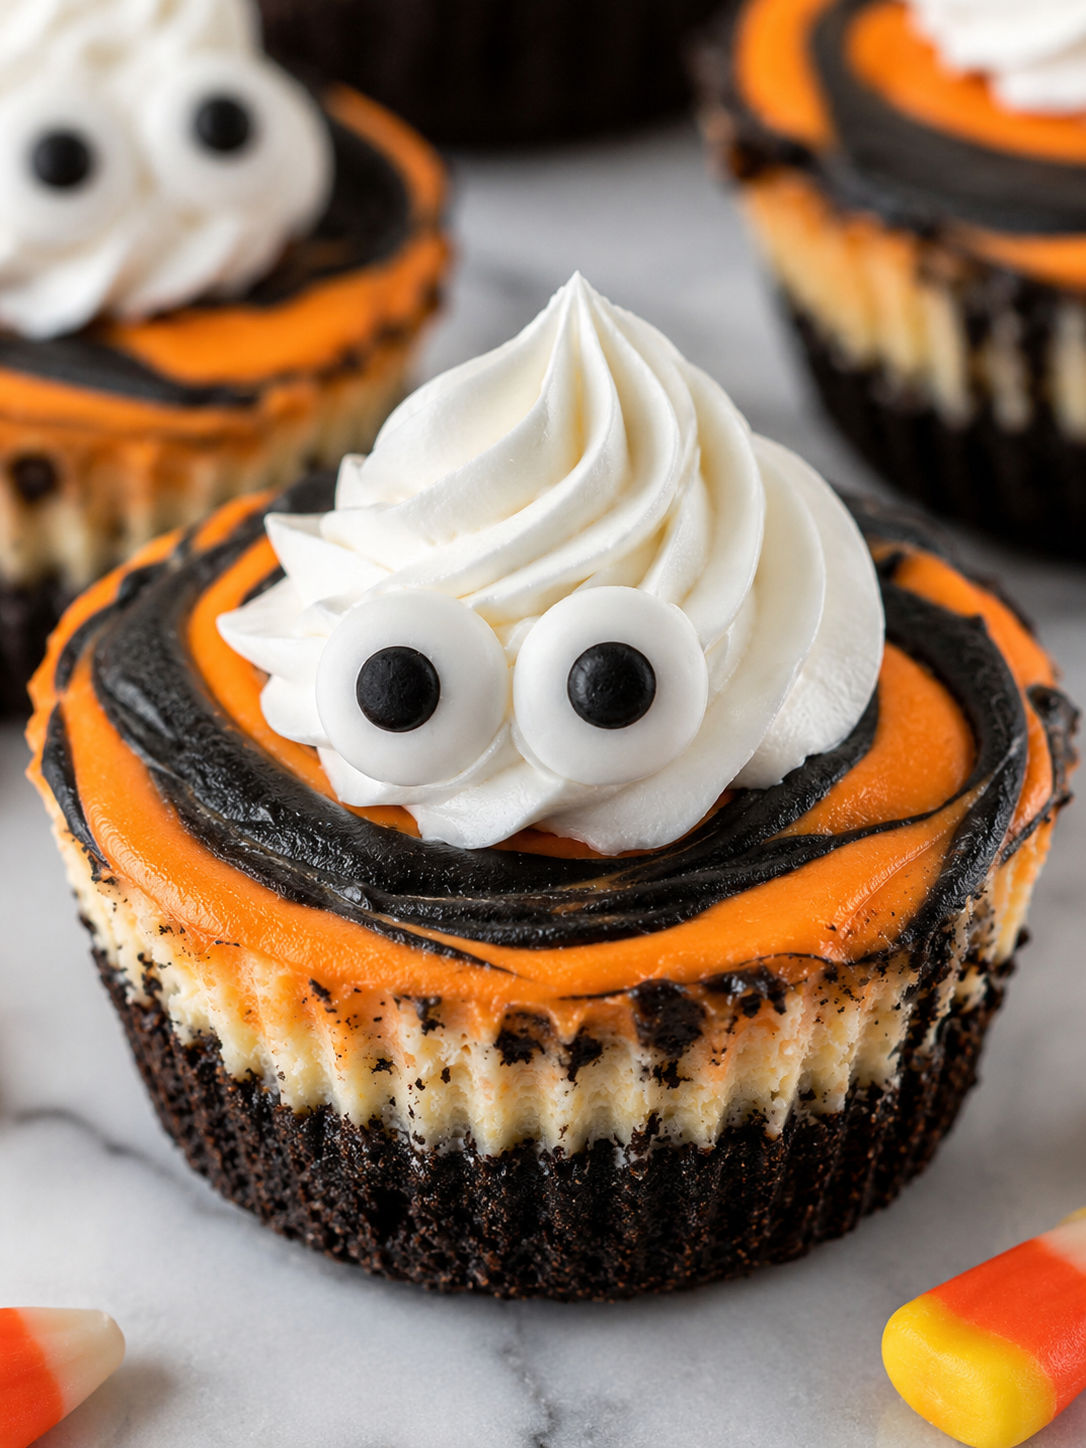
The dark Oreo crust gives you a head start on the Halloween theme before you even open the food coloring. From there you can go as simple or as elaborate as you want. I usually stick to orange and black swirls with candy eyes on top, but a chocolate spiderweb drizzle works just as well.
A dark cookie base and creamy filling
Quality matters more than quantity here. Full-fat cream cheese gives the filling its signature density, and room-temperature eggs blend in without leaving lumps. For the crust, regular Oreos work perfectly. You do not need to remove the cream filling; it helps the crumbs stick together.
- Oreo cookies. The entire cookie, filling included, becomes a dark, moist crust that fits the Halloween theme.
- Cream cheese. Use the block kind, not the tub. It has less water and holds its shape better after baking.
- Granulated sugar. Just enough to sweeten without making the cheesecake taste like candy.
- Eggs and sour cream. Eggs set the filling; sour cream adds a subtle tang and creamy texture.
- All-purpose flour. A small amount keeps the batter stable and reduces cracking.
- Gel food coloring. Gel gives vivid color without thinning the batter the way liquid coloring can.
- Heavy cream and powdered sugar. Whipped into a simple topping that holds candy eyes and drizzle.
- Candy eyes and chocolate. The fun part. Press them into the whipped cream right before serving.
Bake, chill, then go spooky
- Crush and press the crust. Blitz the Oreos into fine crumbs, mix with melted butter, and press a tablespoon into each muffin liner. Use the back of a spoon or a small glass to pack it firmly.
- Mix the filling. Beat softened cream cheese and sugar until smooth. Add the eggs one at a time, mixing on low. Stir in vanilla, sour cream, flour, and salt. Do not overbeat; too much air causes cracks.
- Divide and color. Split the batter into two bowls. Tint one orange and the other black or deep purple using gel coloring. Add a tiny amount at a time until you reach the shade you want.
- Fill and swirl. Drop spoonfuls of each color into the liners, alternating as you go. Drag a toothpick or skewer through the batter in a figure-eight motion to swirl. Do not overmix or the colors will muddy.
- Bake low and slow. Bake at 325°F until the centers jiggle slightly when you tap the pan, about 15 to 18 minutes. The edges should look set but the middles should still wobble.
- Cool completely. Let them sit in the pan at room temperature for 20 minutes, then move to the refrigerator for at least 2 hours. They need to be fully cold before you decorate.
- Decorate. Pipe or dollop whipped cream on top. Add candy eyes, a chocolate spiderweb drizzle, or both. Serve chilled.
Why gel coloring wins here
Liquid food coloring can throw off the batter consistency. You only need a few drops of gel to get a bold orange or deep black, and the batter stays thick enough to hold a swirl. If you only have liquid coloring, use half as much and accept slightly softer batter.
Keep the colors clean
The trick to a pretty swirl is restraint. Drop the batters in distinct blobs rather than pouring one continuous stream. When you drag the toothpick through, make three to four passes at most. If you keep stirring, the orange and black merge into a murky brown. For a different Halloween look, leave the filling plain and tint the whipped cream instead. If you enjoy mini desserts, our mini cinnamon roll cheesecakes use the same muffin-tin method.
Storing and serving
These keep in the refrigerator, covered, for up to three days. Add the whipped cream and decorations the day you plan to serve them so the candy eyes do not bleed color and the cream stays perky. For longer storage, freeze the plain cheesecakes in a single layer, then transfer to a freezer bag for up to one month. Thaw overnight in the refrigerator and decorate before serving.
The U.S. Food and Drug Administration recommends keeping perishable foods chilled at 40°F or below when not being served. See the FDA food safety guidelines for more details.
More Halloween treats
If you are building a dessert table, pair these with monster mash Halloween cheesecake bars for a cheesecake theme. Our Halloween rice krispie treats add a no-bake option that kids can help make. For another mini cheesecake variation, try our mini peppermint cheesecakes once the holidays roll around.
FAQs
- Can I make these a day ahead?
Yes. Bake and chill them up to two days in advance, but wait to add the whipped cream and candy eyes until a few hours before serving. That keeps the decorations looking fresh and the colors from bleeding.
- Can I use liquid food coloring instead of gel?
Gel is strongly recommended because liquid can thin the batter and affect the bake. If liquid is all you have, start with just a few drops and mix gently. You may need to add an extra teaspoon of flour to compensate.
- Why did my cheesecakes crack on top?
Overbeating the batter or overbaking are the usual causes. Mix on low speed once the eggs go in, and pull the pan from the oven while the centers still jiggle slightly. The small size means they finish setting as they cool.
- How long do leftovers last?
Store them covered in the refrigerator for up to three days. The Oreo crust softens over time but still tastes great. Keep them plain if you know you will be storing them for more than a day.
- Can I freeze mini cheesecakes?
Yes. Freeze them plain on a baking sheet until solid, then transfer to a freezer bag for up to one month. Thaw overnight in the refrigerator before decorating. Do not freeze them with the whipped cream topping.
- Can I make these gluten-free?
Use gluten-free chocolate sandwich cookies for the crust and a gluten-free all-purpose flour blend in the filling. Check that your candy decorations are also certified gluten-free.
- What if I do not have candy eyes?
Pipe a small dot of white frosting with a dark chocolate pupil, or use mini marshmallows cut in half. A chocolate spiderweb drizzle looks great on its own and takes no special supplies.
- Are these safe to leave out at a party?
The FDA advises that perishable foods should not sit at room temperature for more than two hours. Keep them on a chilled tray if the party lasts longer, especially since they contain cream cheese and eggs.
