 Pin it
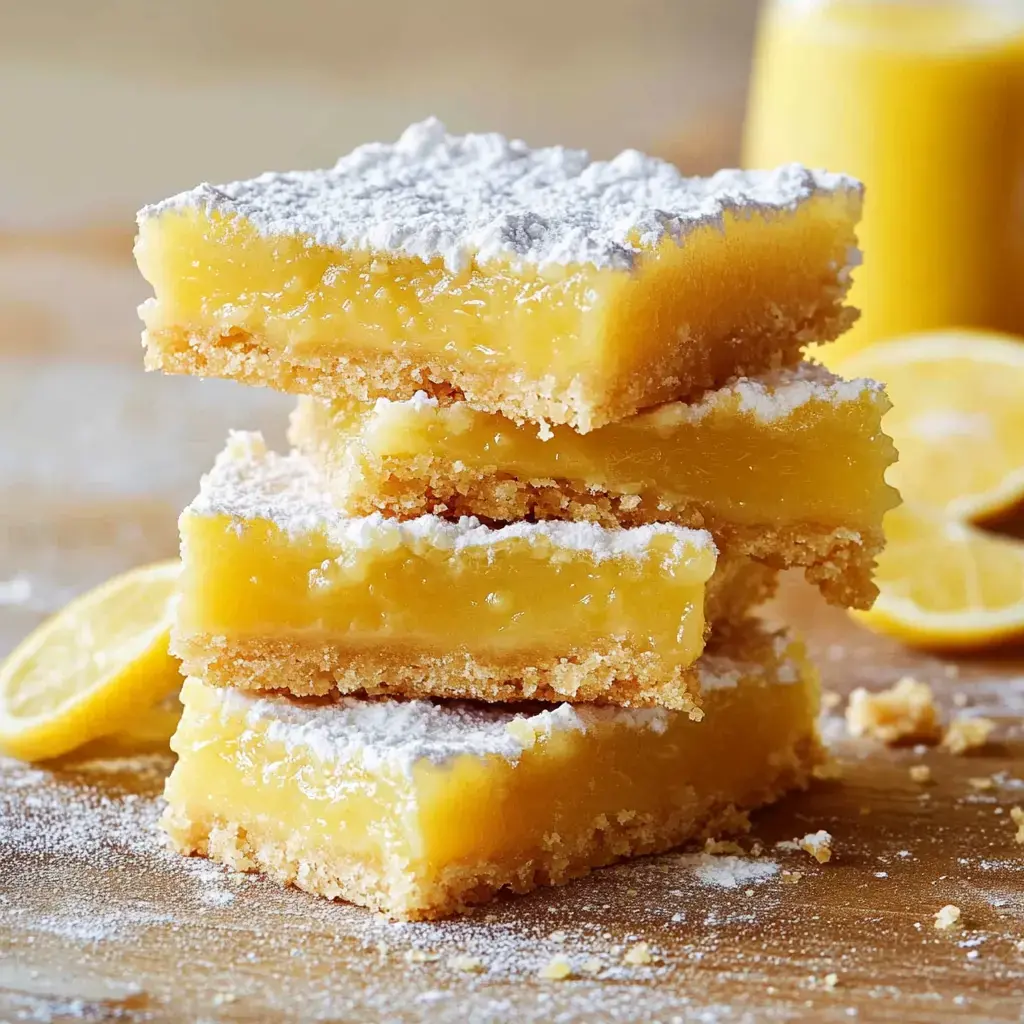
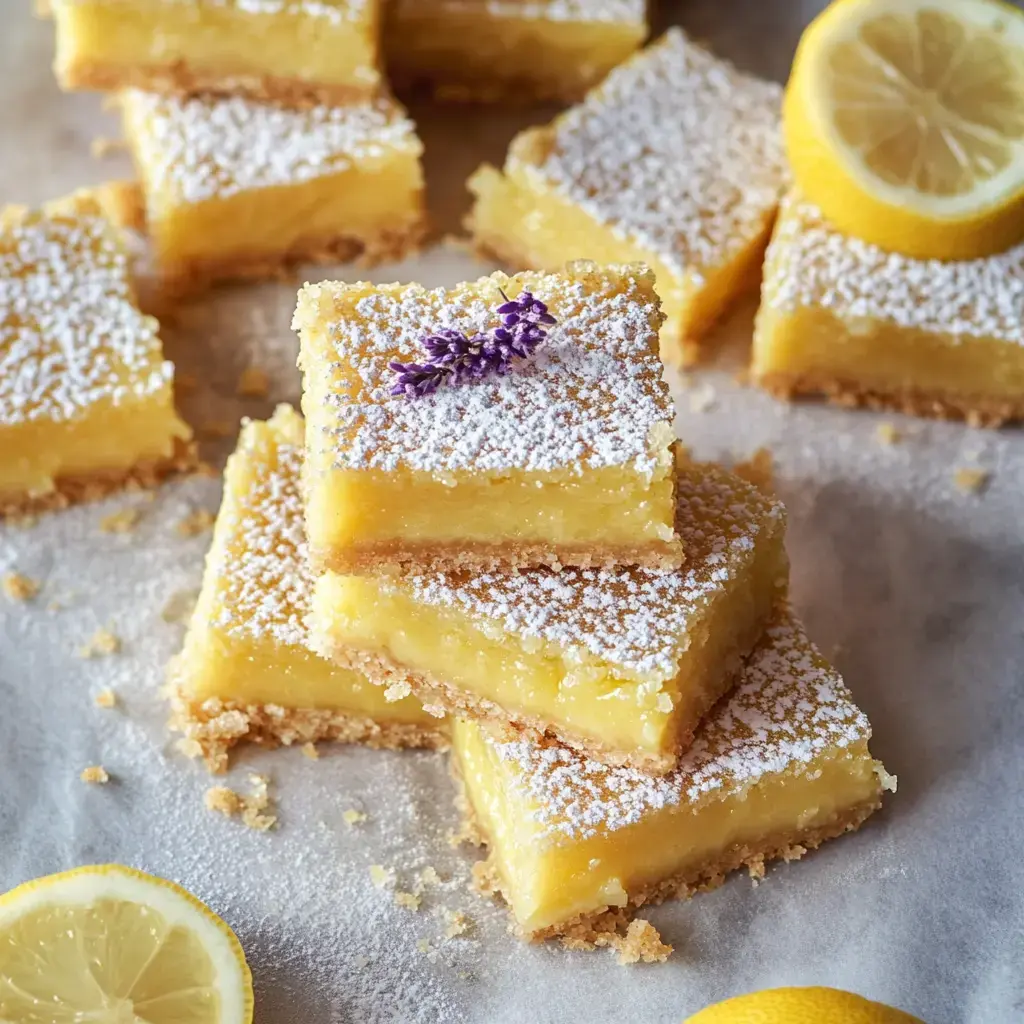
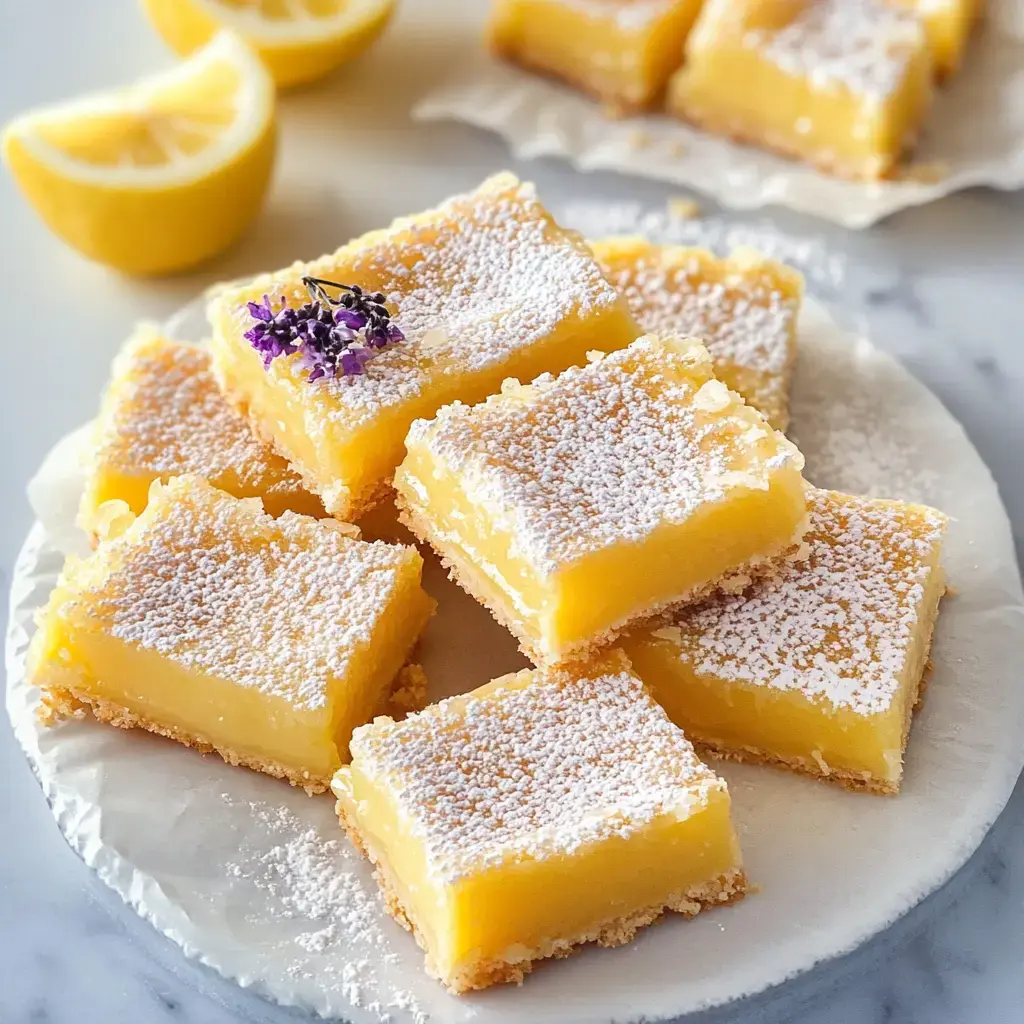
I first fell in love with these Lemon Bars at my grandmother's kitchen, and now they're my go-to dessert for any gathering. They're the perfect balance of sweet and tangy, with this incredible buttery shortbread crust topped with the most luscious lemon filling. These Lemon Bars always disappear first at parties - there's just something about that bright, citrusy flavor that makes everyone smile.
What Makes These Special
What I love about these Lemon Bars is how they combine two perfect textures - that crisp, buttery crust with the silky smooth lemon filling on top. They're surprisingly easy to make but look so impressive. Every time I bring these to a potluck or picnic, people beg for the recipe.
Everything You Need
- Fresh Lemons: Real lemons make these Lemon Bars shine use both juice and zest.
- Flour: Regular all-purpose works perfectly for both crust and filling.
- Powdered Sugar: Makes the crust tender and adds that pretty finish.
- Butter: Use unsalted so you can control the saltiness.
- Vanilla: Just a touch makes the crust extra special.
- Eggs: These make the filling creamy and rich.
- Sugar: Balances out that lovely lemon tang.
Let's Start Baking
- Creating That Perfect Crust
- For our Lemon Bars, we start with the shortbread base. Mix your flour, powdered sugar, and salt, then blend in that melted butter and vanilla until it feels like wet sand. Press it into your lined pan - I like using the bottom of a measuring cup to get it nice and even.
- Making The Filling
- While the crust is baking, let's make that sunny lemon filling. The trick is to rub your lemon zest into the sugar first - it releases all those amazing oils. Then whisk in your eggs and fresh lemon juice until everything's smooth.
- Bringing It Together
- Pour that bright filling over your hot crust and watch the magic happen in the oven. The filling will set up into this gorgeous, silky layer that makes these Lemon Bars so special.
 Pin it
My Best Tips
Here's what I've learned from making countless batches of Lemon Bars: line your pan with parchment paper, letting it hang over the sides - it makes lifting them out so easy. And when you're mixing the filling, try not to create too many bubbles. They'll still taste amazing, but fewer bubbles means prettier bars!
Make Them Your Own
Sometimes I like to experiment with my Lemon Bars. Adding a little lime juice gives them an extra kick, or try sprinkling coconut on top before baking. Fresh berries pressed into the filling before baking create beautiful spots of color. The possibilities are endless!
Why These Never Fail
The secret to perfect Lemon Bars is the balance of flavors. You want them tangy enough to make you smile but sweet enough to be dessert. The buttery crust provides the perfect foundation for that creamy lemon layer. Even if you're not usually a baker, these bars are pretty forgiving - just follow the recipe steps and you'll end up with something amazing.
How to Serve Them
Just before serving, I dust my Lemon Bars with a shower of powdered sugar - it looks like fresh snow and makes them so pretty! They're perfect with afternoon tea or coffee, and I love serving them at spring and summer gatherings. Sometimes I'll add a few fresh berries on the side for extra color.
 Pin it
Frequently Asked Questions
- → Why line the pan with parchment paper?
Parchment paper with overhang makes it easy to lift the entire dessert out of the pan for clean cutting. It also prevents sticking.
- → Why dock the crust with a fork?
Docking the hot crust prevents it from puffing up when baked again with the filling. This helps create an even layer.
- → How do I know when the filling is set?
The filling should not jiggle when you gently shake the pan. If it does, continue baking for a few more minutes.
- → Why chill the bars?
Chilling helps the filling set completely and makes the bars easier to cut cleanly. It also enhances the texture.
- → Can I make these ahead?
Yes, these bars can be made a day ahead and stored in the refrigerator. Add the powdered sugar just before serving.
