 Pin it
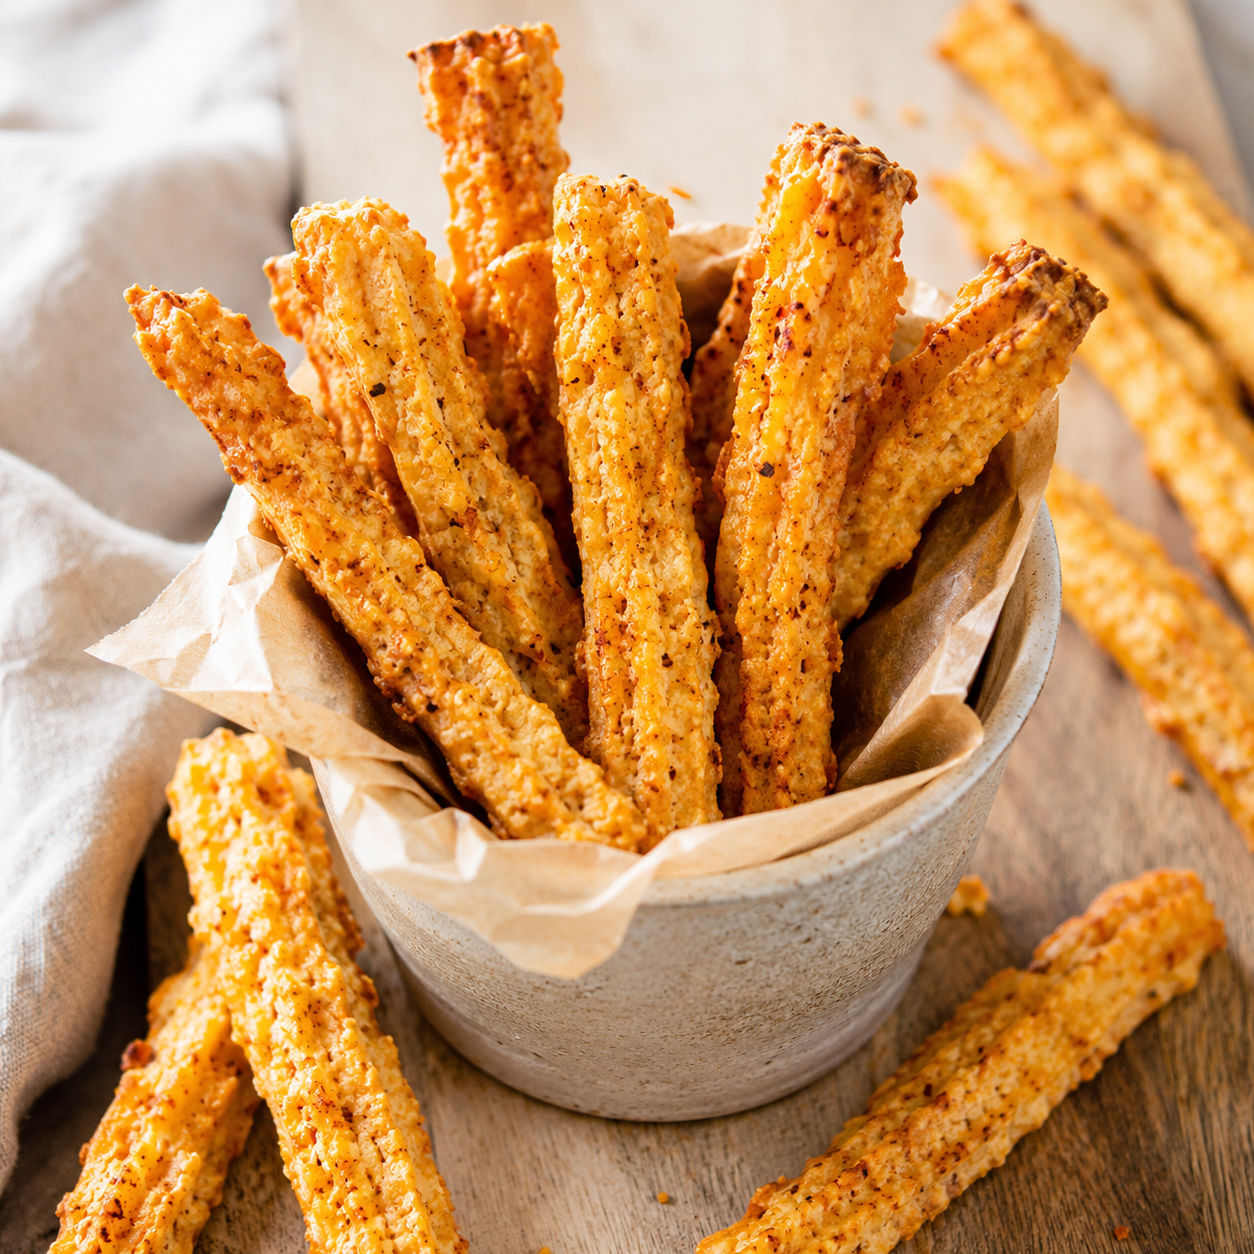
These Crispy Homemade Cheese Straws are the kind of snack that disappears before dinner. They are buttery, sharp with cheddar, and crisp enough to break with a clean little snap.
I like this version because it tastes homemade without being fussy. A food processor does the heavy mixing, and the dough rolls out like a soft cracker dough.
The key is not a secret ingredient. It is thin dough, freshly grated cheese, and baking the straws until they are truly golden, not just lightly tan.
The sharp cheddar lineup
Start with a block of extra-sharp cheddar and grate it right before mixing. The rest of the dough is pantry-simple, but the cheese needs enough punch to carry every bite.
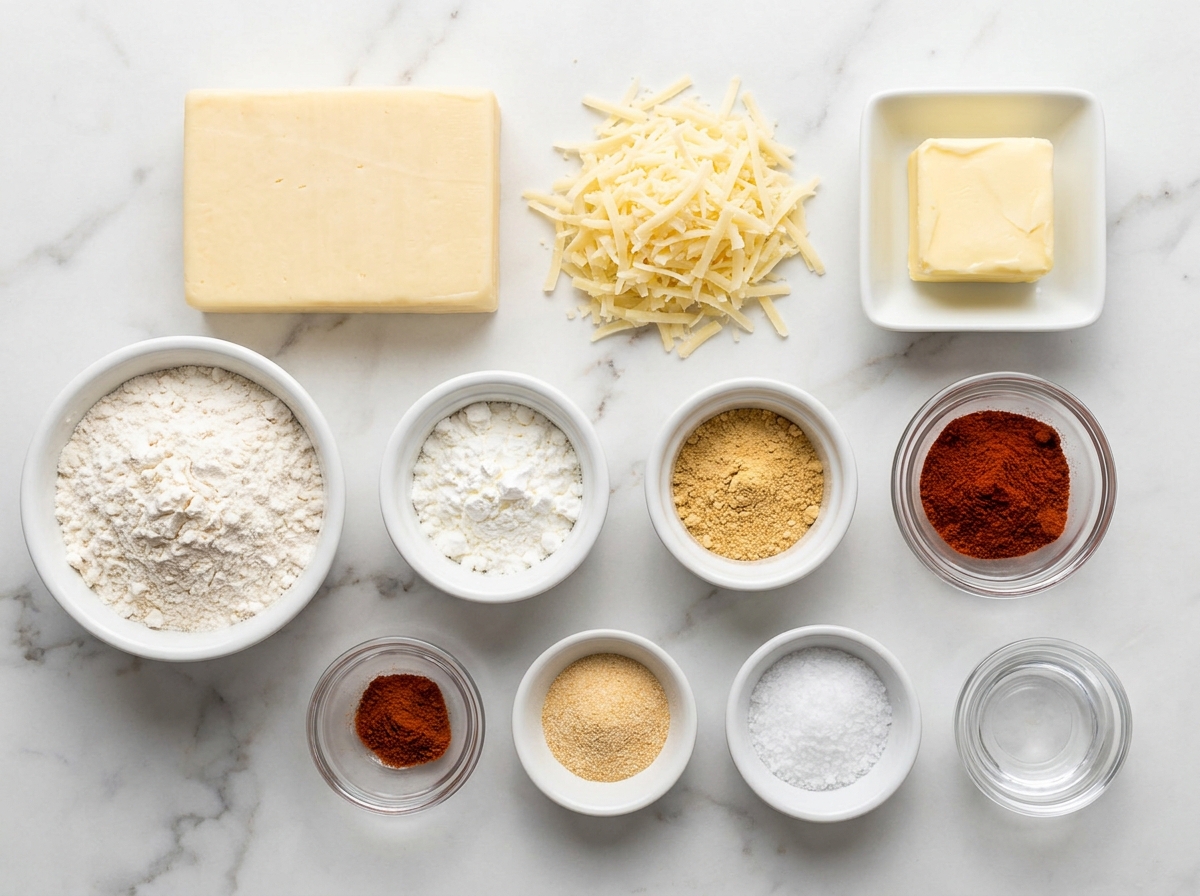
- Extra-sharp cheddar. Gives the straws their salty bite and deep golden color. Freshly grated cheese blends into the dough better than bagged shreds.
- Unsalted butter. Makes the dough rich and tender before it bakes crisp.
- All-purpose flour. Gives the straws structure so they hold their shape.
- Cornstarch. Lightens the dough and helps the finished straws snap instead of crumble heavily.
- Dry mustard. Brings out the cheddar flavor without tasting mustardy.
- Cayenne pepper. Adds gentle heat at the end of each bite.
- Smoked paprika. Adds color and a warm savory edge.
- Garlic powder. Rounds out the cheese flavor without adding moisture.
Bake Crispy Homemade Cheese Straws
- Mix the dry ingredients. Whisk the flour, cornstarch, salt, dry mustard, paprika, cayenne, and garlic powder so the seasoning is even.
- Blend the cheese and butter. Pulse the grated cheddar and softened butter in a food processor until they look creamy and orange.
- Make the dough. Add the dry mixture and pulse until the dough forms moist crumbs. Add cold water only if it will not hold together when pressed.
- Chill briefly. Pat the dough into a disk, wrap it, and chill for 20 minutes so it rolls cleanly.
- Cut the straws. Roll the dough 1/4-inch thick between parchment sheets. Cut into thin strips and move them to lined baking sheets.
- Bake until crisp. Bake at 325°F until the straws are firm, dry, and deep golden at the edges, about 18-22 minutes. Cool on the pan for 5 minutes, then move to a rack.
Why sharp cheddar matters
Mild cheddar gets lost once flour and butter join the bowl. Extra-sharp cheddar keeps its tang after baking, and that is what makes a cheese straw taste like more than a plain cracker. I reach for a firm block that grates into fine shreds. If the cheese feels wet or rubbery, the dough can turn greasy before it turns crisp.
Pre-shredded cheese is convenient, but it often has starches on the outside to keep the shreds separate. Those coatings can make the dough feel dry at first and grainy after baking. Grating a block takes two minutes and gives you a smoother dough. For a bigger cheese board, serve these beside homemade pimento cheese and a pile of crisp vegetables.
Getting the real snap
The crisp texture comes from thin dough and patient baking. If the strips are thick, the centers stay tender even after the edges brown. Aim for 1/4 inch or a little thinner, then give each straw room on the pan so hot air can reach the sides.
Do not rush them out of the oven while they are pale. Cheese straws firm as they cool, but they need enough time to drive off moisture first. Look for dry tops, darker golden edges, and a toasty smell. A cooling rack matters too. If hot straws sit on a warm sheet pan too long, steam collects underneath and softens the bottoms.
Make-ahead party timing
You can make the dough a day ahead and keep it wrapped in the refrigerator. Let it sit on the counter for 5-10 minutes before rolling if it feels too firm. You can also cut the straws, place them on a parchment-lined sheet, and chill them for a few hours before baking.
Baked cheese straws are best the day they are made, but they hold well in a tin once fully cooled. For longer storage, freeze the unbaked dough instead of the finished straws. For general storage guidance on refrigerated and frozen foods, the FoodSafety.gov cold storage chart is a useful reference.
Spice choices that fit
Cayenne is traditional because it gives the cheddar a quiet kick. Start with 1/4 teaspoon if you want gentle heat. Double it if you like a sharper finish. Smoked paprika adds color and a little campfire warmth, while dry mustard makes the cheese taste cheesier without taking over.
You can change the seasoning without changing the method. Add cracked black pepper for bite, chopped rosemary for a holiday tray, or a pinch of onion powder for a snack-cracker flavor. Keep wet ingredients out of the dough. Fresh garlic, hot sauce, or soft herbs add moisture and can make the straws lose their clean snap. If you want another crisp cheese appetizer with more vegetable heft, try crispy broccoli cheese balls.
Serving these straws
Cheese straws are happiest next to cold drinks, pickles, olives, and creamy dips. They are salty and buttery, so they balance well with something bright or tangy. I like them standing upright in a small glass on a snack board so people can grab one without digging through the plate.
For a bigger appetizer spread, pair them with crispy fried mac and cheese bites, ham and cheese sliders, and sliced fruit. They also work with tomato soup or chili instead of crackers. Put them out shortly before serving if the room is humid. Crisp snacks always soften faster near steam, dips, and warm casserole dishes.

FAQs
- Can I make cheese straws without a cookie press?
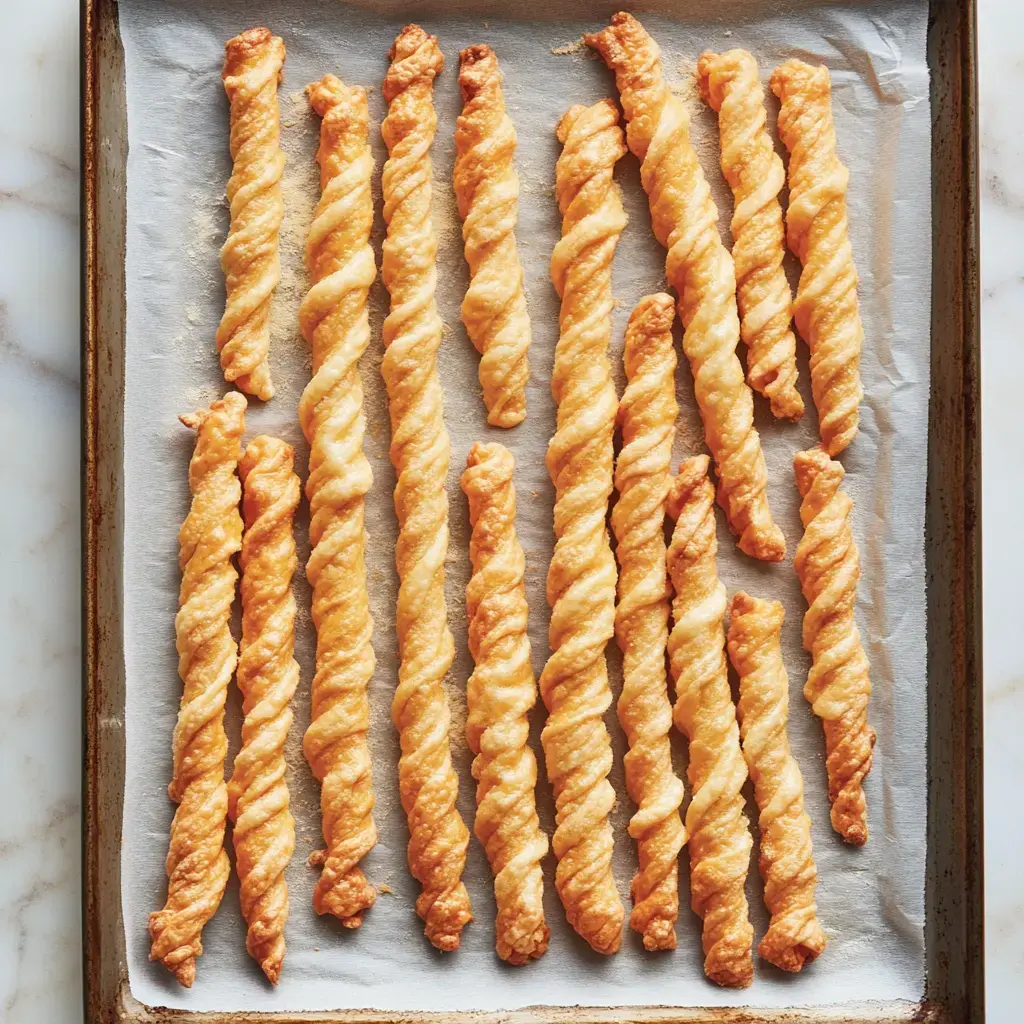
Yes. Roll the dough between two sheets of parchment and cut it into narrow strips with a pizza wheel or sharp knife. The straws will look more rustic, but they bake just as crisp.
- Why did my cheese straws spread in the oven?
The dough was likely too warm or the cheese was too oily. Chill the cut strips for 10-15 minutes before baking, and use freshly grated block cheese instead of pre-shredded cheese.
- Can I use a different cheese?
Extra-sharp cheddar gives the strongest flavor, but aged gouda, parmesan, or pepper jack can replace part of it. Avoid very soft cheeses because they add moisture and can make the straws greasy.
- How do I store homemade cheese straws?
Cool them completely, then store them in an airtight tin or container at room temperature for up to 3 days. If they soften, crisp them in a 300°F oven for 5-7 minutes.
- Can I freeze cheese straw dough?
Yes. Wrap the dough tightly and freeze it for up to 2 months. Thaw it overnight in the refrigerator, then roll, cut, and bake while the dough is still cool.
- Are cheese straws gluten-free?
This recipe is not gluten-free because it uses all-purpose flour. A cup-for-cup gluten-free baking blend may work, but the texture will be a little more tender and less snappy.
