 Pin it
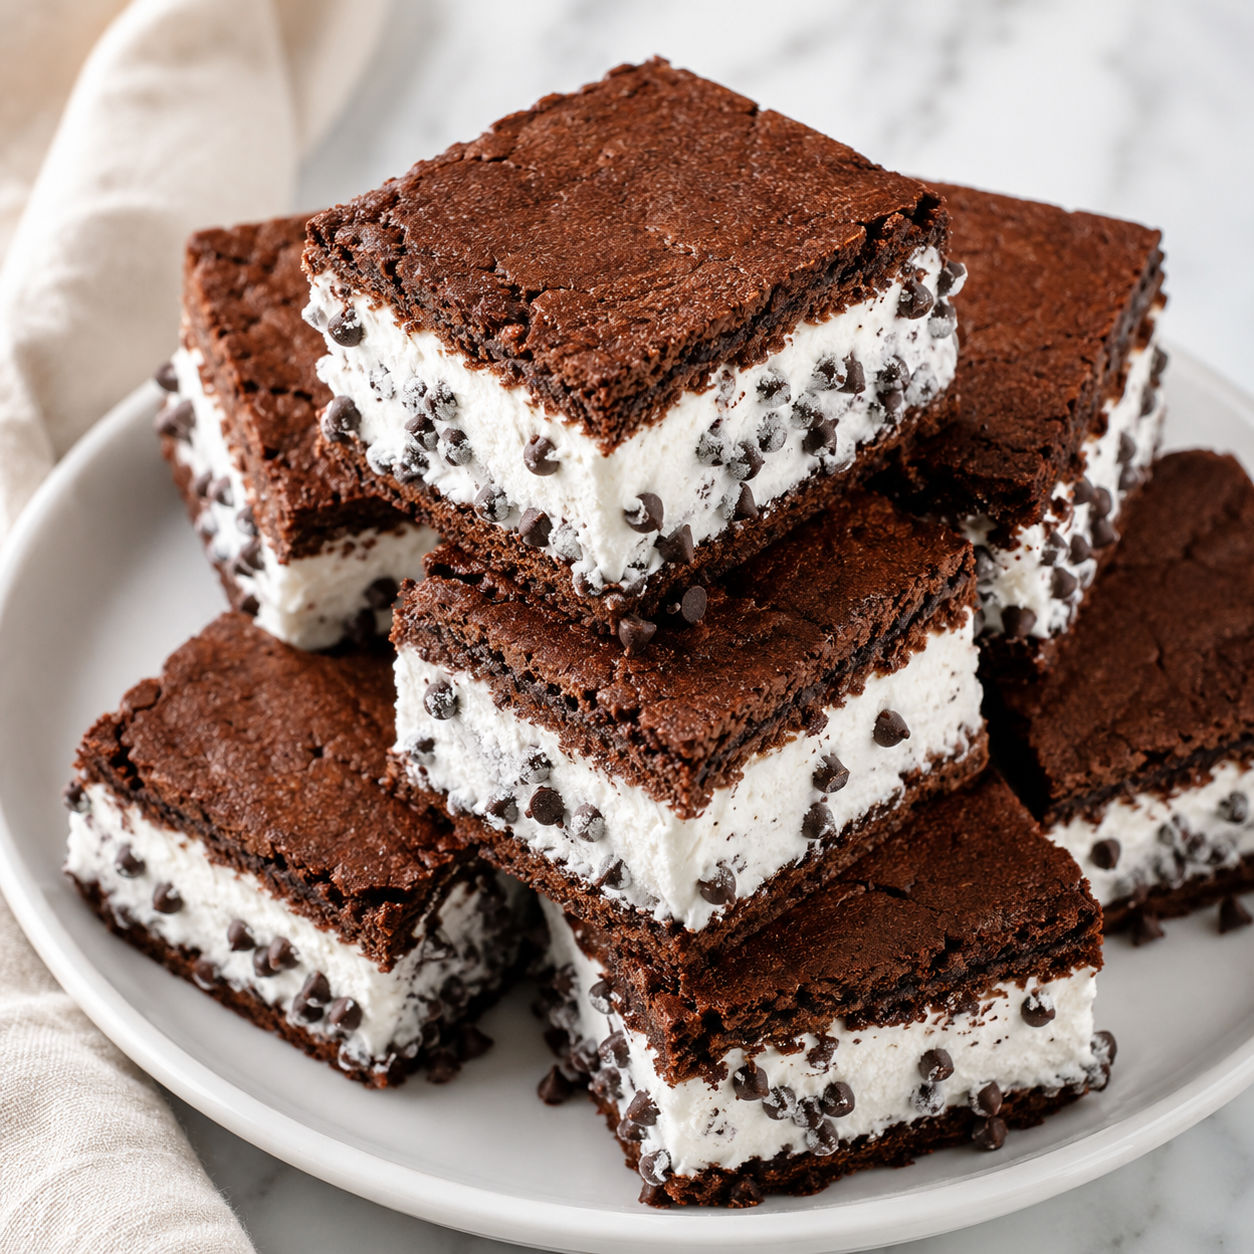
Easy Homemade Ice Cream Sandwiches are one of those freezer desserts that make you feel prepared in the best way. You bake one thin chocolate layer, split it in half, add softened ice cream, and let the freezer do the rest.
The texture matters most here. A cakey brownie-style layer stays tender when frozen, while a thick cookie can turn too hard to bite. I like vanilla ice cream for the classic look, but coffee, strawberry, and butter pecan all work beautifully.
Easy Homemade Ice Cream Sandwiches Lineup
The ingredient list is short, so the little choices show. Use unsweetened cocoa for a deeper chocolate layer and choose an ice cream flavor you would happily eat on its own.
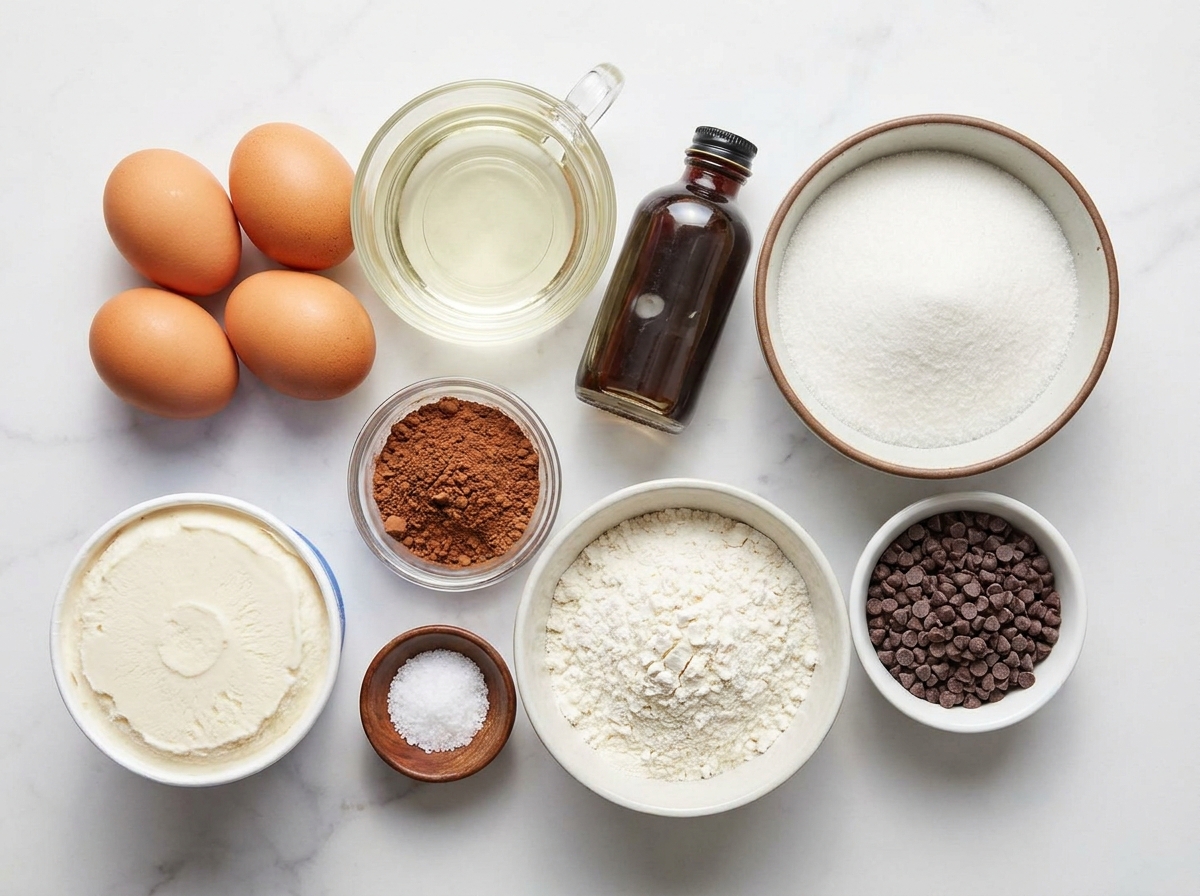
- Granulated sugar. Sweetens the chocolate layer and helps it stay soft after freezing.
- Neutral oil. Keeps the brownie sheet flexible and easier to bite than a butter-heavy cookie.
- Eggs. Give the chocolate layer structure so it can hold the ice cream without crumbling.
- Vanilla extract. Rounds out the cocoa and makes the simple batter taste fuller.
- Unsweetened cocoa powder. Brings the classic dark chocolate sandwich flavor.
- All-purpose flour. Gives the layer enough body to slice into clean squares.
- Kosher salt. Keeps the dessert from tasting flat.
- Vanilla ice cream. Softens into a creamy middle that freezes back into a neat slab.
- Mini chocolate chips or sprinkles. Add a fun edge if you want a party-style finish.
Build The Frozen Slab
- Prepare the pan. Line a rimmed half sheet pan with parchment, leaving enough overhang to lift the chocolate layer out cleanly.
- Mix the batter. Whisk the sugar, oil, eggs, and vanilla until smooth, then stir in cocoa, flour, and salt just until the dry streaks disappear.
- Bake it thin. Spread the batter evenly and bake at 350 F until set, about 16-18 minutes. Do not overbake or the frozen layer will be tough.
- Cool completely. Let the sheet cool in the pan, then lift it out and cut it into two equal rectangles.
- Add the ice cream. Spread softened ice cream over one rectangle in an even layer. Set the second rectangle on top and press gently.
- Freeze and slice. Wrap well and freeze until firm, at least 3 hours. Cut into squares with a warm knife and roll the edges in mini chips or sprinkles if using.
The Soft Bite Secret
The best homemade ice cream sandwiches do not fight back when you take a bite. That is why this recipe uses a thin cocoa brownie layer instead of regular cookies. Cookies with lots of butter can freeze hard. A thinner, oil-based chocolate sheet stays more flexible.
Spread the batter all the way to the corners so the slab bakes evenly. If the center is thick and the edges are thin, the sandwiches will slice unevenly. For a classic version with a similar freezer-dessert feel, try these Ice Cream Sandwiches too.
Ice Cream Choices That Work
Vanilla gives you the clean black-and-white sandwich everyone recognizes. If you want something richer, a coffee filling is excellent with the cocoa layer. The Homemade Coffee Ice Cream Treat is a good match if you want a stronger dessert flavor.
Avoid ice creams with very large chunks unless you plan to chop them smaller. Big pieces make the slab lumpy and harder to cut. For a fruitier freezer treat, the Easy Strawberry Shortcake Ice Cream Bars bring the same make-ahead convenience with a brighter flavor.
Clean Slices, Less Melting
Work cold and move with purpose. Once the ice cream is spread, place the top layer on right away and wrap the slab tightly. A long freeze is not optional. The center needs time to firm up so the knife can make clean edges.
For neat cuts, dip a sharp knife in hot water, wipe it dry, and cut straight down. Wipe the blade between slices. The USDA notes that freezing keeps food safe by slowing microbial growth, but quality still depends on tight wrapping and steady freezer temperature. Their freezing and food safety guide is useful for general freezer storage.
Easy Mix-In Ideas
Mini chocolate chips are the easiest edge coating because they stick without making a mess. Rainbow sprinkles are better for birthdays, and crushed freeze-dried strawberries add color without adding much moisture. Chopped toasted pecans are good with butter pecan ice cream, especially if you like a salty finish.
If you want more homemade ice cream options, Homemade Butter Pecan Ice Cream makes these taste a little more grown-up. Keep the ice cream layer about 1 inch thick. Thicker looks generous, but it can squeeze out when you bite.
Storage And Party Timing
You can make these several days before you serve them. Once sliced, wrap each sandwich well and place the wrapped pieces in a freezer-safe container. They taste best in the first month, but they can keep up to 2 months if protected from freezer air.
For a party, set out only a few at a time and keep the rest frozen. They soften faster than store-bought sandwiches because the filling is generous. That is part of the charm, but nobody wants a melted tray.
Summary
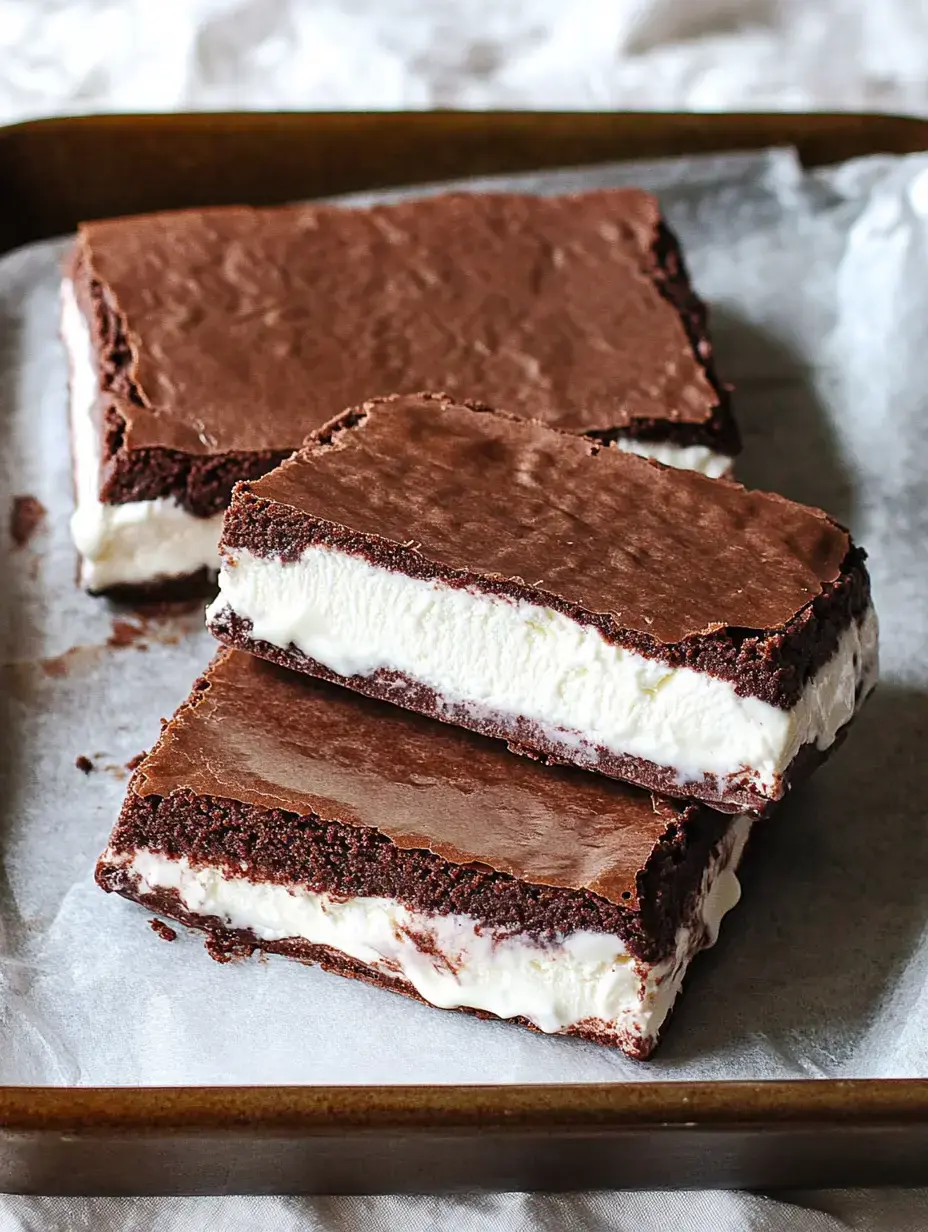
Make the chocolate layer ahead, assemble with softened ice cream, freeze until firm, then slice with a warm knife for neat sandwiches.
FAQs
- How do I keep homemade ice cream sandwiches soft enough to bite?
Use a thin brownie-style chocolate layer instead of a thick cookie. Oil, sugar, and a short bake help the layer stay tender after freezing.
- Can I use store-bought ice cream?
Yes. Store-bought ice cream works very well here. Let it soften until spreadable but not melted, usually 10-15 minutes at room temperature.
- How long do homemade ice cream sandwiches last in the freezer?
They are best within 2 months when wrapped tightly. Keep them in an airtight container or freezer bag so the edges do not dry out.
- Can I make these gluten-free?
A cup-for-cup gluten-free flour blend can usually replace the all-purpose flour. The chocolate layer may be a little more delicate, so chill it fully before slicing.
- What ice cream flavors go best?
Vanilla is the classic choice, but coffee, strawberry, mint chip, chocolate, and butter pecan are all good. Pick a flavor that cuts cleanly and does not have very large chunks.
- Why did my sandwiches get messy when I cut them?
They probably needed more freezer time. Freeze the assembled slab until very firm, then use a sharp knife warmed under hot water and wiped dry between cuts.
