 Pin it
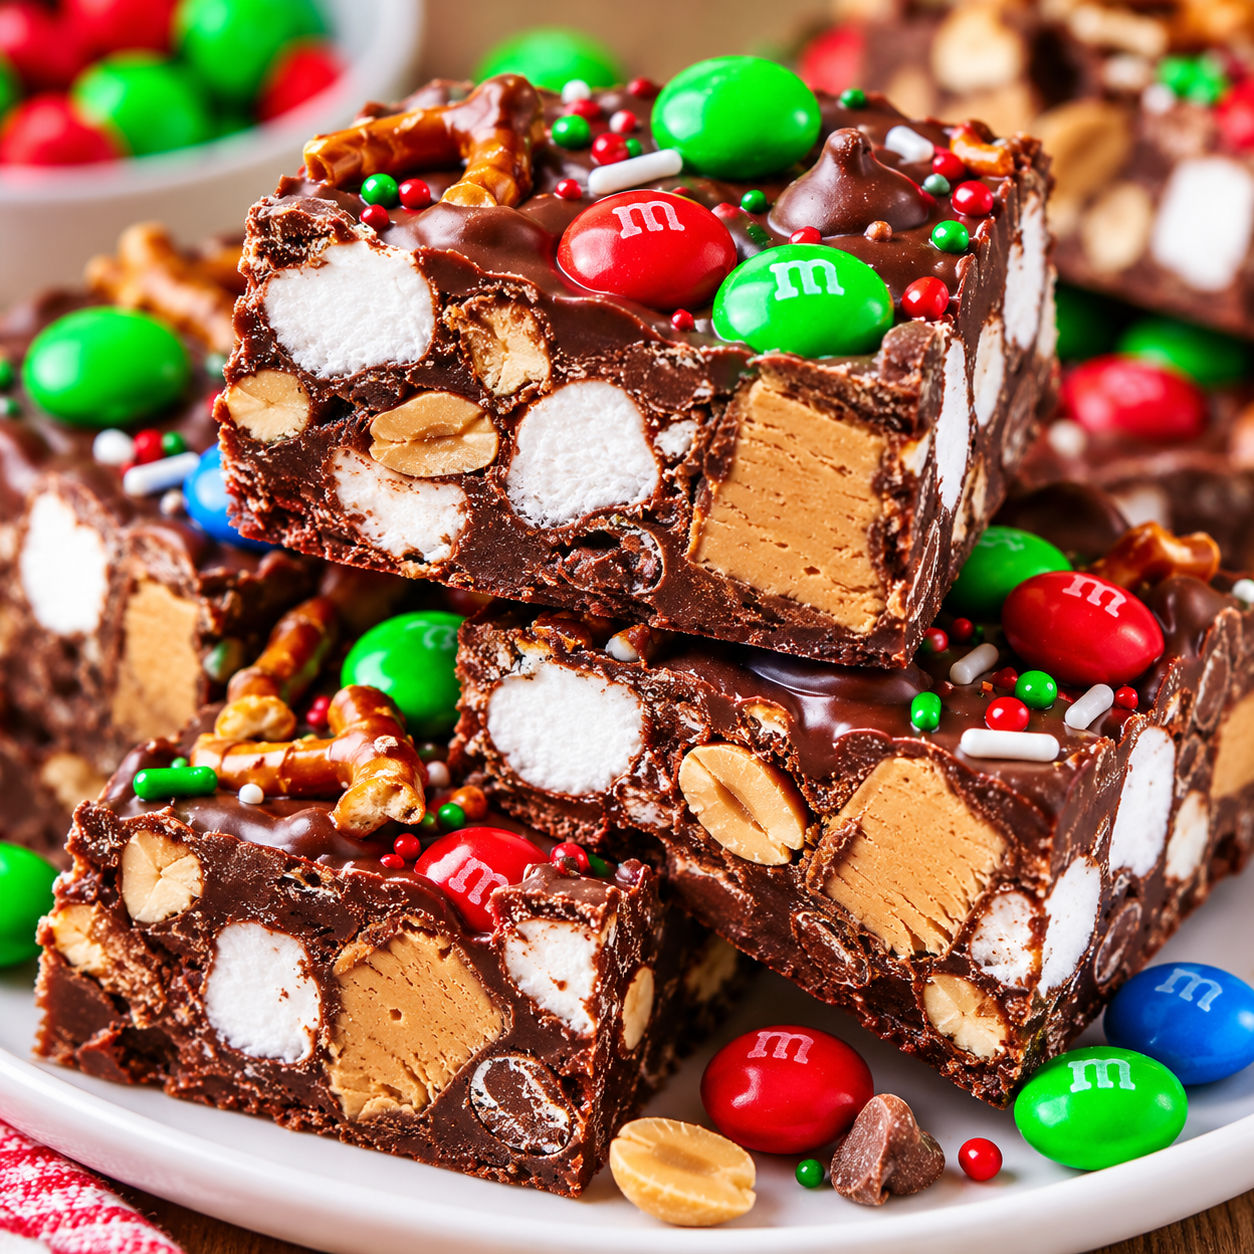
Easy Peanut Butter Rocky Road Bars with M&Ms are the kind of fridge dessert that disappears faster than you expect. They are chewy from marshmallows, crisp from pretzels, nutty from peanut butter, and full of candy-coated crunch.
I like these when I need a dessert that feels homemade without turning on the oven. The only fussy part is patience. Let the chocolate mixture cool for a few minutes before stirring in the marshmallows so they stay plump instead of melting into streaks.
Easy Peanut Butter Rocky Road Mix
The ingredient list is short, so use chocolate you enjoy eating on its own. Creamy peanut butter gives the base a soft fudge texture, while salty pretzels and peanuts keep the bars from tasting flat.
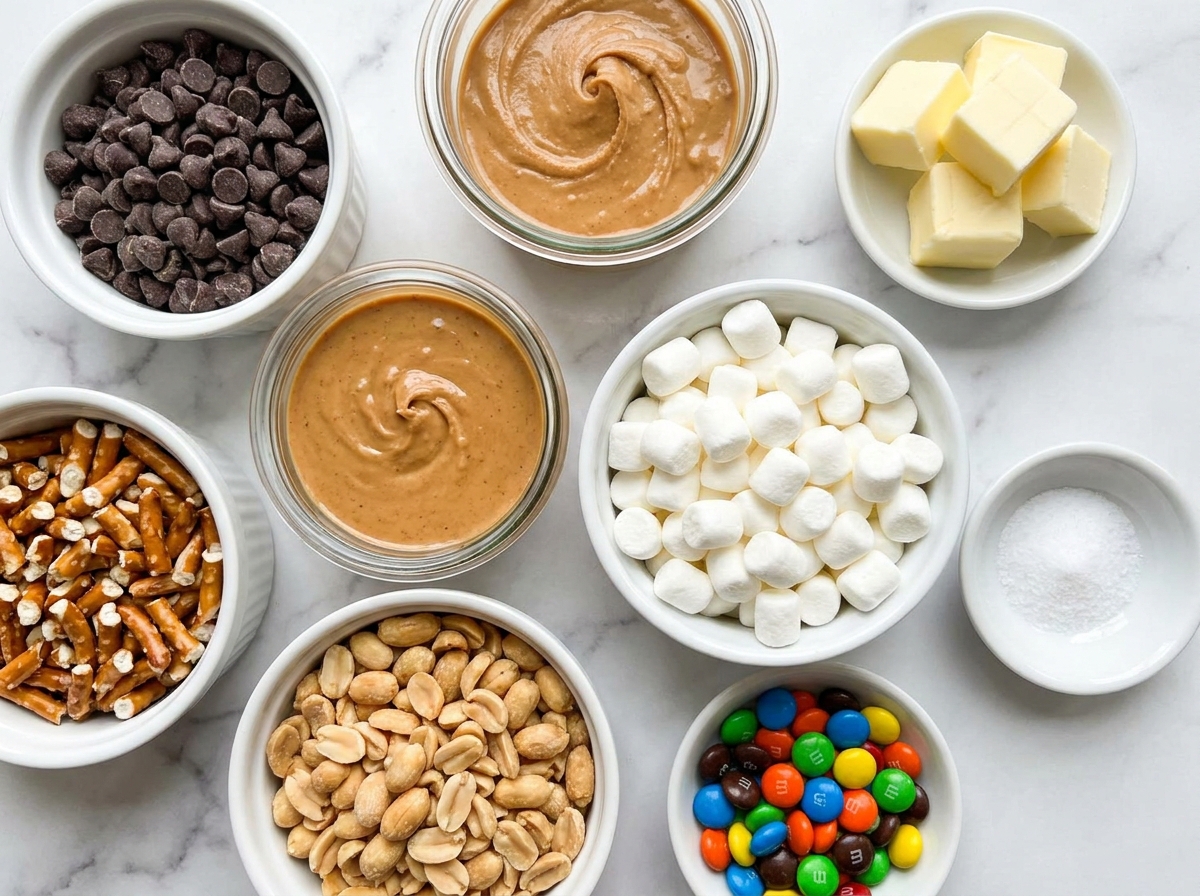
- Semi-sweet chocolate chips. Form the firm fudgy base and balance the sweetness of the candy.
- Creamy peanut butter. Makes the chocolate softer, nuttier, and easier to bite when chilled.
- Unsalted butter. Helps the chocolate melt smoothly and adds a richer finish.
- Mini marshmallows. Give rocky road its soft chewy pockets.
- Pretzels. Add salt and crunch, which matters in a sweet no-bake bar.
- Roasted peanuts. Deepen the peanut flavor and make each square feel fuller.
- M&Ms. Bring color, milk chocolate sweetness, and that crisp candy shell.
- Fine salt. Sharpens the chocolate and peanut butter so the bars do not taste too sugary.
Chill, Slice, Share
- Line the pan. Fit an 8-inch square pan with parchment, leaving two sides overhanging so the slab lifts out cleanly.
- Melt the base. Warm the chocolate chips, peanut butter, butter, and salt in short microwave bursts, stirring until glossy and smooth.
- Cool it briefly. Let the mixture stand for 5-8 minutes. It should feel warm, not hot, before the add-ins go in.
- Fold in the crunch. Stir in the marshmallows, pretzels, peanuts, and most of the M&Ms until every piece is coated.
- Pack the pan. Scrape the mixture into the pan, press it into an even layer, and scatter the remaining M&Ms over the top.
- Chill and cut. Refrigerate until firm, about 1 hour, then lift out and cut into 16 bars with a sharp knife.
Melt Without Scorching
Chocolate can go from smooth to grainy if it gets too hot. Microwave in 20-second bursts and stir well between each round. The bowl holds heat, so the last few chips will usually melt from stirring alone. If you prefer the stovetop, set a heatproof bowl over barely simmering water and keep the bottom of the bowl above the water.
This same gentle melting habit helps with other peanut butter candies too. If you like the soft chocolate-peanut butter style here, try the no-bake peanut butter buckeye bars next.
Keep The Rocky Texture
Rocky road should look a little uneven. Do not crush the pretzels into dust, and do not stir so hard that the marshmallows tear. Big pieces make the bars more fun to eat. I break pretzels by hand and leave some pieces nearly bite-size.
If you want more candy crunch, swap a few peanuts for extra M&Ms. For a cookie-bar mood, use this same peanut butter and chocolate pairing as inspiration from peanut butter chocolate chip cookie bars or the colorful easy M&M cookie bars.
Smart Swaps For Candy
These bars are flexible as long as the total add-ins stay close to 4 cups. Chopped peanut butter cups make them richer. Rice cereal makes them lighter. Crushed graham crackers give a campfire-style taste. For holidays, use seasonal M&Ms and keep the rest of the recipe the same.
If you are serving guests with food allergies, check every package. Peanut, milk, soy, and wheat are common in this style of treat. The FDA food allergy guide is a helpful reference when you are sorting labels for a group.
Clean Slices Every Time
Cold bars slice better than room-temperature bars. Lift the slab out with the parchment, set it on a cutting board, and use a long sharp knife. If the chocolate cracks, let it sit for 5 minutes and try again. Wiping the blade between cuts gives neater edges.
For serving, I cut these into small squares because they are rich. They fit well on a dessert tray with chewy scotcheroo bars, peanut butter balls, or a simple pan of brownies.
Storing The Bars
Keep the bars in an airtight container in the refrigerator for up to 1 week. Layer parchment between stacks so the candy tops stay neat. They can sit out for a party for about 1 hour, but they soften as they warm.
For longer storage, freeze the cut bars in a sealed container for up to 2 months. Thaw in the refrigerator before serving so the marshmallows and chocolate return to a pleasant chew.
Summary
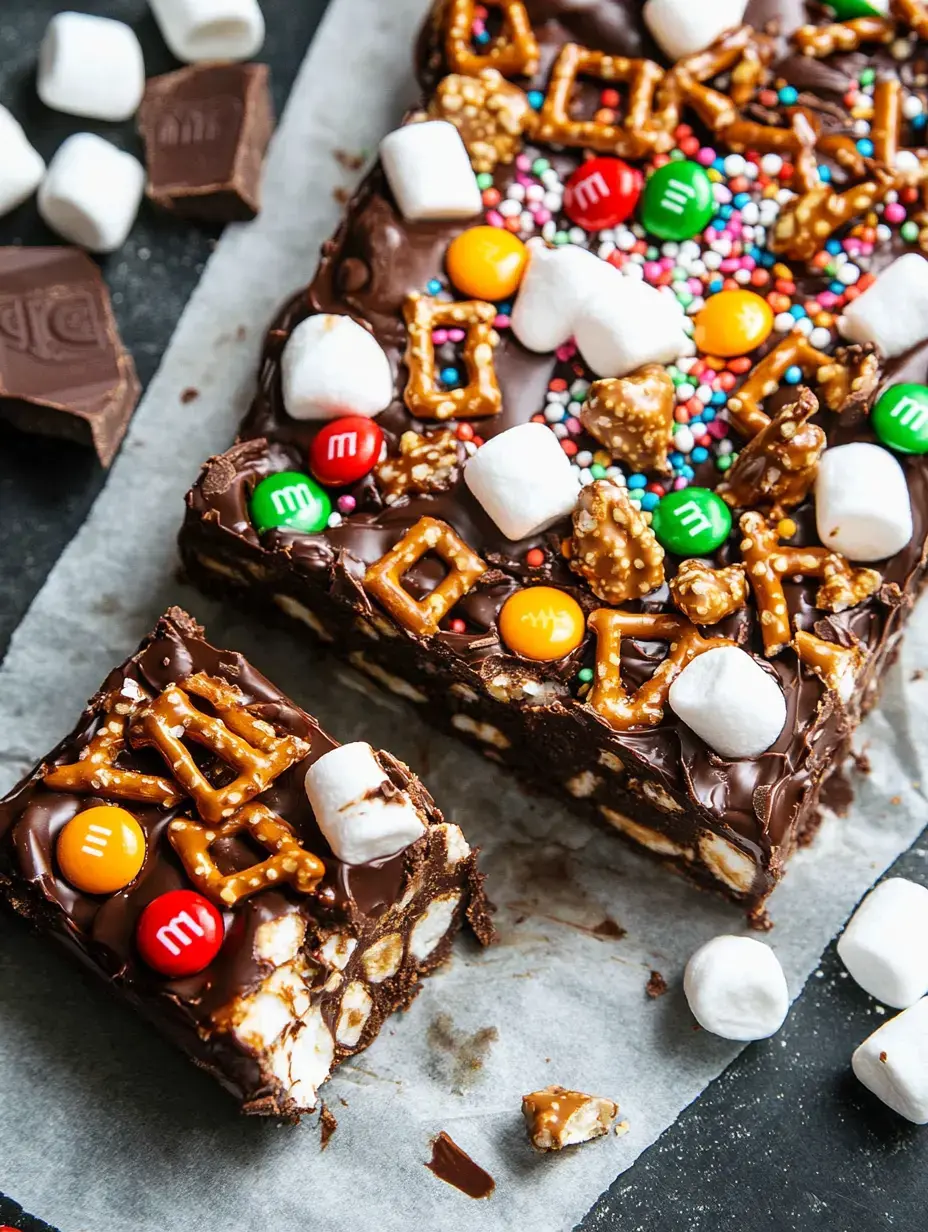
These no-bake bars are sweet, salty, chewy, and crisp. Keep them chilled for the cleanest slices and the fudgiest bite.
FAQs
- Can I make peanut butter rocky road bars ahead?
Yes. These bars are actually easier to cut after a full chill. Make them up to two days ahead, keep them covered in the refrigerator, and slice them shortly before serving.
- Can I use natural peanut butter?
I do not recommend runny natural peanut butter for this recipe. It can make the chocolate mixture oily and softer. A shelf-stable creamy peanut butter gives the bars a smoother set.
- How do I keep the marshmallows from melting?
Let the melted chocolate and peanut butter mixture cool for 5-8 minutes before folding in the marshmallows. It should still be fluid, but not hot enough to collapse them.
- Can I make these bars gluten-free?
Yes, use gluten-free pretzels and check every candy and chocolate package. Some candies are processed on shared equipment, so labels matter if you are baking for someone with an allergy or intolerance.
- What can I use instead of pretzels?
Rice cereal, corn cereal squares, broken graham crackers, or chopped roasted peanuts all work. Keep the amount close to 1 cup so the chocolate mixture still coats everything well.
- Why are my rocky road bars too soft?
They may need more chill time, or the chocolate mixture may have too much peanut butter for the amount of chocolate. Keep them refrigerated and use measuring cups with level amounts for the best texture.
