 Pin it
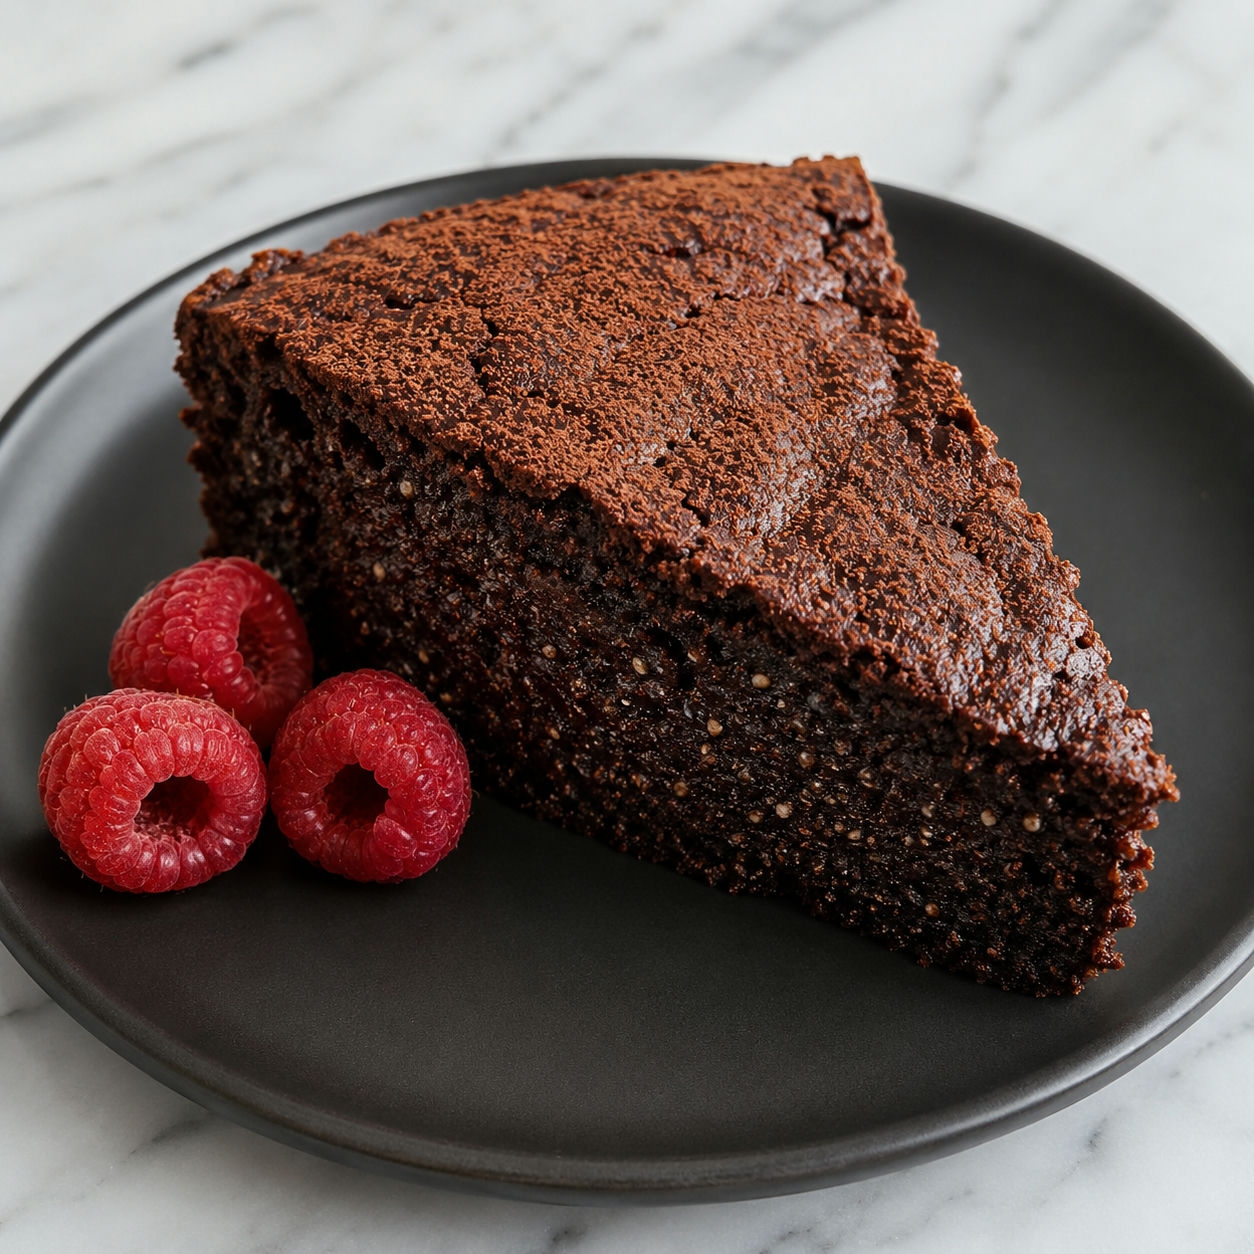
Chia Seed Chocolate Cake is the kind of no-flour dessert that feels rich without being heavy. The chia seeds soak into a gel first, then disappear into the batter and leave behind a moist, tender crumb.
I like this cake chilled or at cool room temperature, when the chocolate sets into neat slices. It is not a tall bakery layer cake. It is closer to a fudgy chocolate torte with a soft center and a thin crackly top.
The No-Flour Lineup
Use good cocoa and chocolate because there is no flour to soften weak flavor. The chia seeds need time to hydrate, so start them first and let the mixture thicken before you blend the batter.
- Chia seeds. They soak into a gel that helps bind the cake and keeps the crumb moist.
- Whole milk. Hydrates the chia seeds and gives the batter a softer texture.
- Dark chocolate. Adds body, richness, and a fudgy set once the cake cools.
- Unsalted butter. Carries the chocolate flavor and keeps the crumb smooth.
- Eggs. Give the cake lift and help it slice cleanly.
- Granulated sugar. Sweetens the cocoa and helps create a thin crackly top.
- Unsweetened cocoa powder. Deepens the chocolate flavor without adding bulk.
- Vanilla and salt. Round out the bitterness and make the chocolate taste fuller.
- Baking powder. Gives a small lift, so use a gluten-free one if needed.
Bake It Low And Gentle
- Soak the chia. Stir the chia seeds with warm milk and let them stand until thick and spoonable.
- Prep the pan. Line an 8-inch round pan with parchment and heat the oven to 325°F.
- Melt the chocolate. Warm the chocolate and butter together until smooth, then let the mixture cool slightly.
- Blend the batter. Blend the chia gel, eggs, sugar, cocoa, vanilla, baking powder, and salt until mostly smooth.
- Combine and bake. Pour in the melted chocolate mixture, blend briefly, then bake until the edges set and the center still has a soft wobble.
- Cool before slicing. Let the cake cool in the pan, then chill it for cleaner pieces.
Chia Seed Chocolate Cake Texture
This Chia Seed Chocolate Cake does not behave like a sponge cake. It has a dense, fudgy bite, closer to a flourless torte or a soft brownie. The soaked chia gel holds moisture, while the eggs and chocolate help the cake set as it cools. If you love deep chocolate cakes, it sits in the same family as Moist Buttermilk Chocolate Cake, but it is smaller, richer, and naturally flourless.
The main thing is patience. Warm slices will look soft and a little fragile. After an hour in the fridge, the same cake cuts cleanly and tastes more chocolatey.
How To Avoid Grit
Whole chia seeds are tiny, but they still need help blending into cake batter. Use warm milk, stir well, and let the mixture stand for 15 minutes. It should look thick and gelled before it goes into the blender.
A standard blender gives the smoothest result. A food processor works too, but the crumb may show more chia flecks. That is fine. The texture should be moist, not sandy. For more chia dessert ideas, the Easy Strawberry Chia Seed Pudding uses the same soaking trick in a no-bake way. Harvard's Nutrition Source has a helpful overview of chia seeds if you want more background on how they absorb liquid.
Smart Swaps That Work
For a dairy-free version, use neutral oil or coconut oil instead of butter and choose dairy-free dark chocolate. Unsweetened almond milk, oat milk, or coconut milk can replace whole milk. Brown sugar can stand in for granulated sugar if you want a softer, slightly molasses-like flavor.
Do not swap the eggs for more chia gel in this specific cake. The eggs are doing more than binding. They give the batter lift and help the top set. If you want a smaller chocolate bite with chia and fruit, try Dark Chocolate Bites with Raspberry Jam and Chia.
Serving It Cleanly
Chill the cake before cutting if you want neat wedges. Run a knife under hot water, wipe it dry, and make one steady cut. Wipe the blade between slices. The cake is rich, so small pieces make sense.
Serve it plain with cocoa on top, or add berries and lightly whipped cream. A tart berry sauce is especially good because it cuts through the chocolate. For a bigger chocolate dessert table, pair it with Decadent Chocolate Ricotta Cake so guests have both fudgy and creamy options.
Storage And Make-Ahead
This cake gets better after a few hours of rest. Bake it the day before, cool it completely, and refrigerate it covered. The chocolate flavor deepens and the crumb tightens into a clean slice.
Keep leftovers in an airtight container in the fridge for up to 4 days. FoodSafety.gov keeps a useful cold storage chart for general refrigerator guidance. You can freeze individual slices for up to 2 months. Wrap them well and thaw overnight in the fridge.
Summary
Serve this cake with berries, whipped cream, or a spoonful of plain yogurt. Keep slices covered in the fridge for clean cuts and a dense chocolate texture.
FAQs
- Can you taste the chia seeds in this chocolate cake?
Not much. Soaking softens the seeds and blending the batter breaks them down, so they act more like a binder than a crunchy topping. You may see tiny specks in the slice.
- Can I make this cake dairy-free?
Yes. Use unsweetened almond milk or oat milk in place of whole milk, coconut oil in place of butter, and a dairy-free dark chocolate bar. The cake will be slightly softer but still fudgy.
- Does this cake need flour or almond flour?
No. The structure comes from soaked chia seeds, eggs, cocoa, and melted chocolate. Let the cake cool fully before slicing because it firms as the chocolate sets.
- How should I store chia seed chocolate cake?
Cover the cake and refrigerate it for up to 4 days. For the cleanest slices, cut it cold with a warm knife, then let each slice sit at room temperature for 10 minutes before serving.
- Can I use ground chia seeds instead of whole?
Yes. Use 3 tablespoons ground chia seeds and reduce the soaking time to about 10 minutes. The texture will be smoother and a little less speckled.
- Why did my flourless chia cake sink in the middle?
A little sinking is normal for a flourless chocolate cake. If it collapses deeply, it may have been underbaked or cut while warm. Bake until the edges are set and the center has only a gentle wobble.
