 Pin it
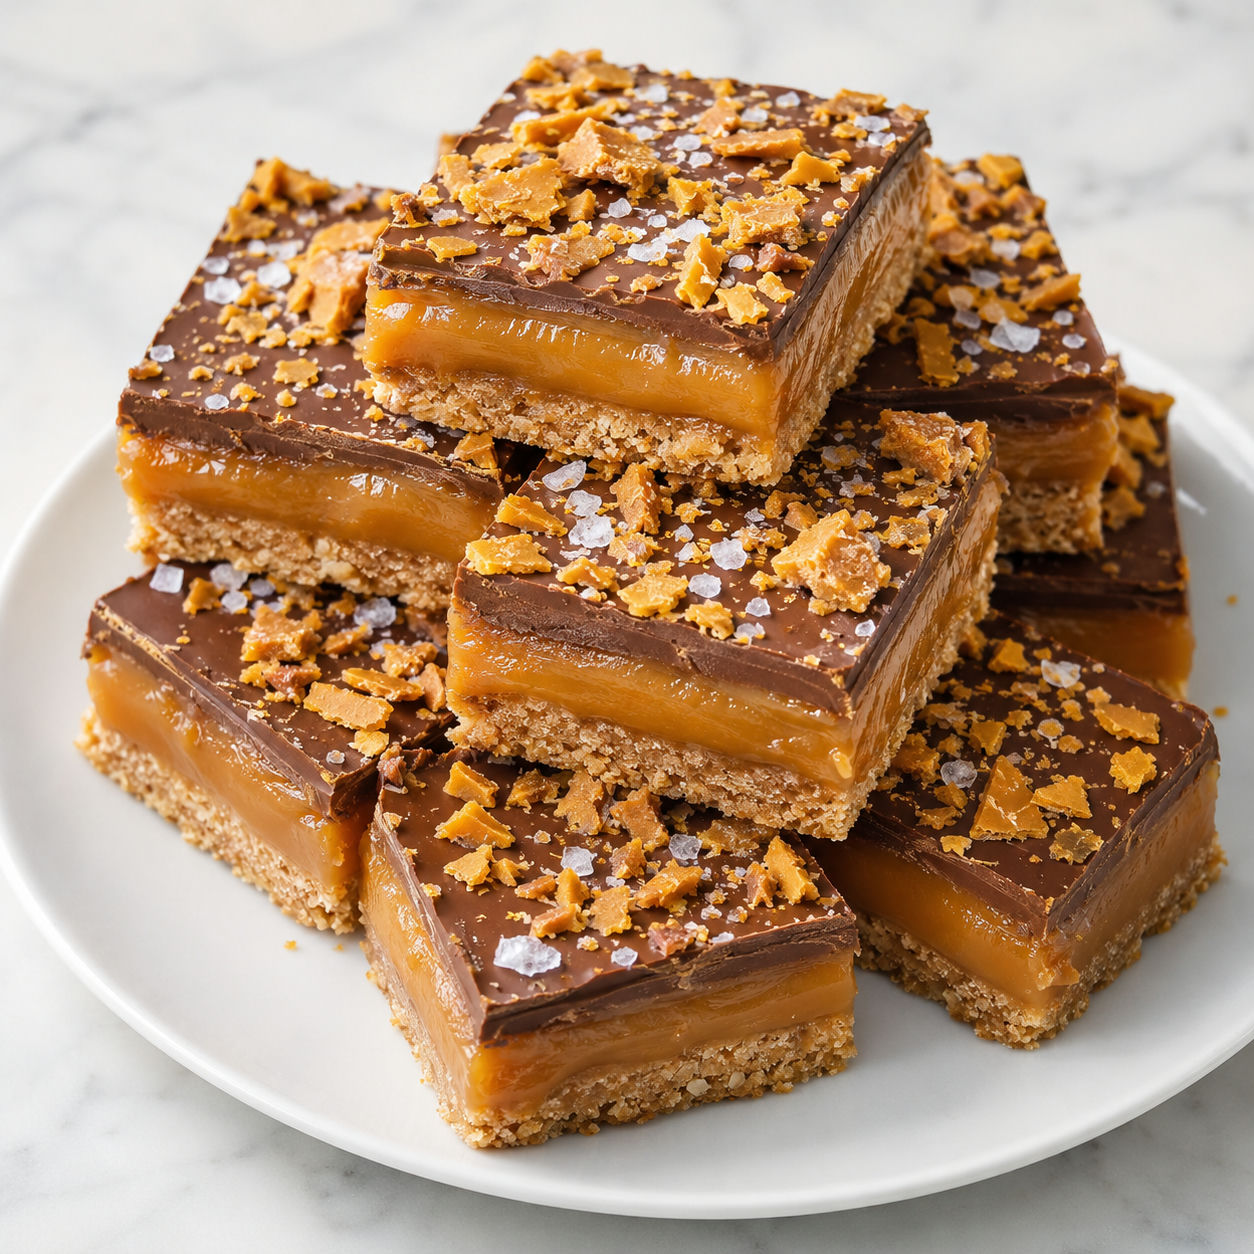
Butterfinger Caramel Crunch Bars are the kind of dessert that disappears before coffee is poured. You get a firm graham cracker base, a chewy caramel middle, and that flaky peanut-butter candy crunch in every bite.
I like these for bake sales and family nights because they look more involved than they are. The only fussy part is slicing, and a warm knife fixes that fast.
Candy Aisle Lineup
Use fresh candy bars that still shatter when chopped. Stale candy tastes flat here because the whole dessert depends on contrast between soft caramel and crisp peanut-butter flakes.
- Graham cracker crumbs. They make a sturdy, buttery base that cuts cleanly after chilling.
- Unsalted butter. Butter binds the crumbs and gives the crust a toasted bakery flavor.
- Soft caramels. They melt into a chewy layer without needing a candy thermometer.
- Sweetened condensed milk. It keeps the caramel smooth and sliceable instead of sticky and stringy.
- Butterfinger candy bars. The crisp peanut-butter center gives the bars their signature crunch. The official Butterfinger candy site is useful if you want to check current sizes and varieties.
- Crisp rice cereal. A small handful stretches the crunch so the bars stay light, not dense.
- Chocolate chips. They melt into a thin cap that holds the topping in place.
- Creamy peanut butter. It softens the chocolate topping and echoes the candy center.
- Flaky salt. Just a pinch makes the caramel taste deeper and less sugary.
Build The Layers
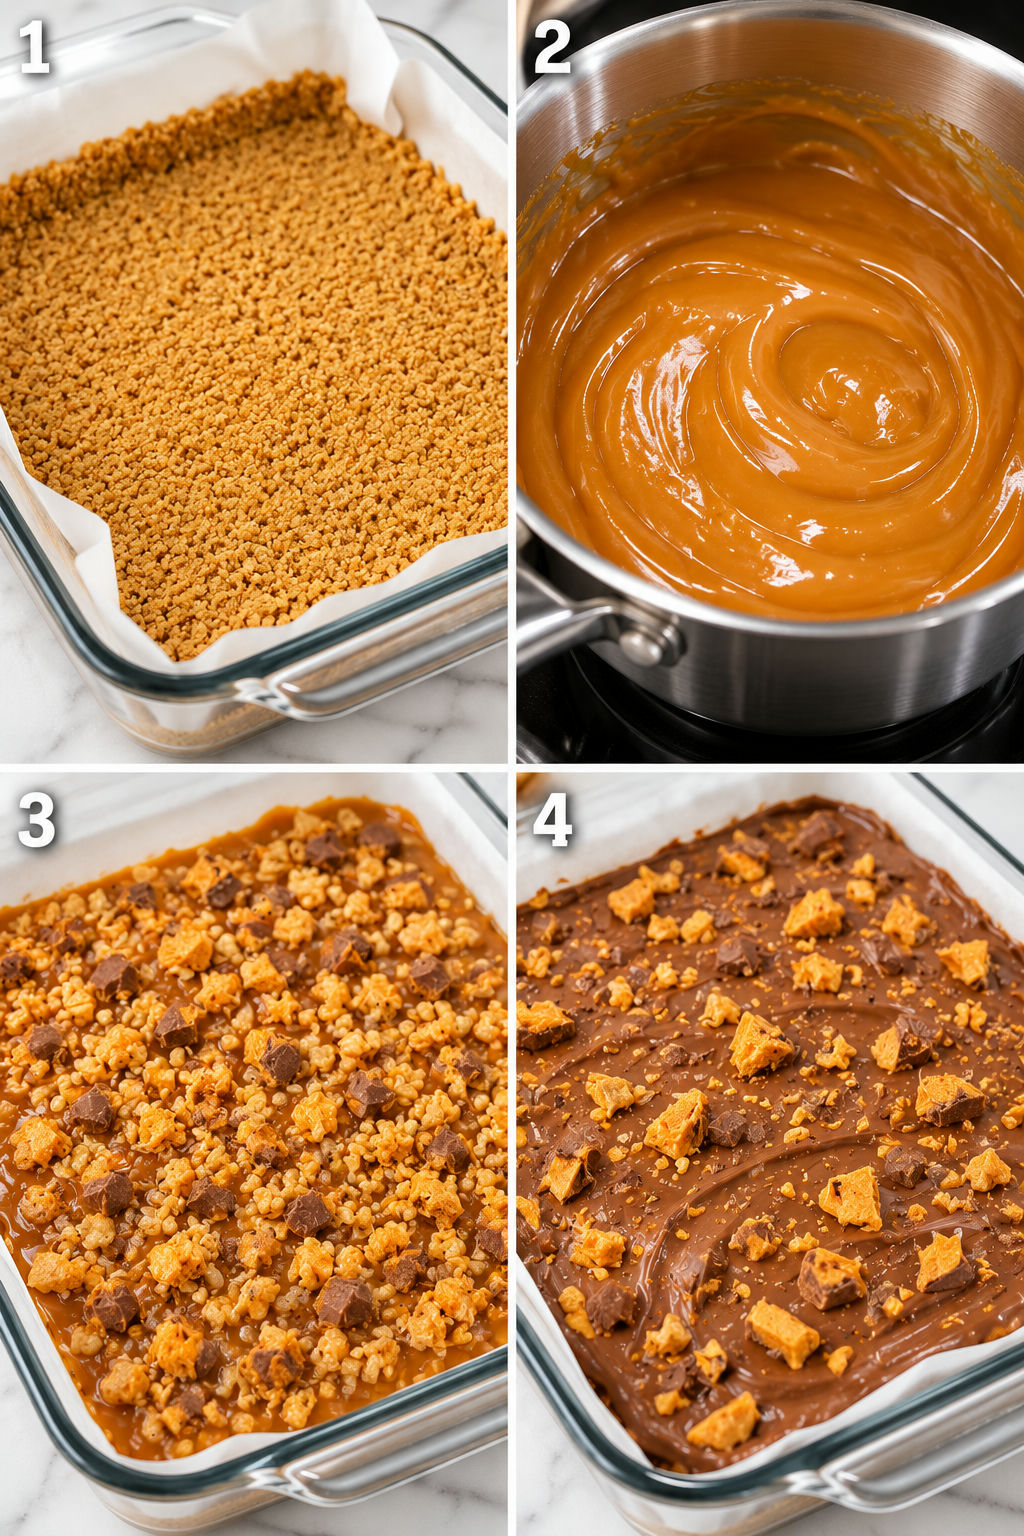
- Prepare the pan. Line a 9x13-inch pan with parchment and leave overhang on two sides so the chilled slab lifts out cleanly.
- Bake the crust. Mix the graham crumbs, melted butter, sugar, and salt, then press firmly into the pan. Bake until fragrant so it can hold the caramel.
- Melt the caramel. Warm the caramels with condensed milk and butter over low heat, stirring until smooth. Add vanilla off the heat.
- Add the crunch. Pour the caramel over the crust, then scatter most of the chopped Butterfinger and the rice cereal over it. Press gently so the pieces grip the caramel.
- Finish with chocolate. Melt chocolate chips with peanut butter and spread a thin layer over the top. Add the last Butterfinger pieces and a little flaky salt.
- Chill and slice. Refrigerate until firm, then lift out the slab and cut with a warm dry knife.
Butterfinger Caramel Crunch Bars Tips
The best Butterfinger Caramel Crunch Bars are built around texture. Chop the candy with a chef's knife instead of crushing it into dust. You want a mix of shards, crumbs, and a few larger chunks. If you love this same candy-and-caramel pairing, try the site's No Bake Butterfinger Caramel Bars for an even softer version.
Keep The Caramel Chewy
Low heat is your friend. Caramel candies can scorch on the bottom before they look melted on top, so stir slowly and keep the pan gentle. The sweetened condensed milk makes the layer creamy, while the butter helps it cut without sticking to every knife stroke. Candy texture changes as sugar concentration rises, which is why the Exploratorium sugar-stage guide is handy if you like knowing why caramel firms as it cools.
If the mixture looks separated, pull it off the heat and stir for a minute. It usually comes back together once the temperature evens out.
Smart Swaps That Work
Saltines or pretzel crumbs can replace part of the graham crumbs if you want a saltier bar, closer to Caramel Pretzel Crack Bars. Milk chocolate makes the topping sweeter. Semi-sweet chocolate gives better balance. You can also swap in chocolate wafer crumbs for a darker base, but keep the butter amount the same and press well.
Clean Slices For Serving
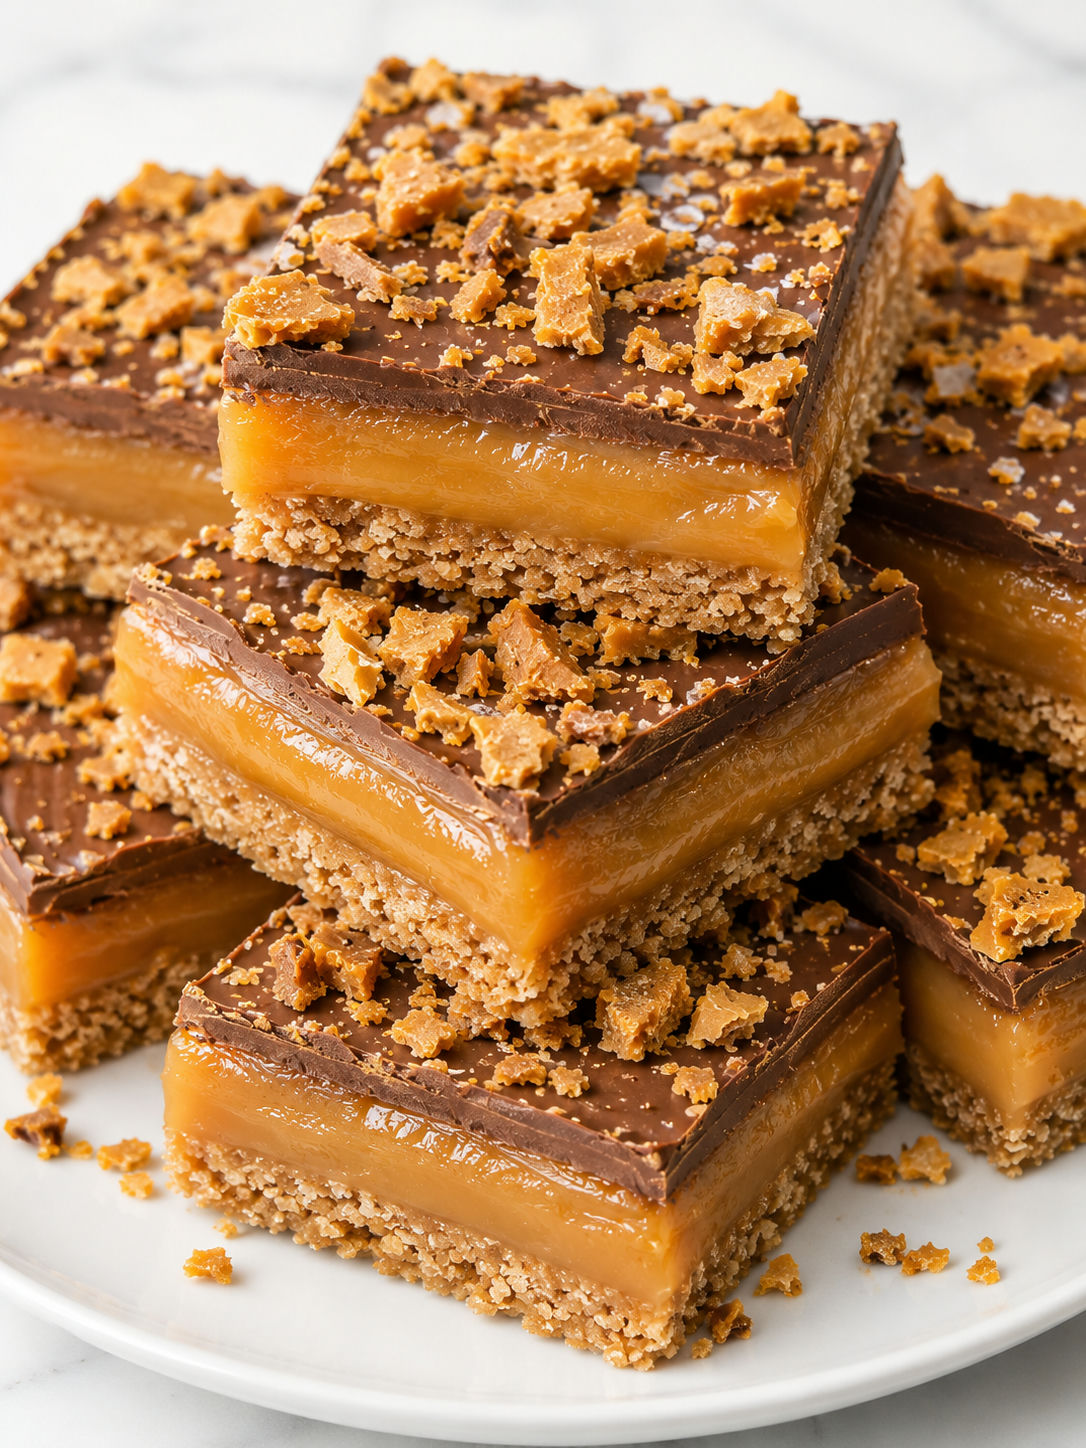
Chill the pan until the chocolate is firm but not rock hard. Lift the slab out with the parchment, then trim the edges if you want bakery-style squares. Run a large knife under hot water, wipe it dry, and cut straight down. Do not saw back and forth. For a dessert tray, pair these with Butterfinger Caramel Bars Recipe or Easy Chewy Scotcheroo Bars so you have a mix of chewy, crisp, and peanut butter treats.
Storage And Make-Ahead Notes
Store the bars in an airtight container in the refrigerator for up to 5 days. Put parchment between layers so the chocolate tops stay neat. They can sit out for a party, but the caramel softens as the room warms. For the best texture, set them out about 10 minutes before serving, then return leftovers to the fridge.
FAQs
- Can I make Butterfinger Caramel Crunch Bars ahead of time?
Yes. These bars are better after chilling for at least 90 minutes, so they are a good make-ahead dessert. Keep them covered in the refrigerator and slice shortly before serving for the cleanest edges.
- Can I use caramel sauce instead of caramel candies?
I do not recommend thin ice cream caramel sauce. It stays too loose and makes the bars messy. Use soft caramel candies, caramel bits, or a thick baking caramel that sets when chilled.
- How do I keep the crunch from getting soggy?
Add the Butterfinger pieces and crisp rice while the caramel is warm, then press gently instead of burying everything under hot caramel for too long. Save some candy for the top so you get fresh crunch after the chocolate sets.
- Can these bars be frozen?
Yes. Freeze the fully chilled slab or individual bars in an airtight container for up to 2 months. Thaw in the refrigerator, not on the counter, so the caramel softens slowly.
- What can I use instead of graham crackers?
Vanilla wafers, digestive biscuits, or shortbread cookies all work. If the cookie is already very sweet, skip the extra sugar in the crust and keep the salt.
- Why are my bars hard to cut?
The caramel and chocolate are probably too cold. Let the pan sit for 8-10 minutes, then cut with a large knife warmed under hot water and wiped dry between slices.
