 Pin it
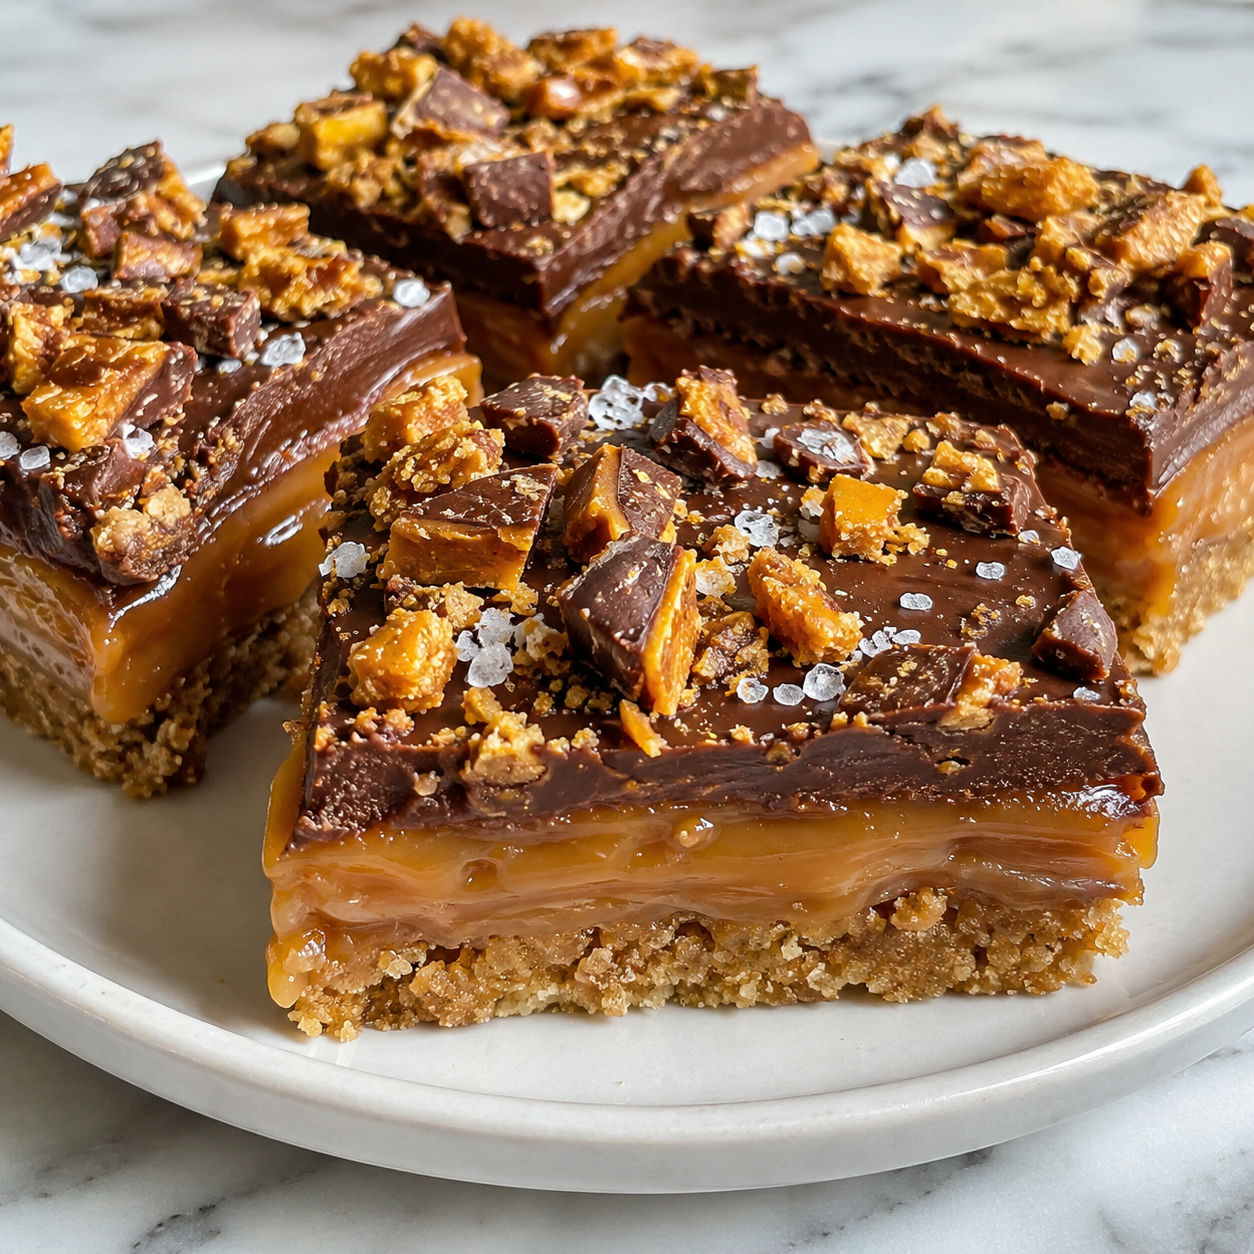
No Bake Butterfinger Caramel Bars are the kind of dessert that disappears from the pan before the coffee is ready. The base tastes like a peanut butter cookie crust, the center is sticky caramel, and the crushed candy gives every bite that crisp Butterfinger crackle.
I like these when the oven is busy or the kitchen is too warm for baking. The only real cooking is melting caramel and chocolate, then the fridge does the rest.
Candy Bar Layers
Use fresh candy bars with a crisp center and soft caramels that melt smoothly. The crust needs fine graham crumbs, not big chunks, so it presses into a sturdy base.
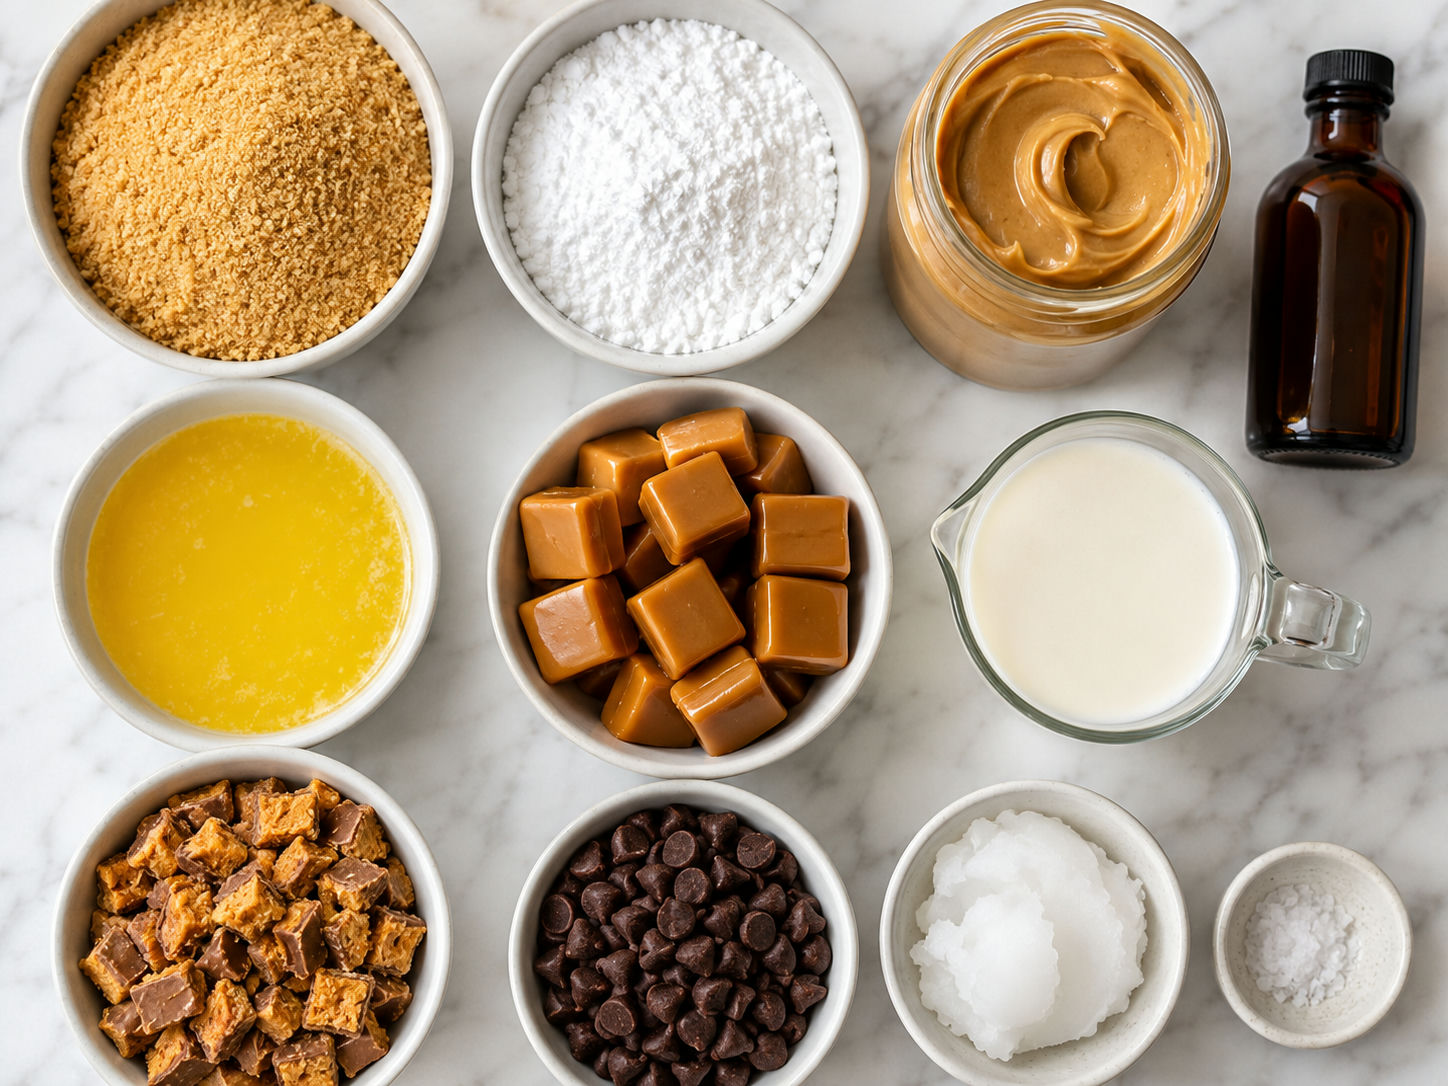
- Graham cracker crumbs. They make a firm no-bake crust that slices cleanly after chilling.
- Creamy peanut butter. It binds the crust and echoes the candy bar flavor.
- Powdered sugar. It sweetens the base without leaving grit.
- Unsalted butter. Melted butter helps the crust set firm in the fridge.
- Soft caramels. They melt into a chewy layer that stays sliceable.
- Heavy cream. A small splash keeps the caramel from turning hard.
- Butterfinger candy bars. Crushed pieces add flaky peanut butter crunch.
- Chocolate chips. Melted chocolate seals the top and balances the sweet caramel.
- Flaky salt. Optional, but it keeps the bars from tasting flat.
Build The Bars
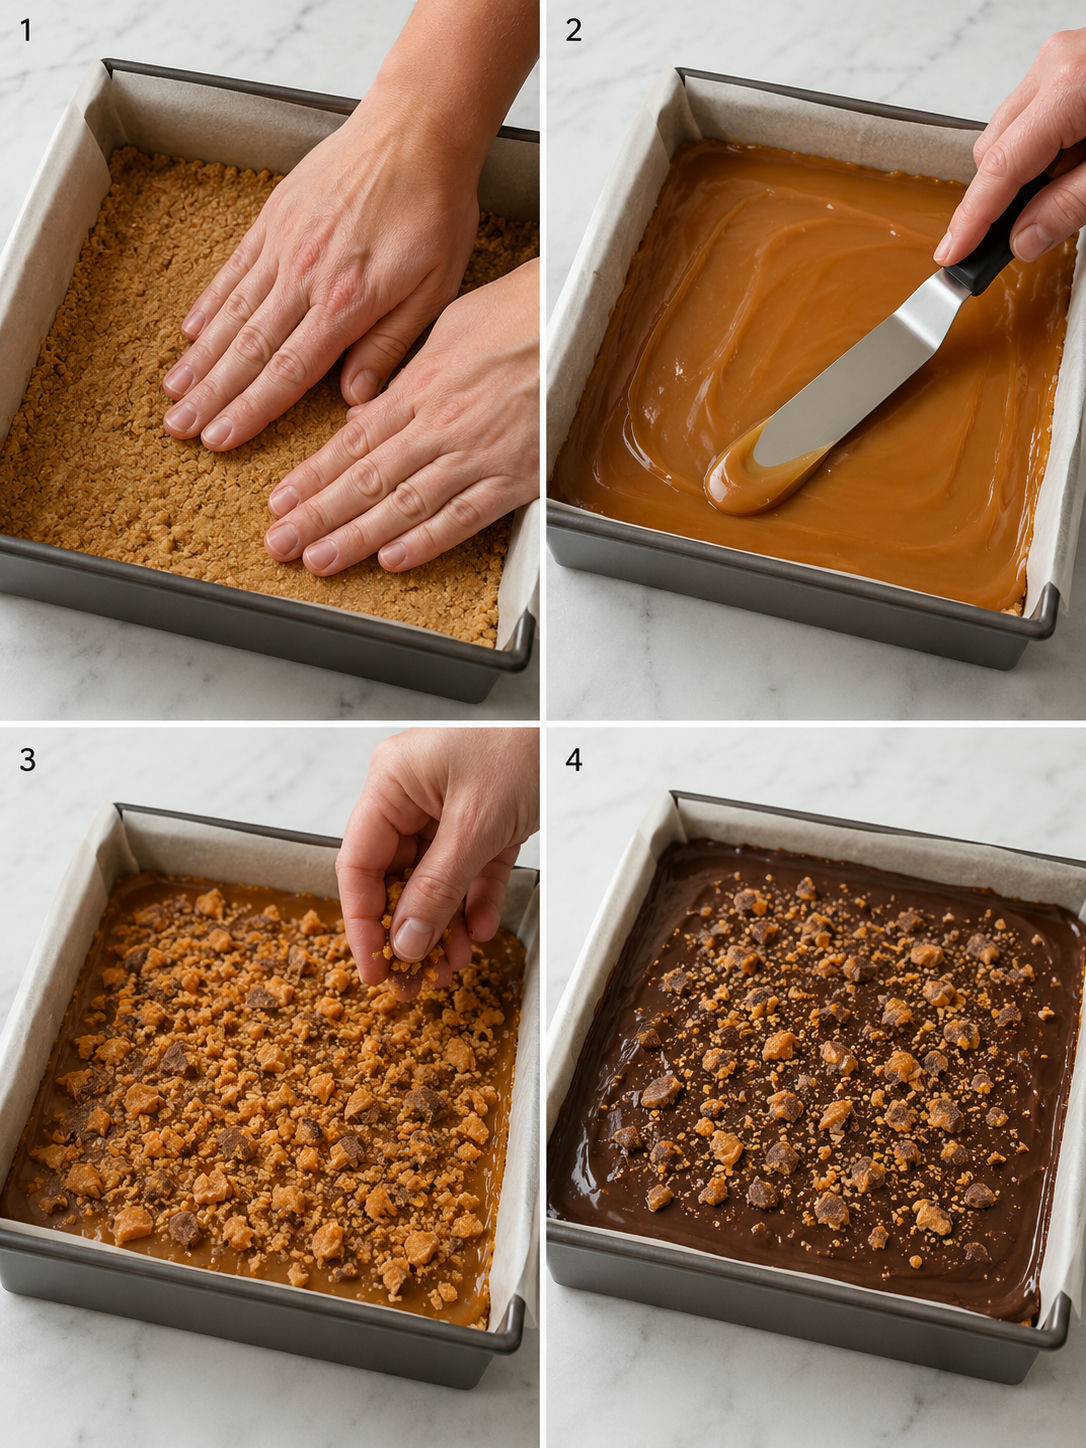
- Line the pan. Fit an 8-inch square pan with parchment, leaving overhang on two sides so the chilled bars lift out easily.
- Press the crust. Stir graham crumbs, powdered sugar, peanut butter, melted butter, vanilla, and salt until the mixture looks like damp sand. Press it firmly into the pan.
- Melt the caramel. Warm the caramels with cream in short bursts, stirring until smooth. Pour it over the crust while it is still loose.
- Add the crunch. Scatter most of the crushed Butterfinger over the caramel and press gently so the pieces stick.
- Top with chocolate. Melt chocolate chips with coconut oil until glossy, then spread it over the candy layer. Sprinkle with the remaining crushed candy and a little flaky salt.
- Chill and slice. Refrigerate until firm, about 2 hours. Lift from the pan and cut into small squares with a warm knife.
Firm Crust Matters
The crust should hold together when you squeeze a spoonful in your hand. If it crumbles, add another tablespoon of peanut butter or melted butter. If it looks greasy, add a spoonful of crumbs. Press harder than you think you need to. A measuring cup with a flat bottom works better than fingertips because it packs the corners evenly.
If you like this kind of no-oven candy bar dessert, the no-bake peanut butter buckeye bars have a similar peanut butter and chocolate balance.
Caramel Without The Slide
The caramel layer should be soft, not runny. Melt soft caramels with just enough cream to make them spreadable. If the mixture pours like syrup, it needs another minute to cool before it goes over the crust. If it stiffens before spreading, warm it for a few seconds and stir again.
Caramel fans should also try caramel pretzel crack bars for a saltier crunch, or decadent caramel cheesecake bars when you want a creamier dessert.
Chocolate That Cuts Clean
Plain melted chocolate can set too hard in the fridge. A teaspoon of coconut oil gives it a softer snap, which helps the knife glide through. Do not overheat the chocolate. Short microwave bursts and steady stirring are enough. For candy details and current product information, the official Butterfinger site is the safest source to check.
Storage And Serving
Store the bars in an airtight container in the refrigerator for up to 5 days. Put parchment between layers so the chocolate stays neat. They can be frozen for about 1 month, though the candy topping softens a little after thawing.
Serve them chilled in small pieces. They are rich, so a 1.5-inch square is plenty. For a dessert tray, pair them with something fruity or lighter, like no-bake lemonade pie.
Easy Flavor Swaps
Try chocolate graham crackers for a deeper cocoa base. Add roasted peanuts between the caramel and candy if you want more crunch. A little espresso powder in the chocolate topping also works well because it reins in the sweetness without making the bars taste like coffee.
Summary
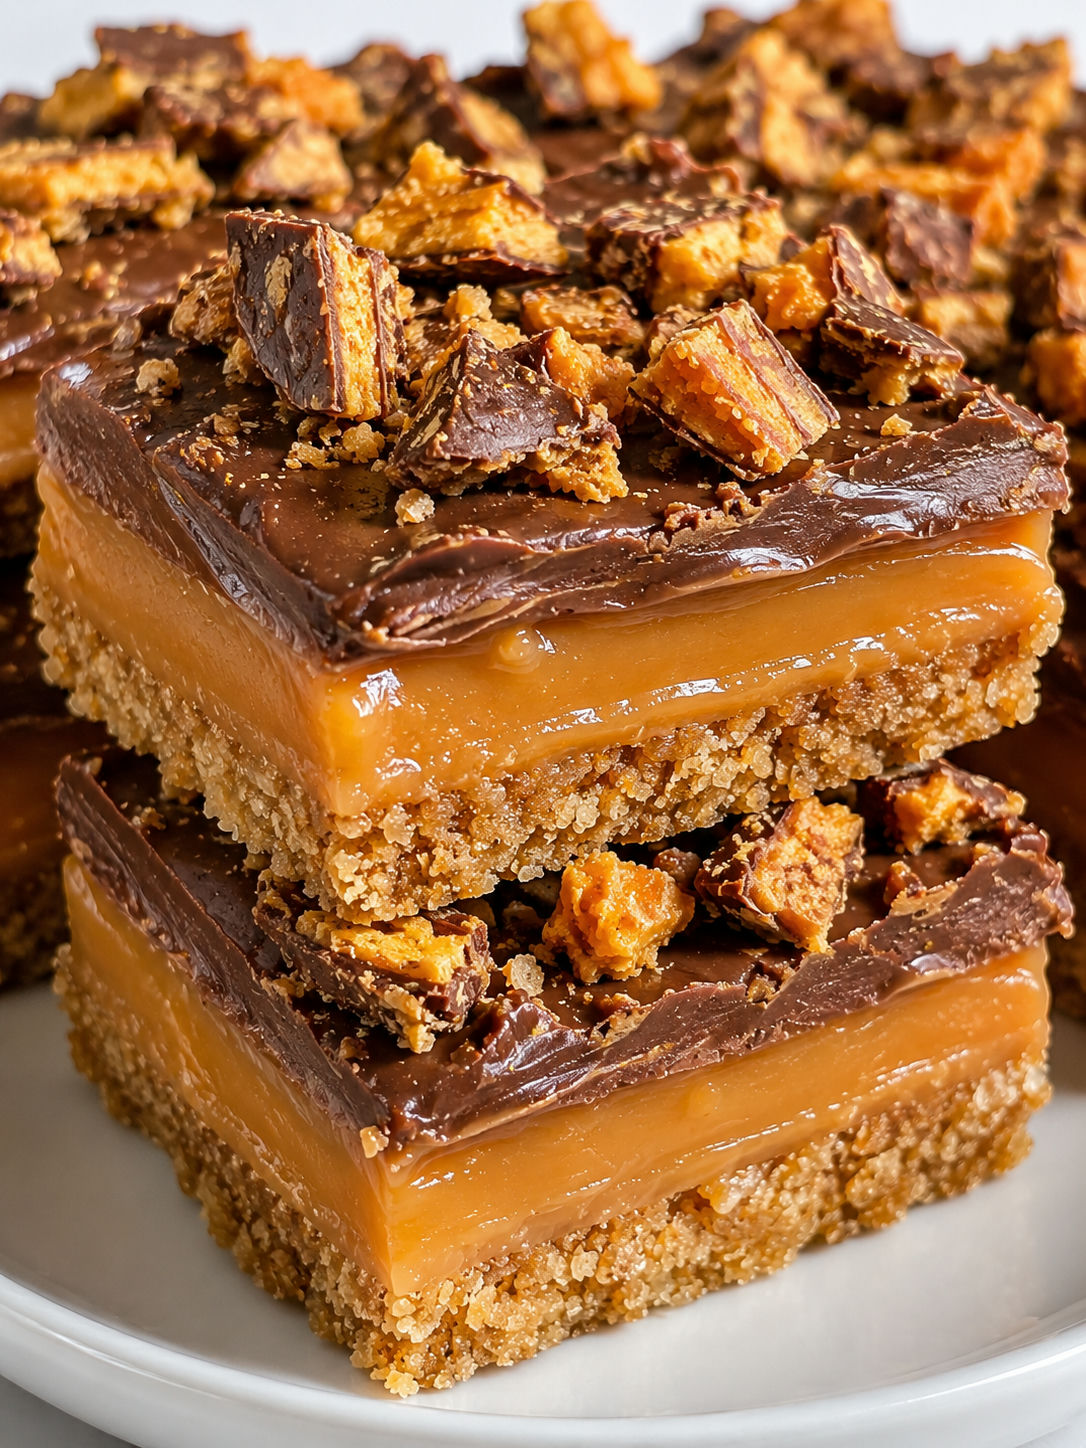
These bars are best served chilled, sliced small, and kept covered so the caramel stays soft without getting messy.
FAQs
- Can I make No Bake Butterfinger Caramel Bars ahead of time?
Yes. They are actually easier to slice after several hours in the refrigerator. Make them up to two days ahead, keep them covered, and add a pinch of extra crushed candy right before serving if you want a fresher crunch.
- Can I use caramel sauce instead of melted caramels?
Use thick caramel dip if you must, but avoid thin ice cream topping. Thin sauce will not set firmly enough and the bars can slide apart. Melted soft caramels with a little cream make a chewy layer that holds its shape.
- How do I keep the chocolate top from cracking?
Add a teaspoon of coconut oil or shortening to the chocolate chips before melting. Let the pan sit at room temperature for 5-10 minutes before slicing, then use a warm sharp knife.
- Do these bars need to be refrigerated?
They hold best in the refrigerator because the caramel and chocolate stay firm. You can keep them at cool room temperature for a party, but return leftovers to the fridge after serving.
- Can I make these without peanut butter?
Yes, but the flavor will change. Use cookie butter or almond butter in the crust if allergies are not a concern. If the mixture feels loose, add a few extra tablespoons of graham cracker crumbs.
- What is the best way to slice them cleanly?
Line the pan with parchment so you can lift the slab out. Warm a sharp knife under hot water, dry it, and cut straight down. Wipe the blade between cuts for neat edges.
