 Pin it
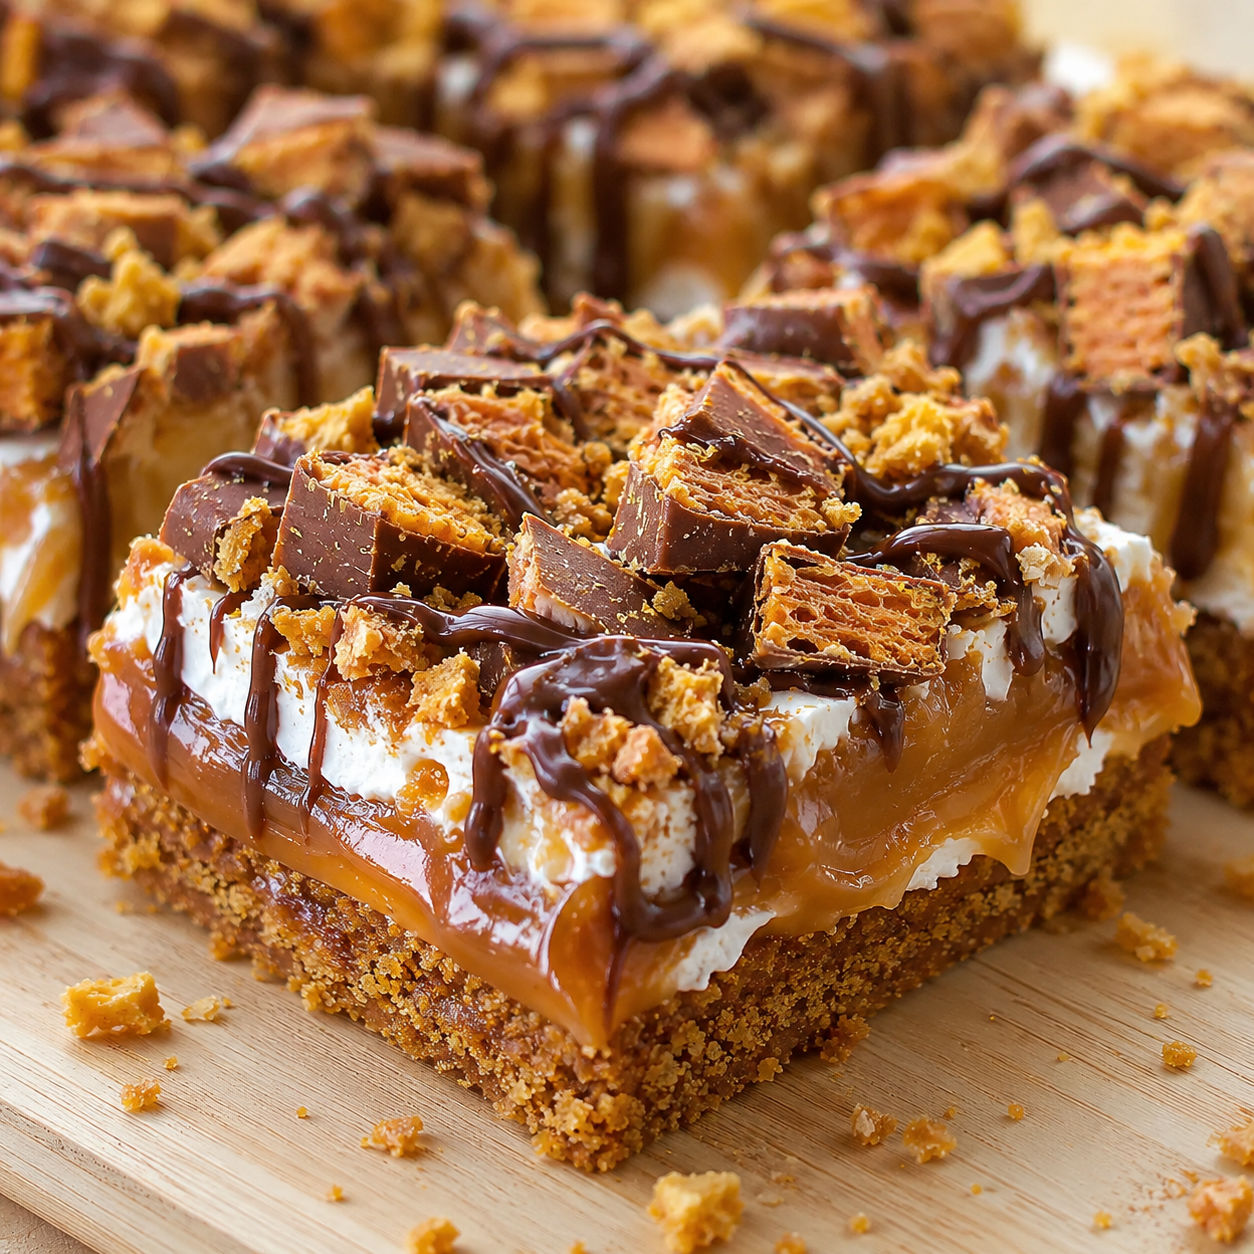
This Butterfinger Caramel Bars Recipe is what I make when I want candy-bar energy without standing over a stove for long. The layers are simple, but the finished bars taste like something you would cut from a bakery tray.
The graham crackers stay crisp at the edges. The caramel softens the marshmallows just enough to make a chewy middle, and the Butterfinger pieces keep their flaky peanut-butter crunch. Chill them well and use a sharp knife. That is the small move that makes clean, sturdy squares.
Butterfinger caramel bar layers
Use fresh graham crackers and soft caramel bits for the cleanest texture. Stale crackers go sandy, and old caramel can melt unevenly. The candy pieces should be chopped small enough to press into the warm caramel but not crushed into dust.
- Graham crackers. They make a crisp base that keeps the bars easy to hold.
- Mini marshmallows. They soften under the hot caramel and create a chewy layer.
- Caramel bits. They melt quickly with a splash of milk into a smooth, sticky pour.
- Milk. It loosens the caramel so it spreads without tearing up the crackers.
- Butterfinger pieces. They add flaky peanut-butter crunch and the candy-bar flavor that makes the bars memorable.
- Semi-sweet chocolate. A light drizzle balances the sweetness and helps the top look finished.
- Flaky salt. Optional, but a tiny pinch makes the caramel taste deeper.
Layer, melt, chill, slice
- Line the pan. Fit foil or parchment into a 9x9-inch pan with overhang on two sides, then lightly grease it so the caramel releases cleanly.
- Build the base. Arrange graham crackers in one snug layer, breaking pieces as needed to cover the bottom.
- Add marshmallows. Scatter mini marshmallows evenly over the crackers so every bar has a chewy center.
- Melt the caramel. Microwave caramel bits with milk in short bursts, stirring until smooth and pourable.
- Cover the marshmallows. Pour the warm caramel over the pan and gently spread it to the edges. The marshmallows will slump a little, which is good.
- Finish the top. Press chopped Butterfinger into the caramel, drizzle with melted chocolate, then chill until firm before slicing.
Getting clean candy-bar squares
The trick is patience. These bars smell ready as soon as the caramel hits the Butterfinger pieces, but warm caramel drags under a knife. Chill the pan until the slab feels firm in the center, not just around the edges. Lift it out by the parchment, set it on a board, and use a long sharp knife.
For cleaner cuts, wipe the knife between rows. If the chocolate drizzle cracks a little, that is fine. If the caramel pulls into strings, the bars need more time in the refrigerator. This same chill-and-slice habit helps with other rich bars, especially Decadent Caramel Cheesecake Bars and Peanut Butter Rocky Road Bars.
Caramel that spreads smoothly
Caramel bits are convenient because they melt fast and do not need a candy thermometer. Microwave them with the milk in 30-second bursts and stir well each time. Stop as soon as the mixture is smooth. Overheating makes caramel stiff once it cools.
If you prefer homemade caramel, use a thick, cooked version rather than a thin sauce. The bars need enough body to hold the marshmallows and candy in place. For a from-scratch option, the method in Caramel Candy Recipe gives you a firmer caramel base to work from. For refrigerated storage timing, I follow the guidance from FoodSafety.gov cold storage charts.
Smart swaps and toppings
You have room to play without losing the basic structure. Dark chocolate makes the bars less sweet. Milk chocolate gives them a softer candy-shop flavor. A few crushed pretzels on top add salt and snap, but keep the layer light so the Butterfinger still comes through.
Butterfinger has a crisp peanut-butter style center, which is why it works so well against sticky caramel. If you want to check current candy options or sizes, the official Butterfinger site is the safest place to look. Avoid very soft filled candies here. They can melt into the caramel and make the bars too sweet and heavy.
How to store and share
Keep the bars in an airtight container in the refrigerator for up to 5 days. Place parchment between layers if you stack them. They also travel well in a chilled container, which makes them useful for bake sales, potlucks, and holiday trays.
For serving, cut smaller squares than you think you need. The caramel and candy make them rich. If you are building a dessert spread, pair them with something tart or creamy. I like them next to Pink Grapefruit Dessert Bars or a slice of Salted Caramel Ganache Tart Recipe for a bigger caramel table.
Freezing without losing crunch
You can freeze Butterfinger caramel bars, but wrap them well. Chill and cut the bars first, then freeze the pieces in a single layer until firm. Move them to a freezer bag or airtight container with parchment between layers. They keep for about 1 month.
Thaw them in the refrigerator, not on a warm counter. Slow thawing helps the caramel stay set and keeps condensation from making the graham layer soggy. The Butterfinger topping will be slightly less crisp after freezing, but the bars still taste good cold.
Summary
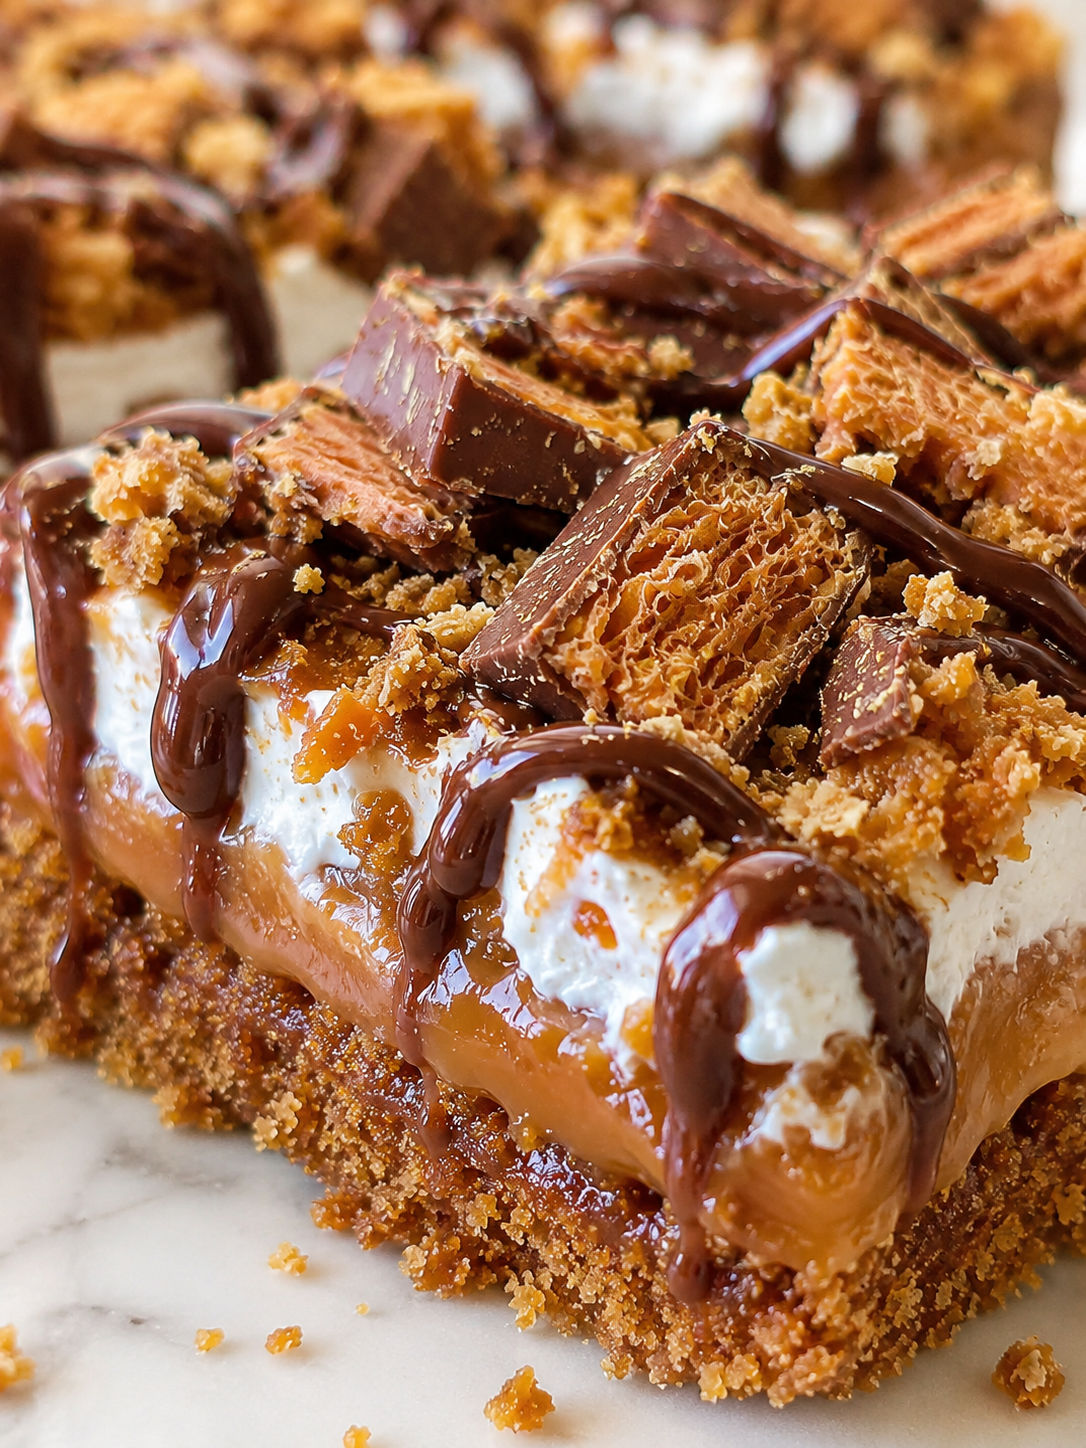
Sweet, chewy, crunchy, and easy to make ahead, these Butterfinger caramel bars are built for sharing.

FAQs
- Can I make Butterfinger caramel bars ahead of time?
Yes. These bars are actually easier to cut after they have chilled for at least 1 hour. You can make them a day ahead and keep them covered in the refrigerator until serving.
- Can I use chopped full-size Butterfinger bars instead of bites?
Yes. Chop full-size bars into small pieces so every square gets candy crunch. A mix of tiny crumbs and bigger pieces gives the best texture.
- Why are my caramel bars too soft to cut?
They probably need more chill time, or the caramel was still warm when you tried to slice them. Refrigerate until firm, then lift the whole slab out with the foil or parchment and cut with a sharp knife.
- Can I use caramel sauce instead of caramel bits?
Thick caramel sauce can work, but thin ice cream topping usually stays too loose. If using sauce, choose a firm spoonable caramel and use just enough to coat the marshmallow layer.
- Do these bars need to be refrigerated?
They hold their shape best when chilled. Store them in an airtight container in the refrigerator for up to 5 days, with parchment between layers if stacking.
- What can I serve with Butterfinger caramel bars?
Serve small squares with coffee, cold milk, or vanilla ice cream. They are rich, so bite-size pieces work well for parties and dessert boards.
