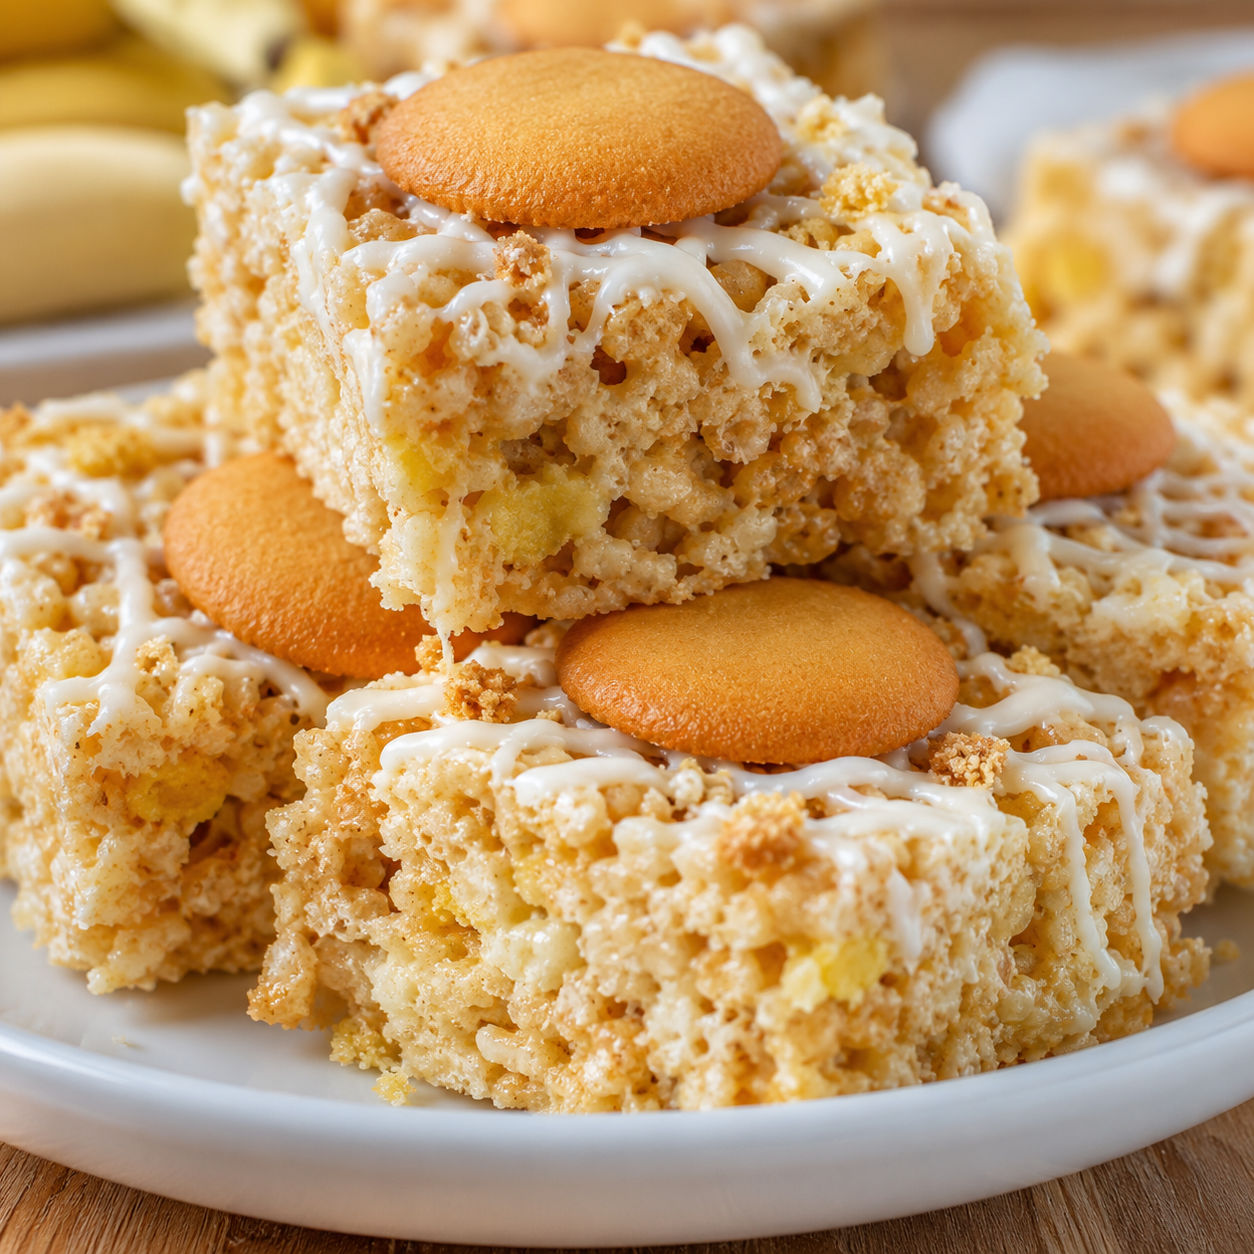
 Pin it
Banana Pudding Rice Krispie Treats are what I make when I want banana pudding flavor without chilling a whole dessert dish. They are chewy, crisp at the edges, and packed with little vanilla wafer crumbs that make each square taste like the familiar pudding cup.
The key is keeping the banana flavor dry. Fresh banana sounds nice, but it browns and makes the bars soft. Freeze-dried banana powder gives you real banana taste while the marshmallow keeps that classic pull-apart texture.
The Banana Pudding Lineup
These bars need the usual marshmallow treat basics, plus a few banana pudding touches. Look for crisp vanilla wafers, fresh mini marshmallows, and freeze-dried banana pieces that crush easily into powder.
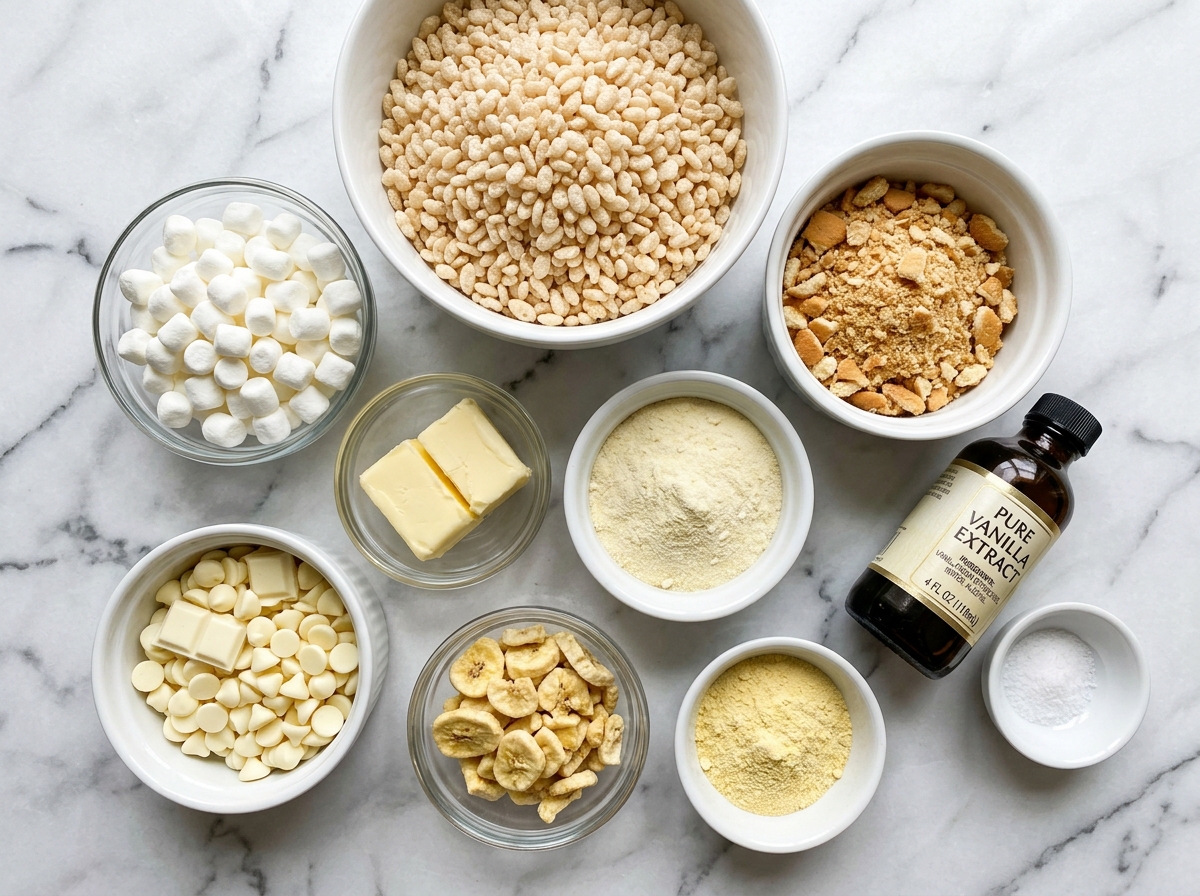
- Crisp rice cereal. Gives the bars their snap and keeps the texture light.
- Mini marshmallows. Melt quickly and bind the cereal into chewy squares.
- Unsalted butter. Adds richness and helps the marshmallow melt smoothly.
- Instant vanilla pudding mix. Brings the creamy pudding flavor without adding liquid.
- Freeze-dried banana. Adds real banana taste while keeping the bars from getting wet.
- Vanilla wafers. Make the treats taste like classic banana pudding and add little cookie bits.
- White chocolate. Drizzles over the top and helps the wafers stick.
- Vanilla and salt. Round out the sweetness so the bars do not taste flat.
Banana Pudding Rice Krispie Treats Steps
- Prep the pan. Grease a 9x13-inch pan and line it with parchment so the bars lift out cleanly.
- Crush the banana and wafers. Pulse freeze-dried banana into a fine powder, then crush the wafers into a mix of crumbs and small pieces.
- Melt the marshmallows. Warm the butter over low heat, add the marshmallows, and stir until just melted and smooth.
- Add the pudding flavor. Remove the pot from the heat, then stir in pudding mix, banana powder, vanilla, and salt until no dry streaks remain.
- Fold in the crunch. Add the cereal and crushed wafers. Fold gently until everything is coated.
- Set and finish. Press lightly into the pan, drizzle with melted white chocolate, sprinkle with more wafers, and let set before slicing.
Keep The Texture Chewy
Low heat matters more than speed here. Marshmallows get stringy and tough when they are overheated, so melt them slowly and stop as soon as the mixture looks smooth. The pudding mix and banana powder go in after the pot is off the burner. That keeps them from clumping and gives you a cleaner banana pudding flavor.
Press the mixture into the pan with greased fingers or a buttered spatula. Use enough pressure to level the top, not enough to compress the cereal. If you love seasonal cereal bars, the same light pressing rule helps with Grinch Rice Krispie Treats and Cherry Rice Krispie Treats.
Use Real Banana Wisely
Fresh banana is not the best choice inside a marshmallow cereal bar. It brings water, browning, and a soft spot wherever the slice lands. Freeze-dried banana solves that problem because it is dry, concentrated, and easy to crush into powder. The flavor reads like banana pudding once it hits the vanilla pudding mix and wafers.
I researched versions that use pudding mix, vanilla wafers, and dry banana flavor, including this banana pudding cereal bar recipe. My version keeps the same spirit but uses a slightly softer marshmallow ratio and a lighter topping so the bars slice cleanly.
Make Them Party Ready
Let the slab cool until the white chocolate is firm before cutting. A sharp knife rubbed with a little butter makes neat squares without dragging crumbs through the drizzle. For bake sales or lunchbox portions, cut the pan into 20 smaller bars. For a dessert table, 16 larger squares look better and hold a whole mini wafer on top.
You can dress them up without changing the recipe. Add a few golden sprinkles, use mini vanilla wafers on each square, or tuck the bars into cupcake liners. Keep the topping simple if you are serving these with richer desserts like Banana Pudding Cake Layers or Caramel Banana Pudding Cups.
Store Without Drying Out
Rice Krispie treats like an airtight container and room temperature. Wrap the pan tightly or move cut squares into a lidded container with parchment between layers. They taste best in the first 24 hours, then slowly lose their crisp bite.
Do not refrigerate them unless your kitchen is very warm or the chocolate drizzle needs help setting. Cold air can make the cereal firm. If you do chill them, let the squares sit out for 15-20 minutes before serving. For general leftover guidance, the FoodSafety.gov storage charts are a useful reference, especially when desserts include dairy or fresh fruit.
Summary
For the best texture, melt the marshmallows gently, stir in the pudding and banana powder off the heat, and press the mixture into the pan with a light hand.

FAQs
- Can I use banana cream pudding mix instead?
Yes. Banana cream pudding mix works if you want a stronger boxed banana flavor. I still like adding a small amount of crushed freeze-dried banana because it tastes more like real banana pudding.
- Can I add fresh banana slices?
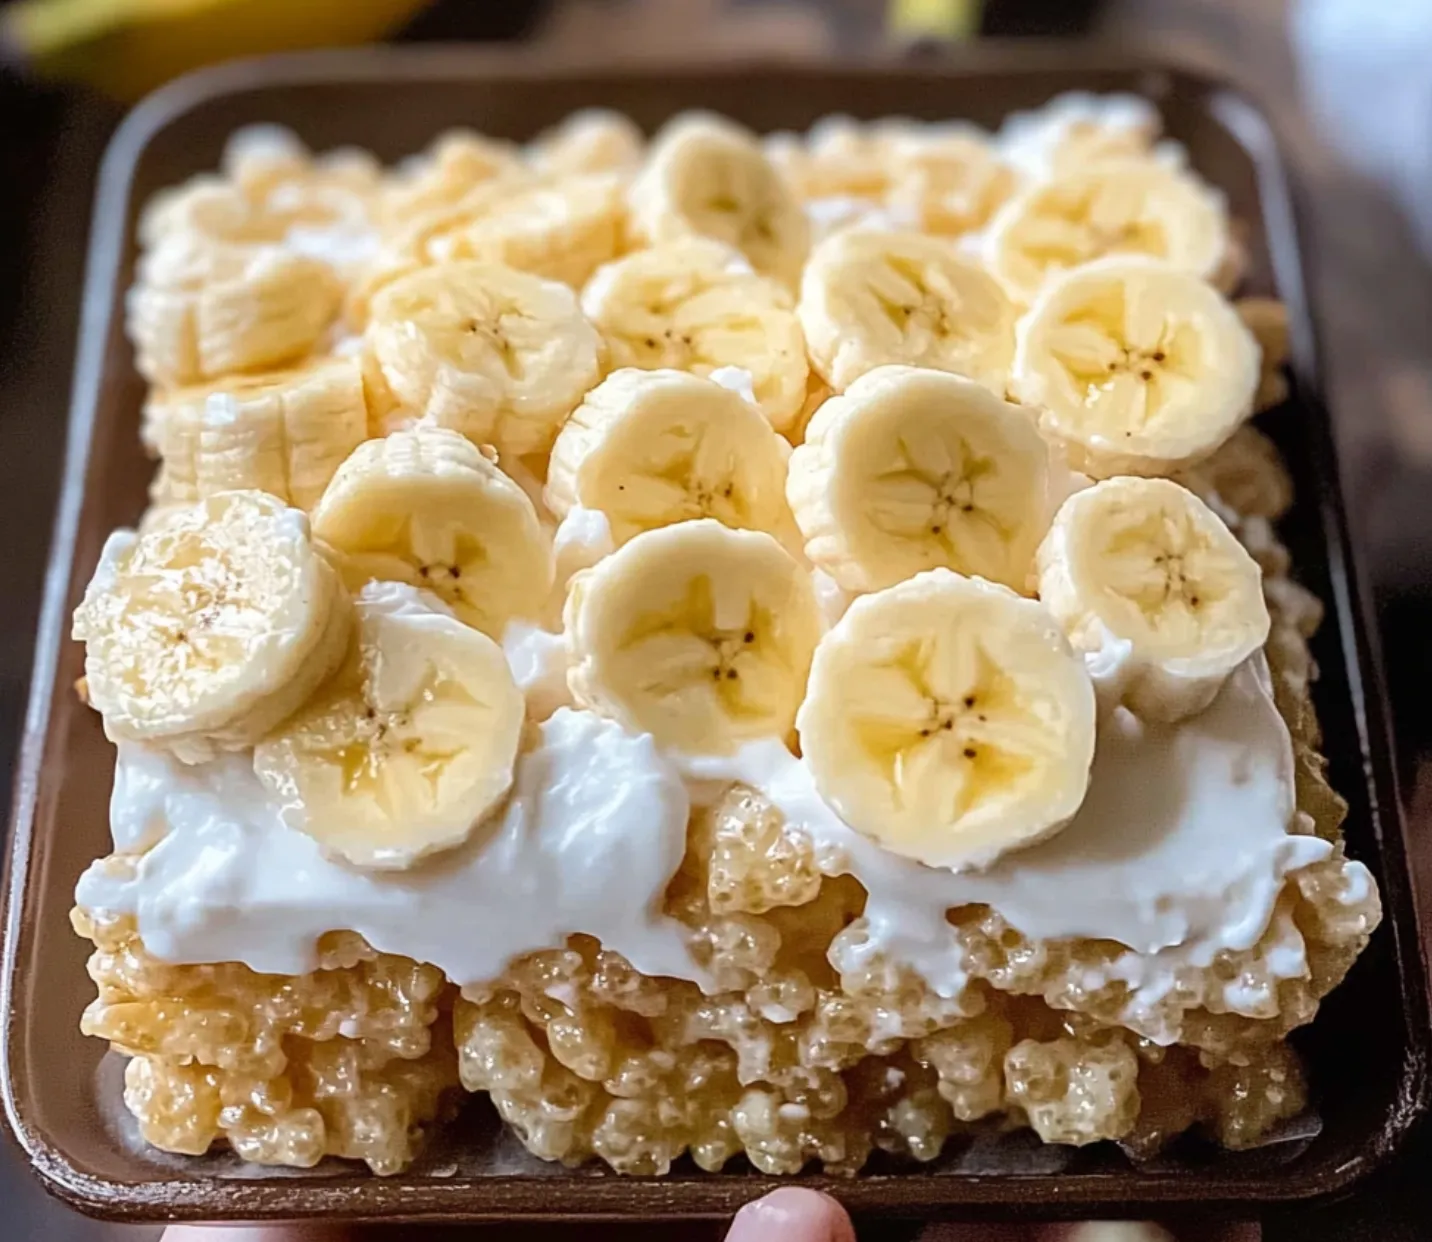
I do not recommend mixing fresh banana into the bars. It releases moisture, turns brown, and makes the cereal lose its snap. Add sliced banana right before serving if you want that fresh look.
- How do I keep Rice Krispie treats soft?
Use low heat and pull the marshmallows off the stove as soon as they melt. Press the mixture into the pan gently. Packing it down hard is the fastest way to make dense, tough bars.
- How long do Banana Pudding Rice Krispie Treats last?
They are best the day they are made, but they keep well for 2-3 days in an airtight container at room temperature. If your kitchen is warm, chill them briefly before slicing and bring them back to room temperature before serving.
- Can I make these gluten-free?
Yes, with careful shopping. Use certified gluten-free crisp rice cereal, gluten-free vanilla wafer cookies, and a pudding mix labeled gluten-free. Marshmallows are often gluten-free, but check the package.
- What can I serve with these?
They are sweet and chewy, so I like them with coffee, cold milk, or a fruit platter. For a dessert table, pair them with creamy banana desserts like Chick-fil-A Banana Pudding or something bright like Strawberry Banana Pudding.
