
 Pin it
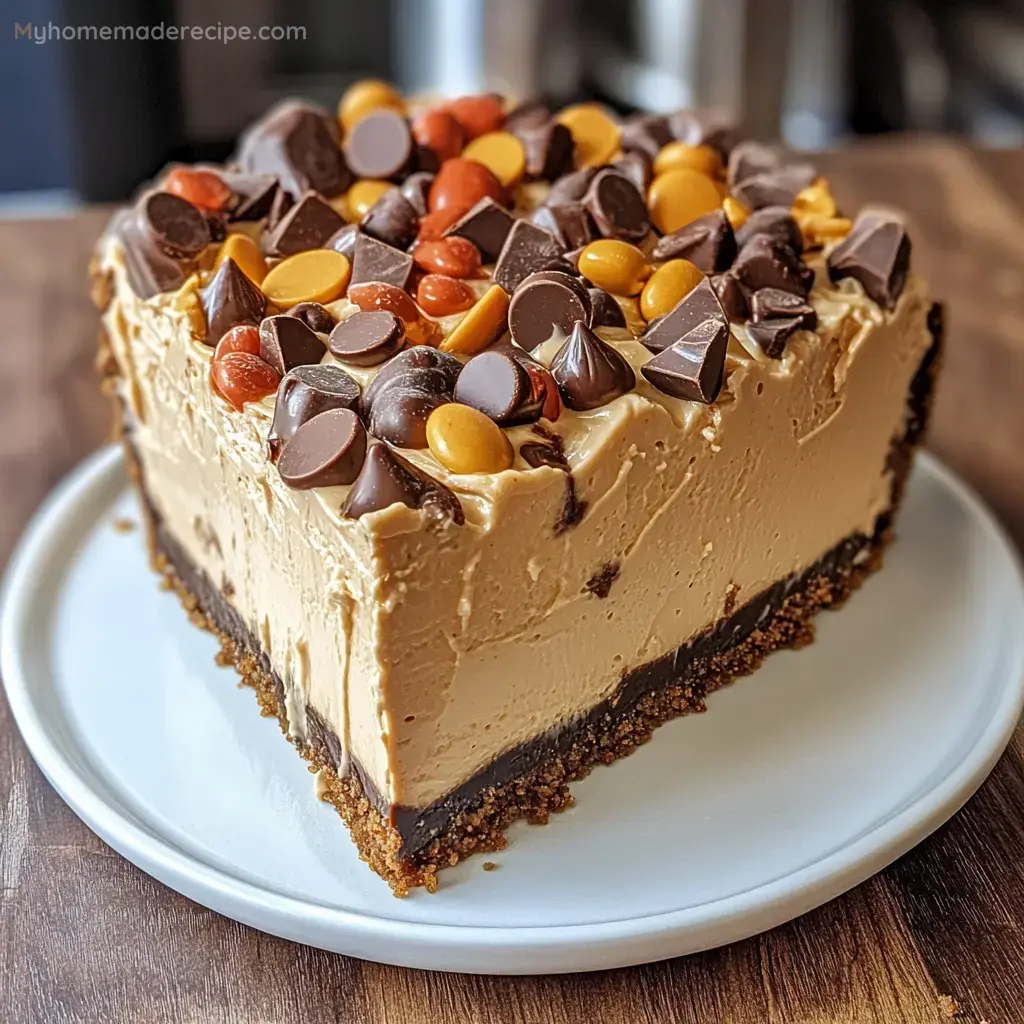
This indulgent no-bake peanut butter cheesecake transforms ordinary gatherings into special occasions without ever turning on your oven. The creamy peanut butter filling paired with chocolate accents creates a dessert that disappears quickly at every potluck and family dinner.
I first created this cheesecake for my son's birthday when our oven unexpectedly died the night before his party. What began as a desperate substitute has become our most requested celebration dessert for five years running.
Ingredients
- Graham cracker crumbs: Form the perfect foundation with their subtle honey flavor and satisfying crunch. Use name brand crackers for consistent results.
- Melted butter: Binds the crust together. Choose unsalted to control the final flavor profile.
- Granulated sugar: Adds just enough sweetness to balance the crust.
- Heavy cream: Provides structure and lightness. Look for cartons labeled at least 36% milkfat.
- Cream cheese: Delivers that essential tangy richness. Philadelphia brand creates the smoothest texture. Allow to soften at room temperature for at least 1 hour.
- Creamy peanut butter: Forms the soul of this dessert. Opt for commercial brands like Jif or Skippy for reliable consistency.
- Powdered sugar: Sweetens while maintaining the silky texture. Sift first to prevent lumps.
- Vanilla extract: Enhances the other flavors. Pure extract makes a noticeable difference.
- Mini chocolate chips: Add bursts of chocolate in every bite. The small size ensures they distribute evenly throughout.
- Reese's Pieces candy: Introduces color and intensifies the peanut butter theme.
- Additional cream and toppings: Create a showstopping presentation that elevates this from good to memorable.
Step-by-Step Instructions
- Prepare the Perfect Crust:
- Combine graham cracker crumbs with melted butter and granulated sugar until the mixture resembles wet sand. Test by squeezing a small amount in your palm it should hold together easily. Pour into a springform pan and press firmly using the bottom of a measuring cup to create an even layer with slightly raised edges. Refrigerate for at least 15 minutes to set before adding filling.
- Create the Decadent Filling:
- Whip the heavy cream in a chilled metal bowl until it forms stiff peaks that stand straight up when the beaters are lifted. In a separate large bowl beat together softened cream cheese and peanut butter for a full 3 minutes until completely smooth with no lumps. Add powdered sugar and vanilla and continue beating for another 2 minutes until the mixture lightens in both color and texture.
- Combine and Build:
- Using a spatula gently fold the whipped cream into the peanut butter mixture with broad sweeping motions from bottom to top. Maintain as much air as possible for a light texture. When fully incorporated fold in the mini chocolate chips and Reese's Pieces with just a few strokes. Pour this luxurious filling over the chilled crust and spread to create a level surface.
- Add the Finishing Touches:
- Whip additional heavy cream with powdered sugar until it forms peaks that hold their shape but still appear slightly glossy. This slightly softer consistency creates the perfect decorative topping. Spread or pipe this sweetened cream across the entire surface. Artfully arrange the remaining chocolate chips candies and Reese's Pieces on top. Finish with artistic drizzles of chocolate syrup.
- Chill and Set:
- Cover loosely with plastic wrap without touching the surface and refrigerate for a minimum of 4 hours. Overnight chilling produces the best texture and flavor development. Before serving run a thin knife around the edge of the pan before releasing the springform clasp for clean beautiful slices.
My grandmother's secret to the perfect no-bake cheesecake was always patience in the whipping stage. She taught me that properly whipped cream creates the magical texture that distinguishes homemade desserts from store-bought versions. Every time I fold in that billowy whipped cream I remember her standing beside me in her apron gently guiding my technique.
Perfect Storage Solutions
This cheesecake maintains its quality in the refrigerator for up to 5 days when stored in an airtight container. The flavors actually continue developing after the first 24 hours making this an excellent make-ahead option for busy weeks. For longer storage individual slices can be frozen for up to 3 months. Wrap each piece in plastic wrap followed by aluminum foil and place in a freezer-safe container. Thaw overnight in the refrigerator for the best texture restoration.
Creative Variations
Transform this basic recipe by substituting cookie butter or Nutella for half of the peanut butter. For a more sophisticated adult version add 2 tablespoons of bourbon to the filling and garnish with chocolate-covered espresso beans. Create a gluten-free version by using gluten-free graham crackers or a simple nut crust made from ground almonds or pecans mixed with butter and sugar. For special diets consider dairy-free cream cheese alternatives and coconut cream instead of heavy cream.
Serving Suggestions
Elevate this already impressive dessert by warming a sharp knife under hot water before each cut to create pristine restaurant-quality slices. Serve alongside fresh berries which provide a bright acidic contrast to the rich creamy filling. For an interactive dessert bar offer small slices with various toppings like warm caramel sauce toasted chopped nuts or freshly whipped cream allowing guests to customize their experience.
The Cultural Significance
The combination of peanut butter and chocolate represents a distinctly American flavor profile that gained popularity in the early 20th century. This no-bake variation emerged during the mid-century convenience food revolution when home cooks sought impressive recipes that minimized time and effort. The design reflects the beloved peanut butter cup candy but in an elevated format suitable for special occasions while maintaining the nostalgic flavors that transcend generations.