
 Pin it
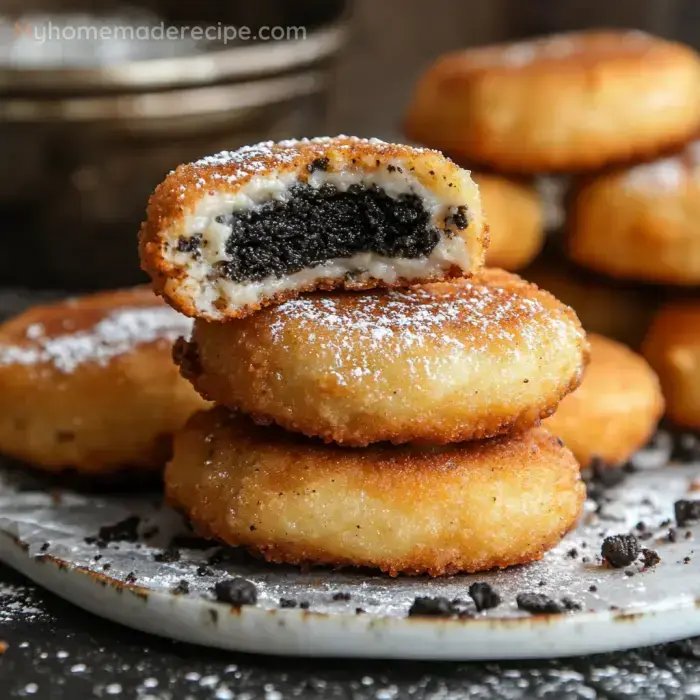
This irresistible Deep Fried Oreos recipe transforms the classic cookie into a warm, melty dessert wrapped in crispy golden batter. The contrast between the crunchy exterior and gooey cookie center creates a carnival-worthy treat you can enjoy right at home.
I first made these for my nieces during a sleepover party, and they've been our special tradition ever since. The look of pure joy on their faces when biting into that first warm, crispy Oreo is something I treasure every time we make them.
Ingredients
- All-purpose flour: Creates the perfect light batter consistency
- Granulated sugar: Adds just enough sweetness to complement the cookies
- Baking powder: Gives the batter its signature puff and lightness
- Kosher salt: Balances the sweetness for a more complex flavor
- Milk: Provides the liquid base for a smooth batter
- Large egg: Acts as a binder for the perfect coating texture
- Melted butter: Adds richness and helps achieve golden brown color
- Vegetable oil: With its high smoke point, it is ideal for deep frying
- Oreos: The star of the show, choose regular or experiment with seasonal flavors
- Powdered sugar: Provides the perfect finishing touch
Step-by-Step Instructions
- Create the Batter:
- Whisk together your dry ingredients first—flour, sugar, baking powder, and salt—in a medium bowl. This ensures even distribution of leavening agents. Add the wet ingredients—milk, egg, and melted butter—and stir gently until just combined. The batter should look slightly lumpy; overbeating will develop gluten and make your coating tough. Let the batter rest for five minutes, which allows the gluten to relax and the baking powder to activate.
- Heat the Oil:
- While your batter rests, pour vegetable oil into a heavy pot to a depth of about 2 inches. Heat to exactly 350°F using a candy or deep fry thermometer. The precise temperature is crucial; too low and your Oreos absorb excess oil, too high and they burn before cooking through. Prepare a draining station with paper towels on a plate nearby.
- Coat the Oreos:
- Working with one Oreo at a time, dip the cookie into the batter using forks to fully submerge it. Let excess batter drip off for a few seconds. This prevents too much batter from forming around the cookie, which can result in undercooked centers.
- Fry to Perfection:
- Carefully lower 3 to 4 battered Oreos into the hot oil, giving them plenty of space to float freely. Fry for approximately one minute per side until golden brown and puffy. Watch closely as they cook quickly. Use a slotted spoon or spider strainer to flip them gently midway through cooking.
- Drain and Serve:
- Lift the golden fried Oreos from the oil, allowing excess oil to drip back into the pot. Place on prepared paper towels to drain for about 30 seconds. Transfer to a serving plate while still warm and dust generously with powdered sugar. Serve immediately for the best texture and flavor experience.
The first time I made these, I accidentally used double stuffed Oreos and discovered they create an even more decadent center with extra cream. That happy accident has become our family preference, and now everyone insists on the double stuffed version whenever we make them.
Storage and Reheating
While Deep Fried Oreos are best enjoyed fresh from the fryer, you can store leftovers in an airtight container at room temperature for up to 2 days. To revive their crispiness, place them in a 350°F oven for 3 to 5 minutes. The texture will not be quite the same as freshly fried, but still delicious. Avoid refrigerating them as this makes the coating soggy.
Carnival-Worthy Variations
Transform this classic recipe by experimenting with different Oreo varieties. Mint chocolate, golden Oreos, or seasonal flavors like pumpkin spice all work beautifully. For an extra special touch, try drizzling chocolate sauce, caramel, or fruit compote over the finished Oreos. Some of my guests even enjoy adding a small scoop of vanilla ice cream on the side for the ultimate dessert experience.
Frying Safety Tips
Deep frying requires careful attention to safety. Always use a heavy-bottomed pot with at least 3 inches of space above the oil line to prevent dangerous spillovers. Keep a kitchen thermometer handy to monitor oil temperature, and never leave hot oil unattended. Have a lid nearby to cover the pot in case of flare-ups, and keep a fire extinguisher accessible. When finished, allow oil to cool completely before disposing or storing it properly.