
 Pin it
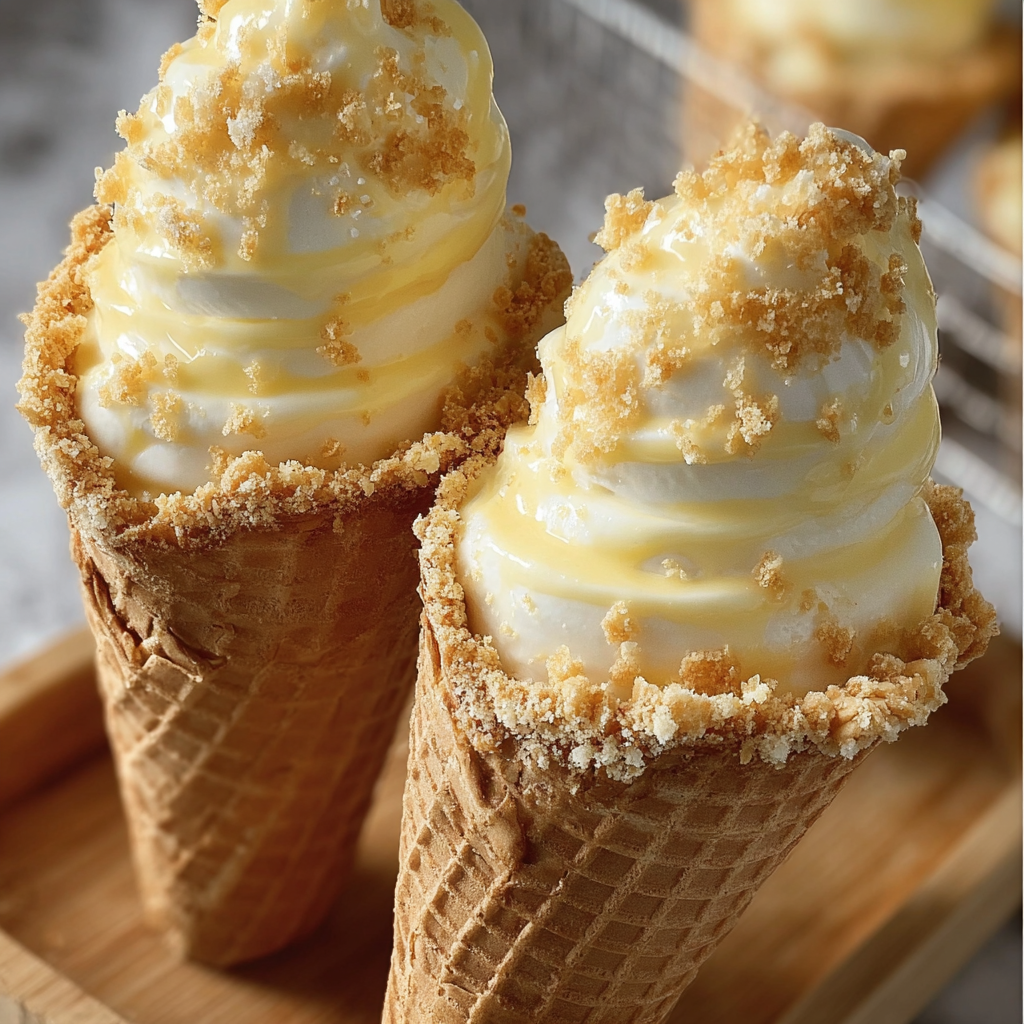
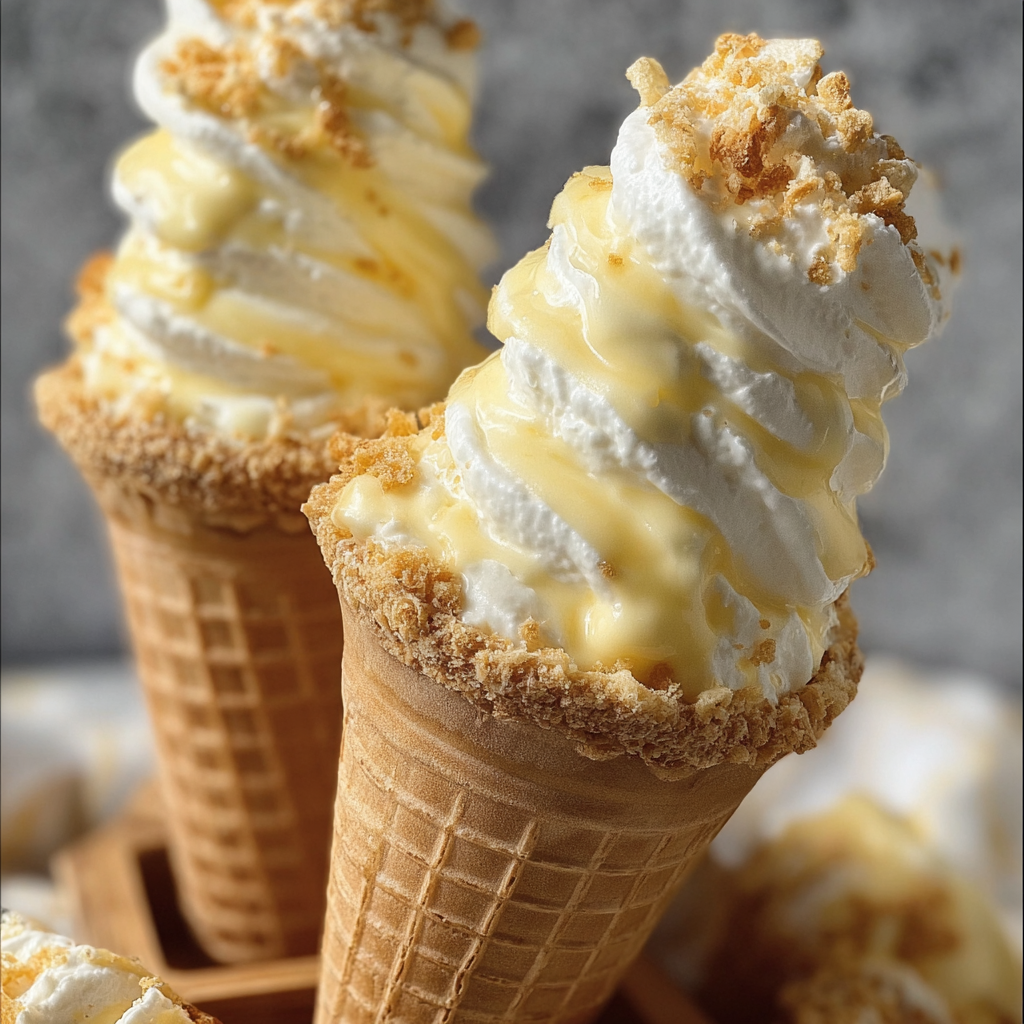
Banana pudding cheesecake cones are my go-to treat when I want the rich tang of cheesecake and creamy nostalgia of banana pudding all in one charming hand-held dessert The contrast of the crunchy cone with the fluffy filling always delights guests and kids absolutely love making them with me in the kitchen A perfect no bake option for parties or a sweet surprise for family night
I made these first for a summer birthday and now they are a must at every family gathering My favorite part is letting everyone build their own cone just the way they like it
Ingredients
- Cream cheese: The base for your cheesecake filling Always use full fat and let it fully soften for the creamiest result
- Powdered sugar: Sweetens and smooths out the filling Sift it for the best texture
- Heavy whipping cream: Adds lightness and makes the filling thick and airy Fresh cream will whip up the fluffiest results
- Vanilla extract: Brings warmth and balances the tang of cream cheese Reach for pure vanilla for the best depth of flavor
- Instant banana pudding mix: Infuses classic banana pudding flavor and thickens quickly Choose a quality brand for real banana taste
- Cold milk: Needed to set the pudding filling I recommend whole milk for richness
- Waffle cones or sugar cones: The sturdy and crispy container Opt for fresh cones without cracks
- Crushed vanilla wafer cookies: The signature banana pudding crunch Use classic Nilla brand or your favorite crispy vanilla cookie
- Melted butter: Helps the cookie crumbs stick to the cone rim Go for unsalted fresh butter
- Sliced bananas: Fresh bananas add a refreshing bite Choose perfectly ripe for both flavor and appearance
- Whipped cream: Adds a final airy touch Homemade or high-quality canned both work
- Caramel drizzle: Optional but brings a sweet and salty finish Use a thick store-bought sauce or your own
Instructions
- Prepare the Cheesecake Filling:
- Start by beating the cream cheese and powdered sugar together in a large bowl Work on medium speed until the mixture becomes silky and smooth and there are no lumps This step is essential for a creamy texture
- Whip the Cream:
- In a separate cold bowl whip the heavy whipping cream until it forms soft peaks The cream should hold its shape but still look glossy and smooth This extra aeration ensures your filling is light rather than dense
- Mix the Banana Pudding:
- Whisk together the instant banana pudding mix and cold milk in another bowl Continue whisking until the pudding thickens which takes about two to three minutes A thicker pudding is key to a truly creamy cone filling
- Combine the Fillings:
- Gently fold the whipped cream and banana pudding mixture into the cream cheese base Use a spatula and take your time Folding rather than stirring keeps the mixture fluffy Place this combined filling in the fridge while you prepare the cones so it sets up nicely
- Prepare the Waffle Cones:
- In a small bowl toss the crushed vanilla wafers with the melted butter until every crumb is glistening Evenly coating helps them stick better to the cones
- Coat the Cones:
- Dip just the top edge of each cone first into the melted butter then immediately into the buttery cookie crumbs Rotate the cone to coat the whole rim and set aside to firm up for several minutes The cookies will create a crunchy ring
- Fill Your Cones:
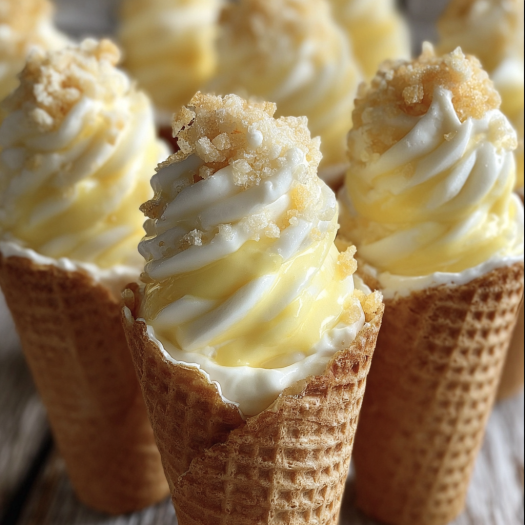
- Either spoon or use a piping bag to fill each prepared cone generously with the cheesecake banana mixture Aim for a full cone with a little swirl on top
- Garnish and Serve:
- Finish off each cone with a fresh banana slice a big swirl of whipped cream extra cookie crumbles and caramel drizzle if you like Serve immediately for best texture and taste
 Pin it
I always reach for the ripest bananas for topping since the natural sweetness makes the finished treat stand out One time my niece made a cone with extra whipped cream and caramel and insisted hers was the best The ability to personalize is what makes these cones so fun
Storage Tips
If making ahead prepare the cheesecake filling and cookie crumb mixture but do not fill the cones until just before serving to avoid sogginess Store the cheesecake filling tightly covered in the fridge for up to two days Any assembled cones should be eaten the day of for best crunch
Ingredient Substitutions
You can swap instant vanilla pudding for banana pudding and add a half teaspoon banana extract for similar flavor Use chocolate wafer cookies instead of vanilla for a different twist Dairy free cream cheese and coconut cream also work wonderfully for those avoiding dairy
Serving Suggestions
These cones are lovely as part of a dessert bar where guests build their own Offer a tray of toppings like mini chocolate chips toasted coconut or crushed nuts for variety They also make a fun picnic or birthday treat especially if you wrap them in parchment for no mess
Cultural Note
Banana pudding is a beloved Southern dessert known for its layers of vanilla wafers creamy pudding and bananas This recipe takes inspiration from that nostalgia and wraps it in the playful presentation of a cone Both kids and adults get a kick out of this creative twist and it always sparks memories of potlucks and picnics
 Pin it
Your guests will be wowed by the playful look and dreamy flavors of these cones Make them once and they'll be requested again and again
Frequently Asked Questions
- → Can I prepare these cones ahead of time?
It's best to fill the cones shortly before serving to prevent sogginess, but the filling can be made ahead and stored chilled.
- → What type of cones work best?
Waffle cones and sugar cones both work well. Choose your favorite; just make sure they're sturdy enough to hold the filling.
- → Can I substitute fresh bananas in the filling?
For a stronger banana flavor, add a few mashed bananas to the filling, making sure to blend well for a smooth texture.
- → How should I store leftovers?
Keep any leftover cones in an airtight container in the fridge, though the texture of the cones may soften over time.
- → Is it possible to make these cones dairy-free?
Try using non-dairy cream cheese, milk alternatives, and a suitable whipped topping to create a dairy-free version.