 Pin it
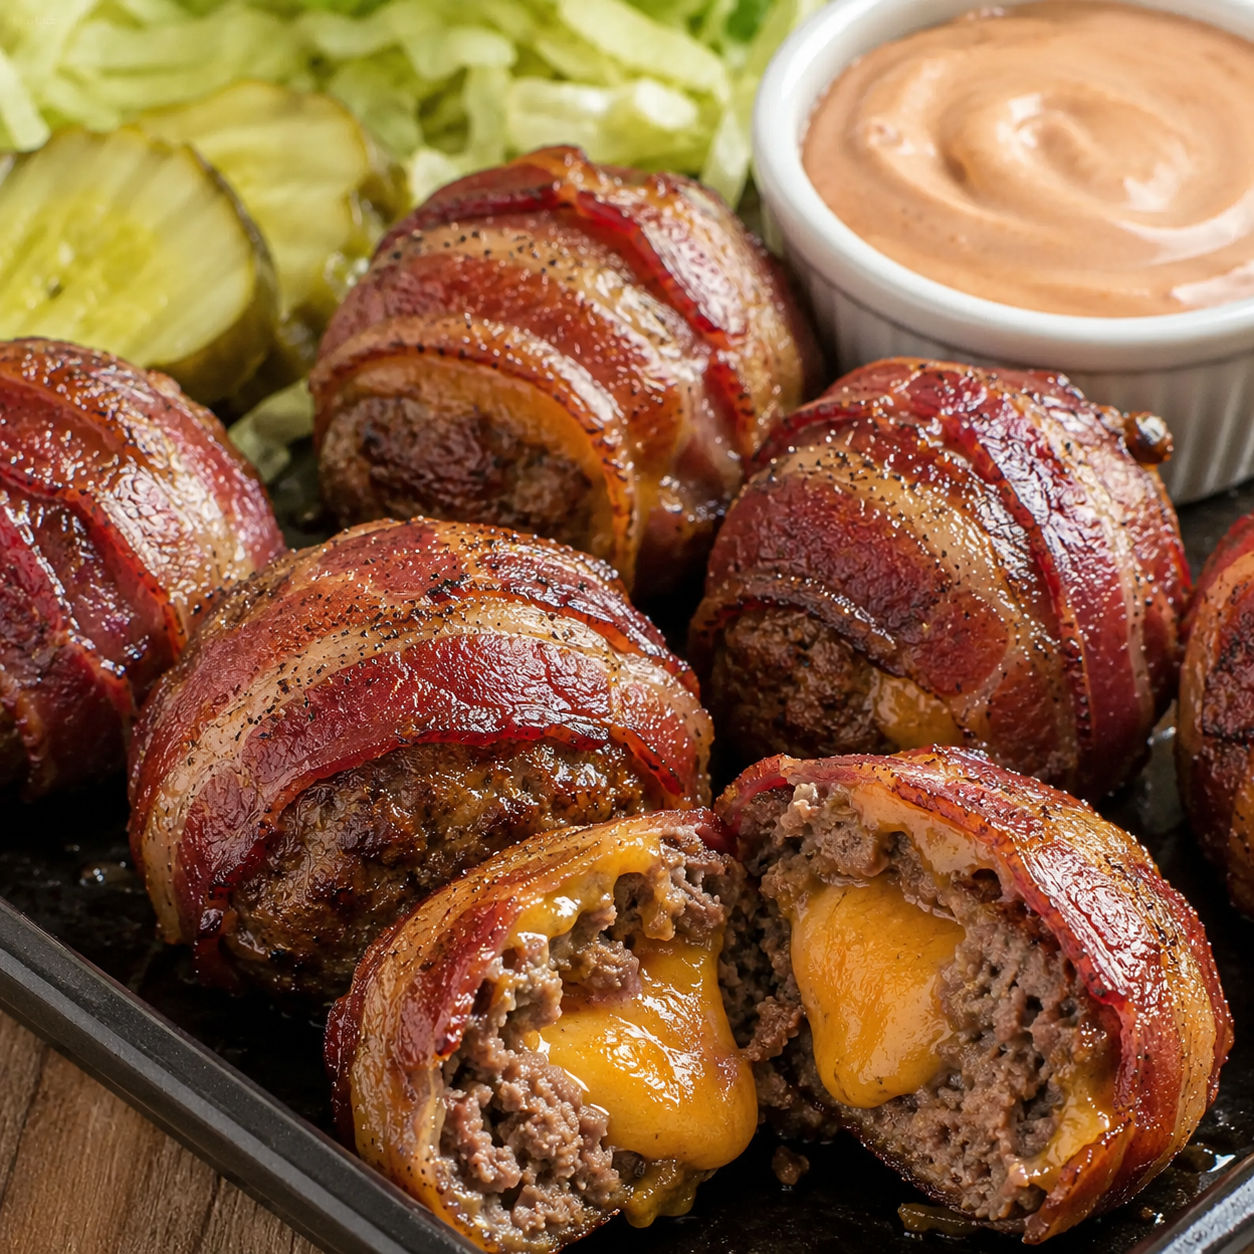
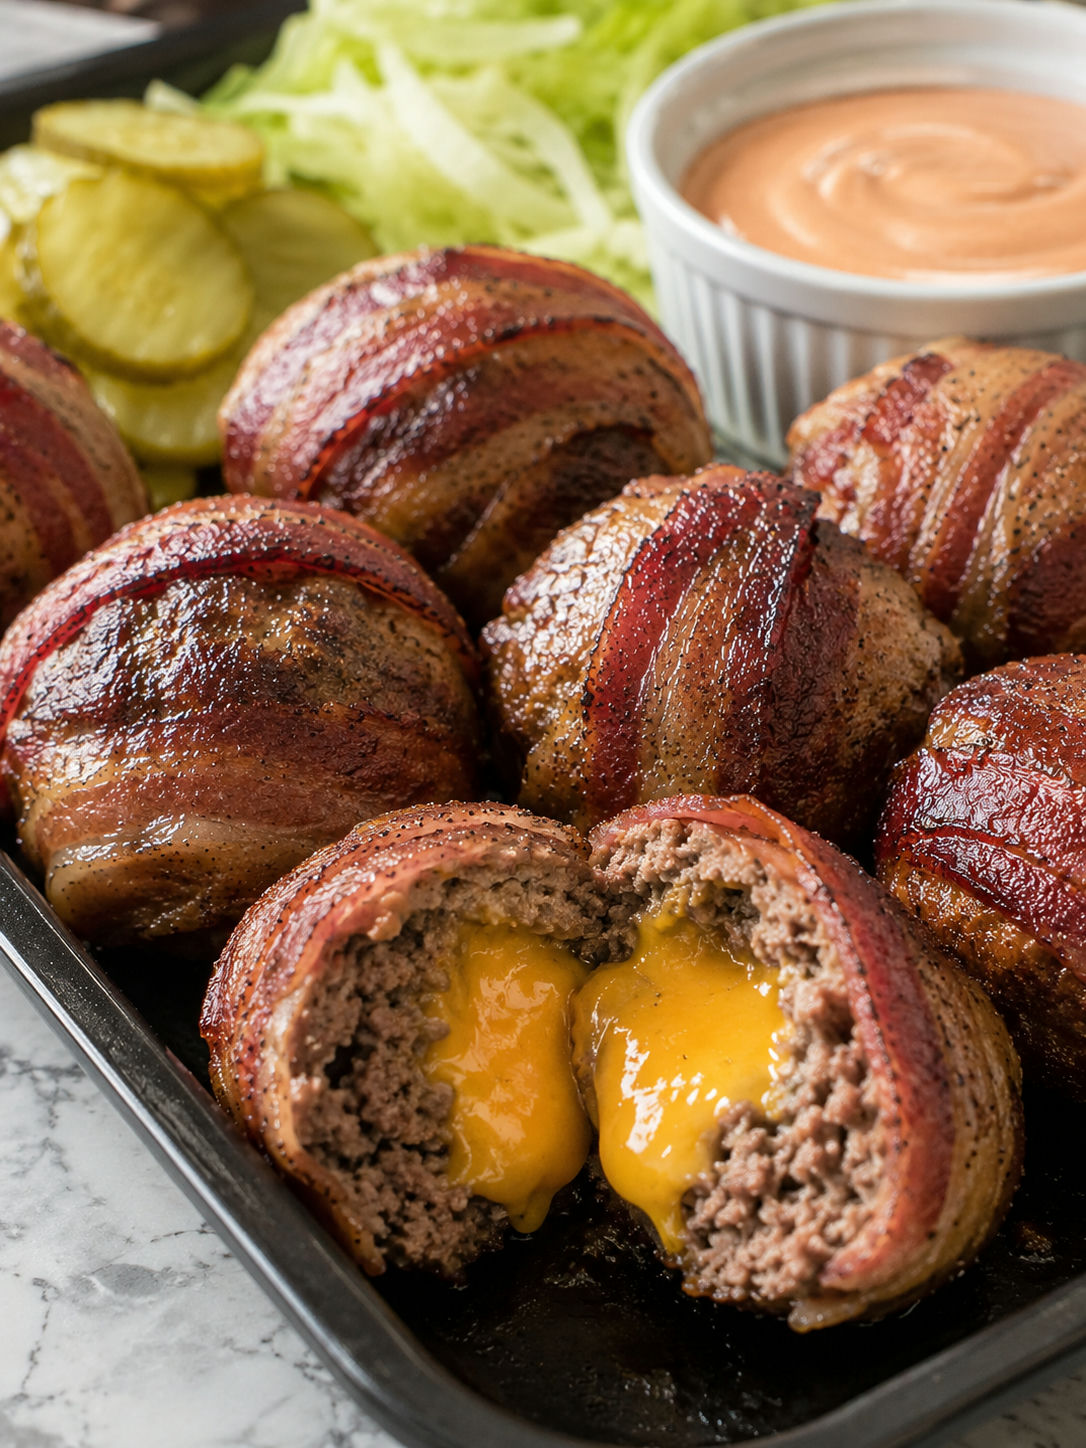
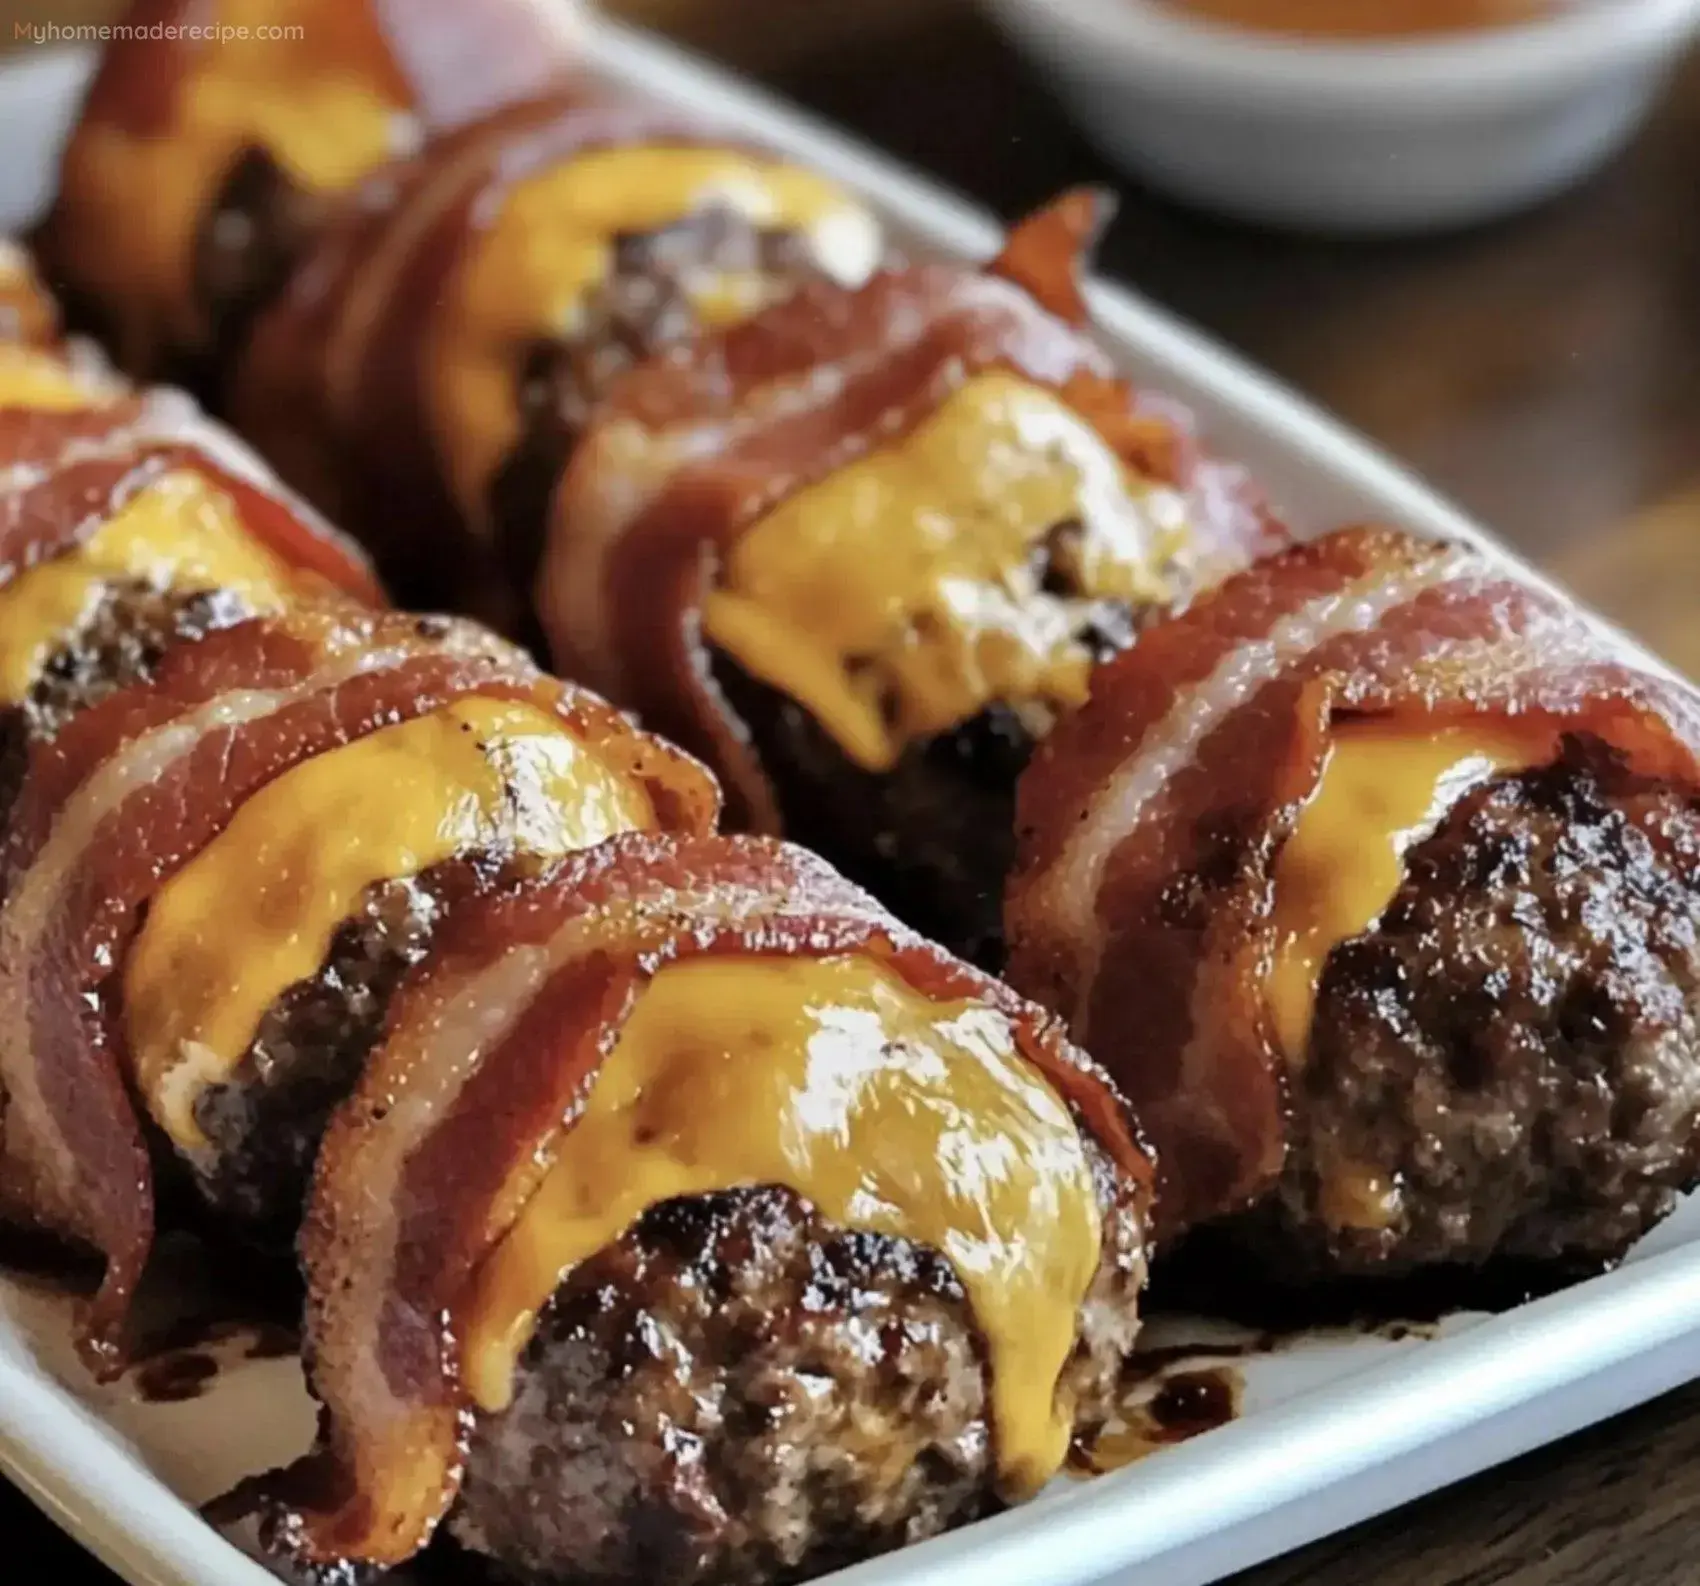
Bacon Cheeseburger Bombs with Dipping Sauce are what I make when I want burger flavor without setting up buns, toppings, and a grill station. Each one has seasoned beef, a melted cheddar center, and bacon wrapped around the outside.
The sauce matters. It is creamy, tangy, a little sweet, and close to the burger sauce you wish came with every plate of fries.
These are rich, so I like them as party bites with pickles and crisp lettuce on the side. They also work as a low-carb dinner when you want something filling and fun.
The Burger-Bomb Lineup
Use ground beef with enough fat to stay juicy. Very lean beef can turn firm before the bacon crisps. Cheddar cubes melt neatly in the center, and thin bacon wraps tighter than thick-cut.
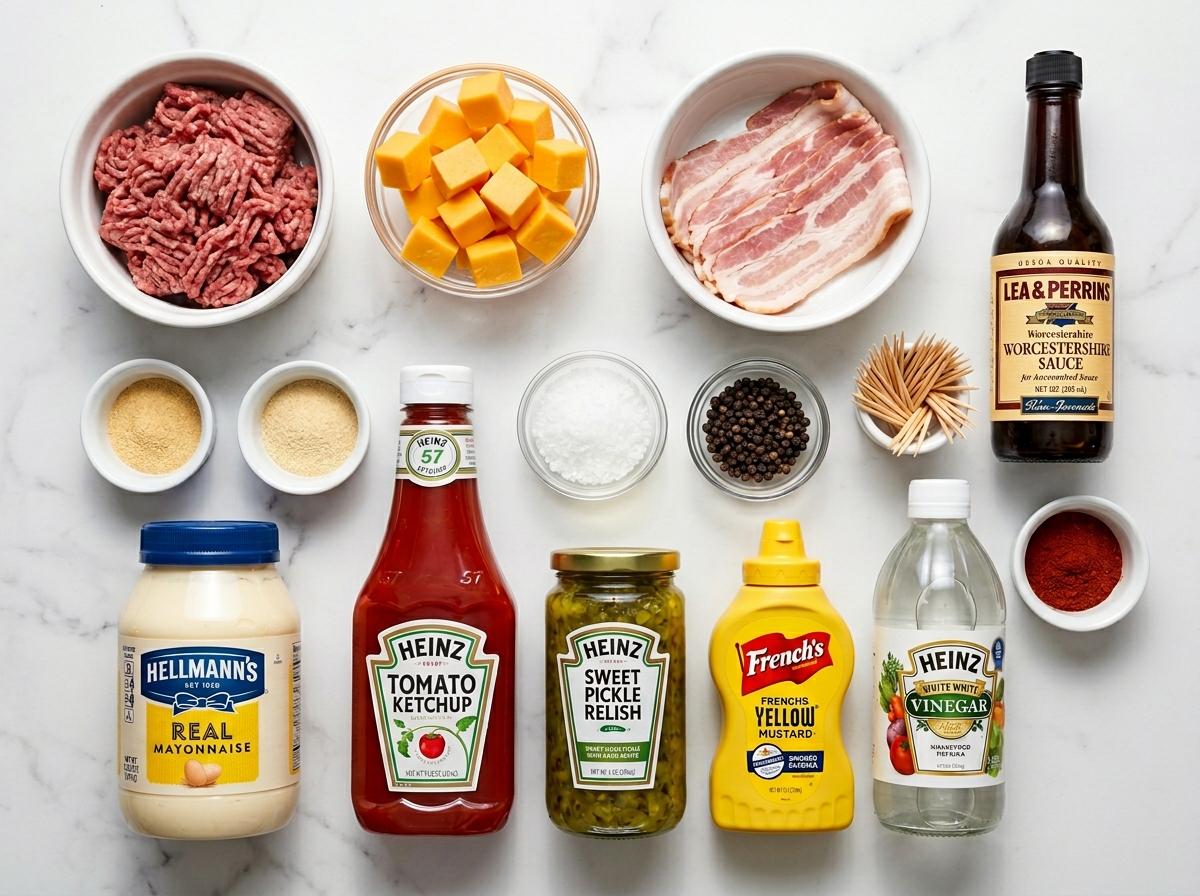
- Ground beef. The base of each bomb. An 80/20 blend stays tender and has enough flavor to stand up to the bacon.
- Cheddar cheese. Cubes create a molten center that feels like a stuffed cheeseburger bite.
- Bacon. Wraps the outside, bastes the beef, and gives the bombs a crisp smoky shell.
- Garlic and onion powder. Season the beef evenly without adding wet chunks that can split the filling.
- Worcestershire sauce. Adds savory burger-shop depth to the meat.
- Mayonnaise and ketchup. Make the creamy dipping sauce taste familiar and rich.
- Sweet pickle relish. Brings crunch and tang, like pickles tucked into a burger.
- Mustard, vinegar, and paprika. Sharpen the sauce so it cuts through the bacon and cheese.
Shape, Wrap, And Cook
- Season the beef. Mix the ground beef with Worcestershire, garlic powder, onion powder, salt, and pepper just until combined. Overmixing makes the bombs dense.
- Stuff the centers. Divide the beef into 12 portions, flatten each one, add a cheddar cube, and close the meat around it with no gaps.
- Wrap with bacon. Wrap each beef ball with one thin bacon slice. Secure with a toothpick if the bacon will not stay tucked under.
- Bake until browned. Place the bombs on a rack set over a baking sheet and cook at 400°F until the bacon is crisp and the beef reaches 160°F, about 22-28 minutes.
- Stir the sauce. Whisk mayonnaise, ketchup, relish, mustard, vinegar, paprika, and a pinch of sugar until smooth.
- Rest and serve. Let the bombs rest for 5 minutes, then pull the toothpicks and serve hot with the dipping sauce.
Why Thin Bacon Wins
Thick-cut bacon sounds tempting, but it fights you here. It takes longer to crisp, and by the time it browns, the beef can be past juicy. Thin bacon wraps snugly around the ball and renders fast enough to protect the cheddar center.
A rack helps too. The heat moves under the bombs, so the bottoms brown instead of sitting in bacon drippings. If you do not have a rack, line the pan with foil and turn the bombs halfway through cooking.
Make The Sauce First
The dipping sauce tastes better after it sits for a few minutes. The relish softens into the mayo, the paprika blooms, and the vinegar keeps it from tasting heavy. If you like the sauce on smash burgers with bacon mayo, you will probably want extra here.
For a sharper sauce, add more mustard. For heat, stir in hot sauce or a spoonful of chopped pickled jalapeños. Keep the texture spoonable rather than runny so it clings to the hot bacon.
Cheese Choices That Melt
Sharp cheddar gives the strongest cheeseburger flavor, but it can leak if the cube is too close to the edge. Cut the cheese into small 1/2-inch pieces and seal the beef fully around each one. American cheese melts smoothly, but it is softer to handle. Freeze small pieces for 10 minutes if they feel sticky.
For a bigger appetizer spread, pair these with loaded bacon cheeseburger onion rings or garlic parmesan cheeseburger bombs. The flavors overlap without feeling like the same bite twice.
Air Fryer And Grill Notes
The air fryer is fast and gives good bacon color. Cook at 375°F for 14-18 minutes and leave space between the bombs. On the grill, use indirect heat so bacon fat does not flare over the flame. Keep the lid closed and move any fast-browning pieces to a cooler spot.
If you want a sweeter smoky finish, brush the bacon lightly with barbecue sauce during the last 5 minutes. For a sauce-heavy platter, serve these beside crispy fish with dipping sauce so guests get two different dips on one tray.
Storage Without Soggy Bacon
Leftovers keep for 3 days in an airtight container. Reheat them on a rack in a 350°F oven or air fryer until hot in the center. The microwave works in a pinch, but the bacon softens.
The sauce keeps separately for 4 days. Stir it before serving because the relish can release a little liquid as it sits.
FAQs
- Can I make bacon cheeseburger bombs ahead of time?
Yes. Shape and wrap the bombs up to 24 hours ahead, then keep them covered in the fridge. Let them sit at room temperature for 15 minutes before cooking so the centers heat more evenly.
- What dipping sauce goes best with bacon cheeseburger bombs?
A creamy burger sauce works best because it balances the salty bacon. Mayonnaise, ketchup, relish, mustard, vinegar, and paprika give you that familiar tangy cheeseburger flavor.
- Can I use a different cheese?
Yes. Pepper jack adds heat, American cheese melts very smoothly, and mozzarella gives a mild pull. Use firm cubes rather than shredded cheese so the filling stays tucked inside the beef.
- How do I keep the cheese from leaking out?
Seal the beef completely around each cheese cube and keep the seam covered by bacon. A small leak can happen, but chilling the shaped bombs for 10 minutes before cooking helps the beef hold its shape.
- Can I cook these in an air fryer?
Yes. Cook them at 375°F for about 14-18 minutes, turning once, until the bacon is browned and the beef reaches 160°F. Work in batches so air can move around each piece.
- Are these gluten-free?
The recipe has no bun or biscuit dough, so it can be gluten-free. Check the bacon, Worcestershire sauce, ketchup, and relish labels because some brands use additives that may not fit your needs.
